Another month goes by......

three weeks later its time to write my weekly blog. Tried some stuff, made some things. some worked some didn’t. See you all next week.


What, you want more detail? oh all right:

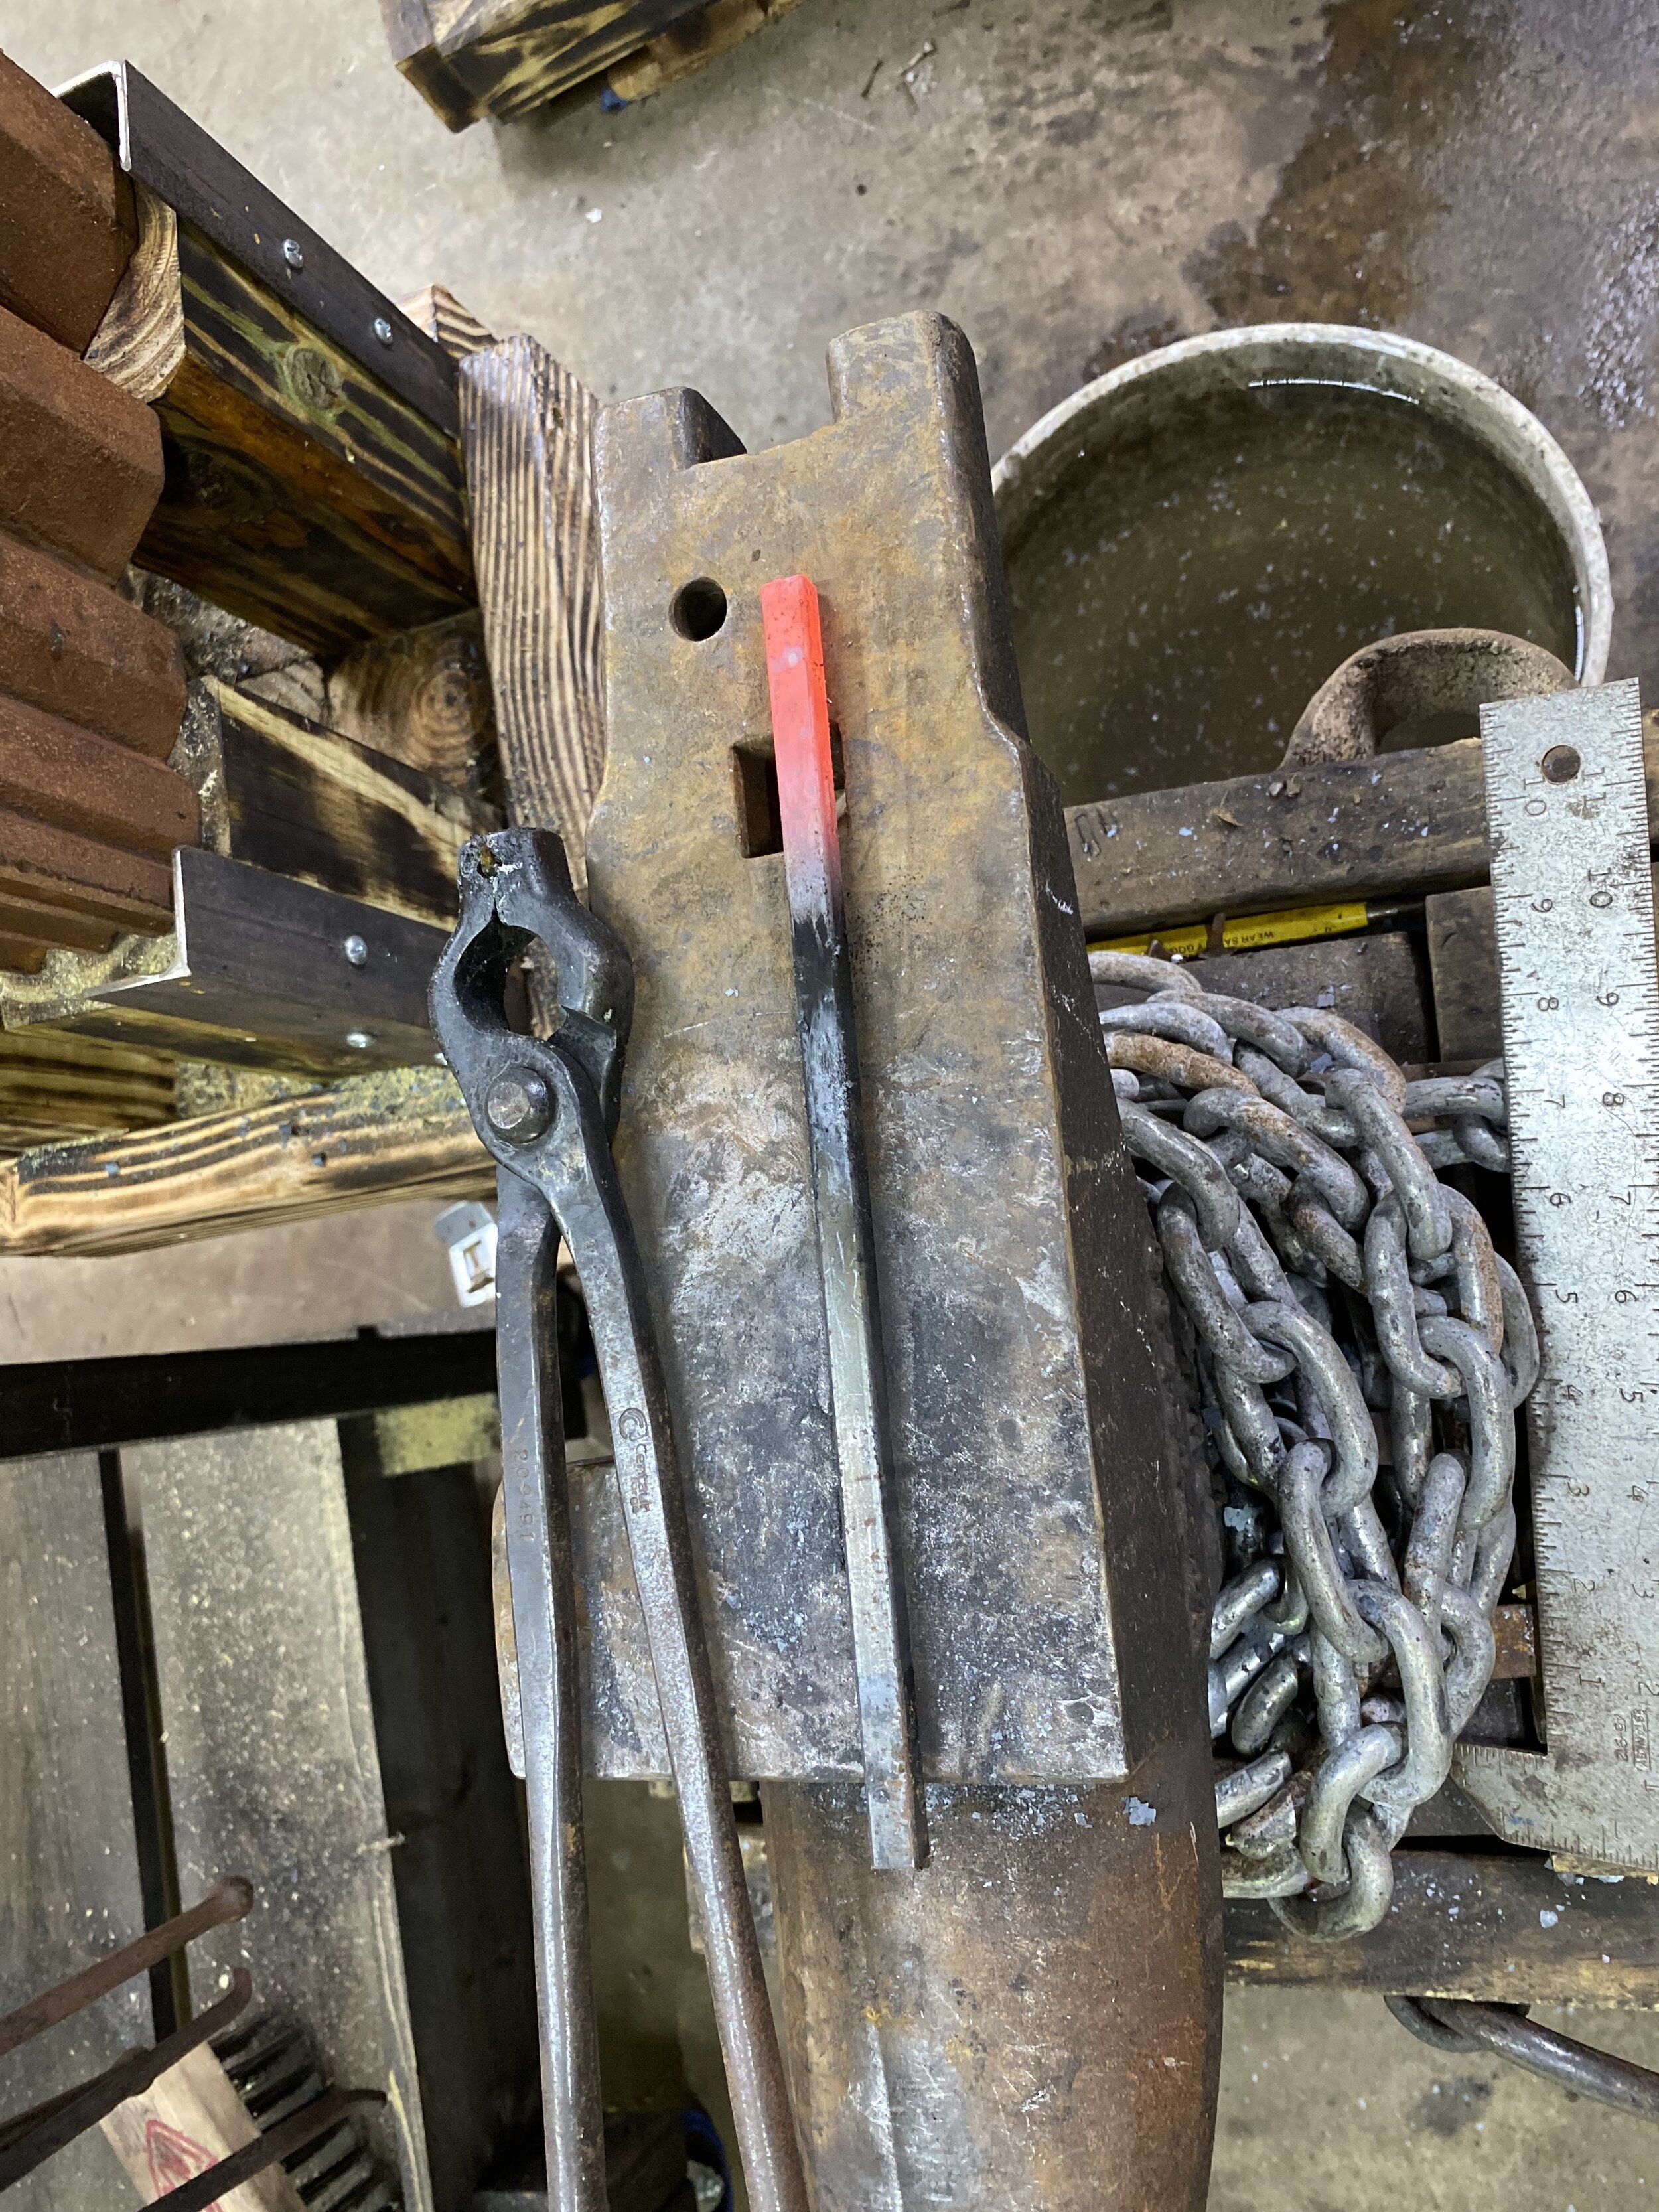
After making the trivet for Mistress Lorelei, I decided to try and work on making some kitchen implements. I was planning on making a ladle, spatula, and fork combination . I was going to make each one from the same size of metal and work them the same way to make a set. I have been having problems with making spoons and they seem to stem from not having enough metal in the starting stock, so i began with a quite thick piece of steel.

Spatula:

working down such a large piece of steel to the handle was much more work then I thought it would be. I also was not able to get the head thin enough to have any flex. My wife says it needs to be longer as well.

Quick time out for one of the smallest snakes I have ever caught. Baby Ringneck Snake.


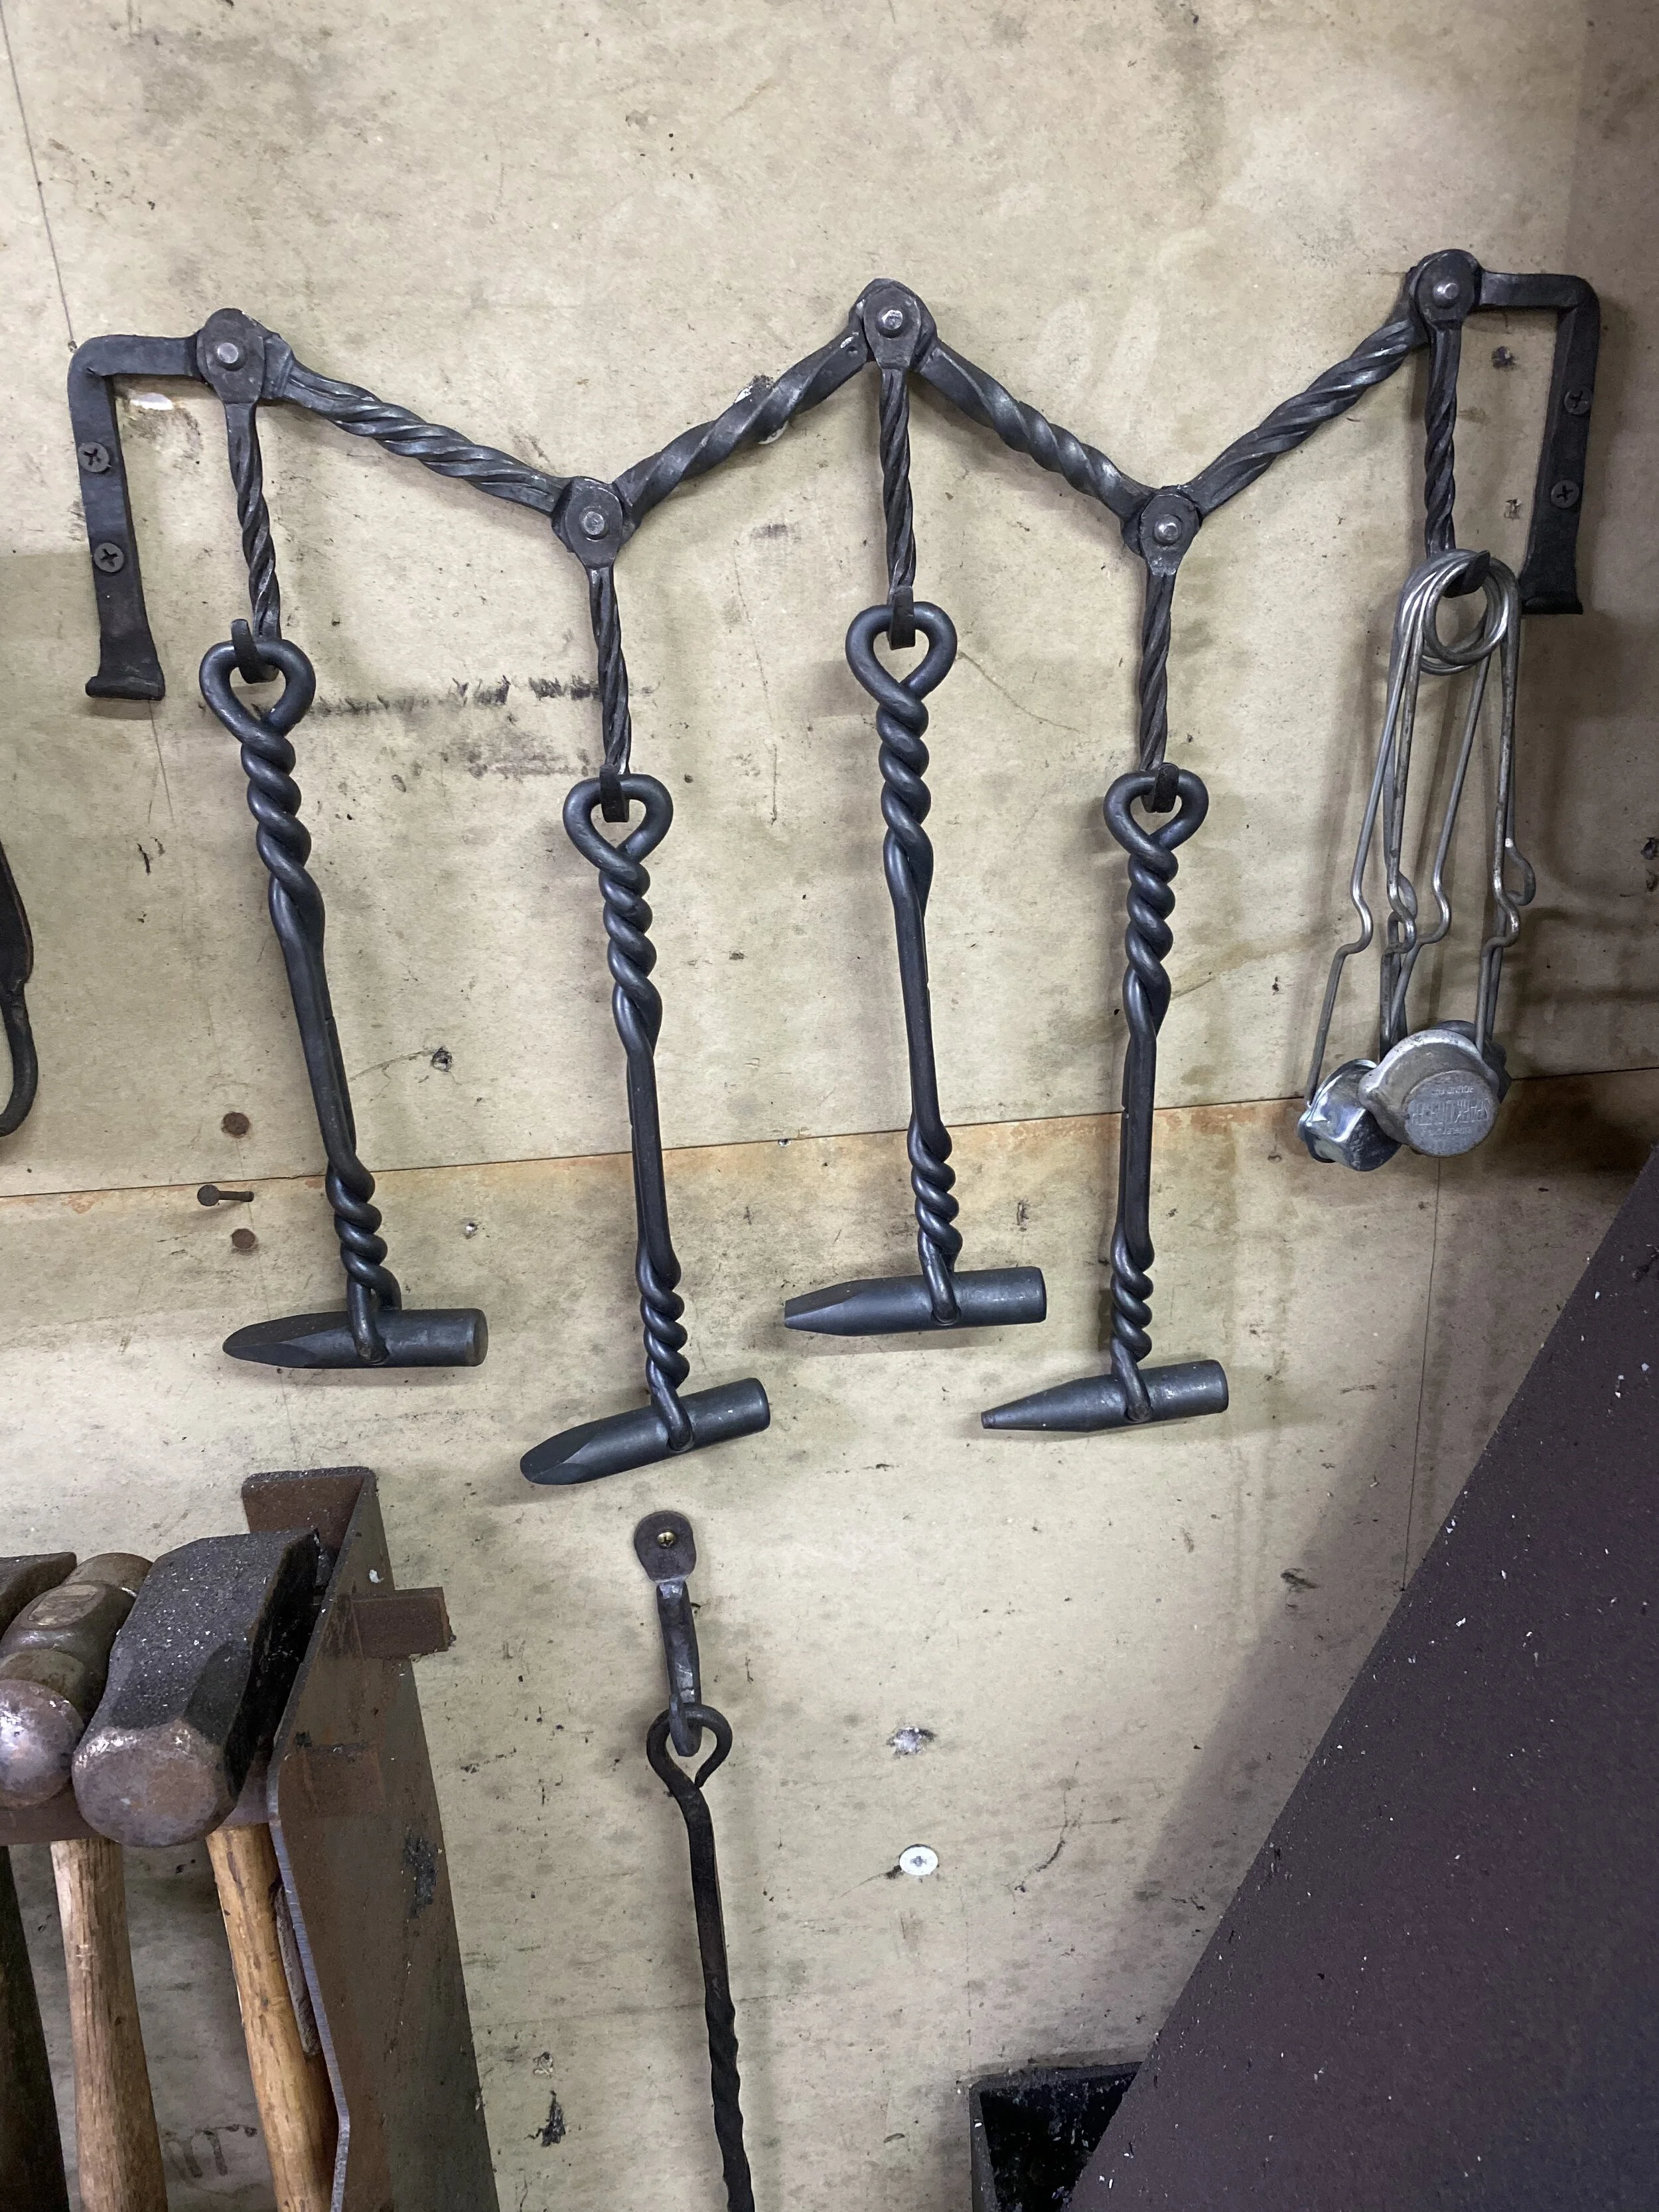
Not being happy with the way the spatula came out, I decided to back burner this project and work on something a little easier. I went back to the Mastermyr Find for inspiration. One of the things needed in camp was trivets for putting cooking vessels on to serve. As there were a few trivets in the find, I decided to try and reproduce one of them. Not a lot to say on this, but there will be documentation coming soon.

Mastermyr Trivet:

I also got into working, so did not do as much picture taking as I should have, but then again, not much to it either.

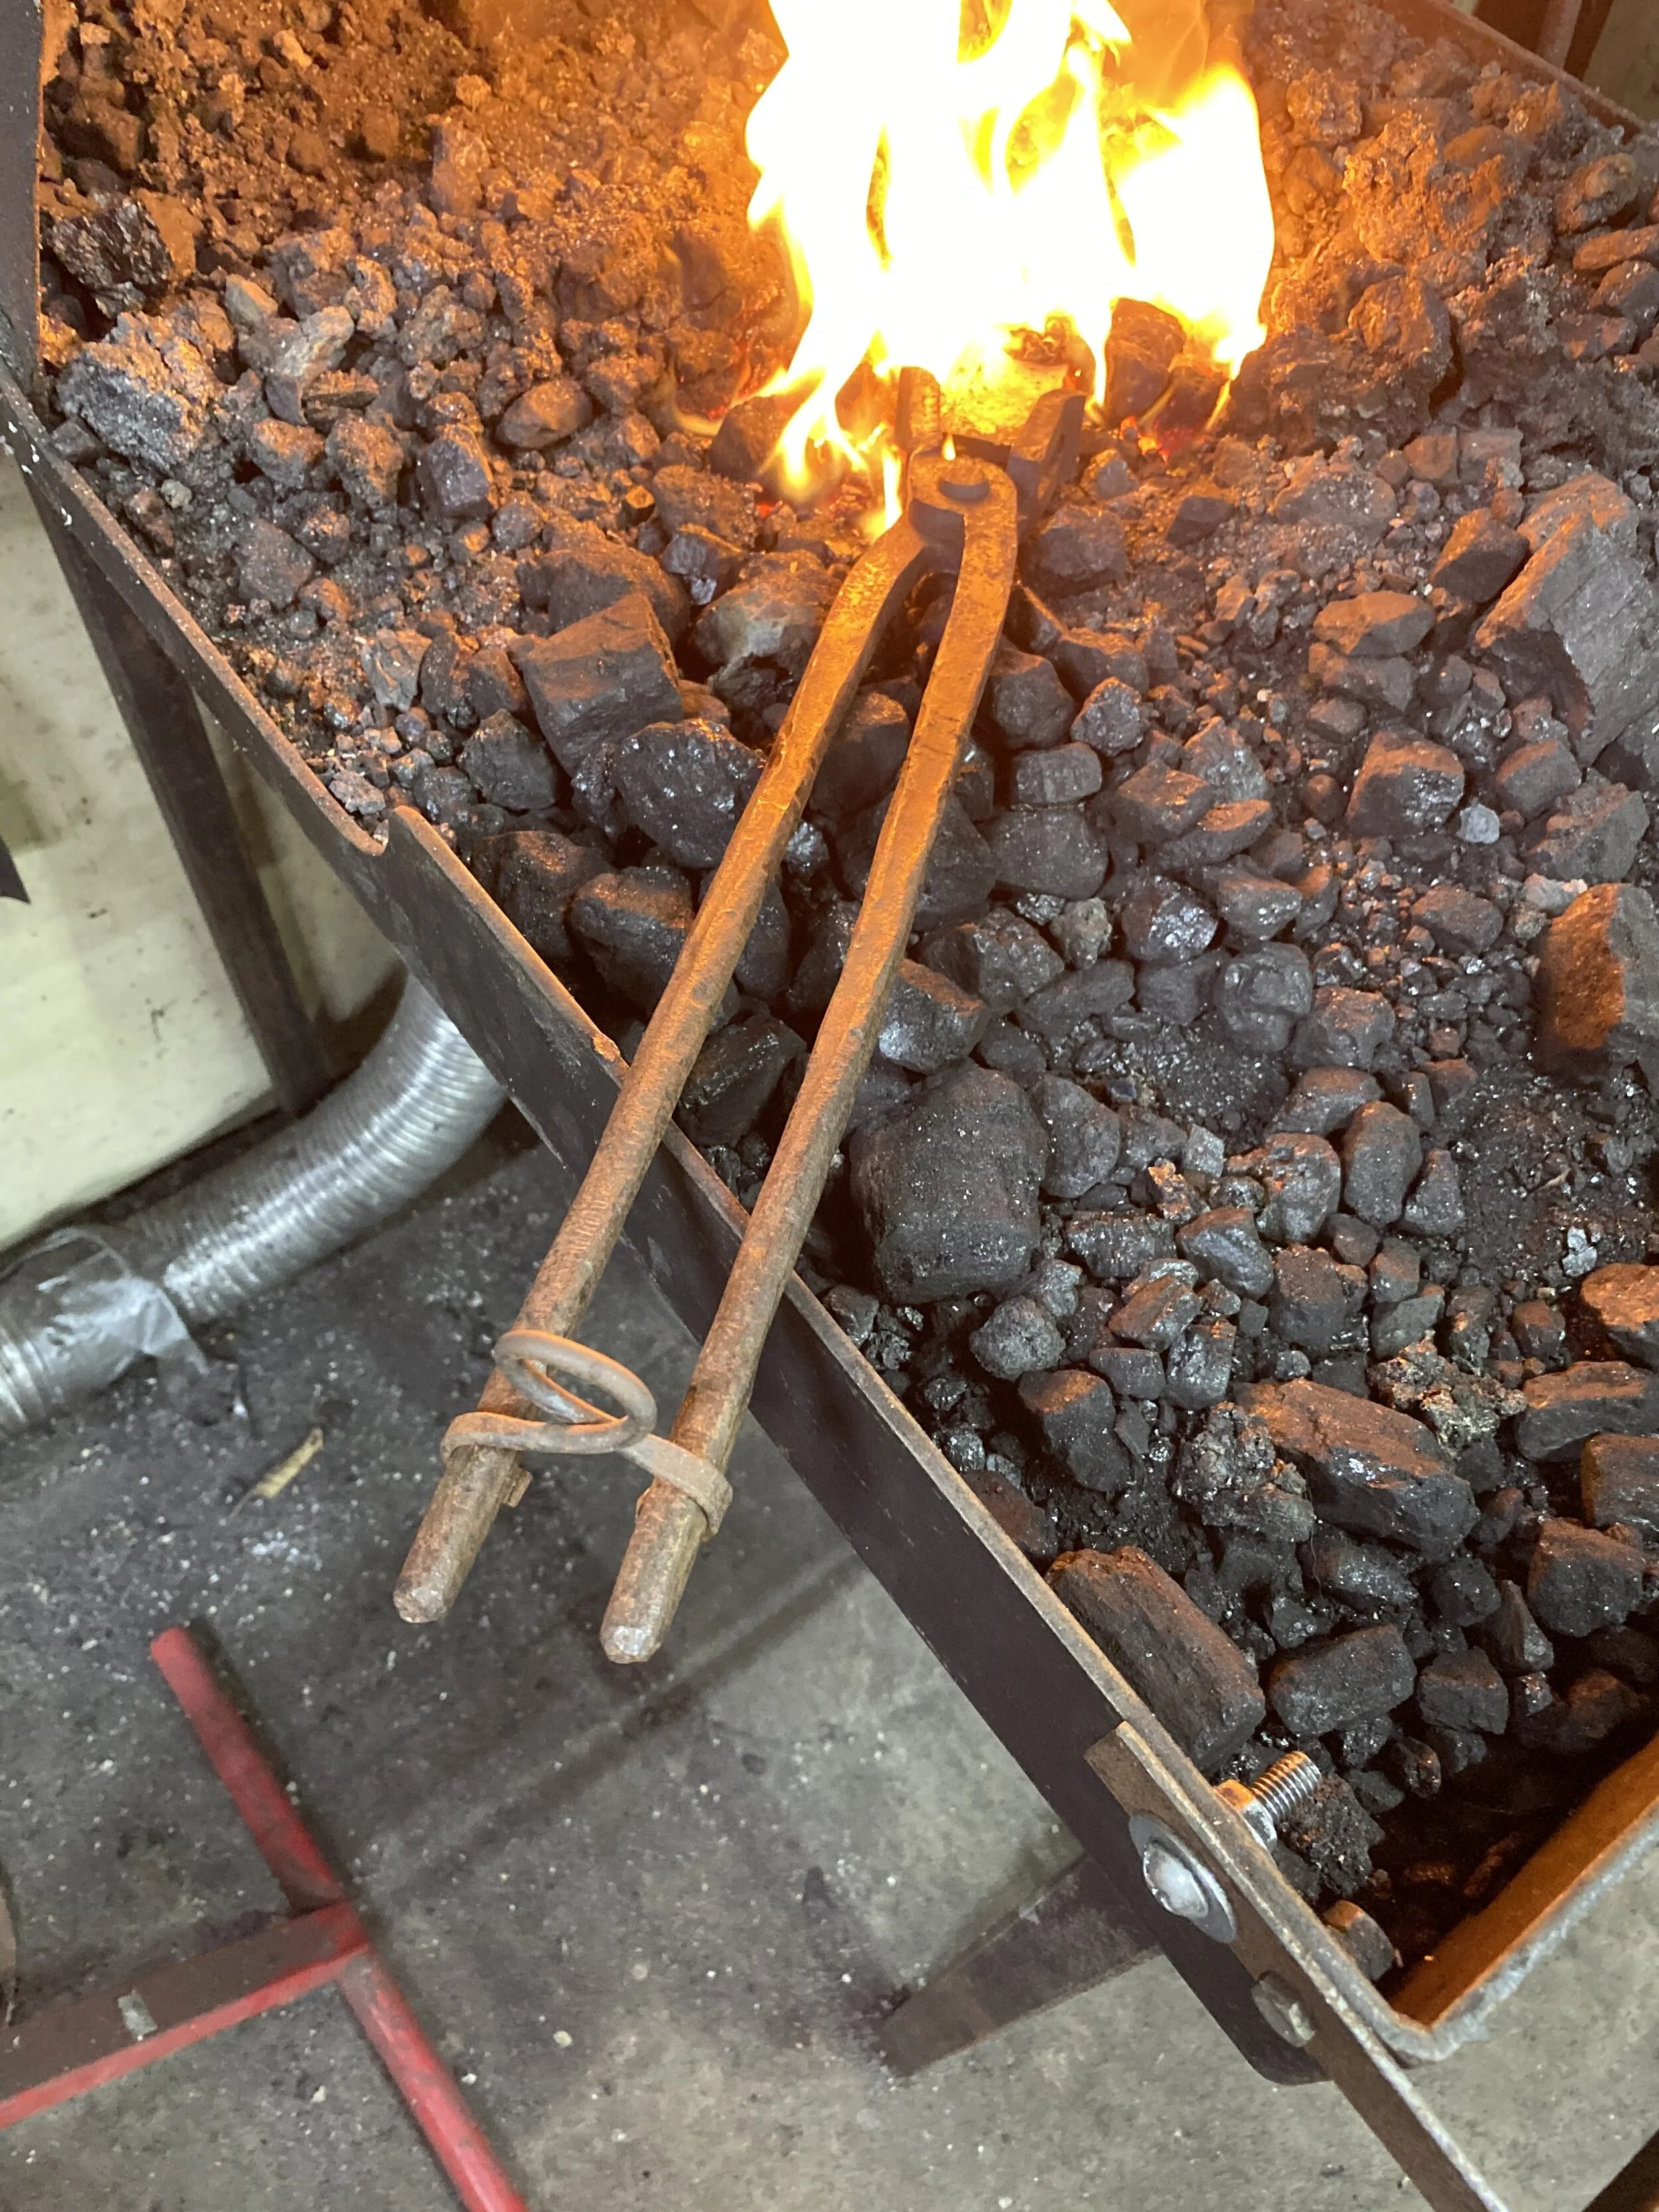
The next thing to catch my fancy was the hack saw found in the chest. With how similar to modern hacksaws it looked, i was intrigued to make it to scale and see how it compared to modern hacksaws. The answer is that it is much small then a full size hacksaw, but larger then a jewelers saw. The body of the saw was made with mild steel and the blade with spring steel. The handle was carved from a piece of oak from Grimmsfield.

Mastermyr Hack saw:

I went ahead and cut the saw blade to shape , tempered it, and mounted it to the frame before cutting the saw teeth into it. This left me with a better gripping surface for cutting the teeth. The saw blade edge is not one of my best jobs. I think if I were to make a few more, i would be able to get a more consistent spacing of the teeth.

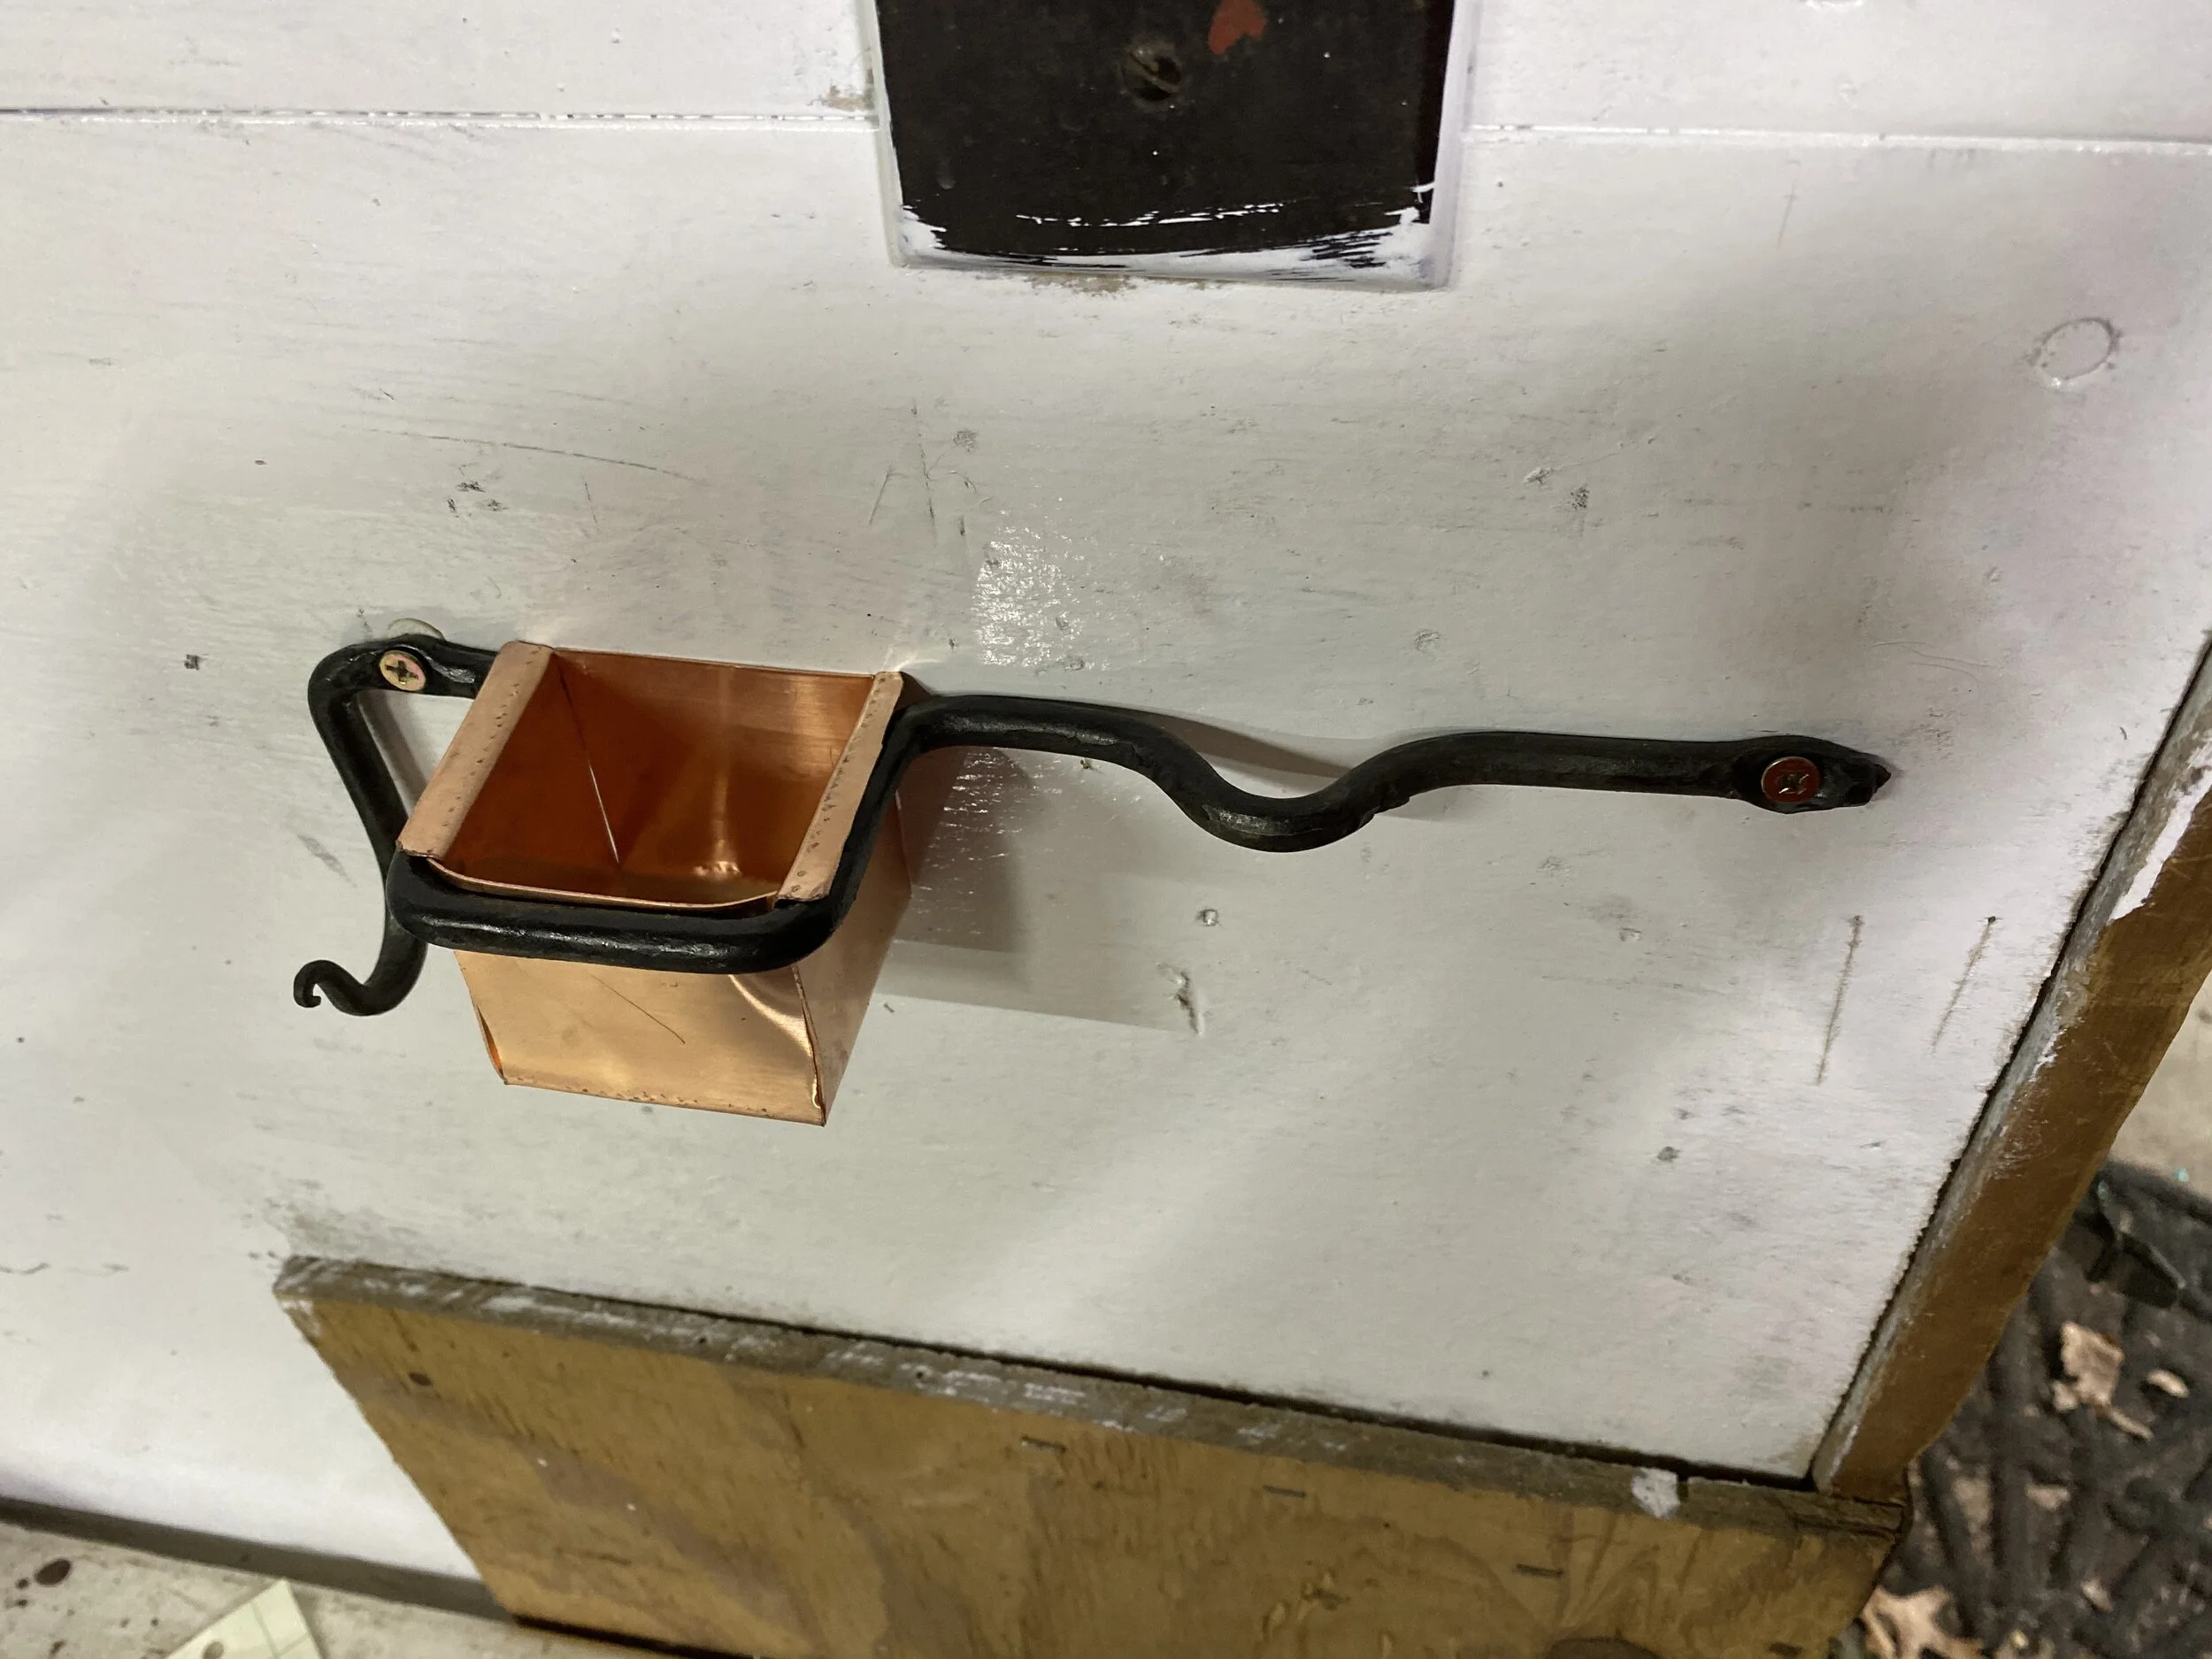
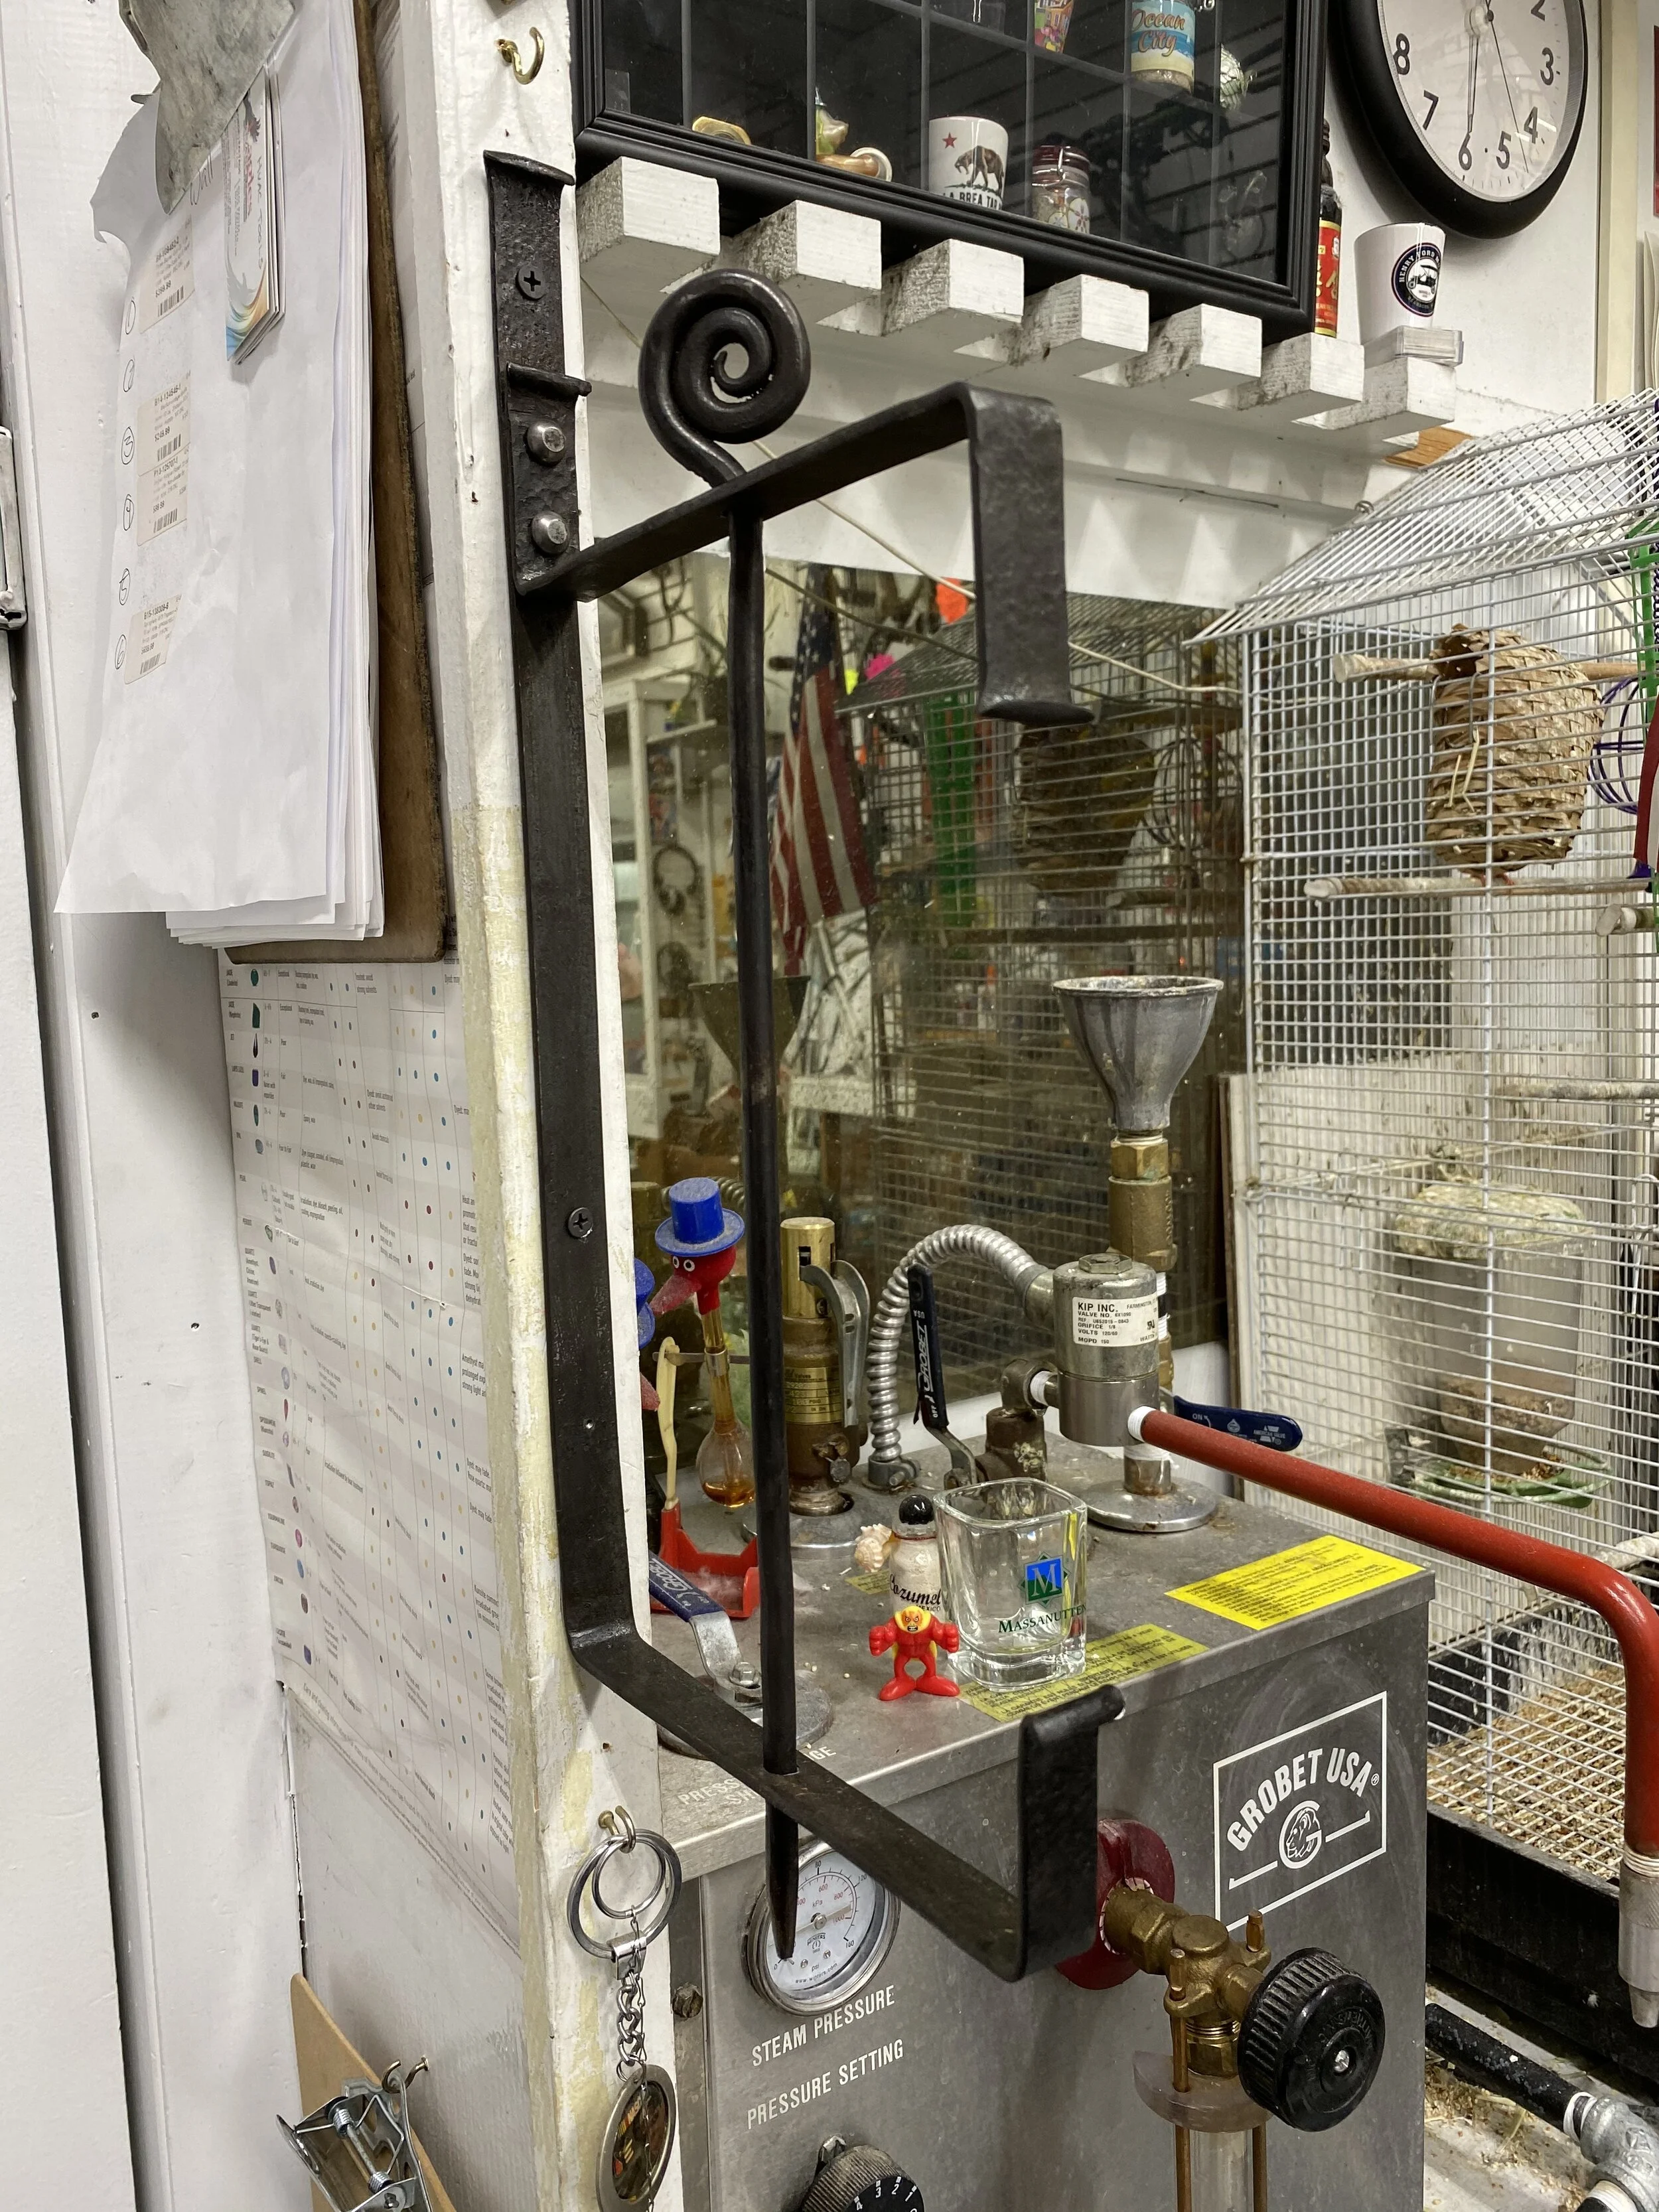
While working on these 2 projects, my wife and I decided we needed a mug shelf in the kitchen above the doorway. I was hoping to make some fancy shelf brackets for this, but I was not happy with my first attempt. The support bar pulled the rest out of true and it interfered with the screw placement for mounting. Oh well, back to the drawing board

Shelf Bracket:


And now for something completely different:

I decided to get back into some spinning. Instead of just spinning, for the sake of spinning, I decided to do a little experiment. Starting with 12 ounces of raw Romney fleece, how much finished yarn and or finished product would I end up with. The wool was pulled from the bag with no preference for what part of the fleece it came from.

After washing, the new weight is 10.8 ounces. This was then processed using a set of English combs. once the entire batch was combed, I was left with 1.3 ounces of 2nd cuts and bad wool. This will be spun into a single ply yarn and then woven in a simple pattern on a ridged heddle loom. This is where we are so for on this experiment. More on this as I progress.

And as a final note, a praying mantis sitting on the car next to me while I waited for my wife at the doctors office.

That’s it for now, more to come next week, or a few weeks from now, or next month or whenever……

Medieval Cooking Trivet

After talking with my good friend, Mistress Lorelei Greenleafe, I decided that I needed to do a simple A&S project with simple documentation. Not for a contest, not for any glory , just for the simple act of creating a usable, document-able object. This object was inspired by a conversation I had With Mistress Lorelei and what see needed to help her with her outdoor cooking. A cooking trivet seemed to be just what she needed.


If you want to skip the rest of this post, here is a link to the documentation written up for the Trivet:

Documentation

For those of you who just want to scroll through the process pictures, here you go:

To start the trivet i began with a 1/8 x 3/4 piece of bar stuck. This was then worked into a circle on the flat. Once the circle was formed to the correct size this was cut off of the bar stock.

After the excess was trimmed from the ring it was worked into a circle with about a one inch overlap at the joint. This was then riveted together to keep it in place. After this it was heated to forge welding temperature and worked down top original thickness. The edges of the joint were then cleaned up to make an even transition.

the next step was to work on the legs/ blade units. these were made from 10 in long 3/8 in. square stock. They were marked at 1 in in from one side for the feet and 3 inches in from the other side for the rest. The 3 inch section was then drawn out to a with of 3/4 of an inch with a thickness of 1/8 inch. This was done to mimic the measurements of the ring. this was then bent to hold the ring at the proper angle. The next step was to heat the center section and put the twist in that. The final step for each leg was to flatten, spread and bend the foot. While the feet were still hot, each was given my touchmark because I am a vain person.

The next step was to mark the ring in 3 places exactly 120 degrees apard and center a rivet hole on that mark. Holes were also drilled in the blades of each leg. Nails were then cut to the proper rivet length and used to rivet the legs to the ring. The trivet was then adjusted until each foot rested squarely on the ground and it was a level surface for the cooking vessel.

The final step was to apply a finish to keep the tool from rustin. The entire trivet was coated in vegetable oil and placed in a 450 degree oven for an hour and a half. This resulted in a finish very sinilar to that found on a cast iron piece of cookware.

This was then allowed to cool and tested to insure that it remained level. The trivet was then boxed up and shipped to Mistress Lorelei for field testing. I will let you all know how it worked.

Time for an Update?

Not sure why I am continuing to write these things, other then for myself to keep track of what I have done. I find more and more I am just forging and not keeping track of what I am making. I am working on researching and possibly making a set of Roman Hipposandals.(https://en.wikipedia.org/wiki/Hipposandal). But with no reason or timeline, i find it hard to get started. I have been doing some work in the forge, but it has been more along the lines of mundane projects and not A&S.


The first thing that I have not documented yet was a key-hook that I made for my wife to hang at the front door. I am rather pleased with it, but she is not. With the way I carved the ears, she says that they look mad. I think she may be right.

The next project That I decided to undertake was to create new bird feeder hangers for our deck. Hopefully, this would unify the deck and alleviate the hodgepodge of hangers we currently have. This project was started at the beginning of the moth and still is not finished. I have finished 3 of the 8 I was planning on making, but I am not sure that I like the design. The support bar looks off to me. Either way, here are some pictures and progress pics:

As I wrote about in my last note, I was gifted a set of top tools from GS Tongs. These were from my wife fro our Anniversary. I wanted these to be displayed nicely so I would always remember her gift to me. For this I designed a very flowing and organic tool rack to hang them from. This was a poorly thought out design and was a complete failure. From the ashes of this design came about tool rack #2. I am not as happy with this rack as i was with the one in my head but here it is:

It has been bloody hot this week. Temperature in the garage before firing up the forge was in the low eighties. So hot even the squirrels were melting and my cat not giving a damn about chasing them:

It’s crazy to be working at the forge in this heat! So I decided to work on making the forge a better working space. I had an old stump on a riser that I kept my swage block on set behind my anvil. This tended to be the place I set everything down on as I was working. Not good for the swage block and not good for the tools as well. I had started thew week before designing a rolling cart to handle tools and other objects that I needed at hand but was not using right away. A staging and holding area so to speak. I needed a hammer rack, tool bar, place to put hot metal and a place for hardy tool that I needed to swap out. At the same time, I also decided to get rid of the stump al together and build myself a swage block stand as well. This stand needed to be able to hold the block both flat and on end to use the edges as well:

Heres some more on both of them:

The next day (outside temp 102) i had to try out the new layout and see how it worked for me. The cart actually might be to big for my shop. The dimensions were based on the size of corrugated metal I could get for the hot area. This is 2 sheets wide and 1 long. I think I might need to rebuild it based on just 1 sheet. I will have to play with it a bit more before I decide. Either way, i decided to make a few things for around the shop. One problem that I have been having is that I wear bifocal safety glasses (insert old joke here) and I am constantly scratching them by wiping them while dry or setting them down on the lenses when I am done with them. My wife suggested that I needed a place to hang them when I was done and should keep lens cleaner and a glasses rag handy for cleaning. Let me introduce you to the Grimm Glass-o-holder Station. Copper cup for the glass spray, hook for the cloth and a bar to hang the glasses on when I leave the forge!

There were a few other odds and ends I decided to devote my forging time to. Hooks for my spring swages, a hook for my bending wrench on my vise stand, a holder for my hold down and finally, a paper towel holder for work.

Finally, for those who have made it this far, a look at the design pages for these project:

Forgot to note that during this time I also refinished a desktop for my son in law