New top tools.

So yesterday I received a set of top tool from GS Tongs . Glen is a maker of very beautiful and functional tools. These are tools that I could have made myself, but I love his clean lines and functional design. Plus my wife needed something to give me for our anniversary. I posted them on Facebook and someone asked me what they were for. I did not feel there was enough room in a Facebook response to adequately answer that, so here you go:

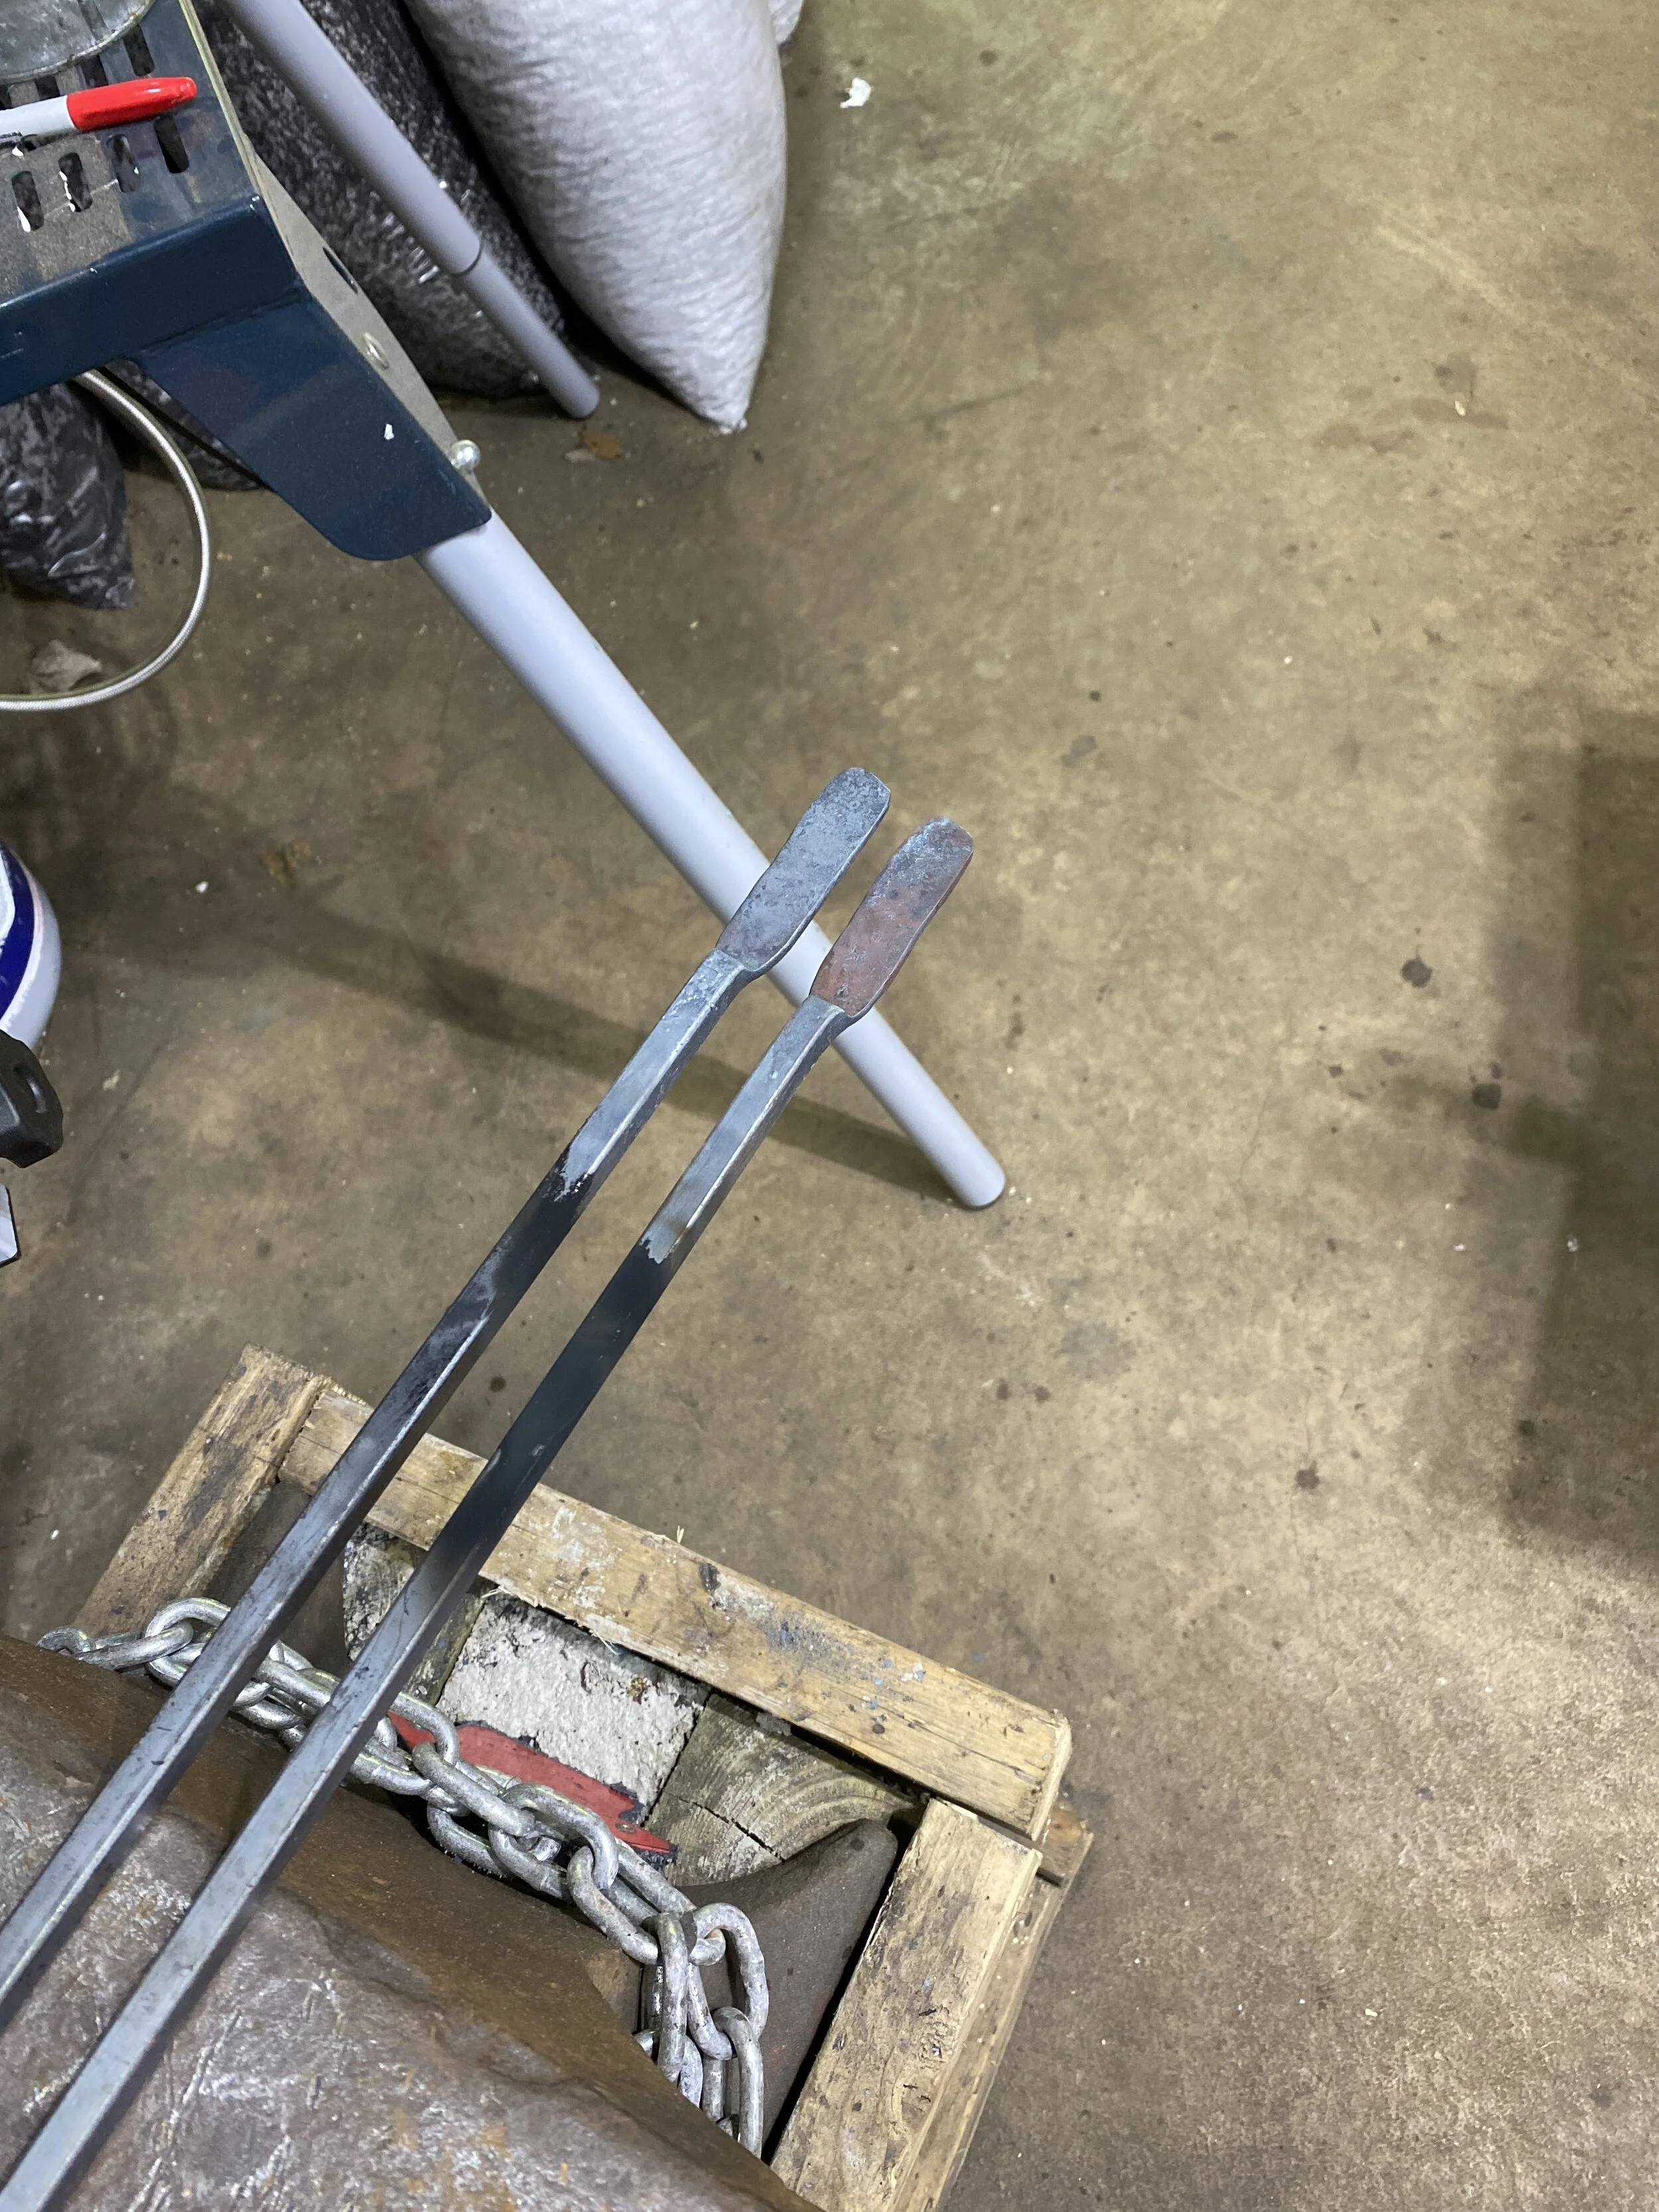
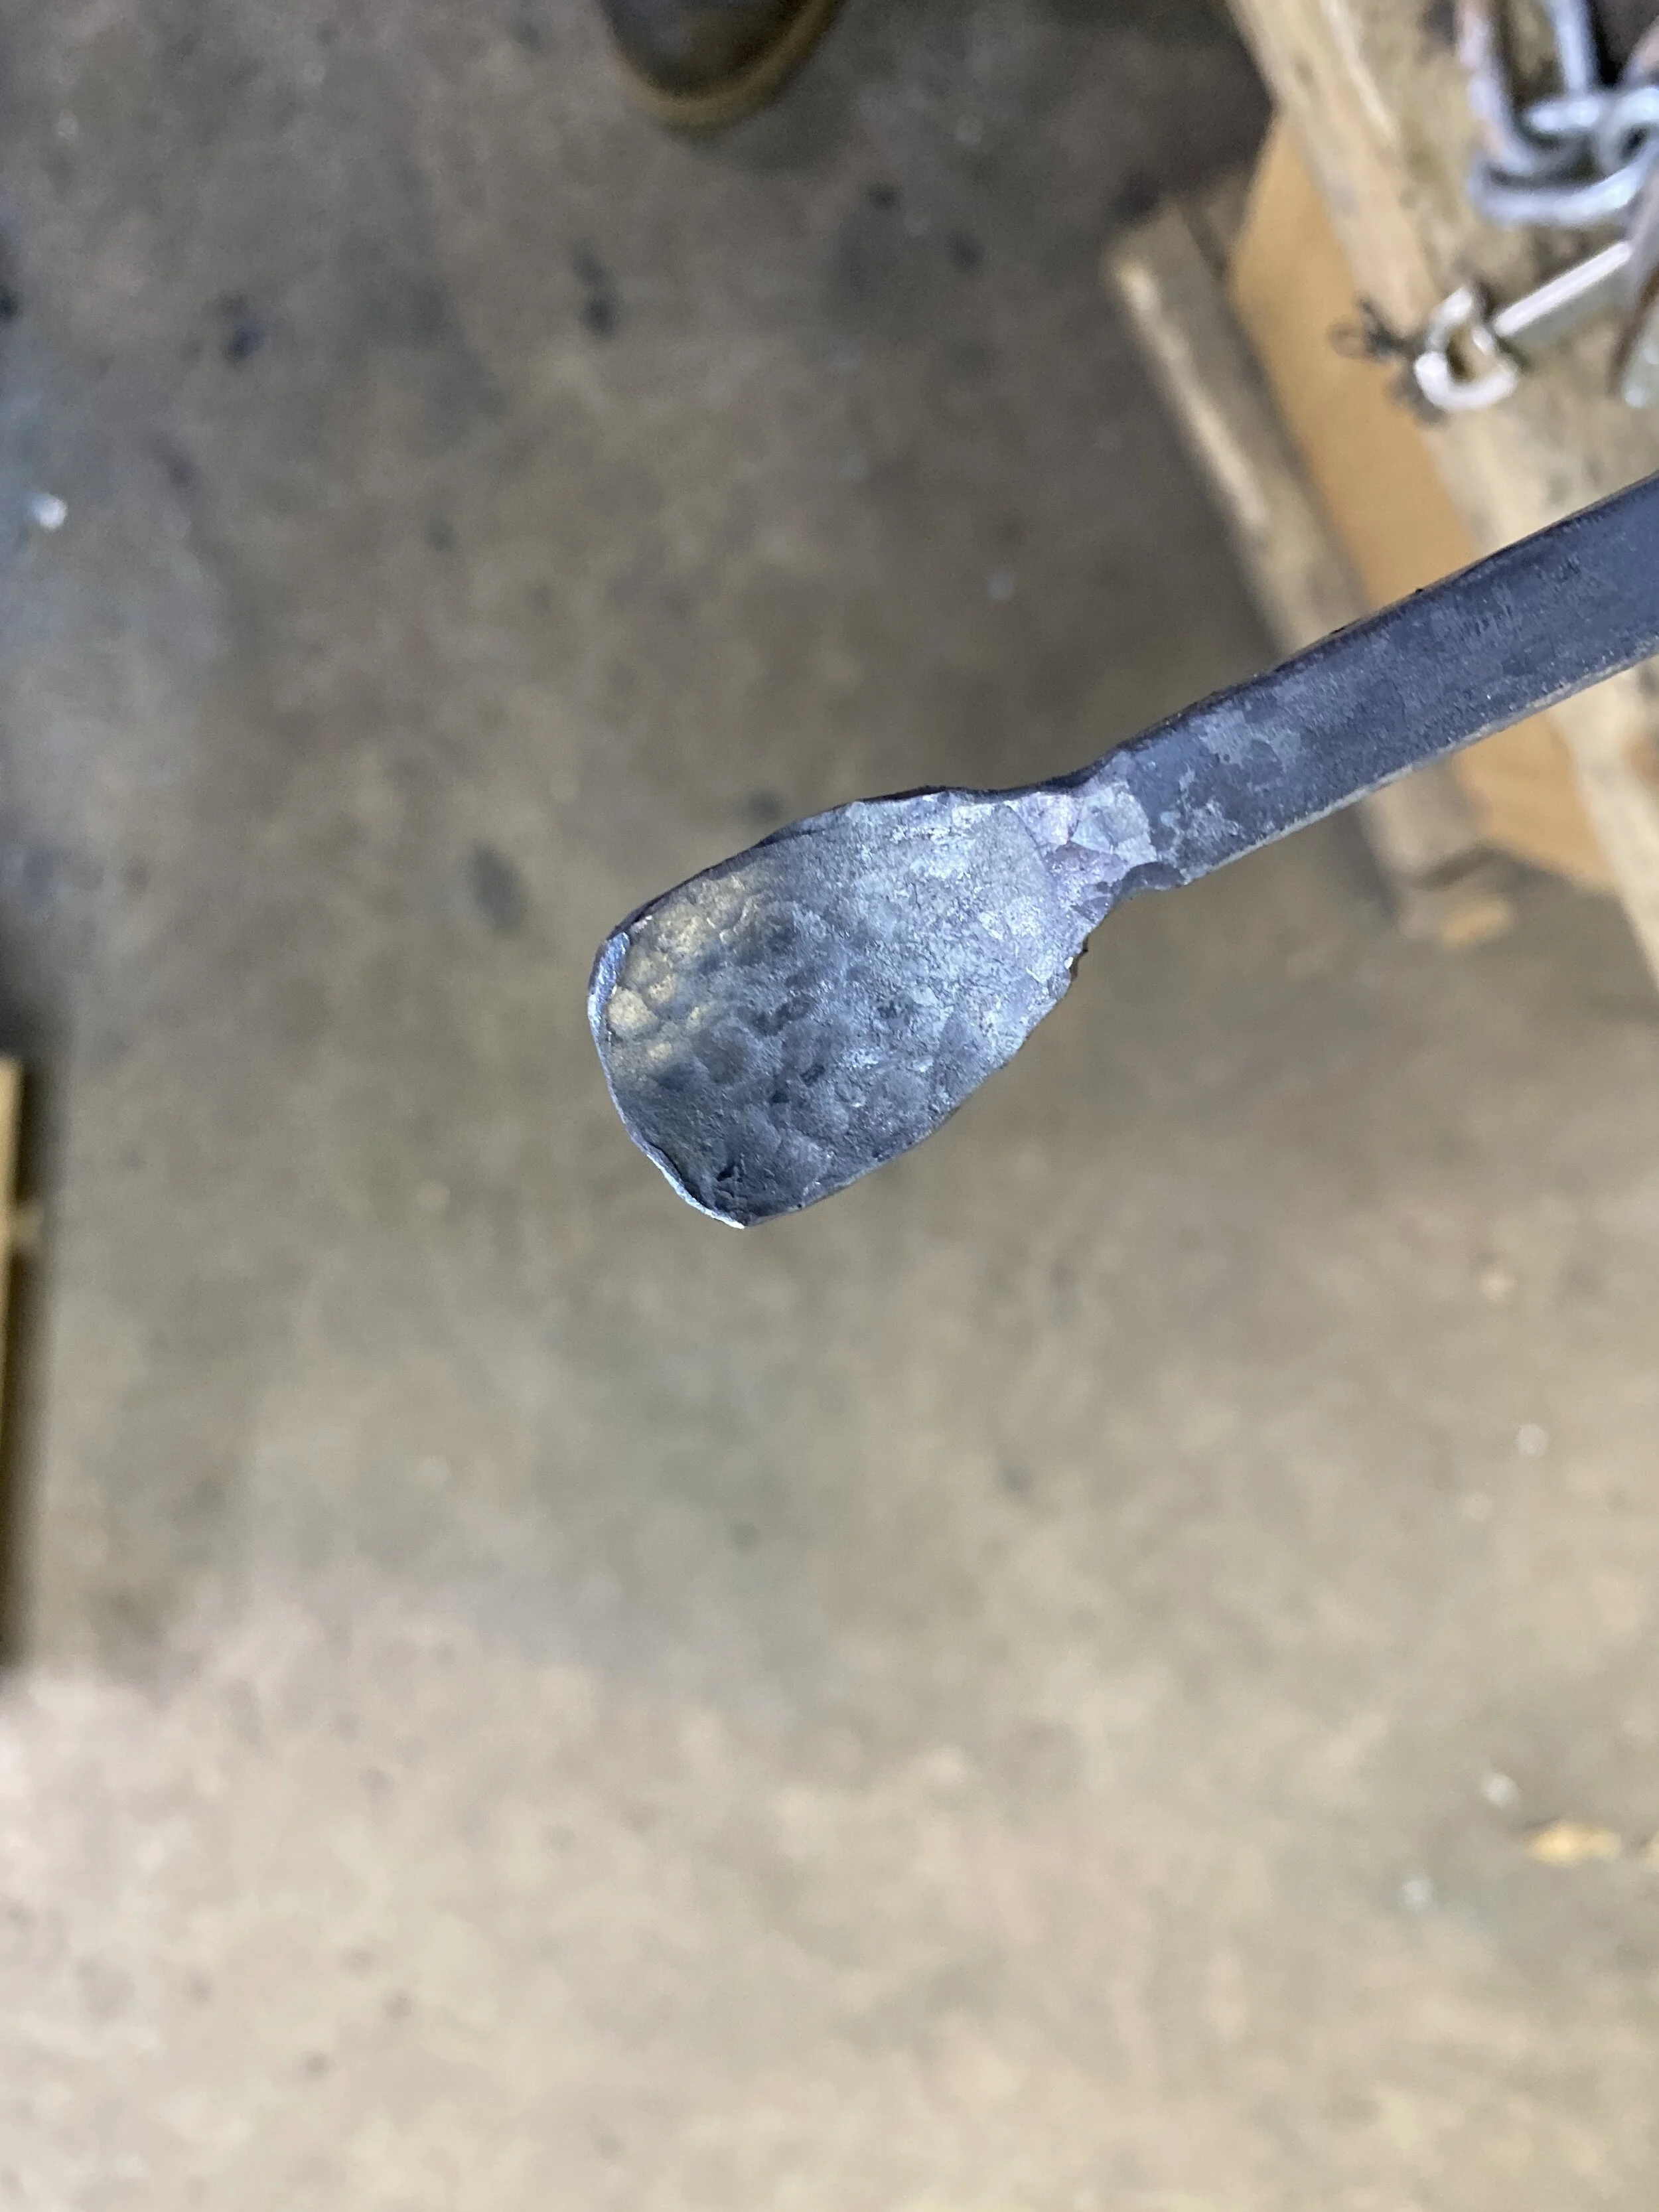
This is a set of 4 top tools:


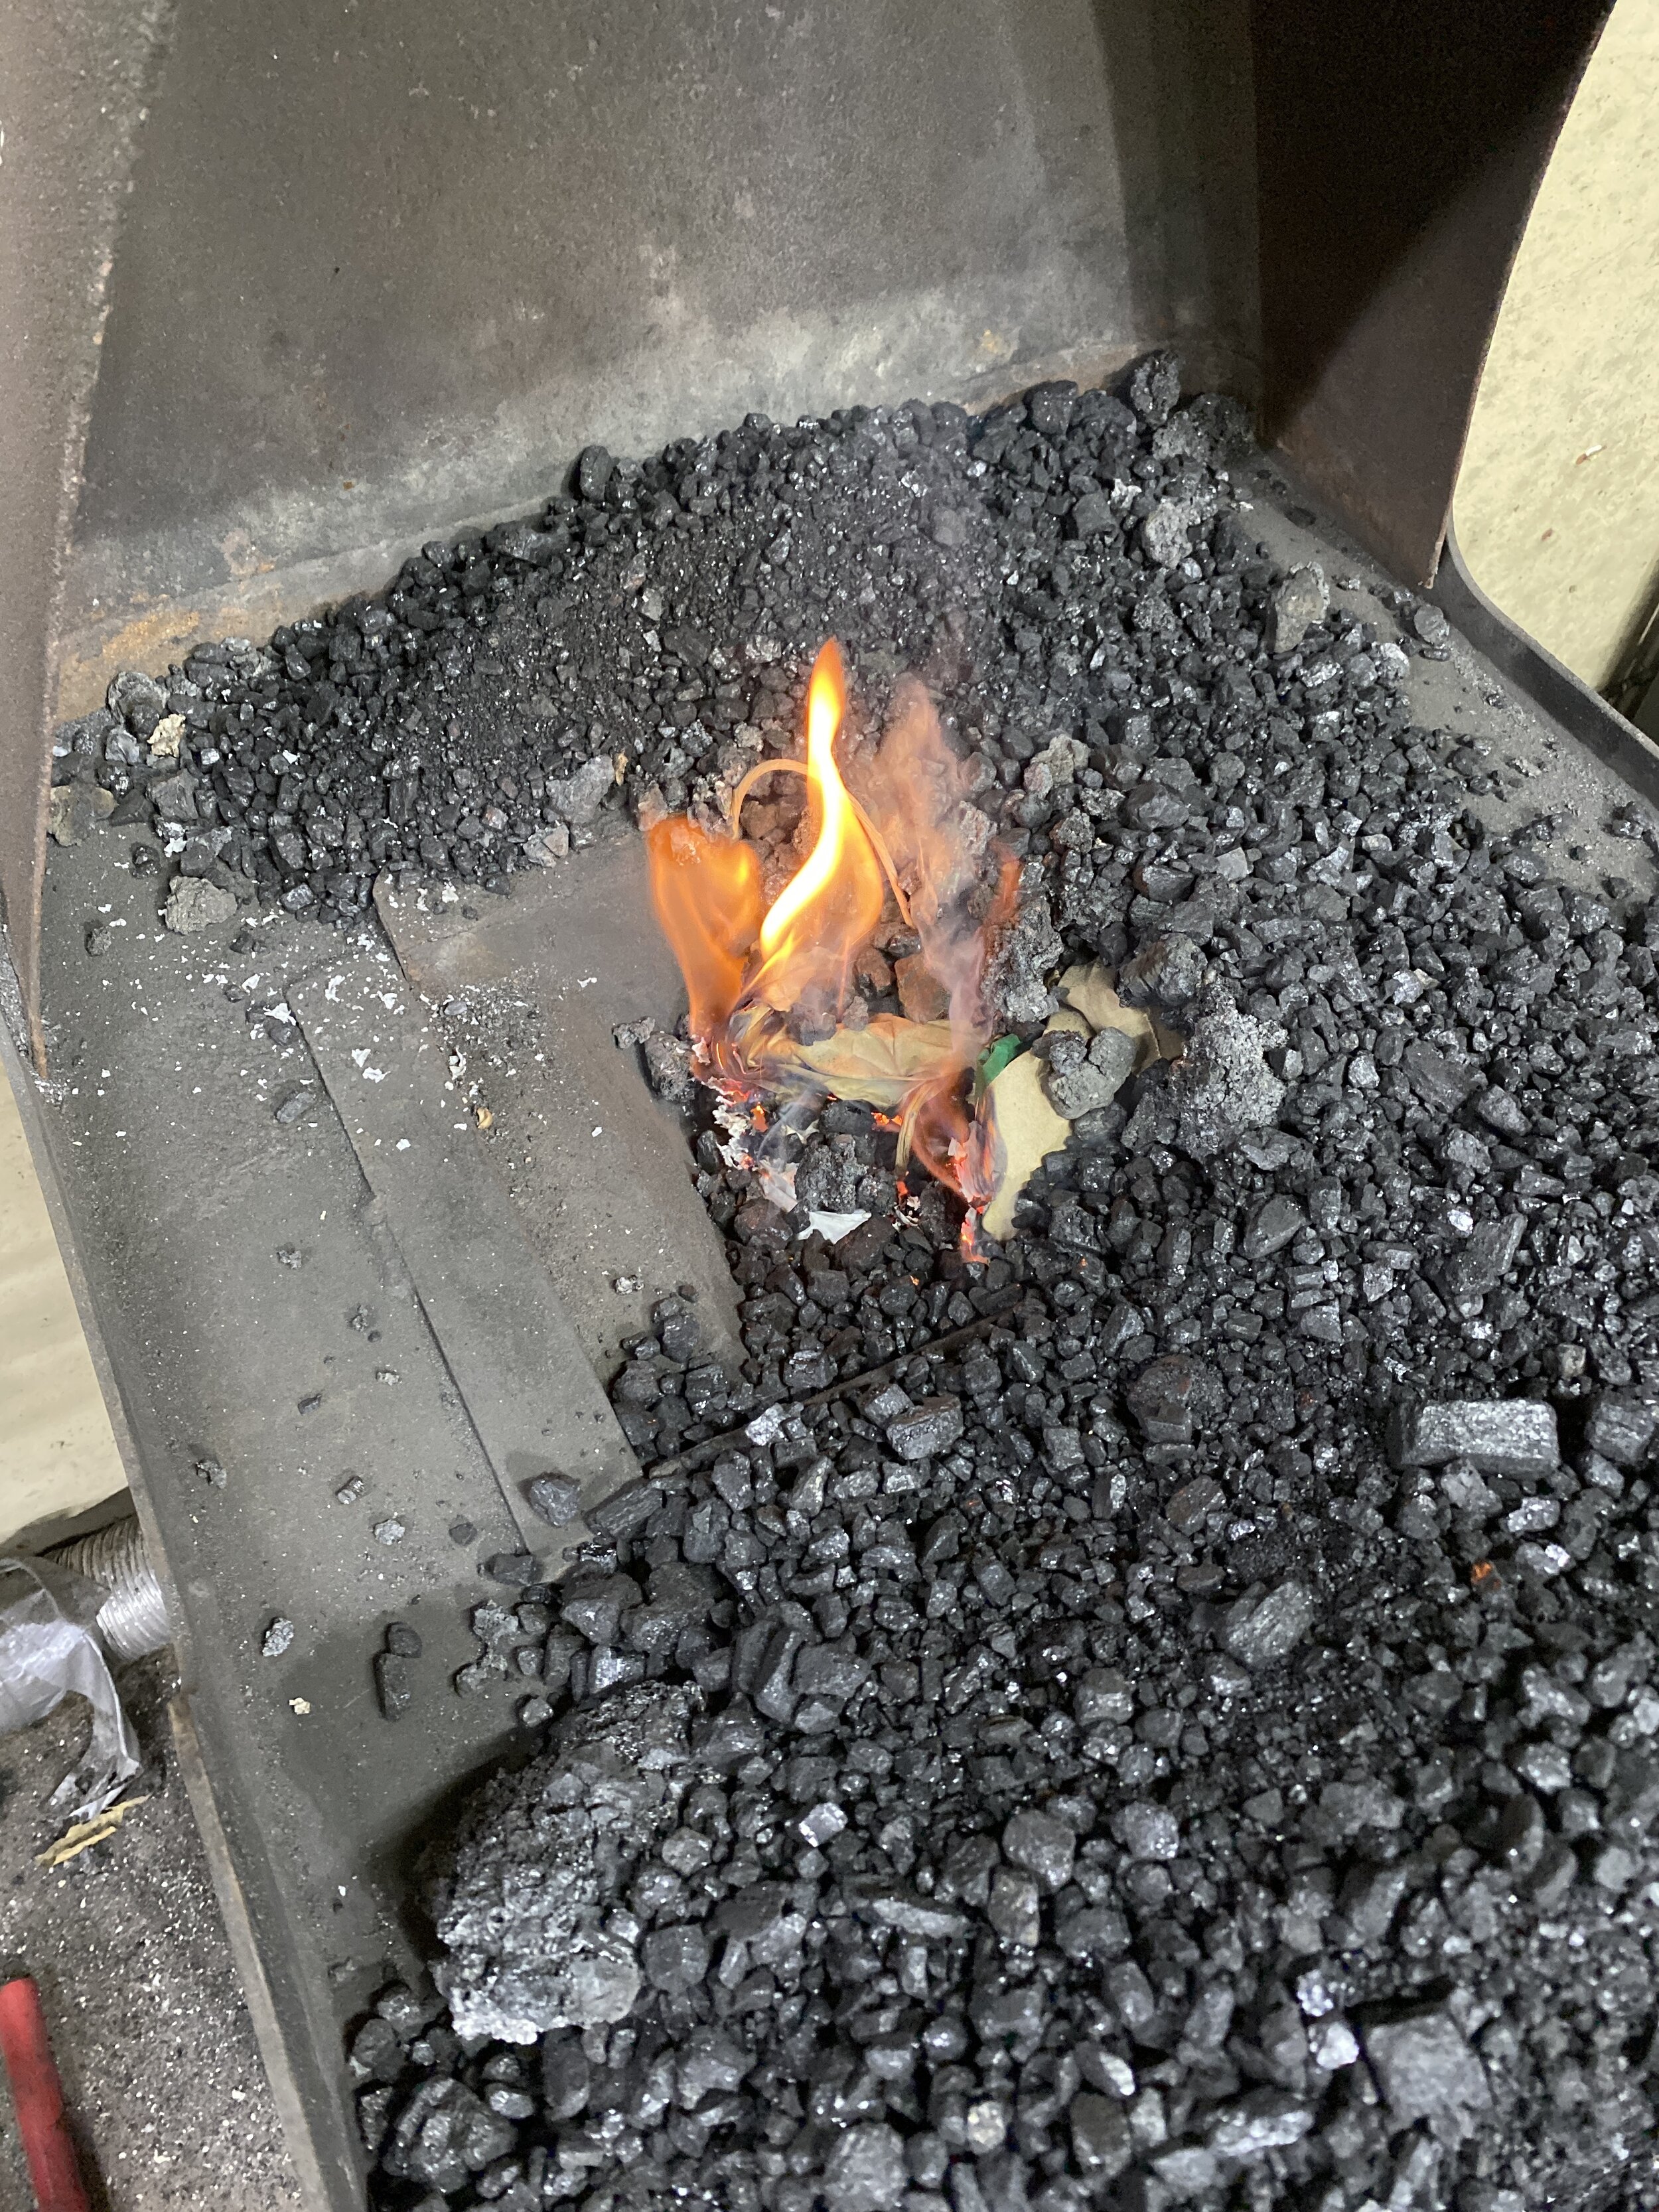
Top tools are designed to be placed against your heated work and then hammered to get different effects. The different shapes are each designed to create a different result. The 4 tools are :

  1. round punch

  2. cutter

  3. slot drift

  4. slitter

The use of each is explained below:

Round punch

The first tool (and the one I will probably use the most) is the round punch. This tool is used to drive a hole into a piece of metal. It creates a round hole through the metal with less loss of material then drilling a hole would. It pushes the metal to the edges instead of cutting it out the way a drill bit would.

IMG_4078.jpg

As you can see from the example above, this saves the loss of metal, but also can create a flare on the edges of the metal. This look can be either eliminated, on enhanced through the use of drifts to expand or reshape the hole.

The Cutter & Slitter

As its name implies these tools are used to cut or drive a slit into the metal.With unlimited cheap iron to work with, saws are often used nowadays, but when these tools were invented, saw blades for metal where very difficult to make and very expensive. These tools allowed you to cut the metal without any loss of material. Below is an example of a viking griddle with a split handle. This was done while hot and then each end was shaped.

Slot Drift (punch)

This is the tool I am most excited to get because it is the tool I am the worst at using. Like the round punch, this tool is designed to punch out a slug of metal and leave a hole. In this case the hole will be a rounded rectangle and will be used to create a slot that will be expanded to a round or square hole that would be impossible with a drill. The rectangle is opened up by using round or square drifts to expand the hole and make it round or square. The hook below as well as the connection on a pair of andirons below are an example of this technique. The Mastermyr hammer reproduction shows the process of punching the hole and then drifting it to shape.

As you can tell, I have all of these tools in my shop. Most of the tools used for the examples above I made for myself. Making his own tools is a large part of the blacksmiths craft. I could have spent the rest of my life using my own tools and done just fine. However, the opportunity to use a tool made by a master craftsman is not something I want to give up for the silly pride of having used only my own tools. The next project for the forge will be making a set of hooks using all of these tools, to hang these tools on. Having these tools hanging on my wall will serve 2 purposes for me. One, it will give me a visual of what work by a master looks like and 2, it will be a constant reminder of the 29 plus years that I have spent falling more and more in love with my wife.


Lock-down blues

This was written back in the beginning of May and put in draft mode, not publish mode.


News from Grimmsfield

I seem to have been spending more time in my forge, but documenting it less and less. A lot of what I have been working on is not as exciting as some of my other projects and some is not SCa related and therefore does not need as much as well. but here is what I have been working on over the last month:

Blacksmith guillotine

The first thing to get done was the making of a Blacksmith guillotine. This involved finally taking the plunge and forcing myself to get acquainted with the my mig welding machine. I don’t know why i had such an aversion to using it , I’m not good at it, but it was no problem using it to make the tool. A Blacksmith guillotine tool is a tool used to hold a top and bottom fuller in place when you are working by yourself. I needed one to put tenons on the ends of rods as a way of joining 2 pieces of metal. the formation of a teno n is shown in the last 2 pictures.

The other thing that I worked on over the past few weeks was a hall table for my wife. This is the first time in a long, long time that I created something just for the sake of creating. No constraints on my design but was I was capable of making. It was all made from found items around Grimmsfield. The metal came from extra pieces that were purchased for other projects and the same is true of the wood. Once again I did not document much of the process and a lot of it was metalworking and not purely blacksmithing. Here is what few pics I took:

Another week without work. = Forging time.

Well, I’m stuck with way more time, but way less motivation. With the worry over the business, I am having trouble keeping focused and on task. Still, pounding on metal is not worrying about what is going on. So here is what I have been working on:

First thing is repainting my wife’s horse trailer. This has been an ongoing project for the last few weeks. Painting it by hand both inside and out. at least 3 coats of paint over the entire thing (1 primer and 2 paint.) Almost finished the painting then to attach the pads and hardware and I will be done. Here is the closest to a before picture I can find and the work done so far:

When I can’t seem to get myself excited about starting a new project, I tent to clean and straighten up my workspace (I know that those of you who have been to my shop will not believe that, but it’s true). In doing that over the past weekend, I came across a razor kit that was given to me by my father in law at Christmas. It was a very simple wood turning kit, and I kept meaning to get around to it Well cleaning was getting boring, so, wood turning it was! I had a spare piece of Cocobola wood so, a turning I went. This was to make a replacement razor fof the shaving kit given to me by my daughter years age. Good to have it a complete set again. Simple but satisfying

After all of that, I did force myself to fire up the forge.

Coming out of the forge this time:

  1. cord holder

  2. coal tongs (take 3)

  3. re-worked the viking hammer

  4. another hoof pick

this went as described below:

Cord holder:

The cord holder was supposed to be a quickie to get me back into the forging frame of mind. My wife is in charge of the leaf blower. Just part of the division of labor at the Grimmsfield estates. She has tried several blowers of the course of the years we have been together and has decided that a corded blower is the way to go. In order to use said blower, she keeps a monstrous extension cord plugged in in the garage. This cord gets used for anything going on in the yard that need electricity, So it never really gets unplugged and put away. So we have this giant pile of extension cord that sits around and tries to trip us whenever it can. Well, I pretend to be a blacksmith, so I should be able to fashion something to hang this cord on. Simple right, just put 2 bend in a bar of steel, drill 2 holes to mount it and be done! Go to grab a piece of scrap to make this and come across a failed attempt at making a paper towel holder. Split on one end and rounded and knobed on the other end. Perfect, just bend the knobed end and mount the split end to the wall. “But the spit end looks unfinished and ugly”, says my artsy side. “Just bend it and be done!” shouts my practical side. “But wait” interject the artsy side, “if you forge out one of those split pieces you could make a hook to hang the cord end from.” “Grrrrrrrrr.” from the practical side. “And. AND! and, we could forge a twist in the other end to keep the cord from being pulled out when you pull on the cord from the yard. This could be so cool!” shouted the artsy side. From the practical side: “FINE!!! Lets waste 5 hours forging a 15 minute project. Lets turn this into a major production over something that no one will see or appreciate. Go ahead, see if I care!” “Oh goody!, here we go.” Artsy side.

Another attempt at coal tongs:

When cooking on a fire table, the placement of the coals becomes tantamount. To this end, i have been trying to produce a pair of tongs to pick up and move the coals for the table. the first attempt ended up with a scissor action pair much more suitable to small logs the coals. These my wife found to heavy and bulky. So, back to the drawing board. The 2nd pair was spring loaded and ended up being more like ice tongs then coal tongs. I did not even take a picture of these. This was the 3rd, but not final attempt to make coat tongs. Here is this attempt:

some notes on why these are not the last tongs:

  1. still to heavy (says my wife)

  2. Center spring not large enough. should have left 5 or more inches to be thinned out.

  3. more metal needed to be left for the ends, they also need to be shaped better.

  4. might need to start with thicker stock and draw the arms out thinner to reduce weight.

They work, but they are still not where I want them to be.

Re-worked the viking hammer & another hoof pick:

I purchased a handle (I know I should have made my own) for my viking hammer and found that the eye was way to small for a decent handle. So, back in the fire it went. I did nothing but expand the eye. this thinned the cheeks a little bit, but it now it fits the handle: the indexing on the handle is a little off, i think i will need to make my own handle with a better shape for the hand.

Last bit of news (kind of a big deal):

The hoof picks that I mass produced last week have now been put on E-bay for sale. There are 6 of them up for sale right now. Not sure if they will do anything, but I thought I would give it a try. I need to find some way to pay for this hobby. The pictures below will take you to the E-bay page:

Well, I guess that is about it for me for my adventures this week. And it seems like it is time to get right back into it. Next week, I hope to get the trailer finished and back on the road, get a few scores in in the throwers challenge, plus fire up the forge again. I am hoping to get some better metal in to forge better axes.

Everyone keep safe and be careful out there. Don’t forget Grimmsfield is open for private practice by appointment if you need to get out and get a break from home.

more soon,

Grimm