
I think this post ids going to be full of holes, or it will never get posted. If you have any questions, please feel free to ask.
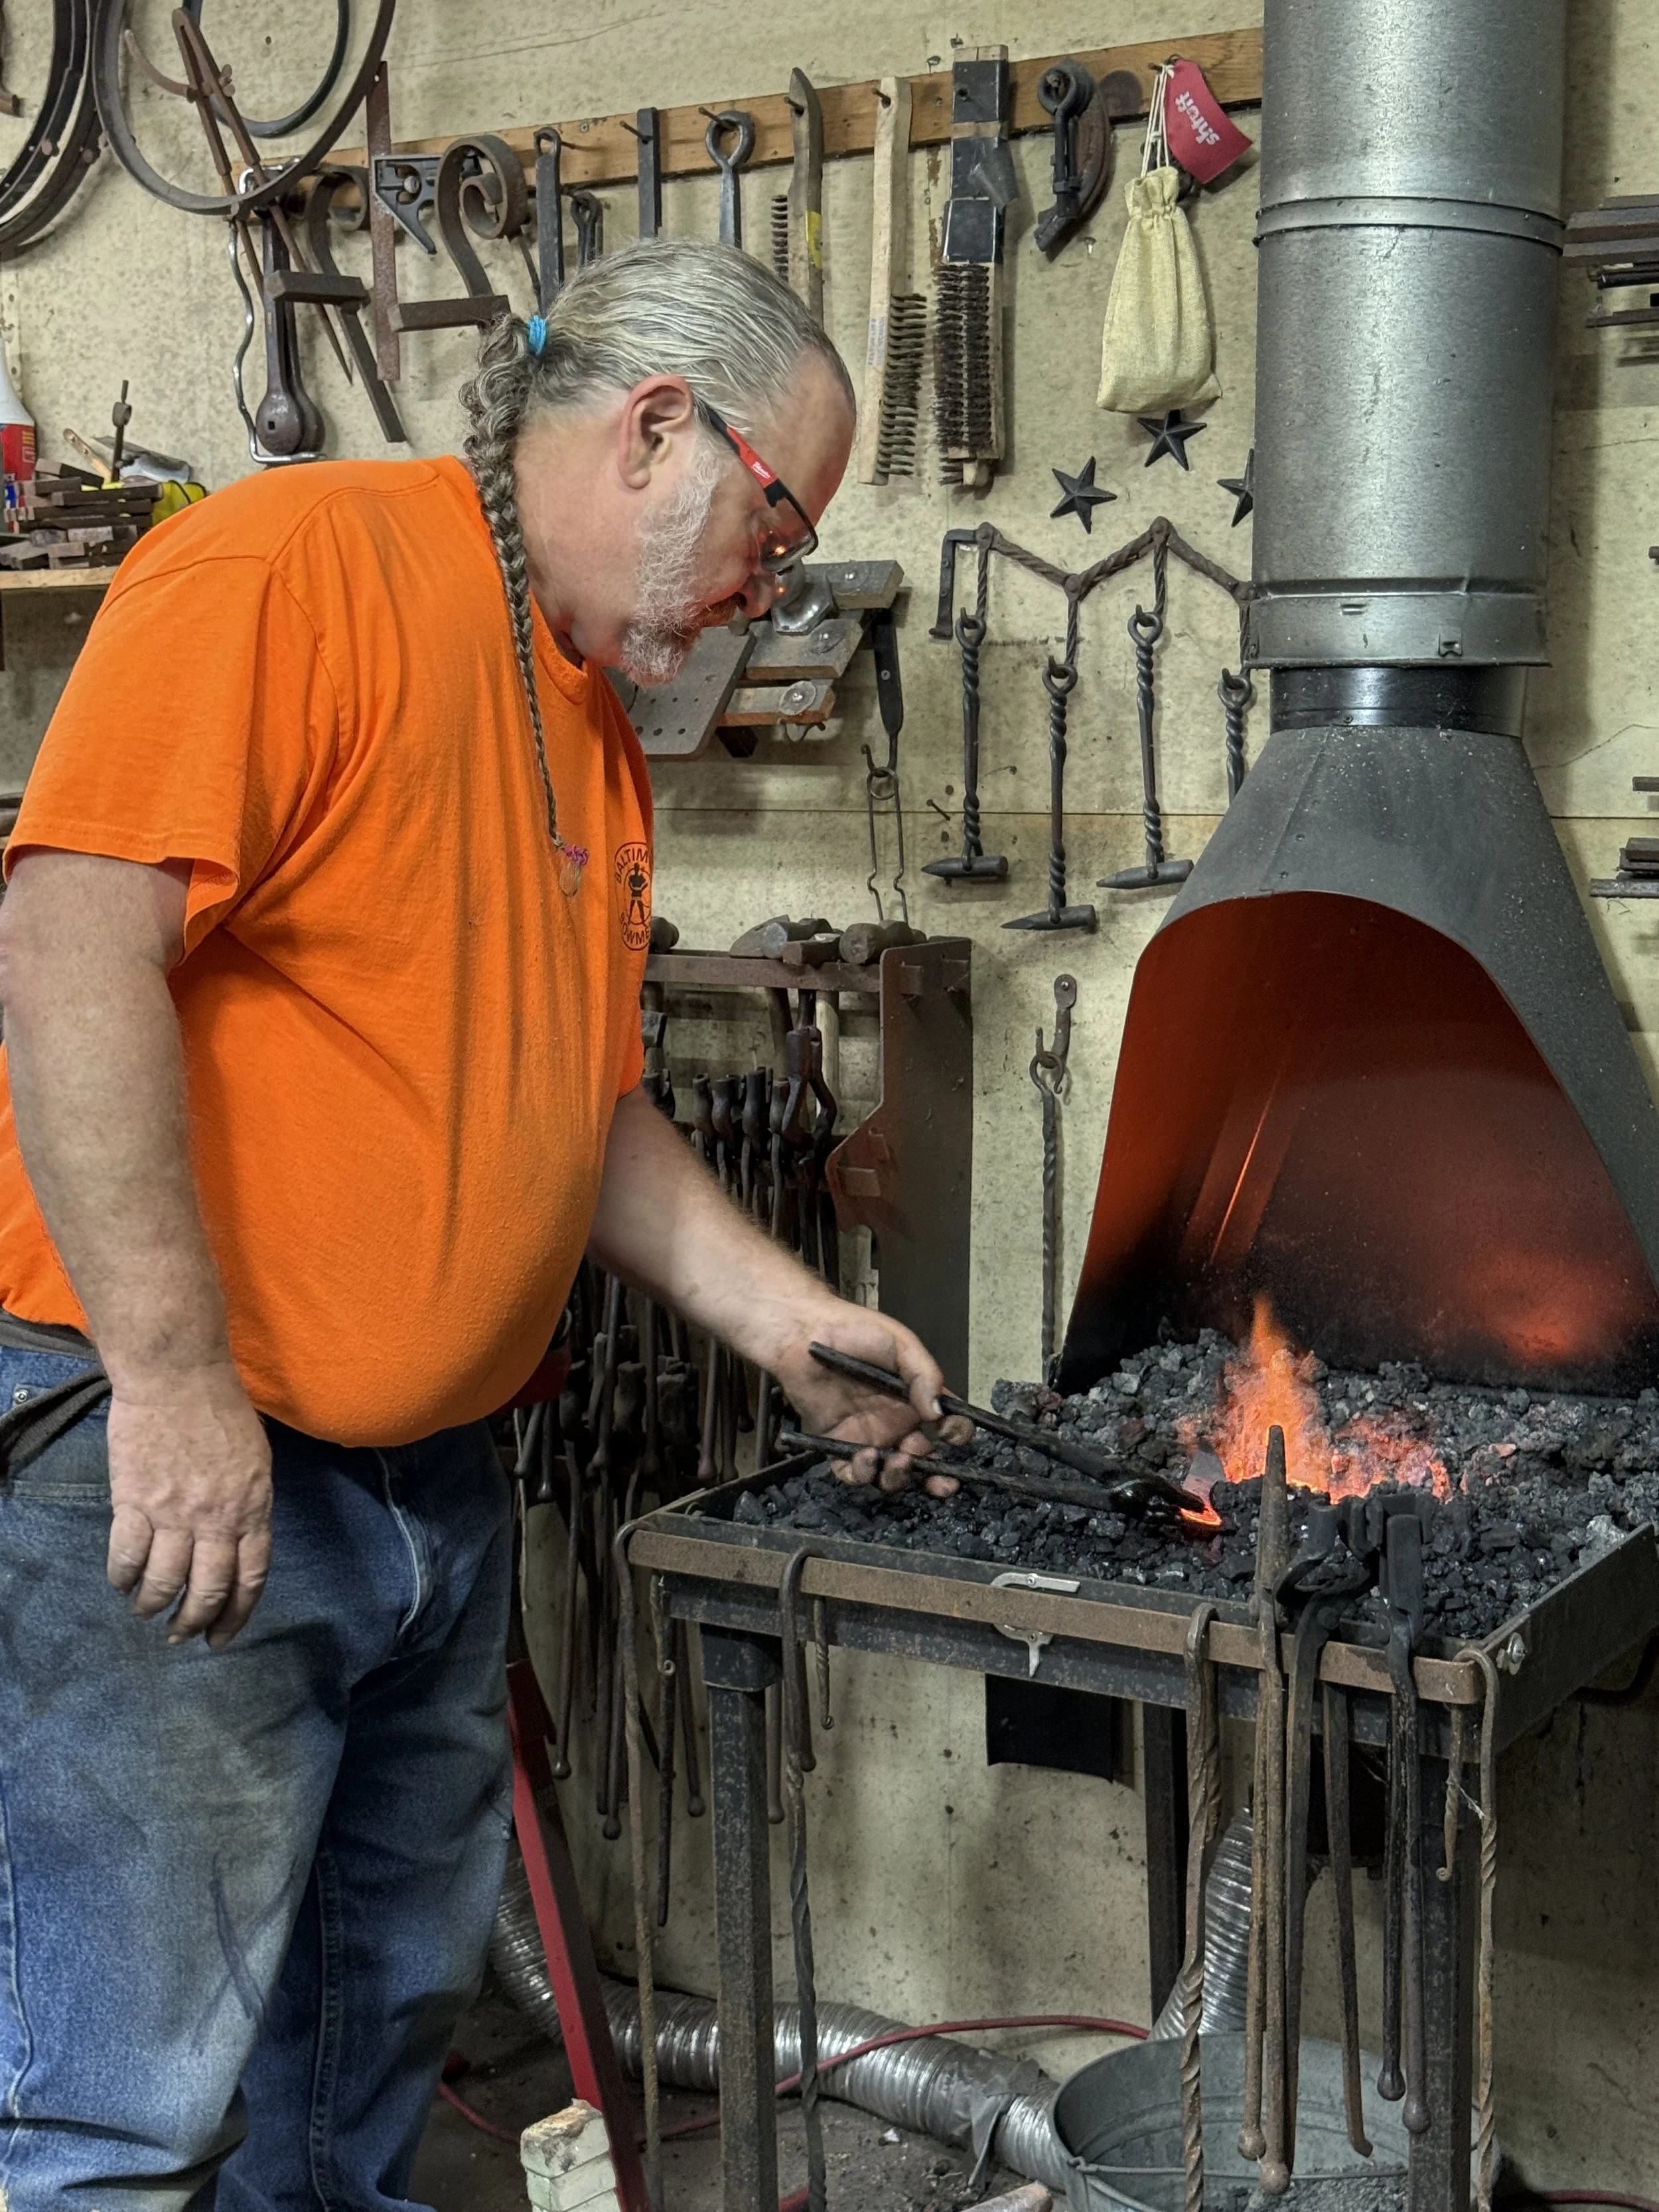
Backstory: Several years ago when I first stet up my forge and started blacksmithing, Forged in Fire was at it’s height. If you even mentioned that you owned a hammer, every one would jump on you about what “kind of knives you were making”, “could you make me a knife” or “ when are you going to be on Forged in Fire”. At the time I had no interest in making a knife, and was very happy making the other tools that made up the bulk of blacksmith’s work. This suited me just fine and I never gave a thought to making knives. Over the years, I did end up attempting a few knives here and there, but I was doing it without a clear plan and design.
Last March, I found out that my blacksmith club (Blacksmith’s Guild of Central Maryland) was offering a 2 day class in making a knife. My wife had just found out about a long arm quilting class about the same time, so we decided that we would each treat ourselves to a class. Thus was born my fledgling interest in knifemaking that is the reason for this post.

Flash forward to the weekend of September 27th and 28th and taking the class taught by Andy Ruse and his Assistant, Greg Knoll. The details of taking the class can be found here. It is a work in progress, and I hope to finish it soon. Anyway, here is a photo dump of the pictures I took in the class. If I have time, I will add captions to them.
Knifemaking Class Day One:
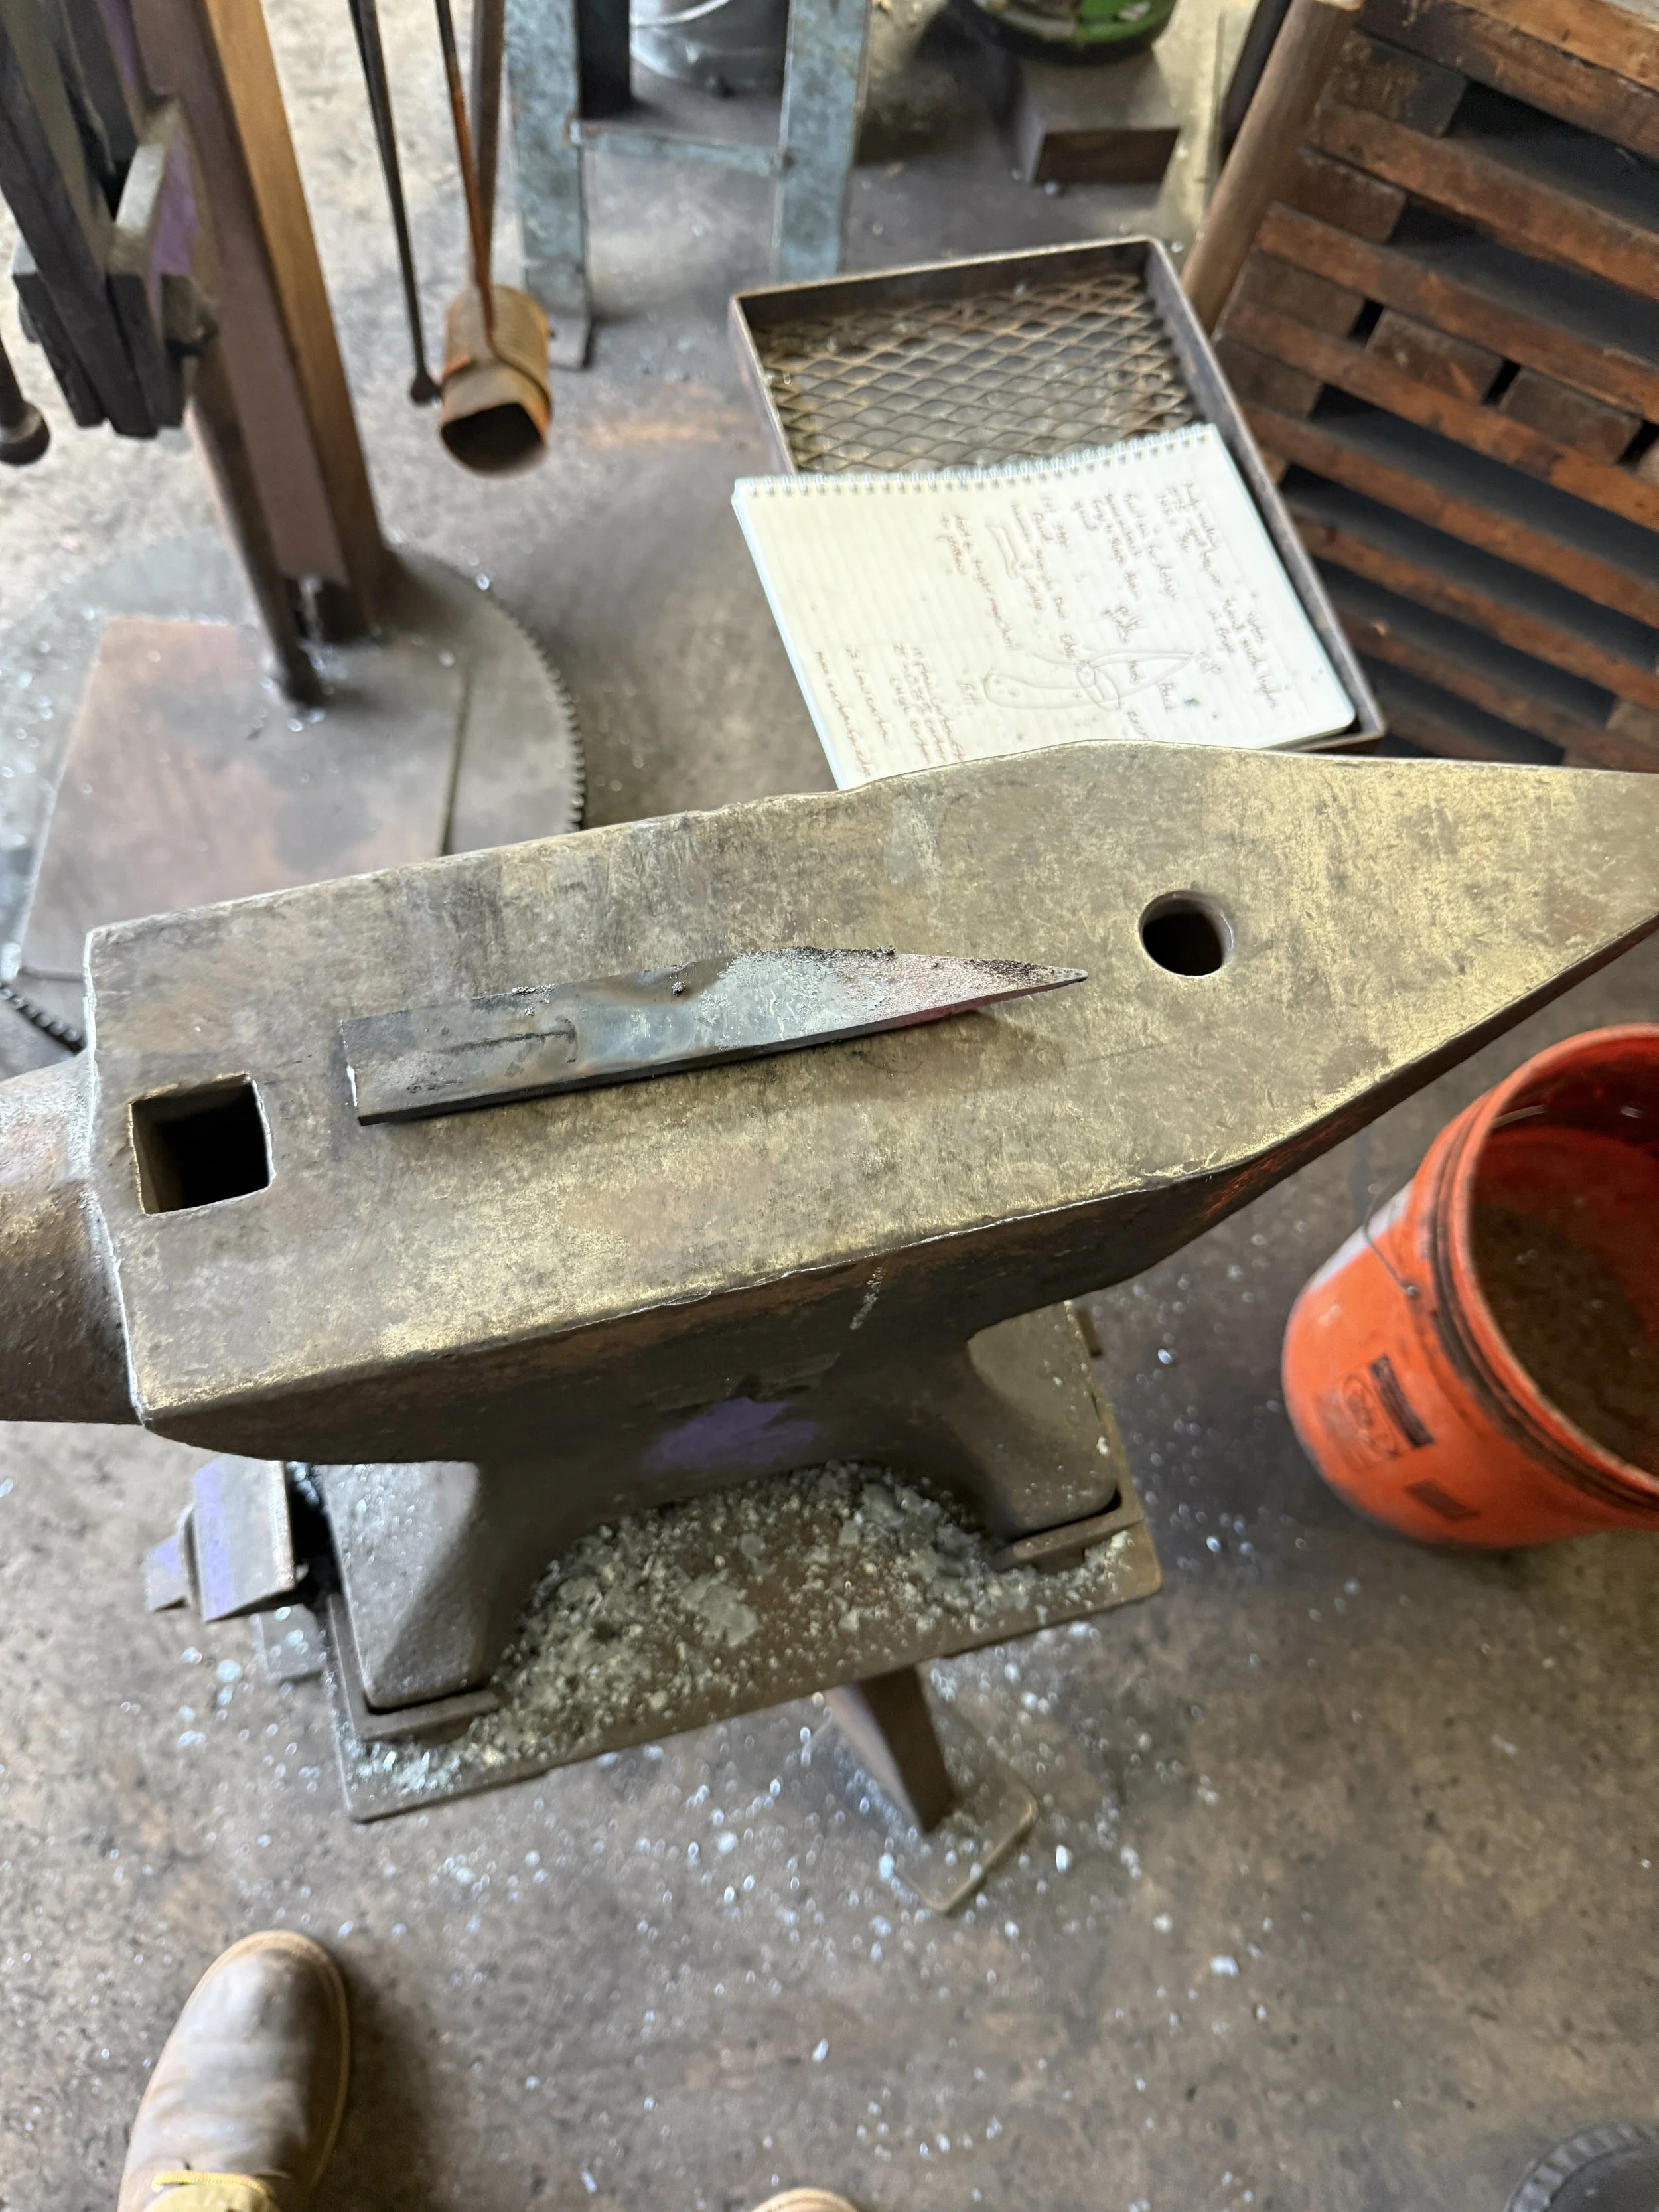
The first day was forging the blade.


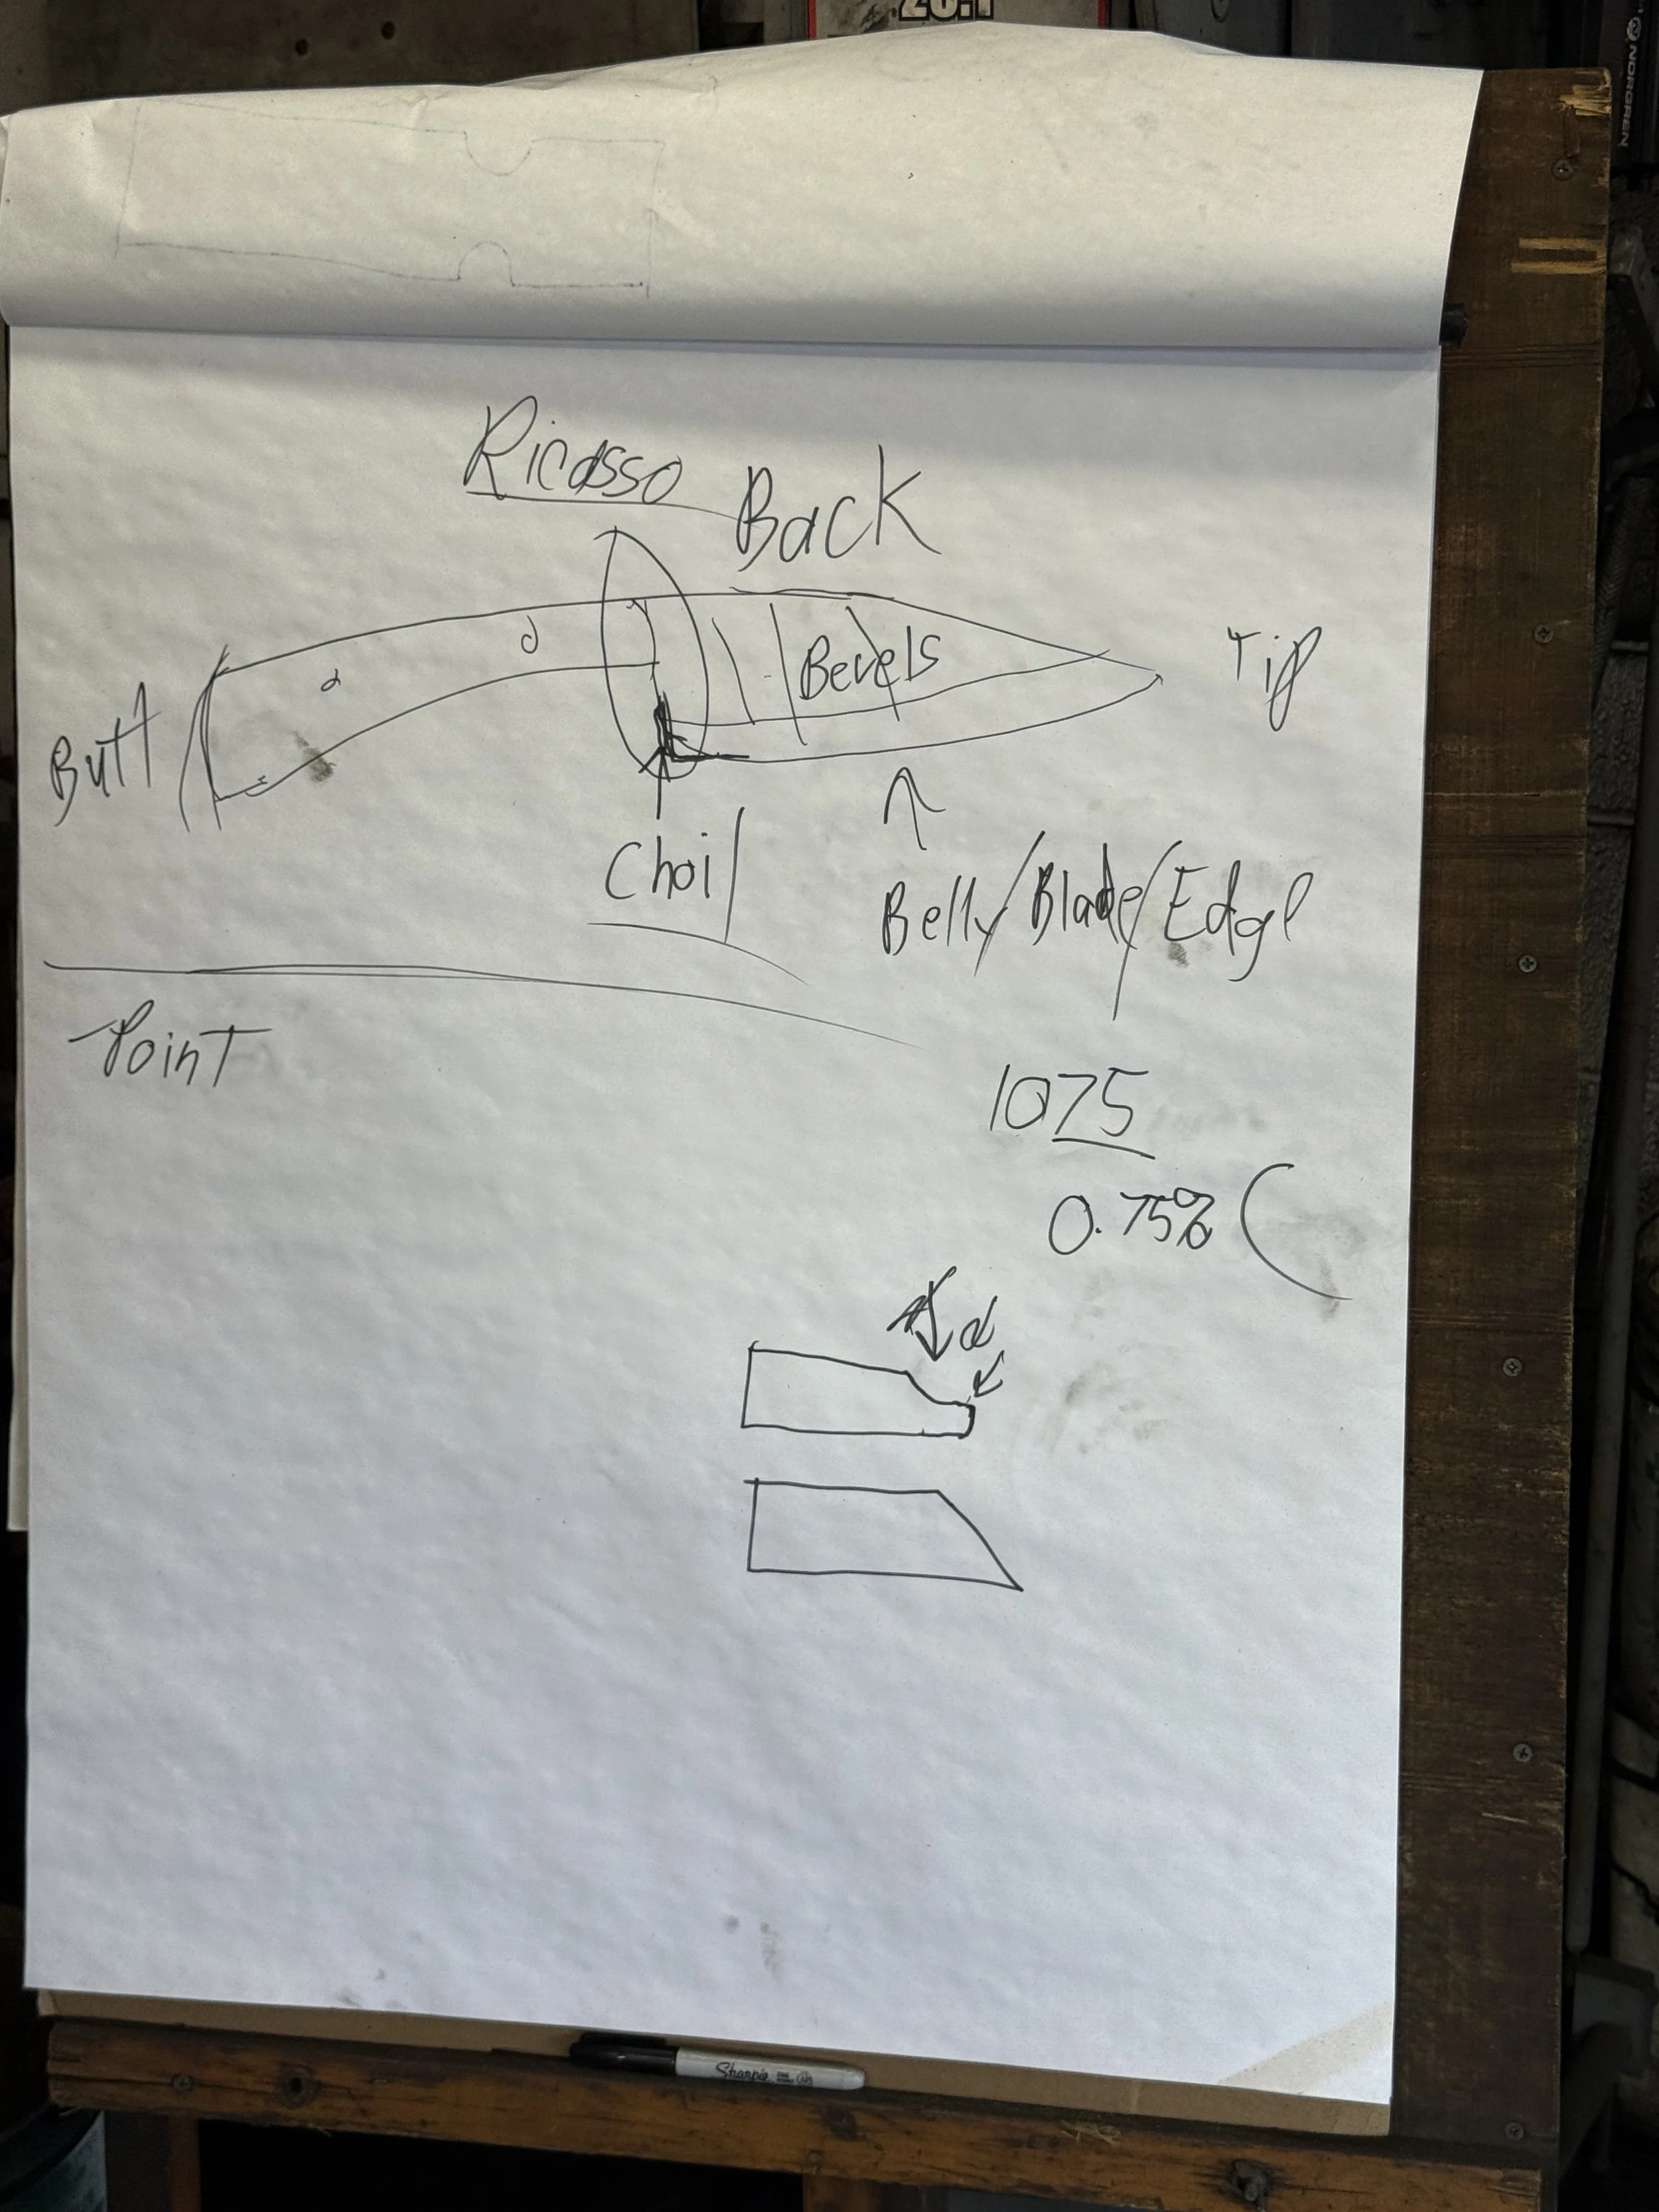


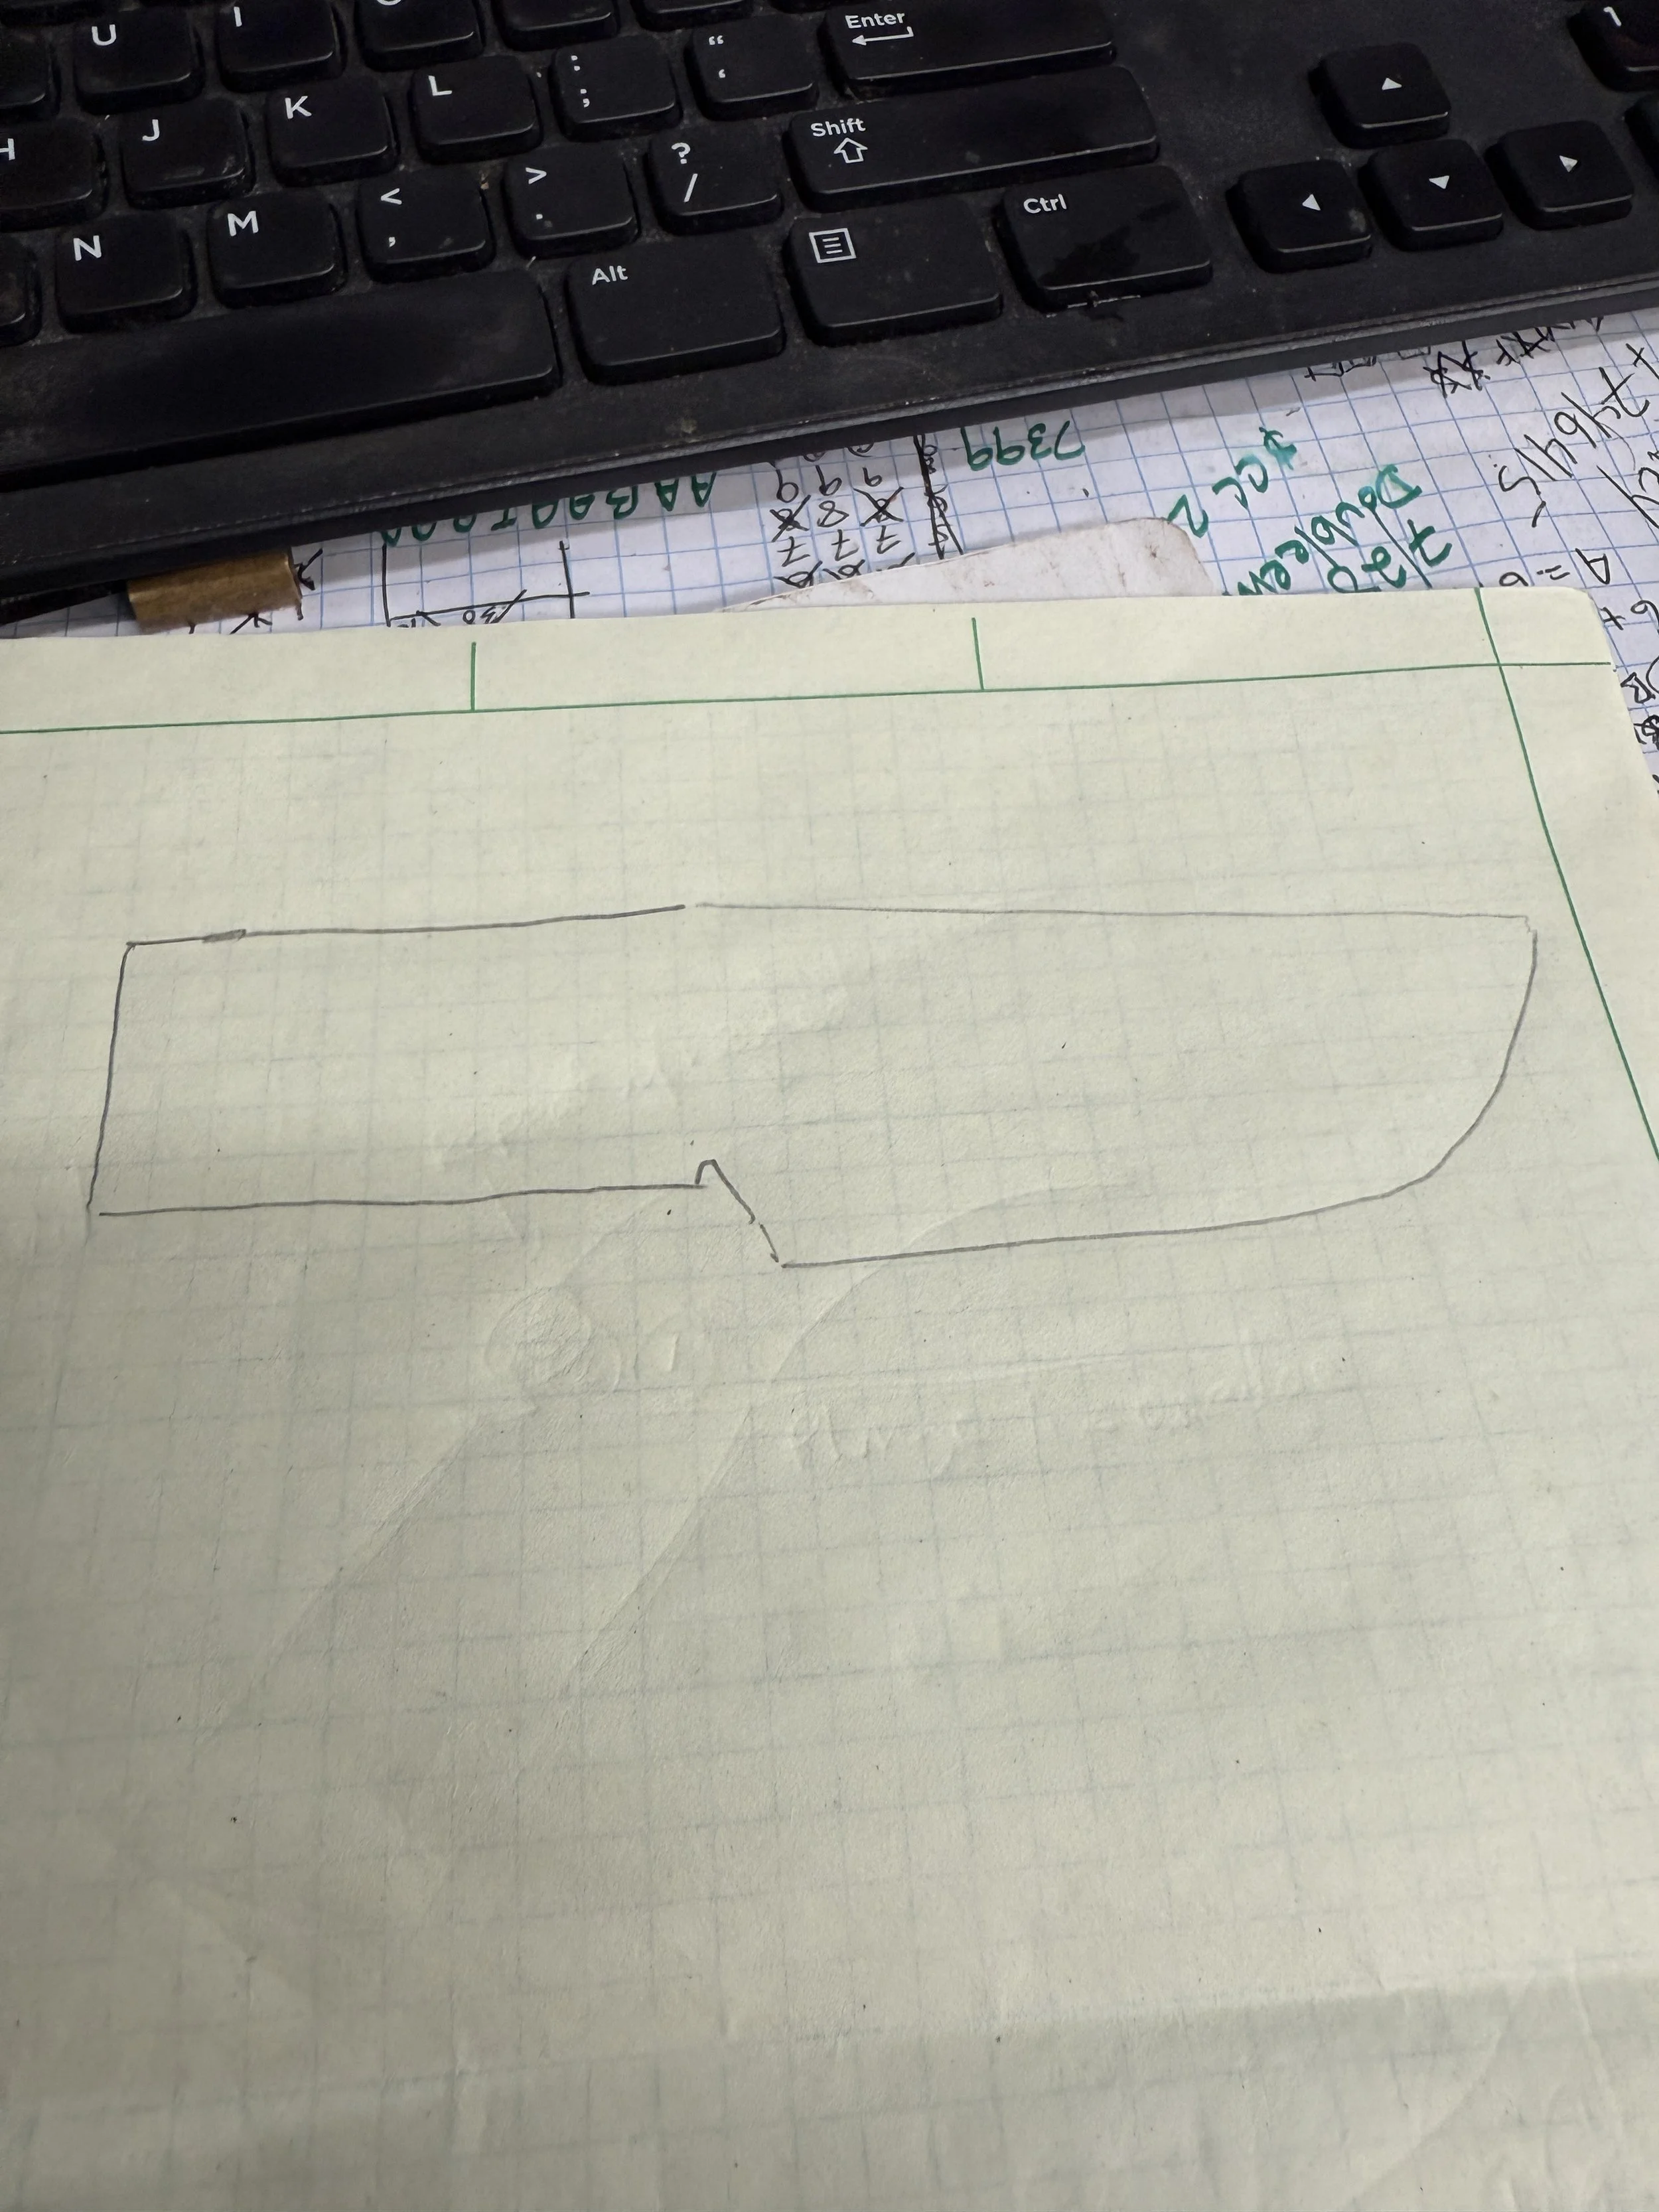
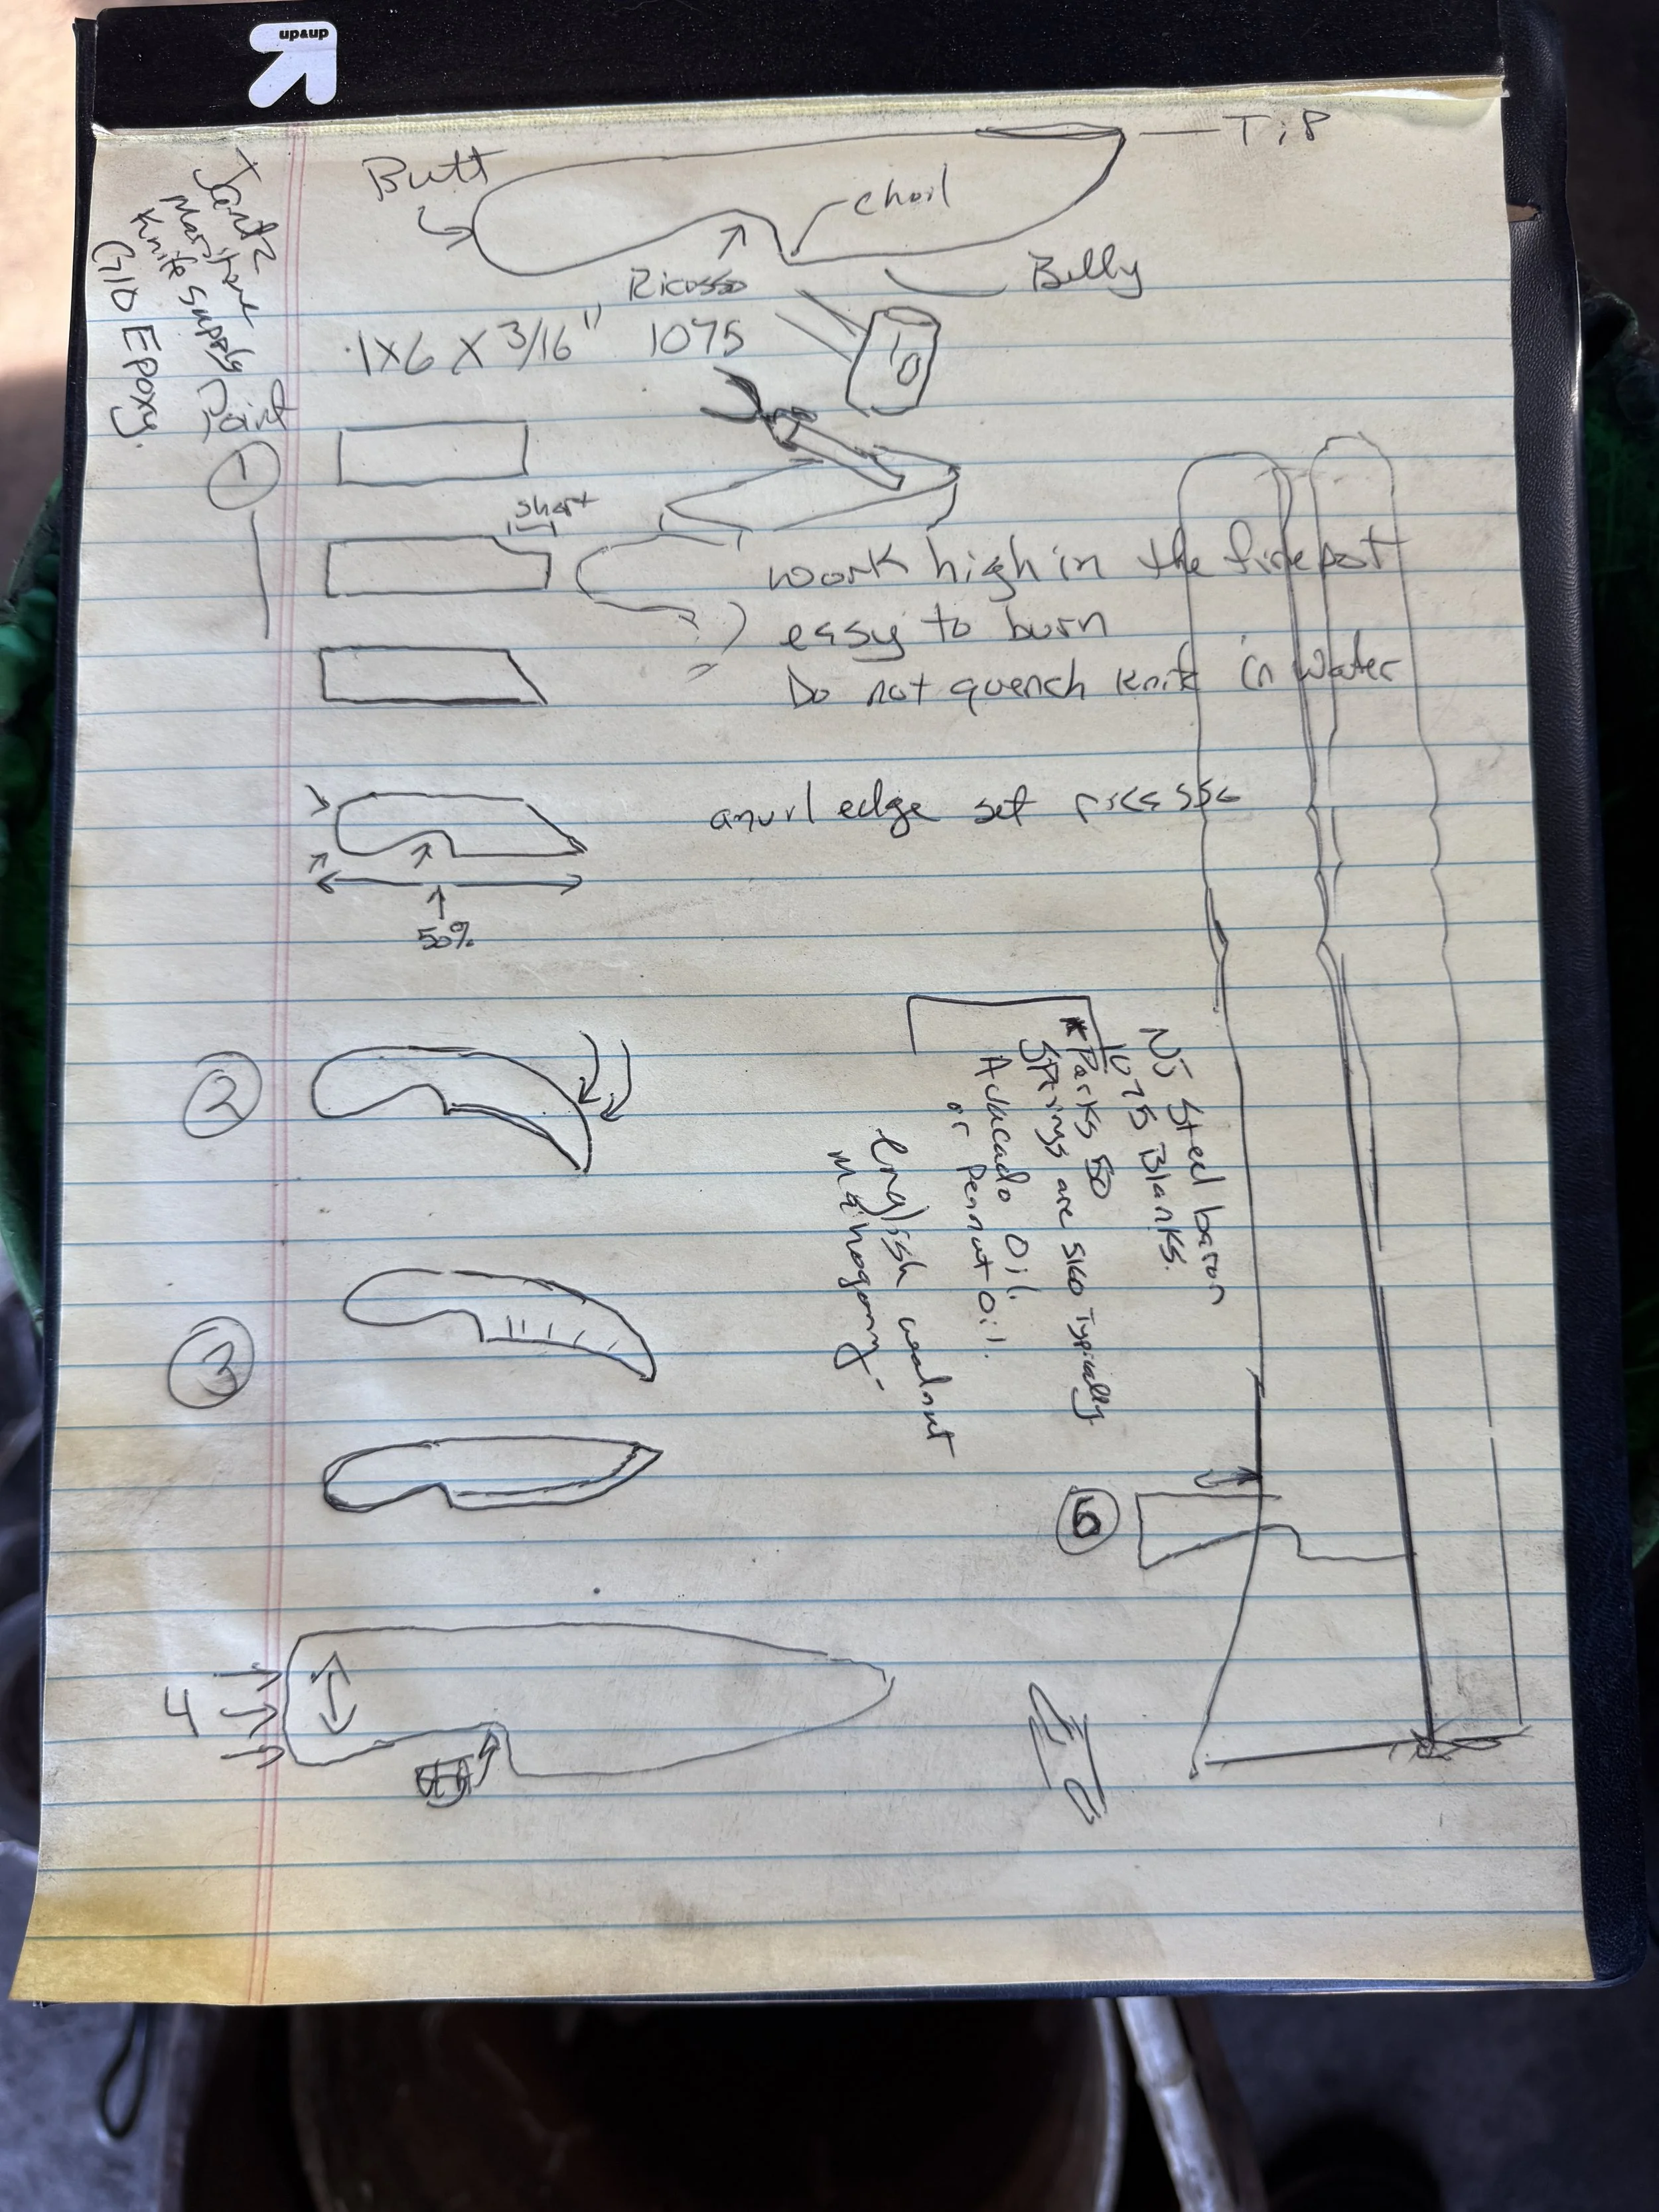
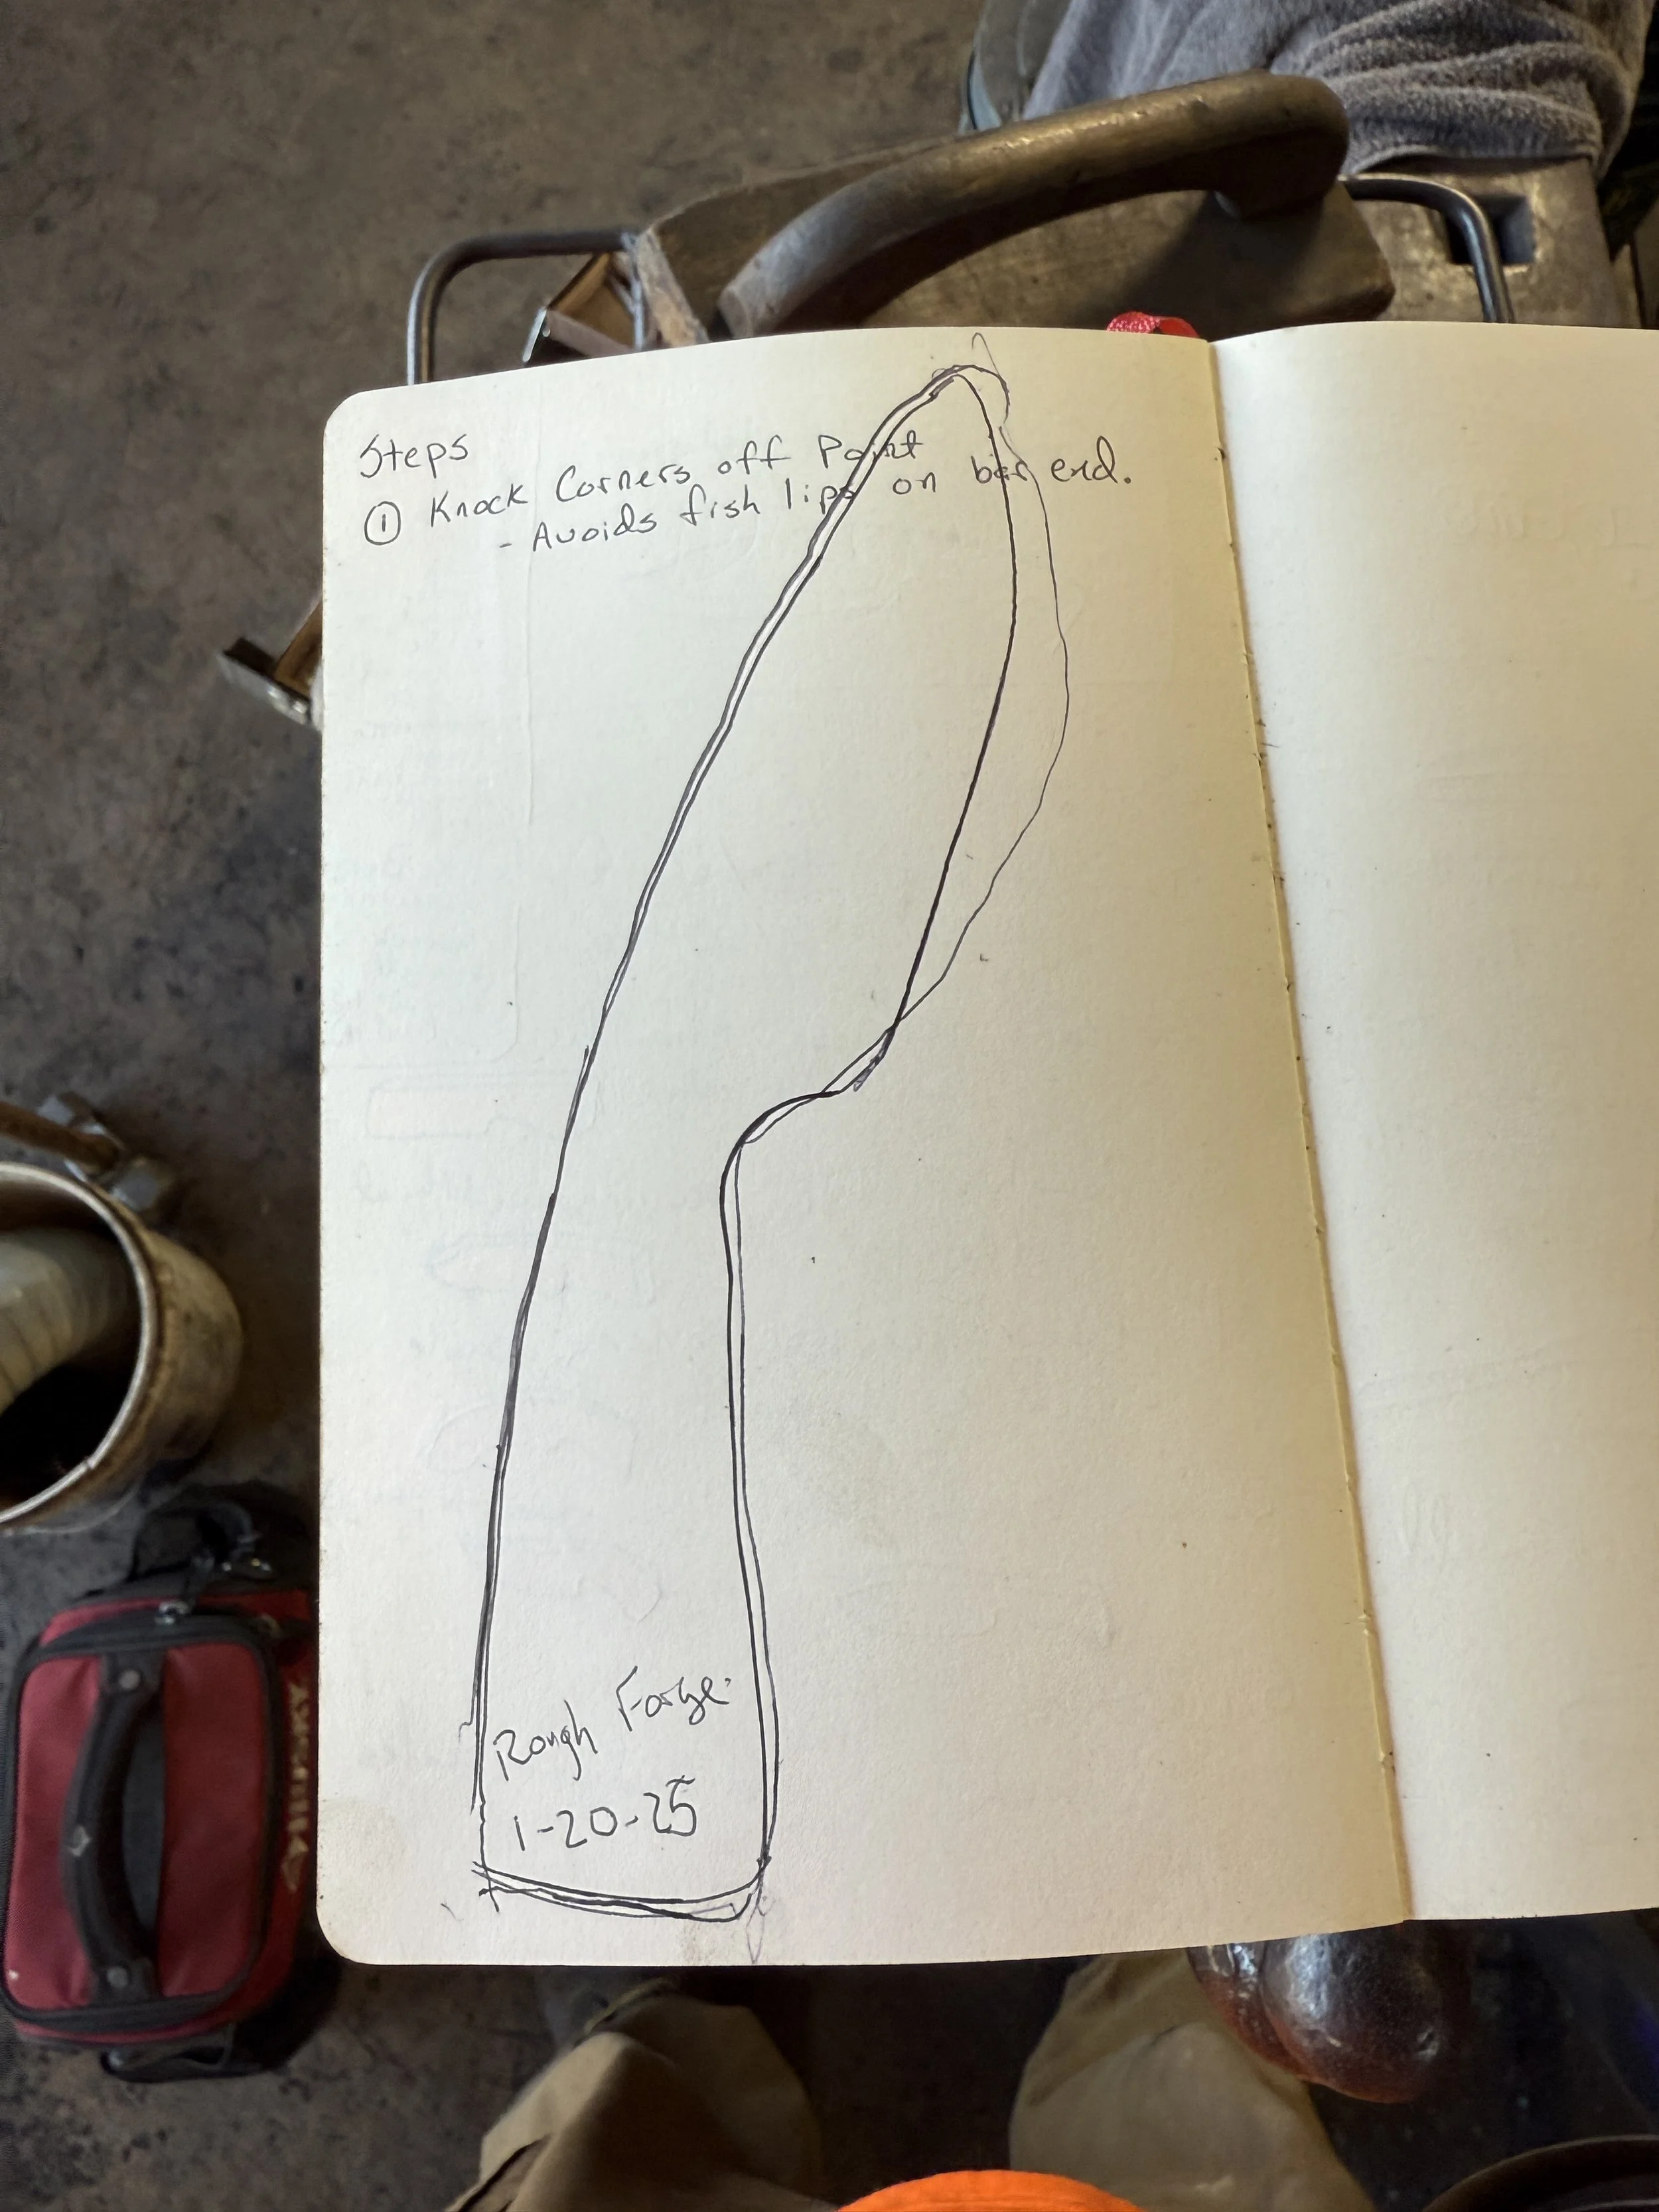
Some Sketches illistrating the steps from day one.


Knifemaking class Day two:
Day 2 was spent on finishing the knife and adding the handle


Outlne of Steps:
Here is a listing of the steps needed to make a knife. I might come back and put more details in, but probably not. If you have questions, please ask.
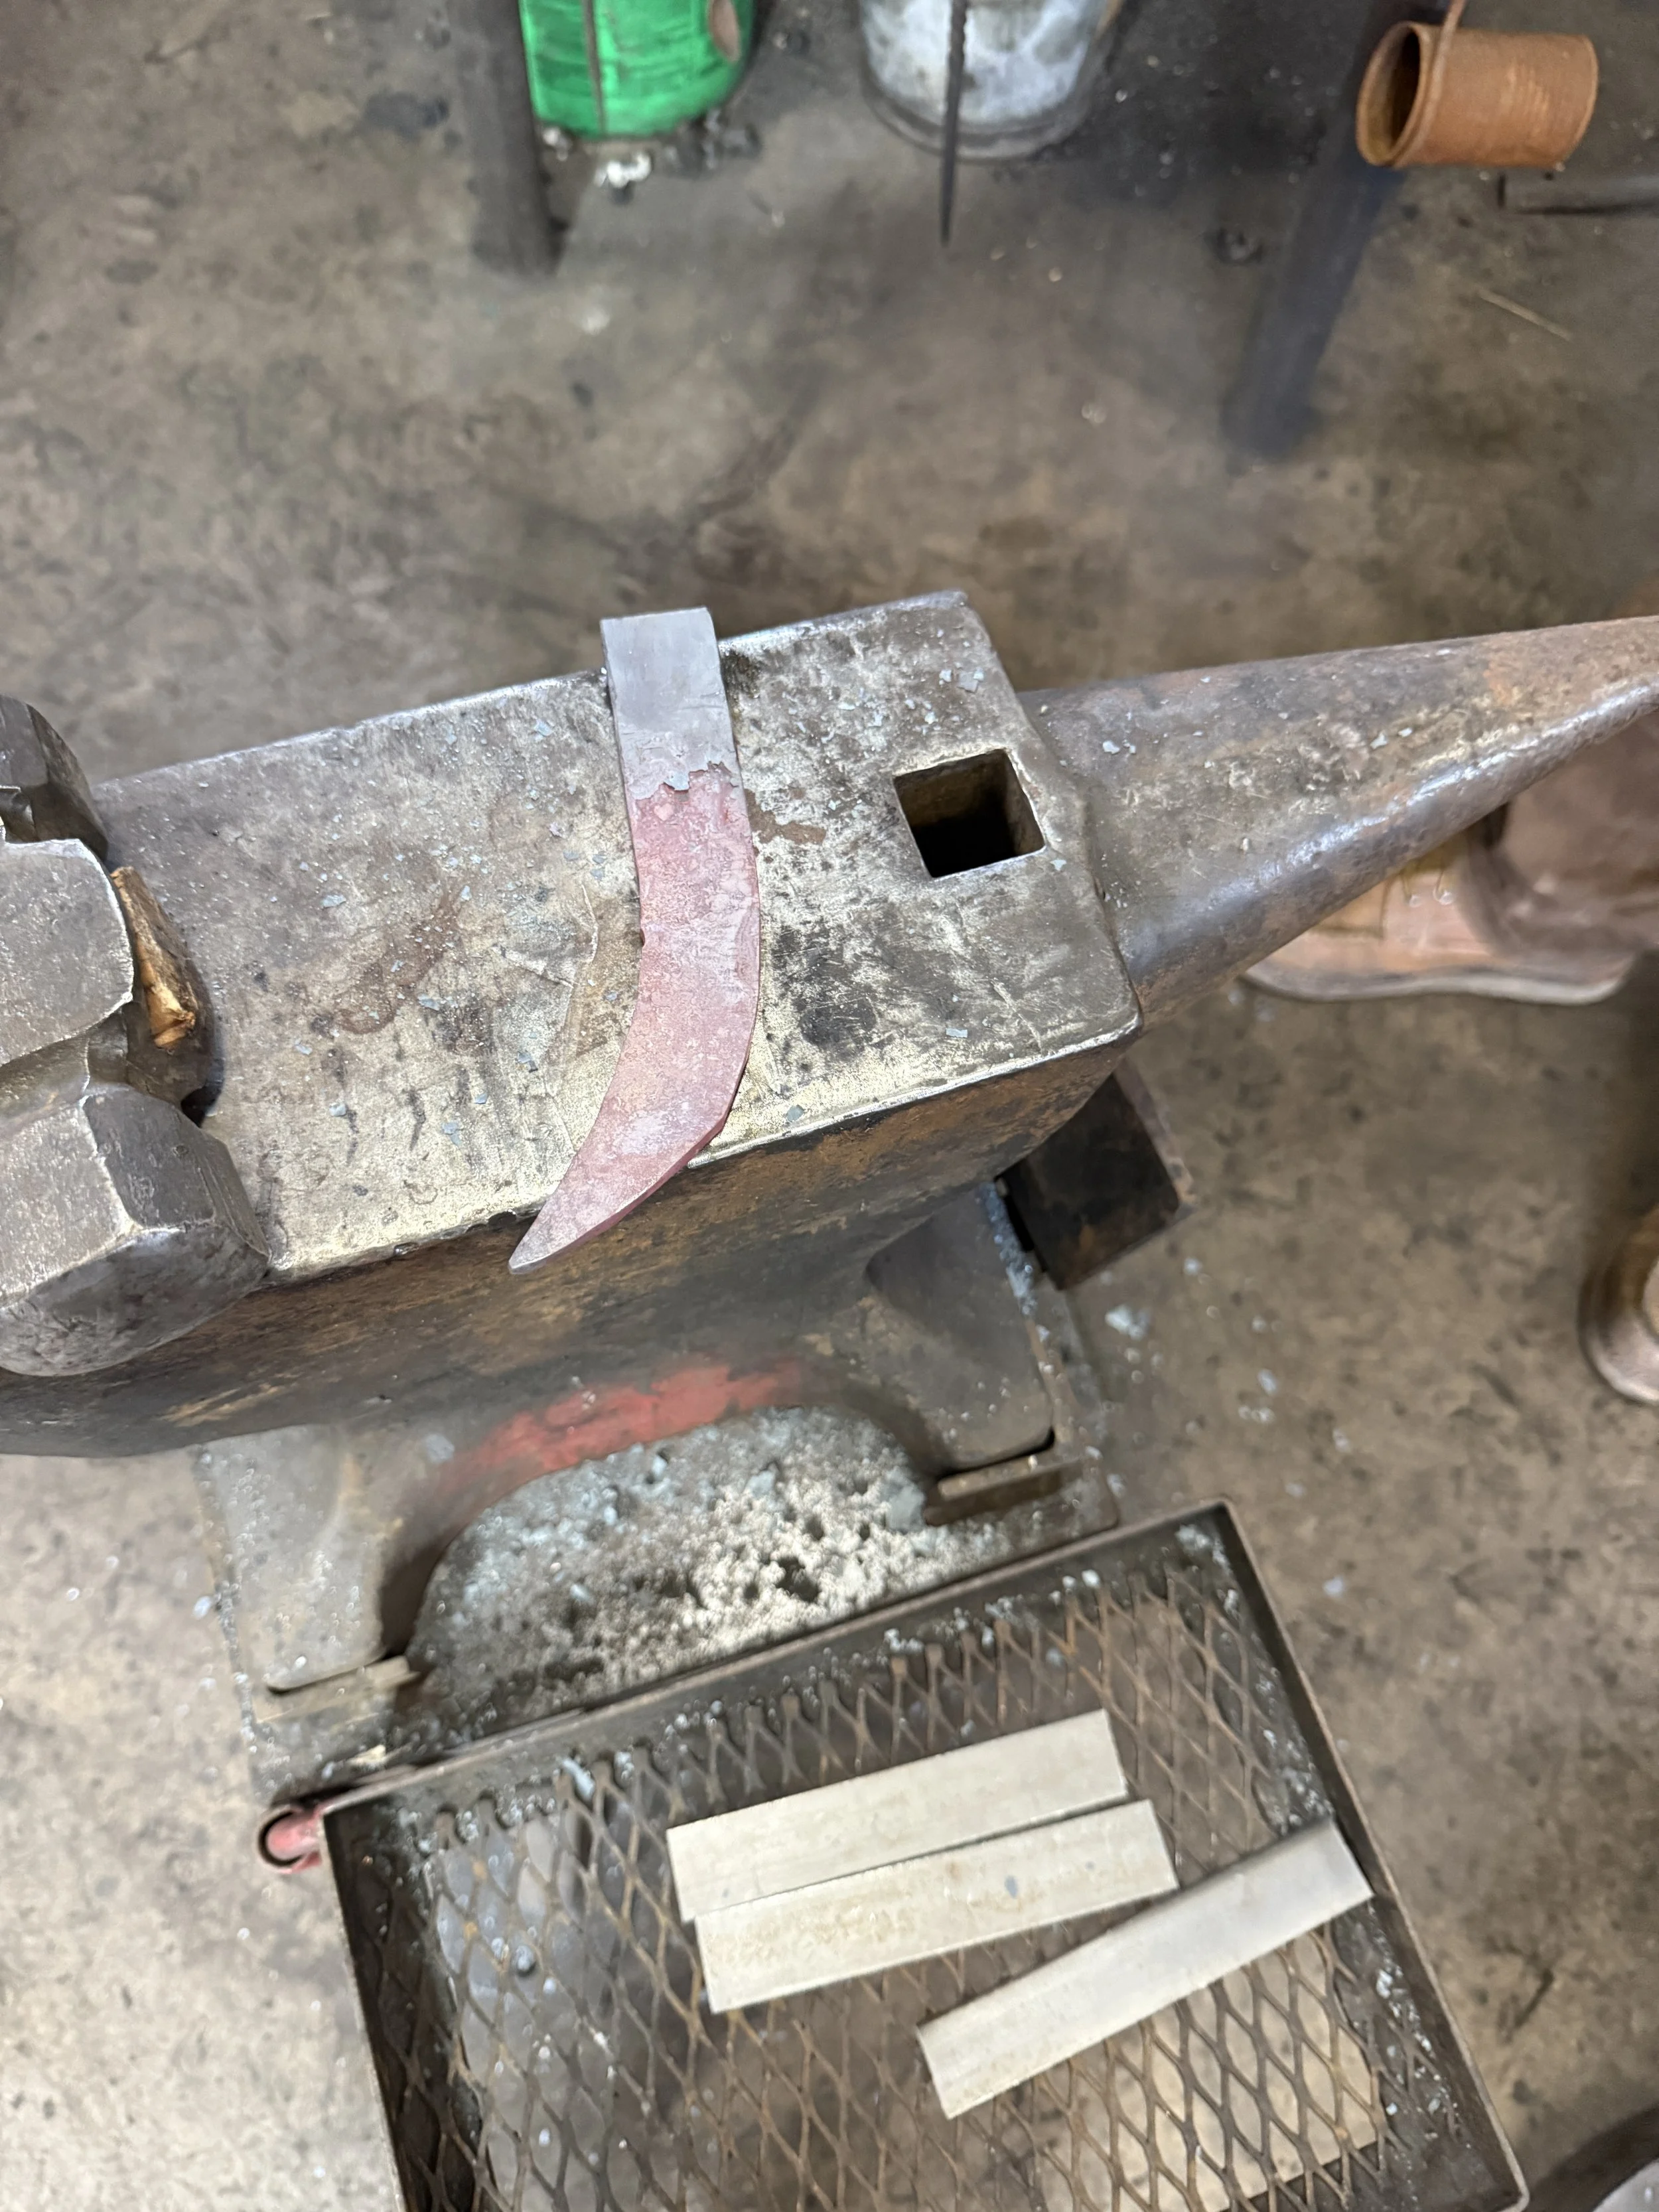
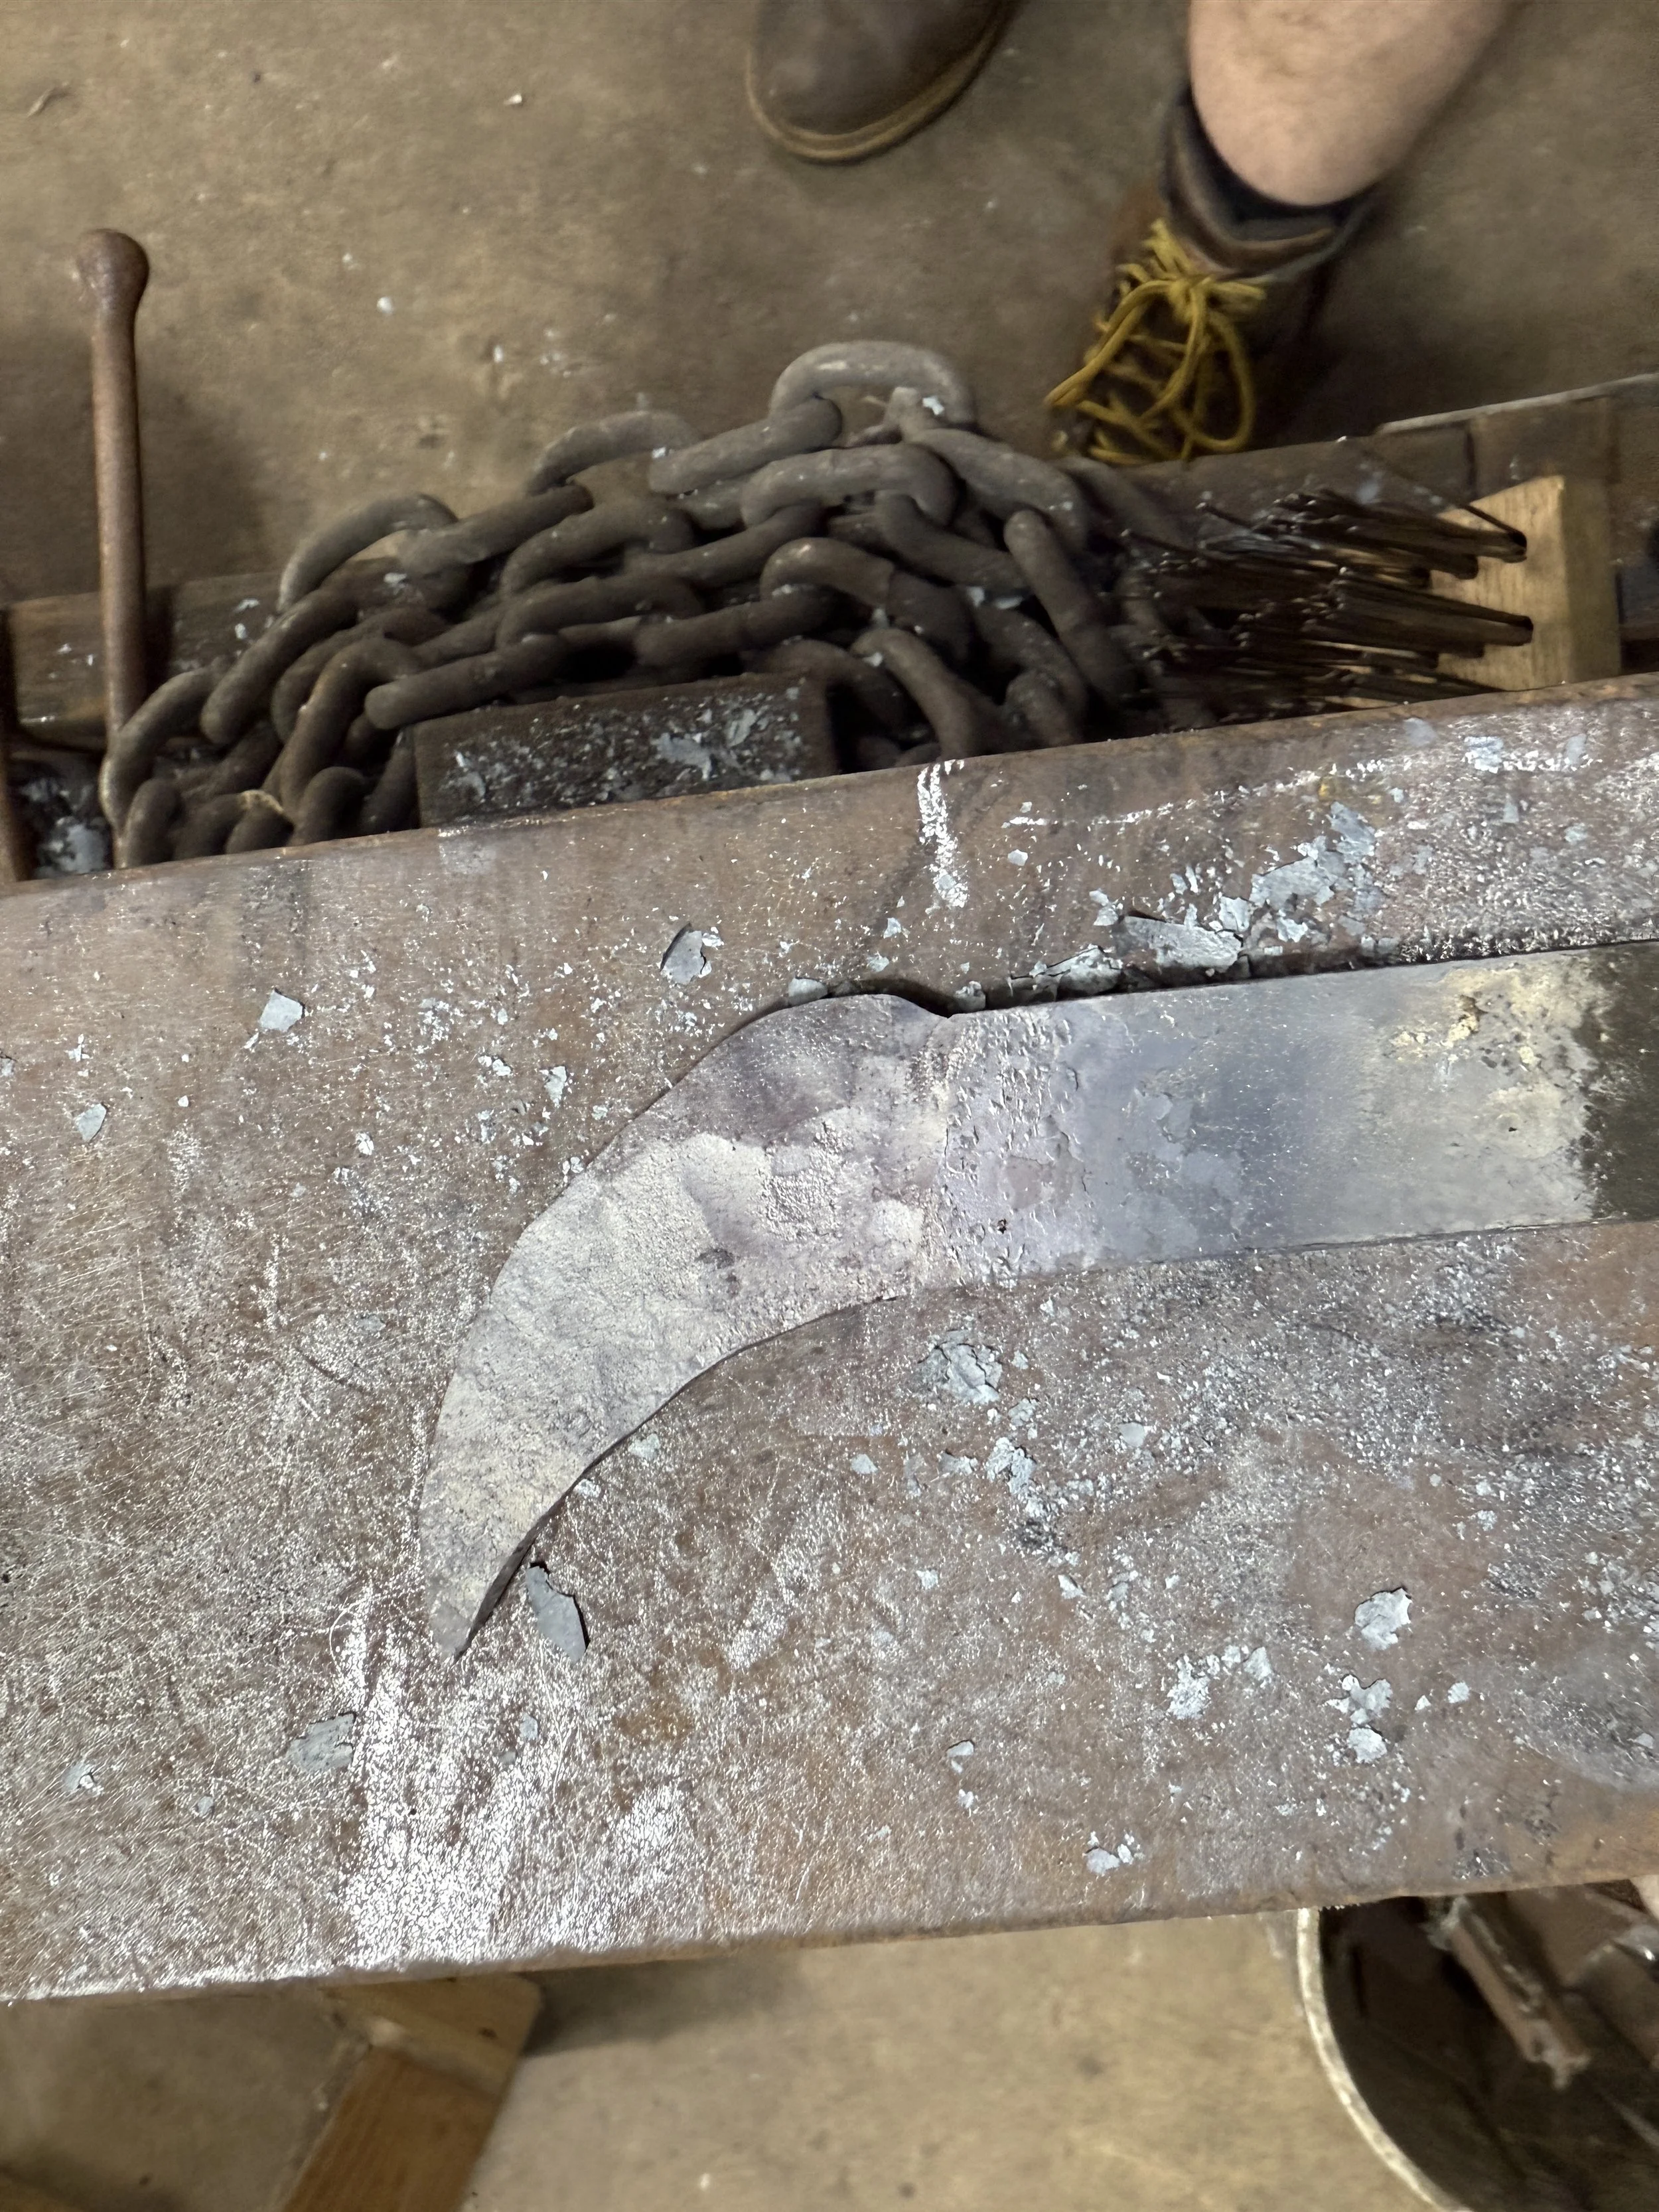
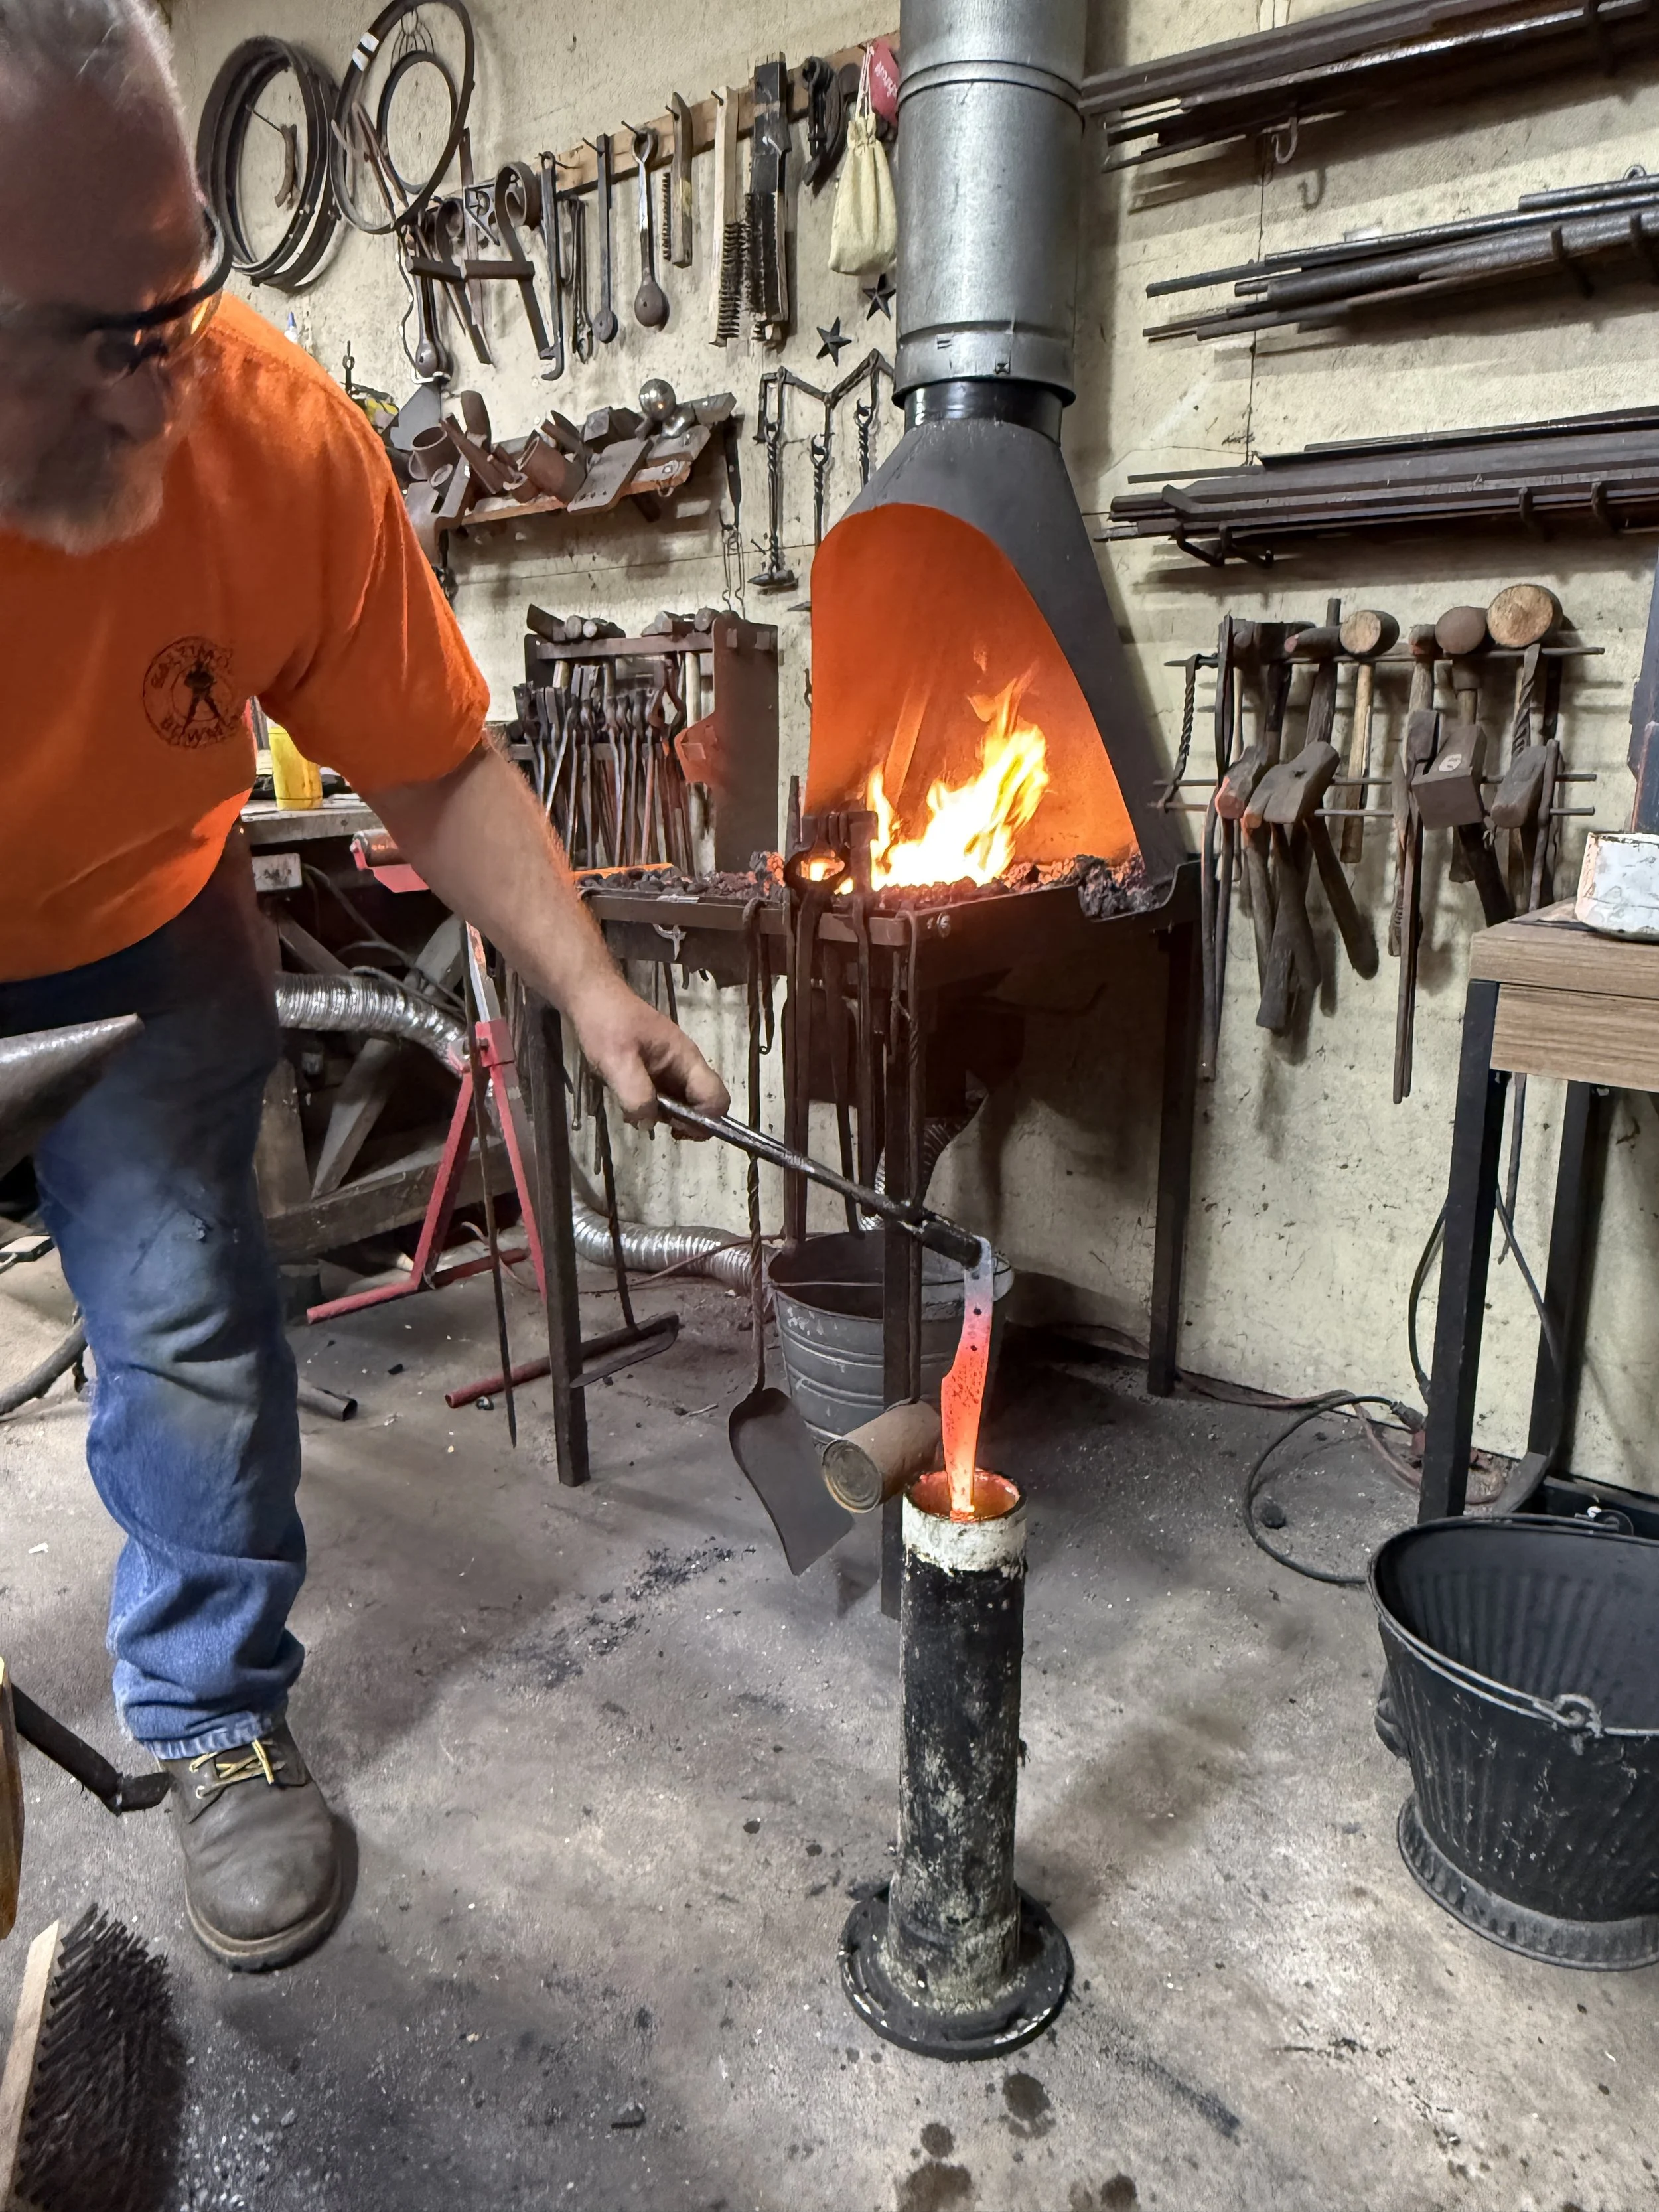
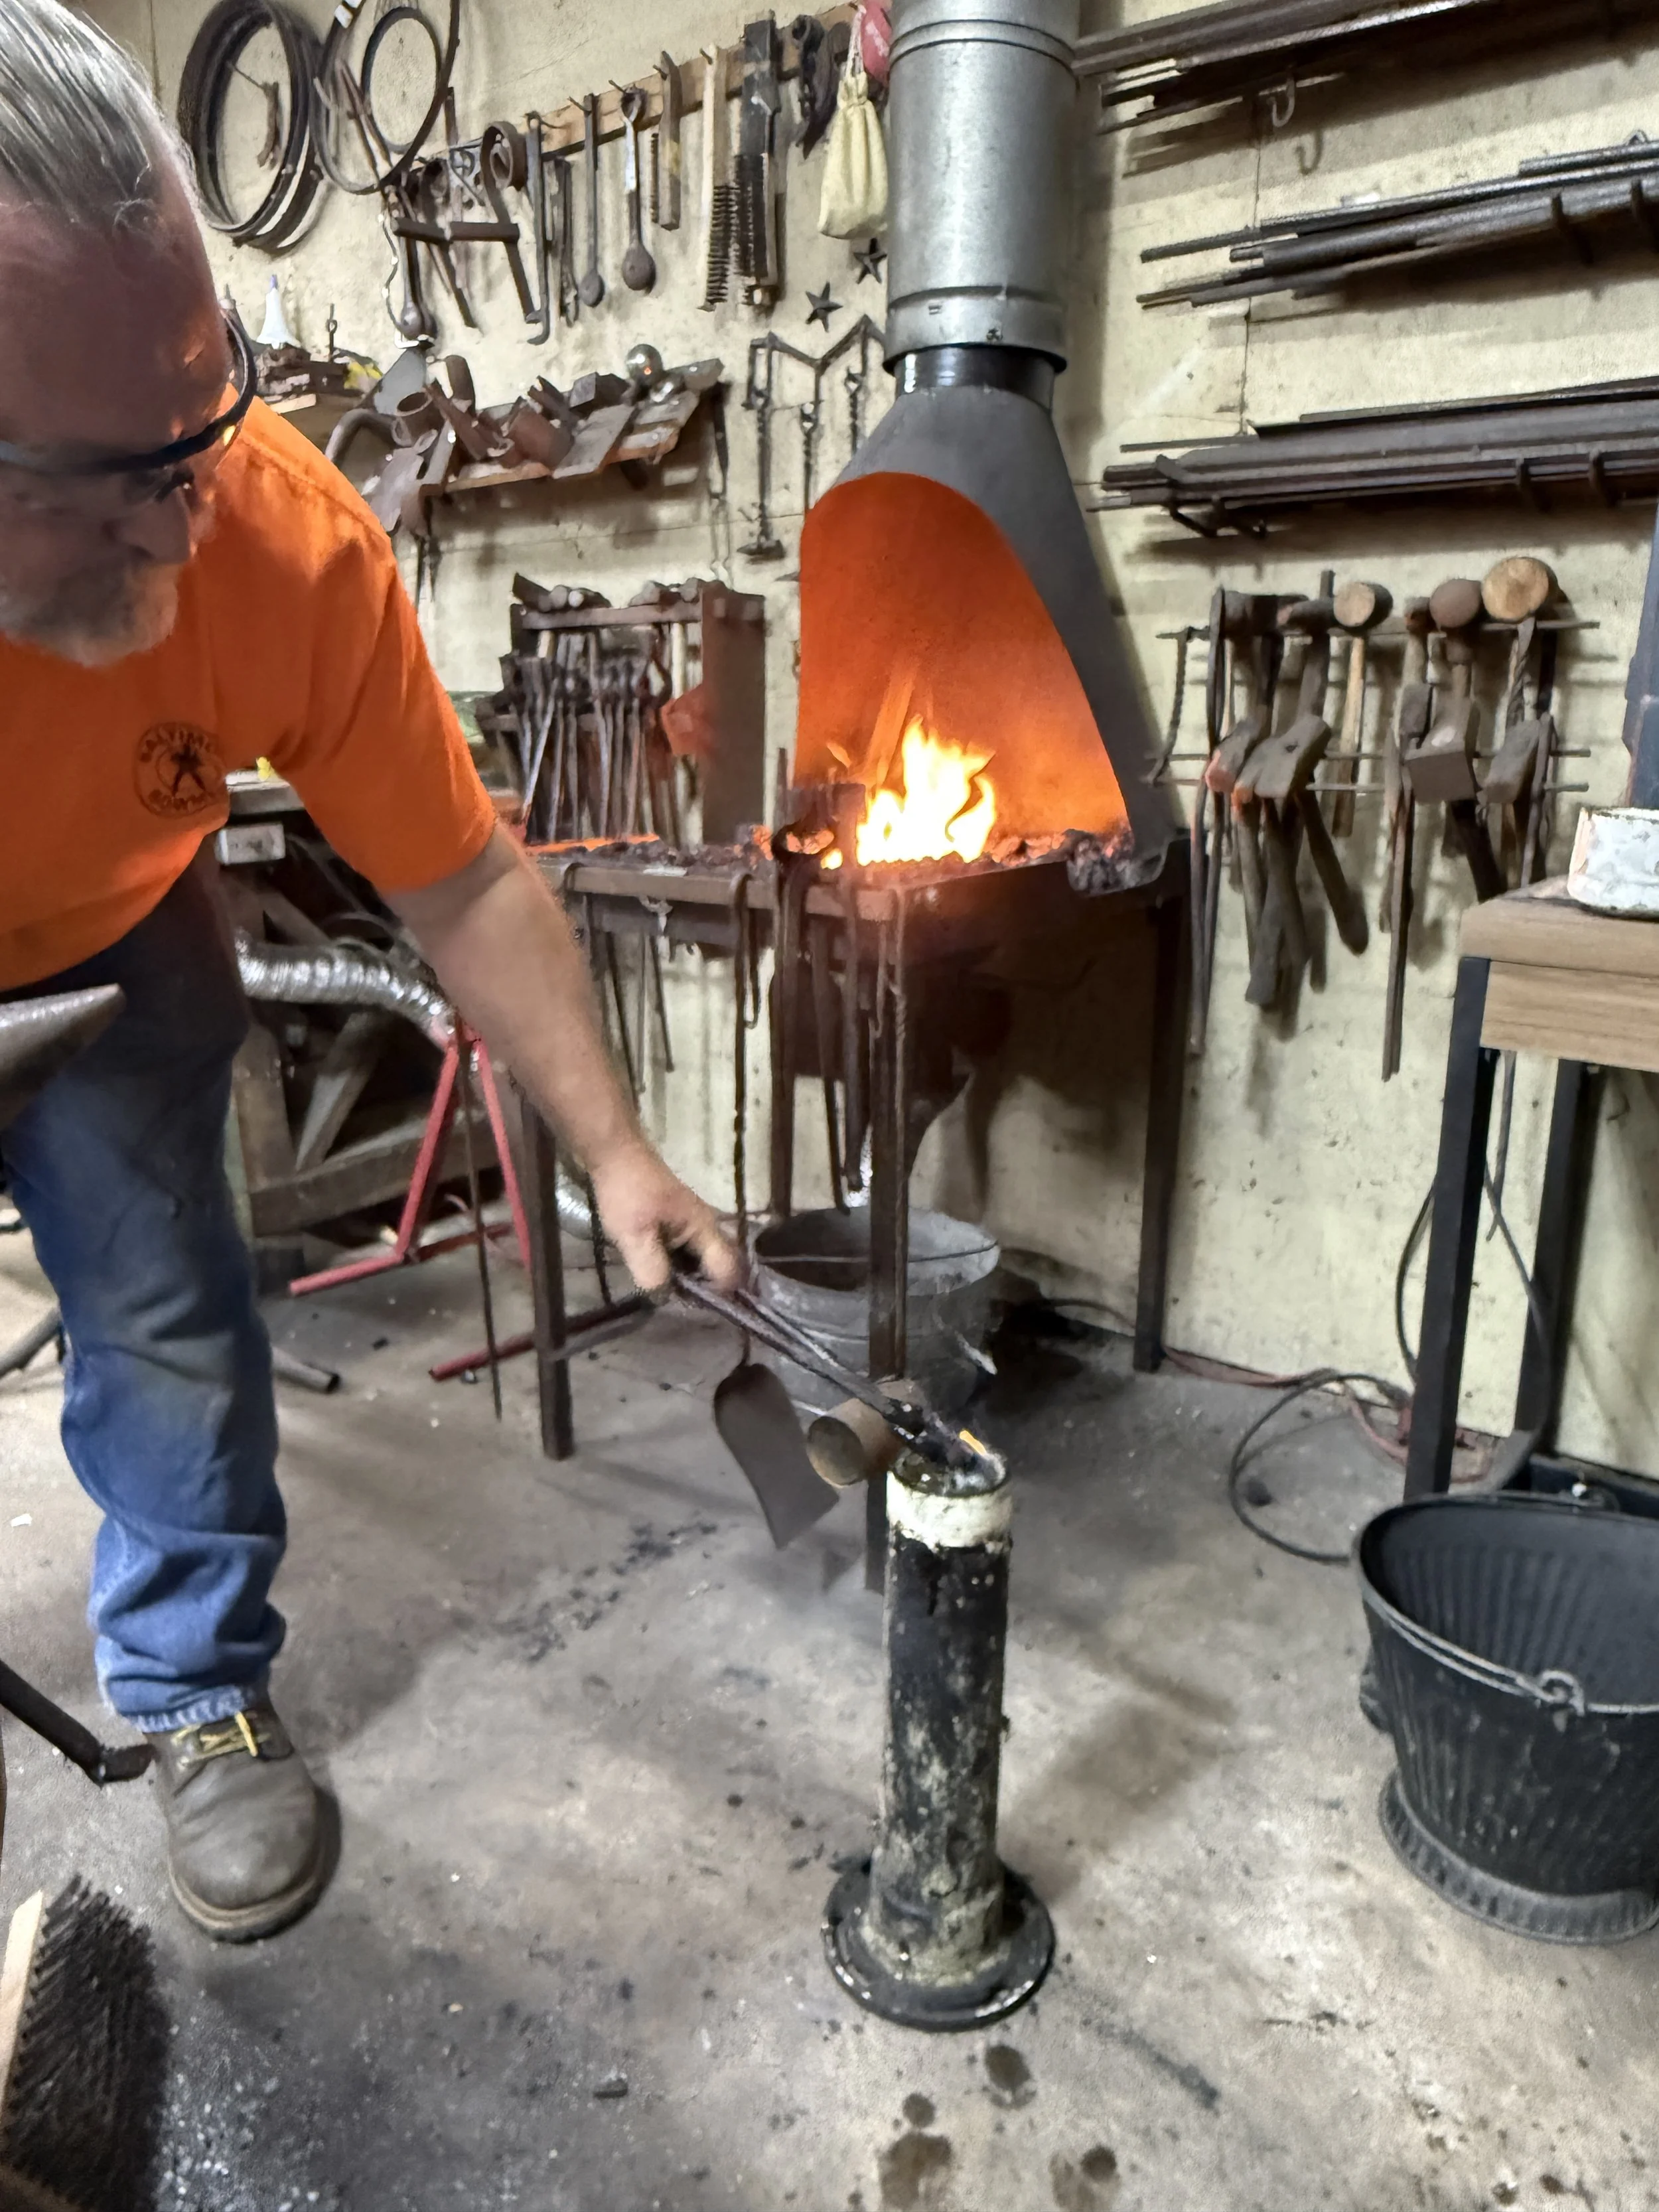
Forging the blank:
1. Clean out and set up the forge
2. Hammer down on the bar to put a 45 degree angle on one side.
3. Split material with a mark on the long side at 50/50.
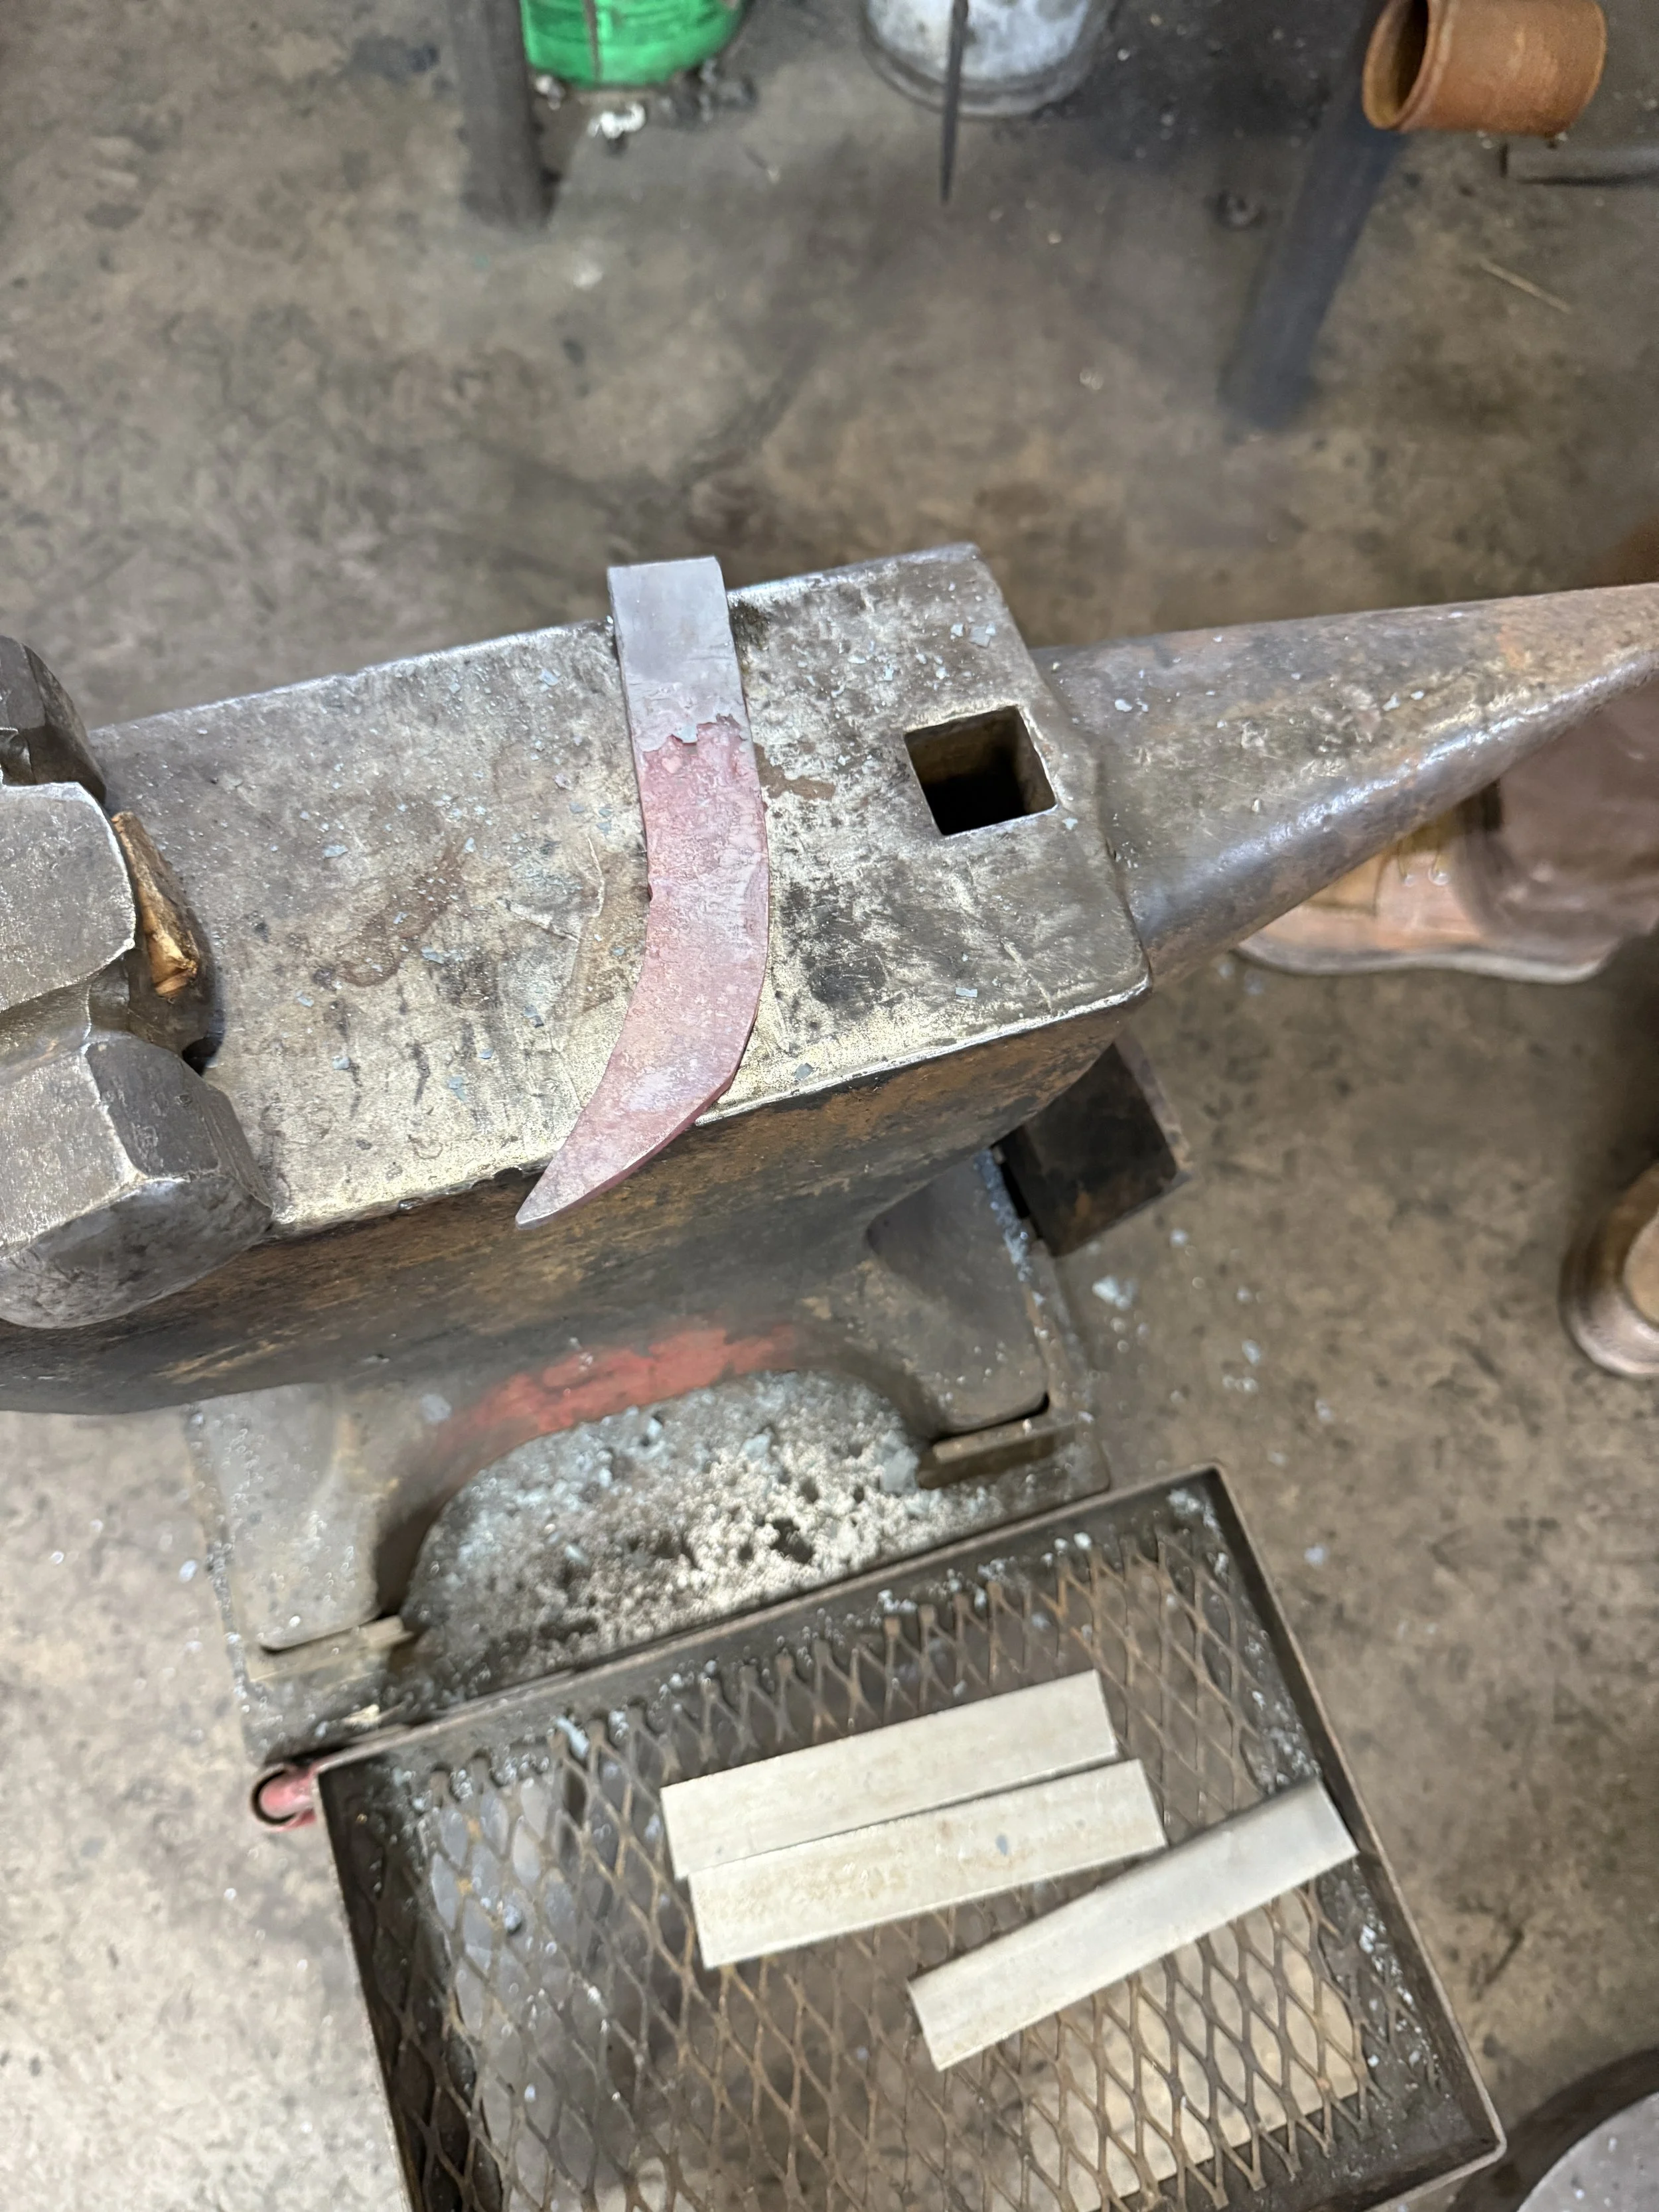
4. Put a curve on the blade section.
5. Set choil and plunge line.
6. Pull the bevels
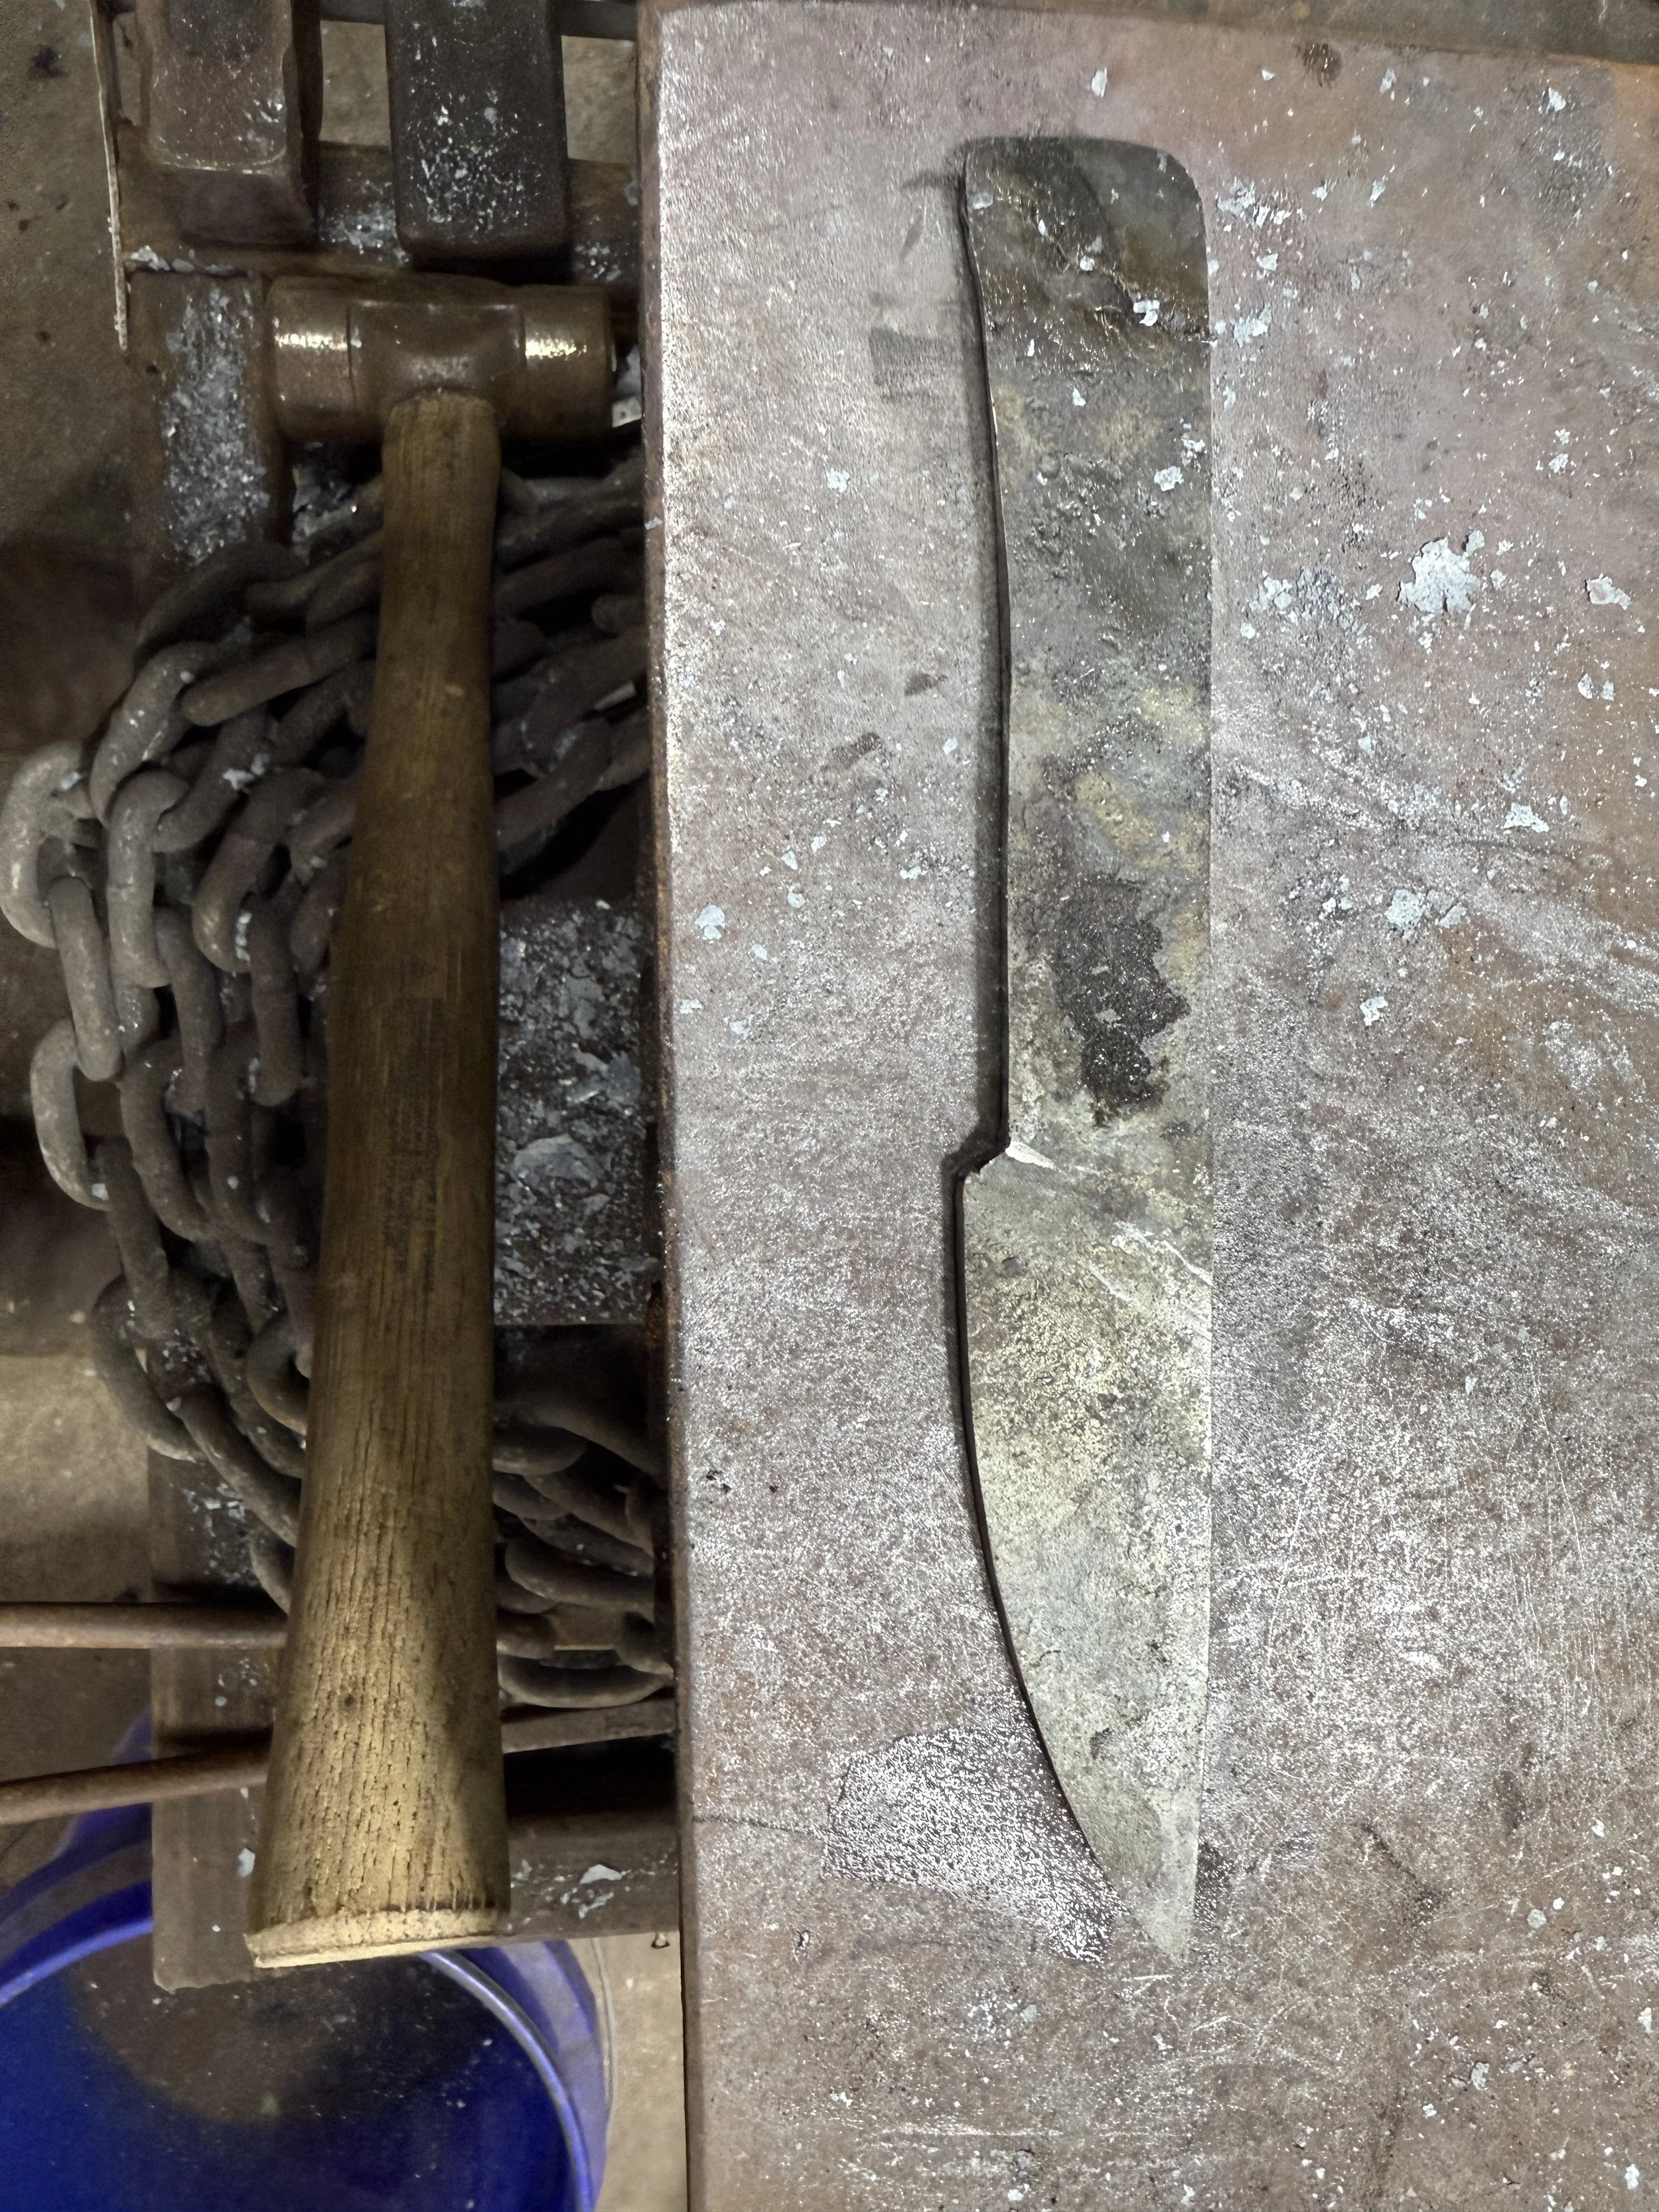
7. Clean up blade
8. In the vice, upset the handle end
9. Taper the handle
10. Shape handle
11. Clean up shape to 95%
12. Flatten handle, spine, bevel
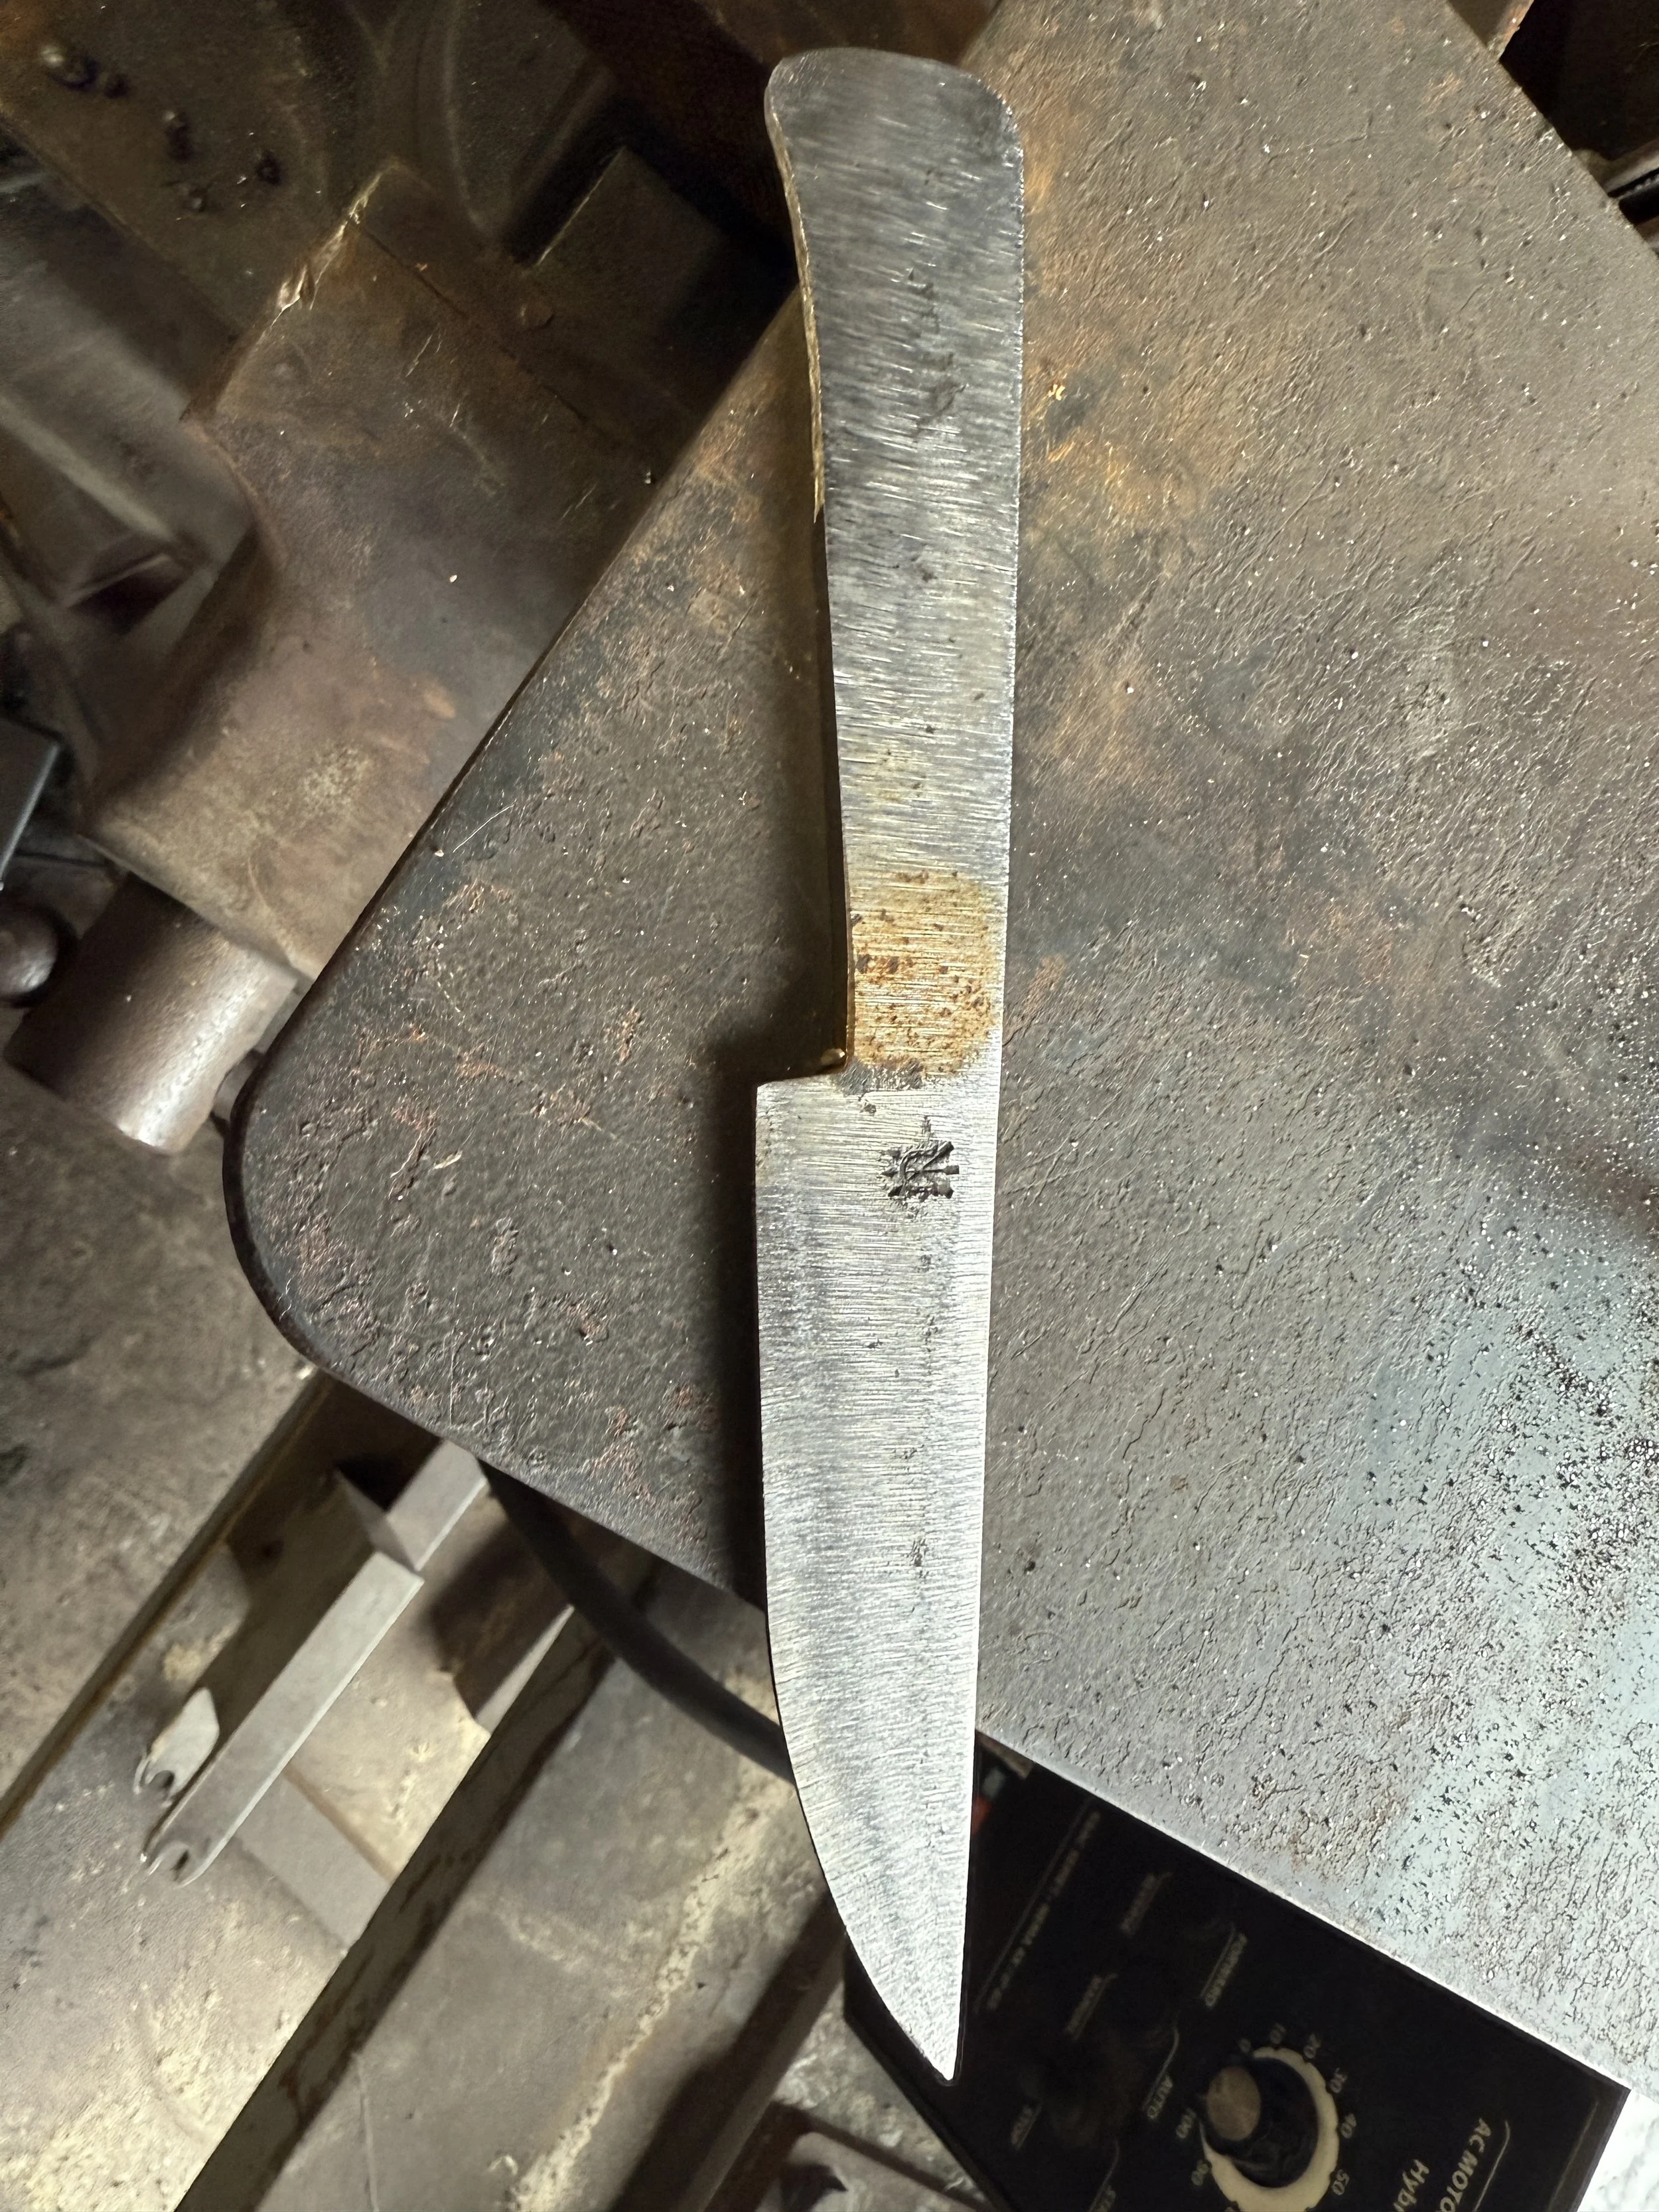
13. Set Touchmark.
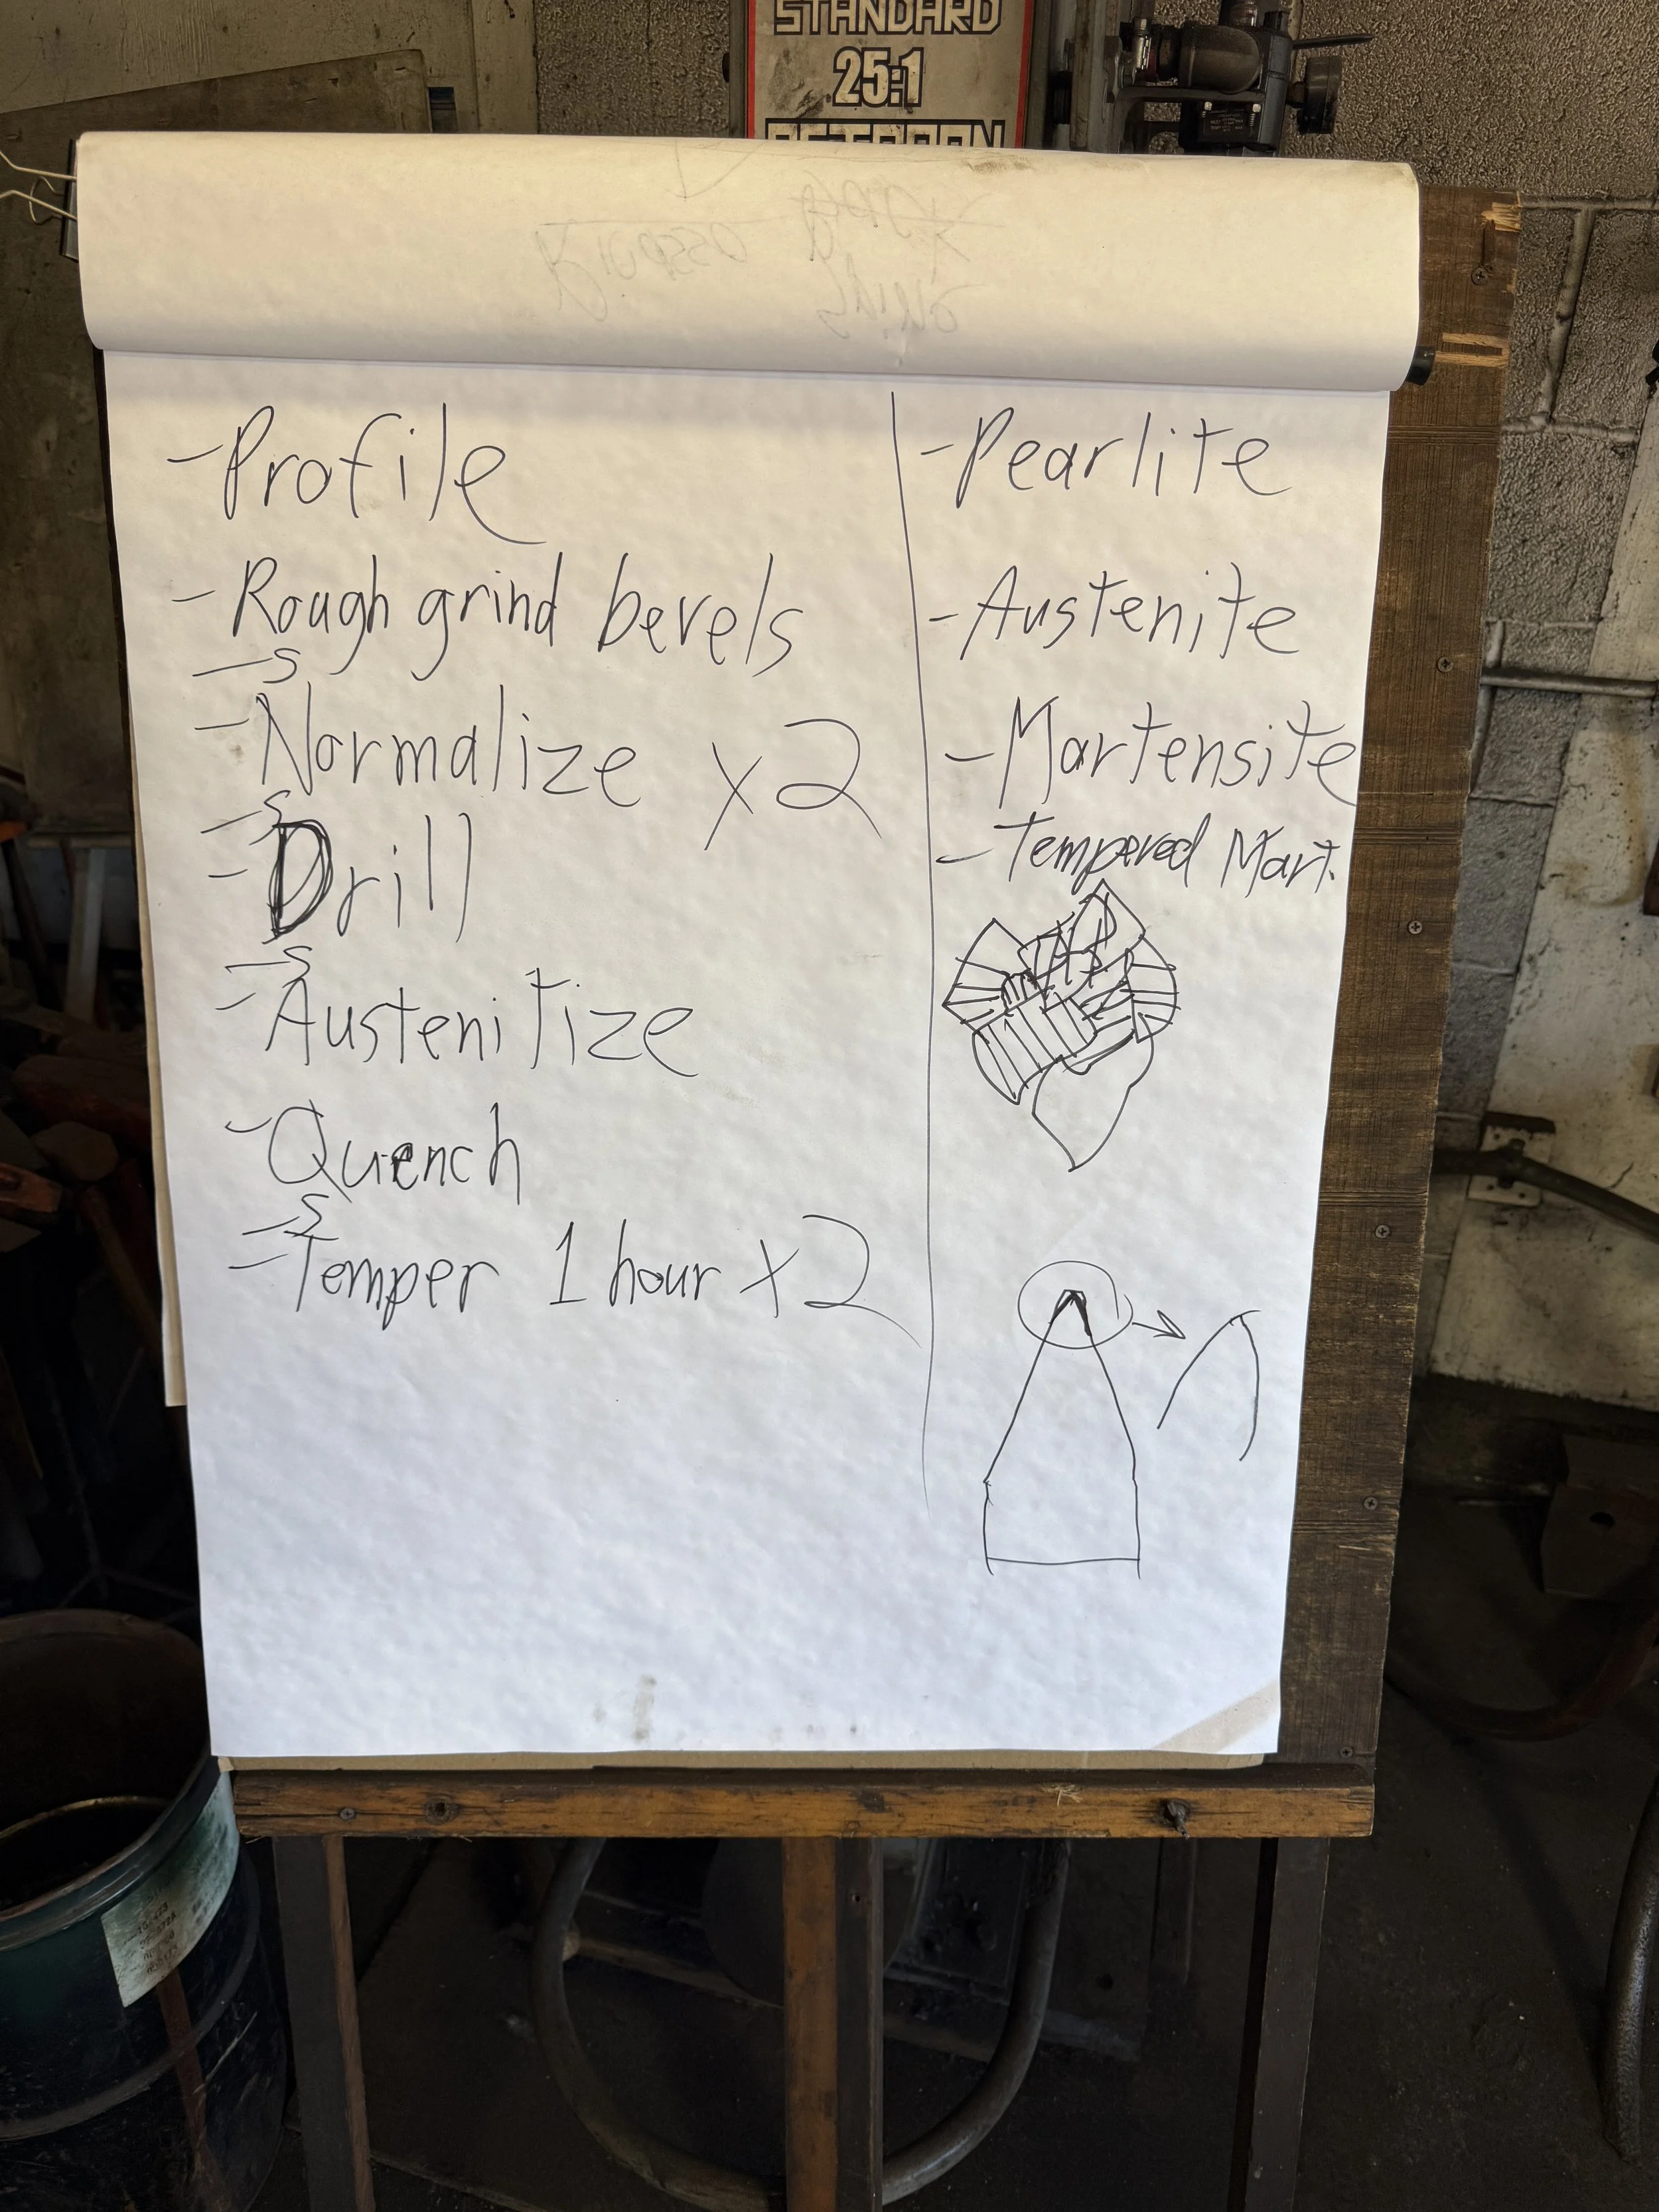
Heat Treating:
1. With 36 grit, grind all edges smooth
2. Grind handle flat, remove all hammer marks (on flat)
3. Grind spine (on flat)
4. Grind bevel and add choil
5. Finish grinding cleanup
6. Normalize blade, heat to non-magnetic and air cool x2
7. Drill holes for handle
8. Heat to non magnetic and quench in oil
9. Temper at 400 degrees for 1 hour x2
Finishing:
1. 32 grit on flat, Clean off all black on handle, check for warps
2. Clean off all black on spine, check for straightness
3. Grind bezel from spine to edge (1 facet)
4. Repeat all steps with 120 grit
5. Repeat all steps w/ 400 grit
6. Add 2ndary bezel on edge with slack belt
7. Feather the entire edge
8. Sharpen edge on spyderco V sharpener
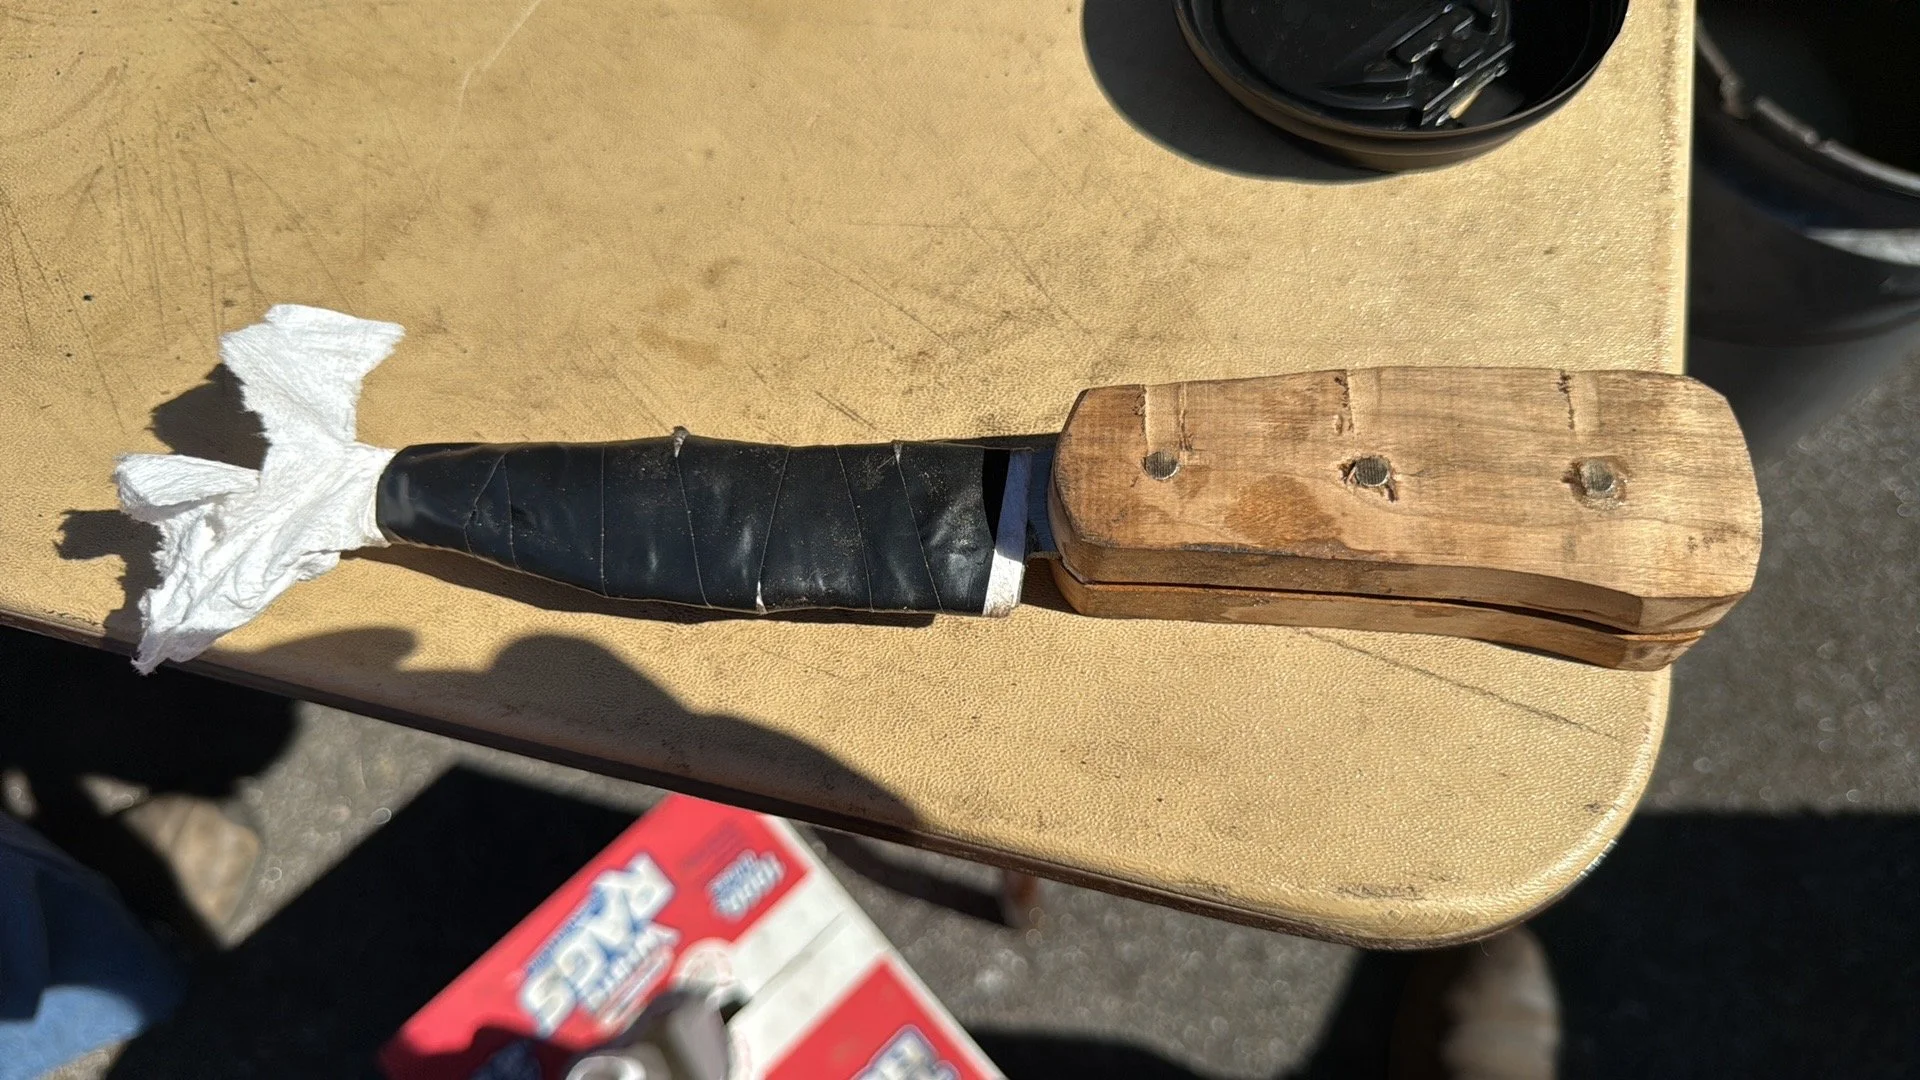
9. Wrap the blade in paper towels and electrical tape.
10. Trace handle and screw holes on wood.
11. Cut brass rods to thickness plus ⅛ in.
12. Drill holes through both slabs together
13. Dry fit scales
14. Mark, cut and shape the front end of handle
15. Take apart and clean with acetone
16. Mix and glue with 5 minute epoxy
17. Clamp and let set for 20 minutes
18. Grind wood to metal on all edges
19. Mark top and bottom with taper ⅝ at handle ⅞ at end
20. Grind to lines
21. On faces, Mark ¼ of width at blade end and work a line back keeping same distance
22. On top & bottom, mark 25% on each side
23. Grind to lines
24. w/ 220 slack belt, roll the handle to remove facets
25. Clean up pins and scratches on metal
26. Finish polish w/ 400 then 600
27. Spread tung oil on all wood surfaces and let sit for 5 minutes
28. Wipe off excess and Polish with a soft cloth
29. Scotch bright slack belt on blade to remove and scratches and polish.
30. Resharpen if needed
31. Sit back and admire
So that was it, the bug had bitten. I bought 4 more blanks from the class and was determined to make a knife at home. Or knives. I decided that I would work on knives following the steps that I had learned in class and make at least 10 knives this way. This led to the start of knife #1 and the realization that if I was going to do this , I needed the right tools. A photo dump of the work on knife one:


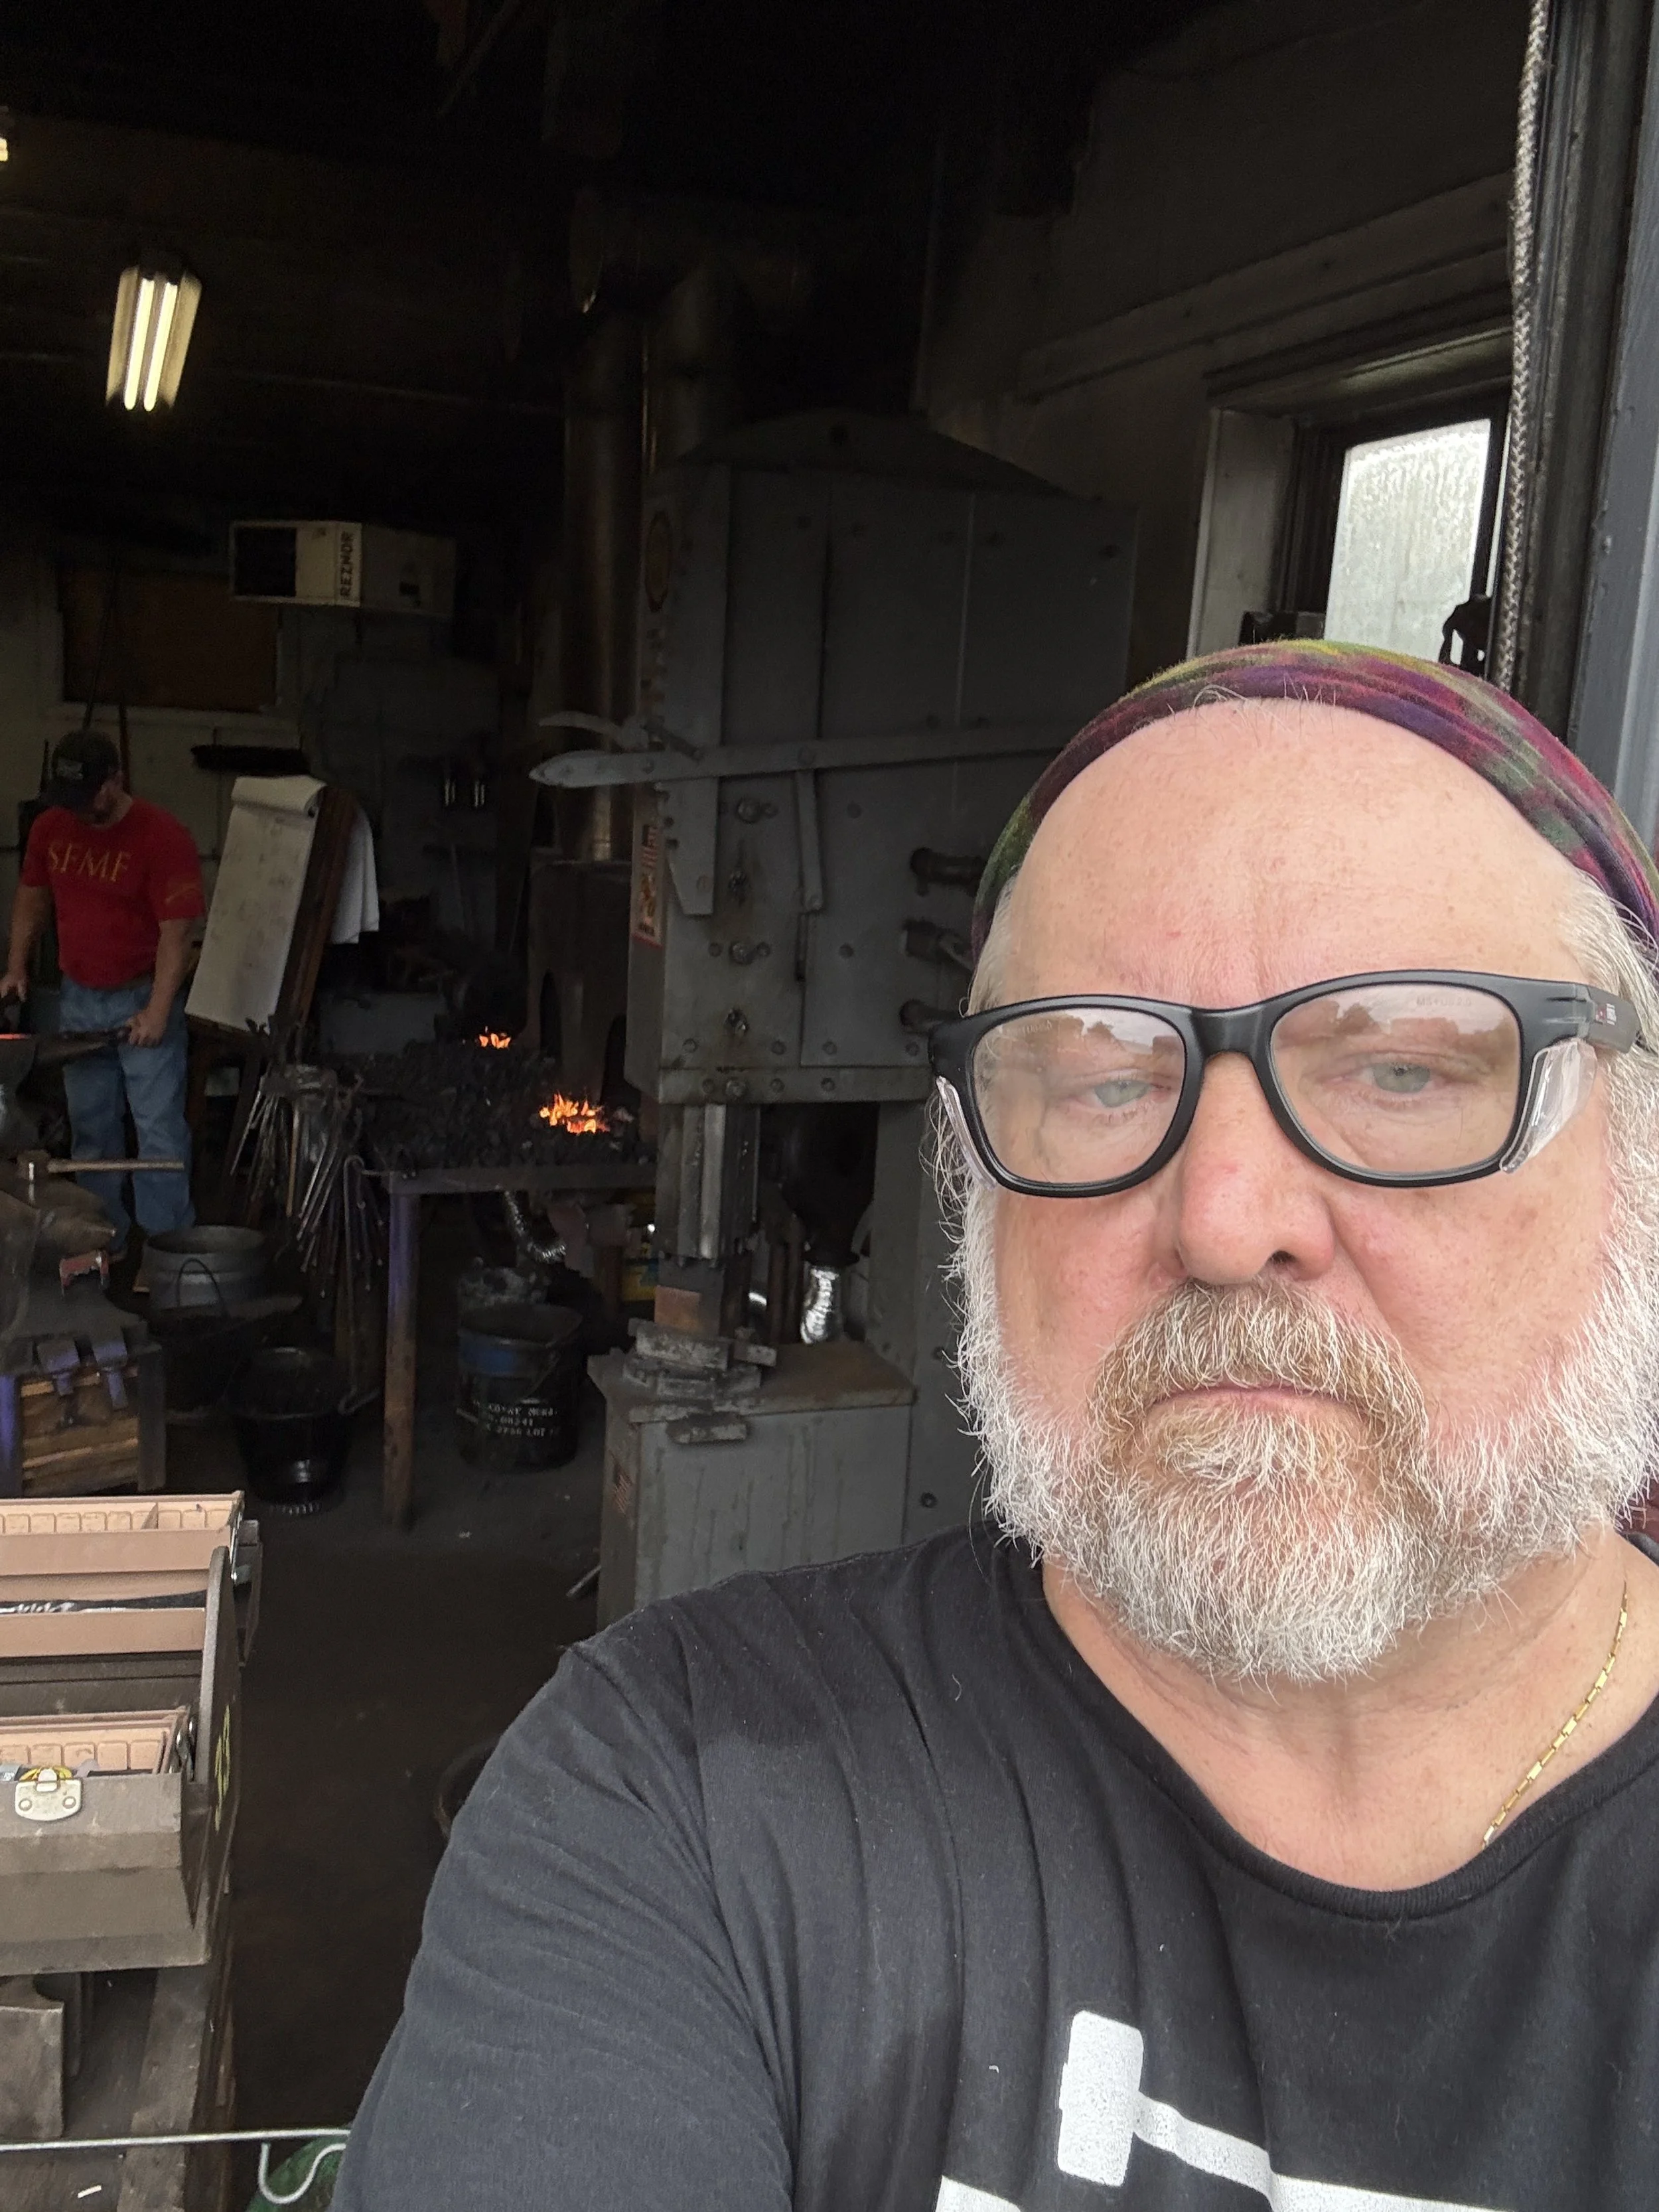
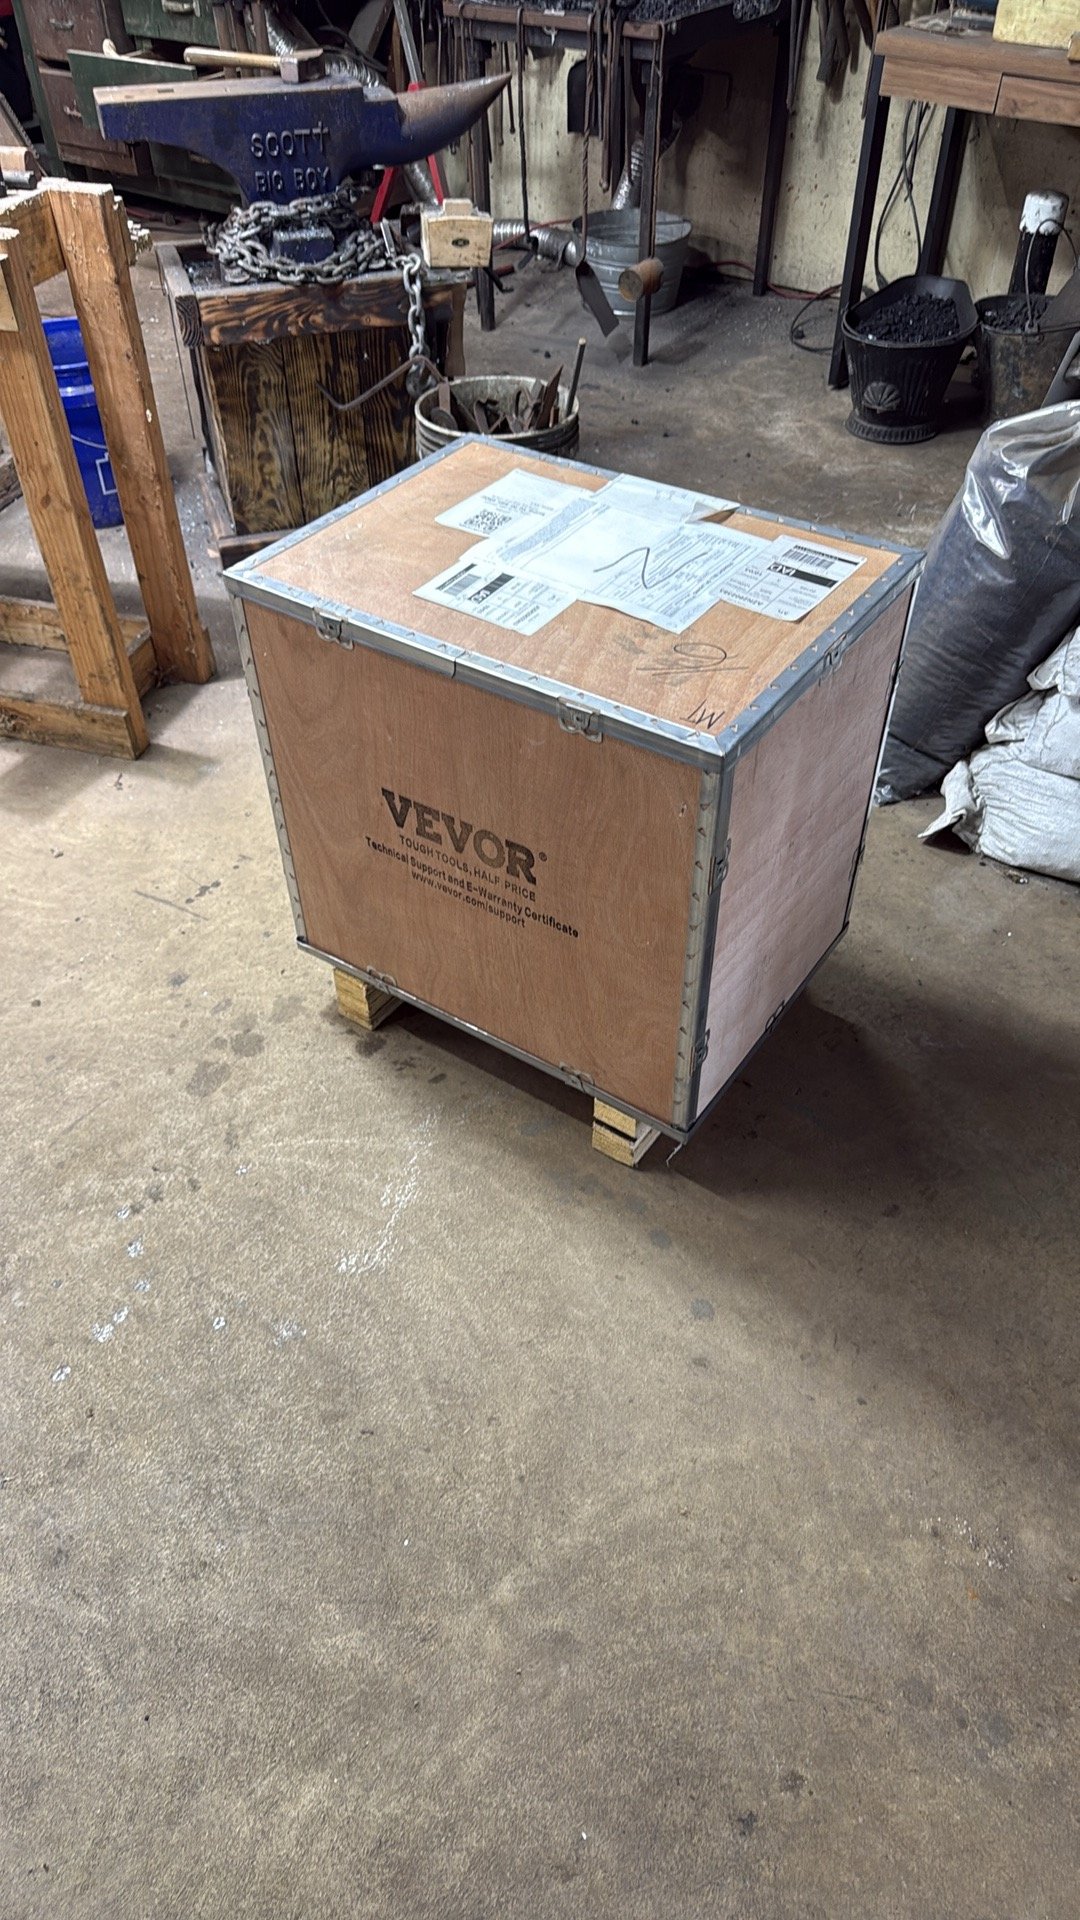
The forging went smoothly, I had everything I needed for that. However the finishing equipment in the forge was not up to the task. To remedy this, I decided to go whole hog and get myself a 2x72 belt sander. This was ordered and a massive cleanout and re organization of the garage was undertaken. This included finding a few sub-letters that I was not aware of:

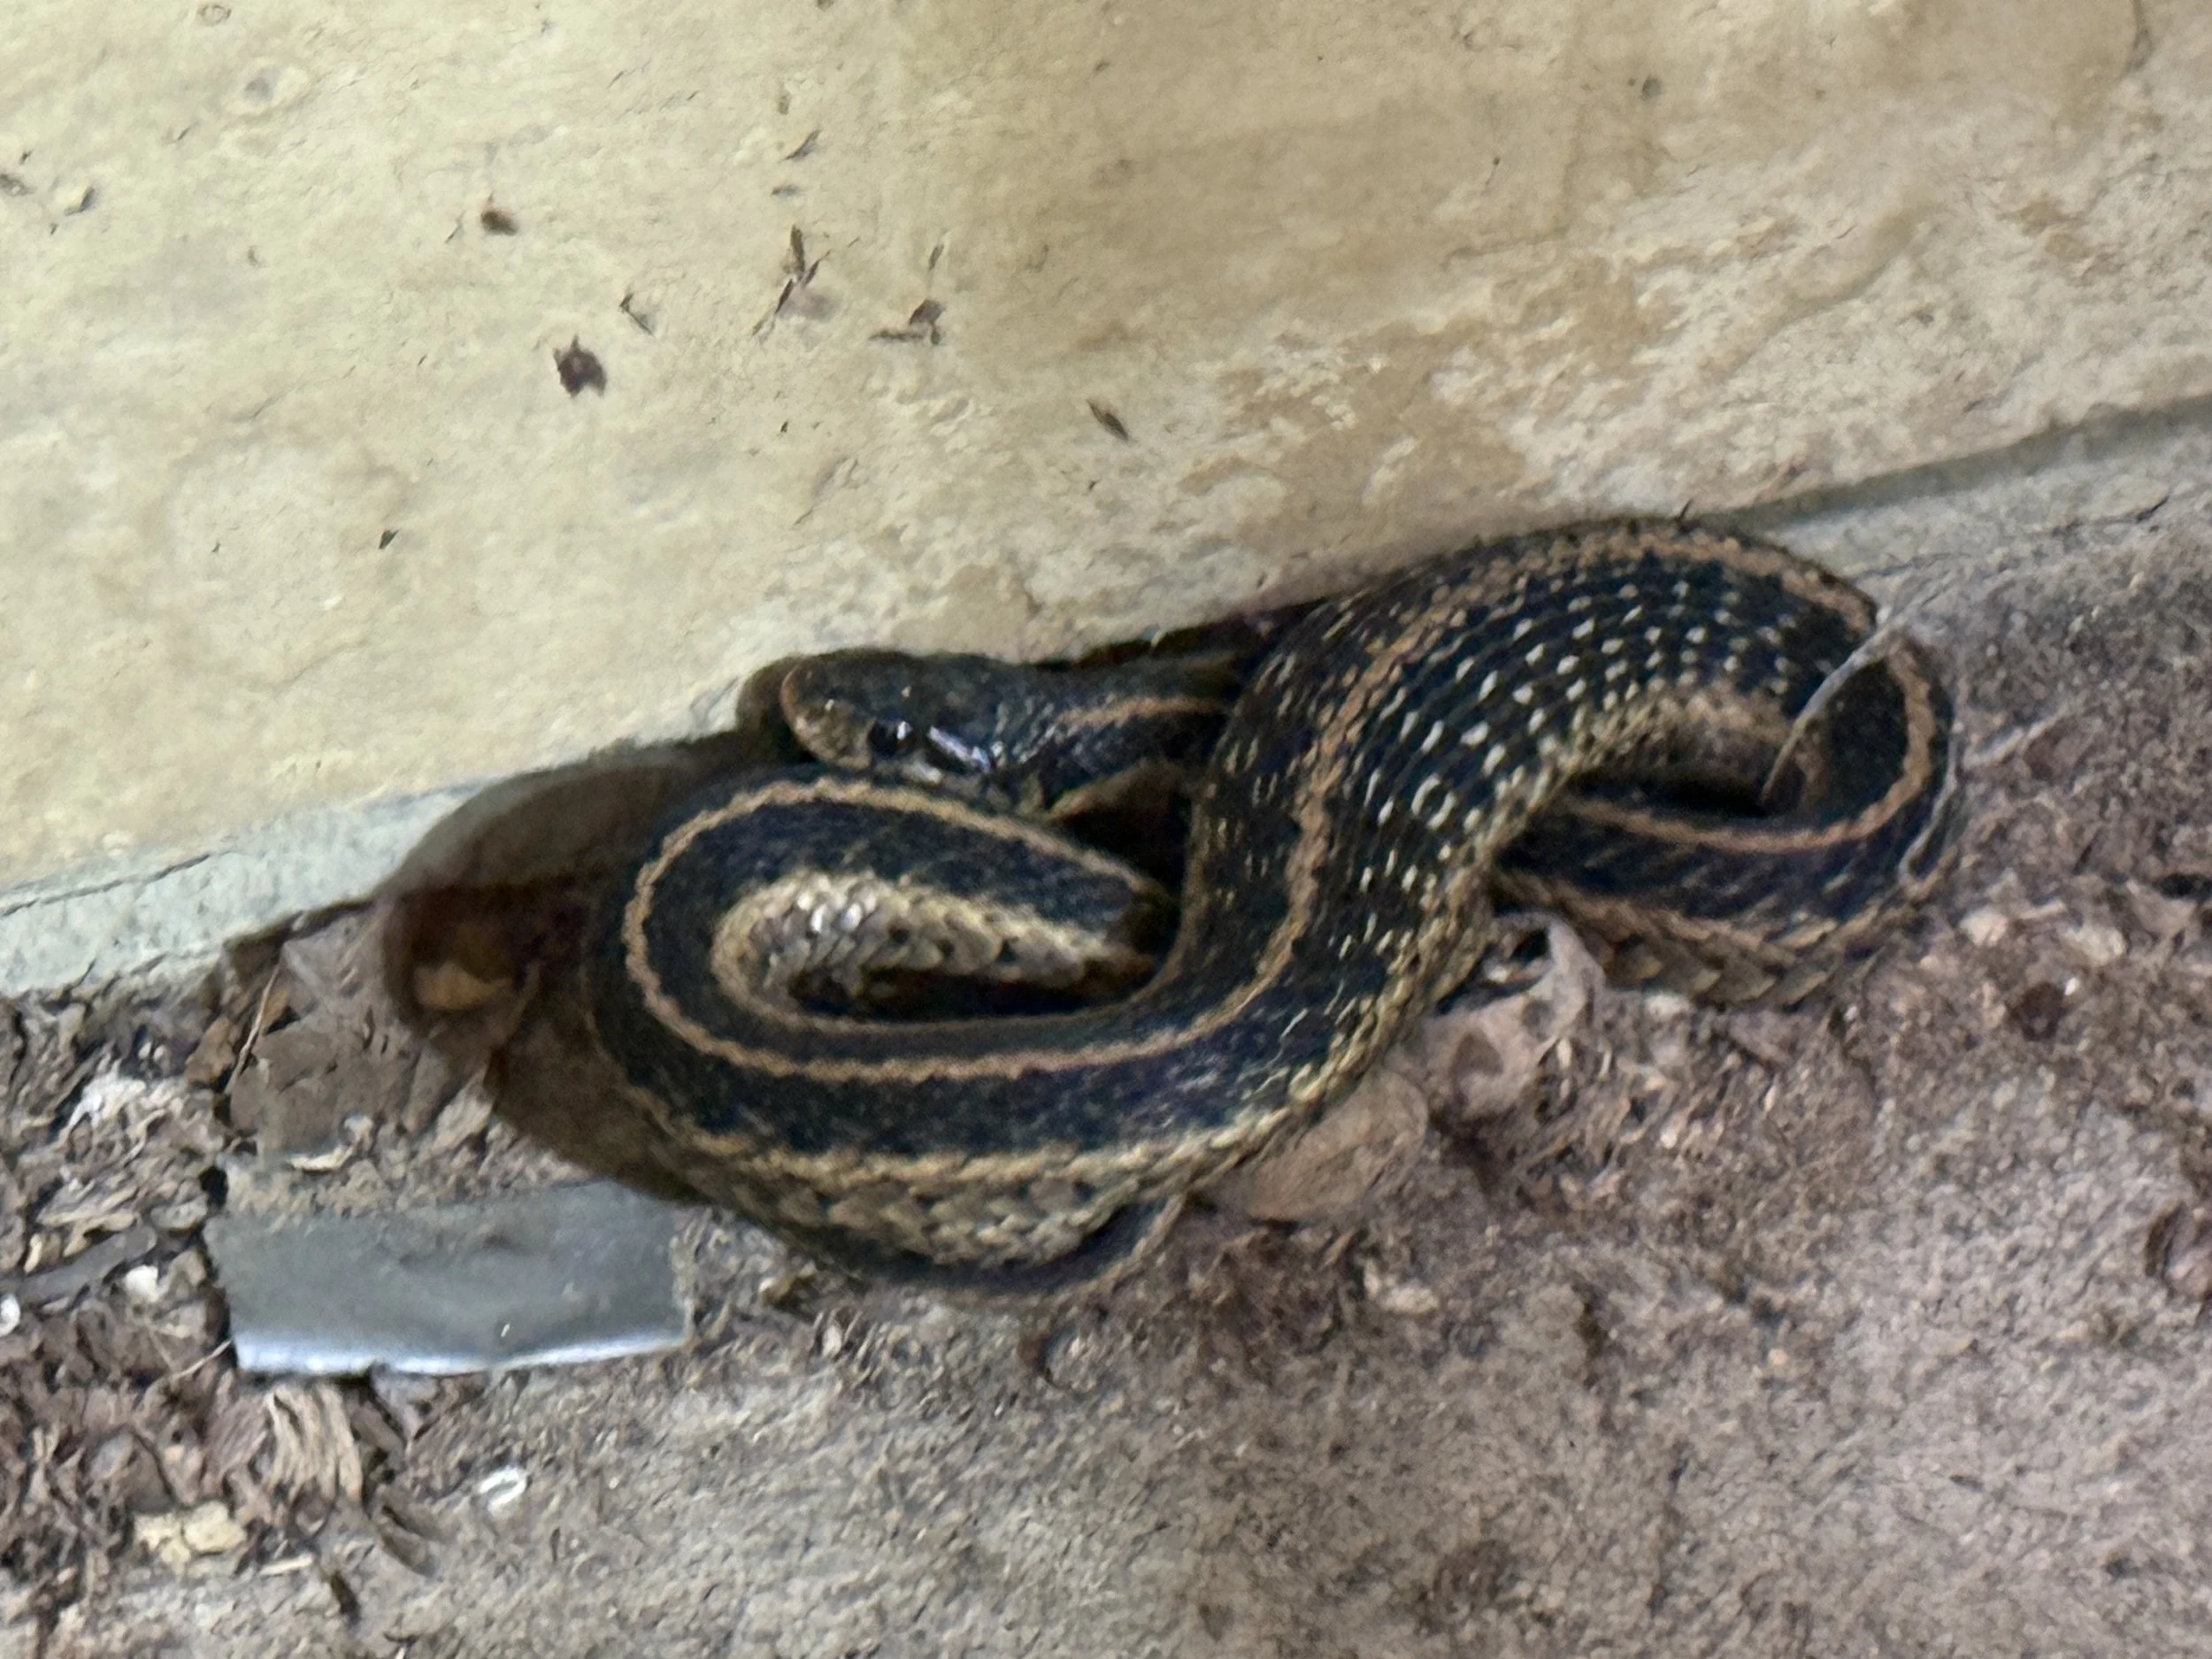
And because of the timing of these pictures, I cannot guarantee that the friend on the left is not the bulge on the right.
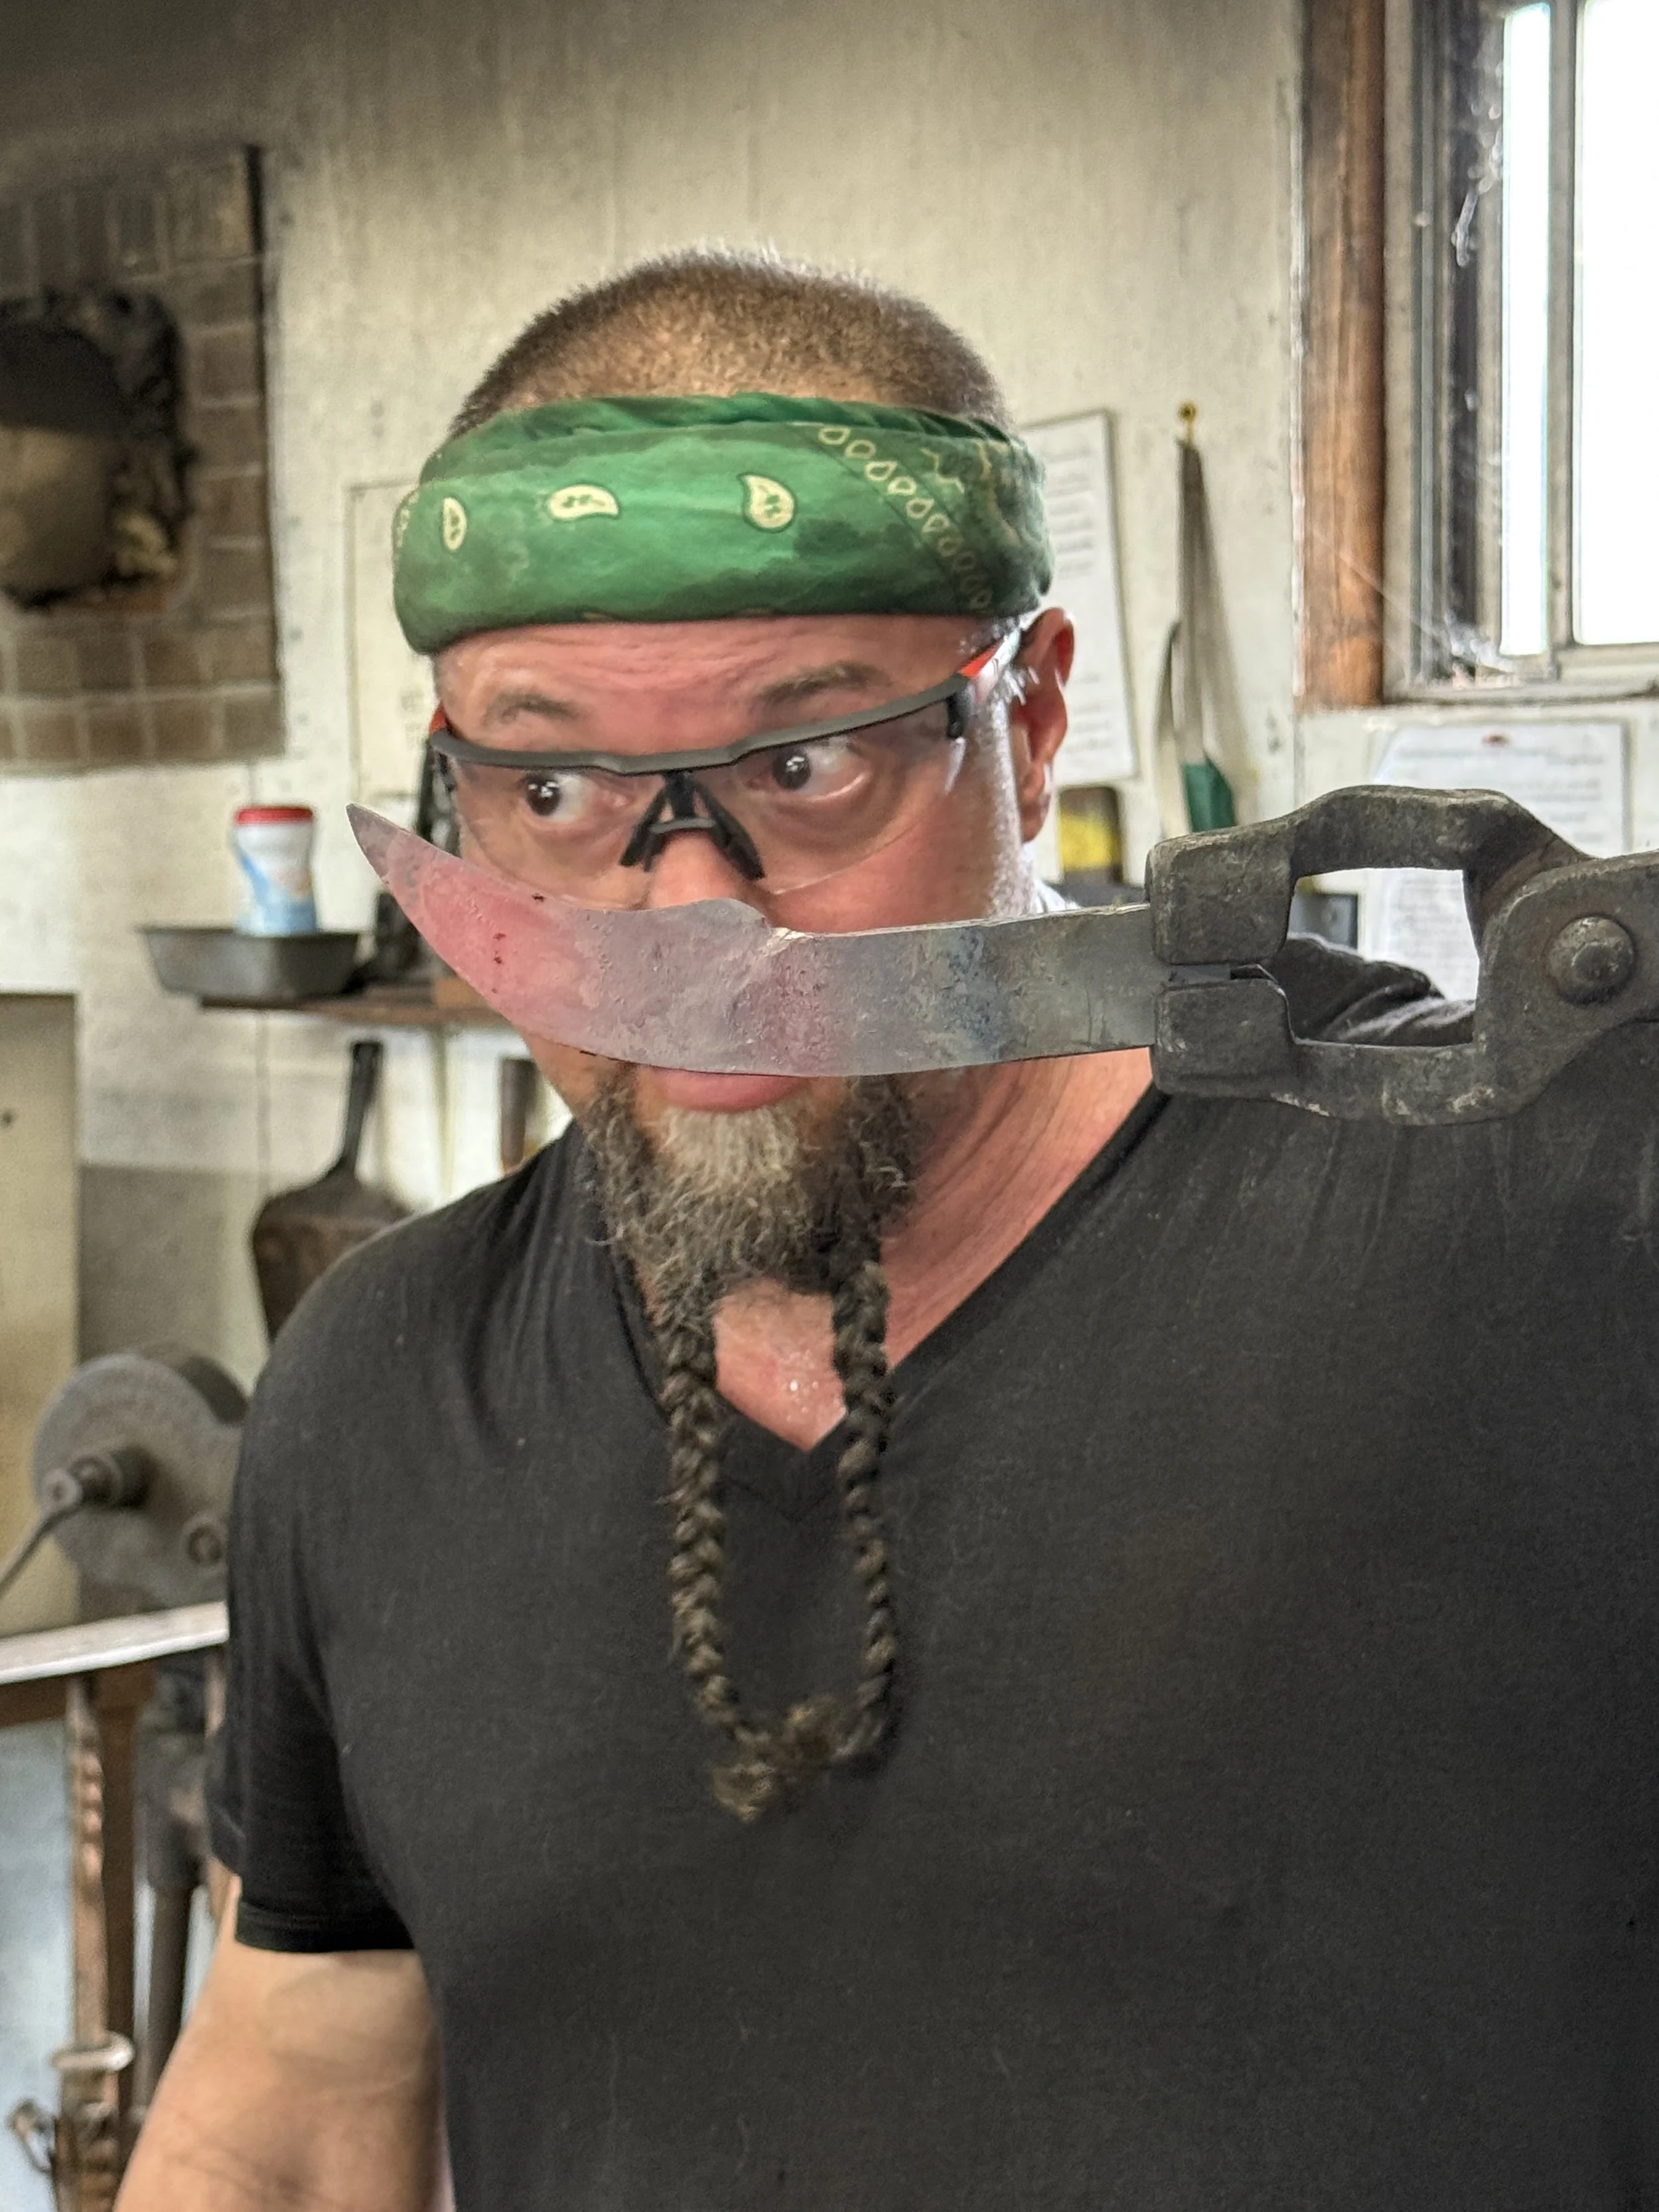
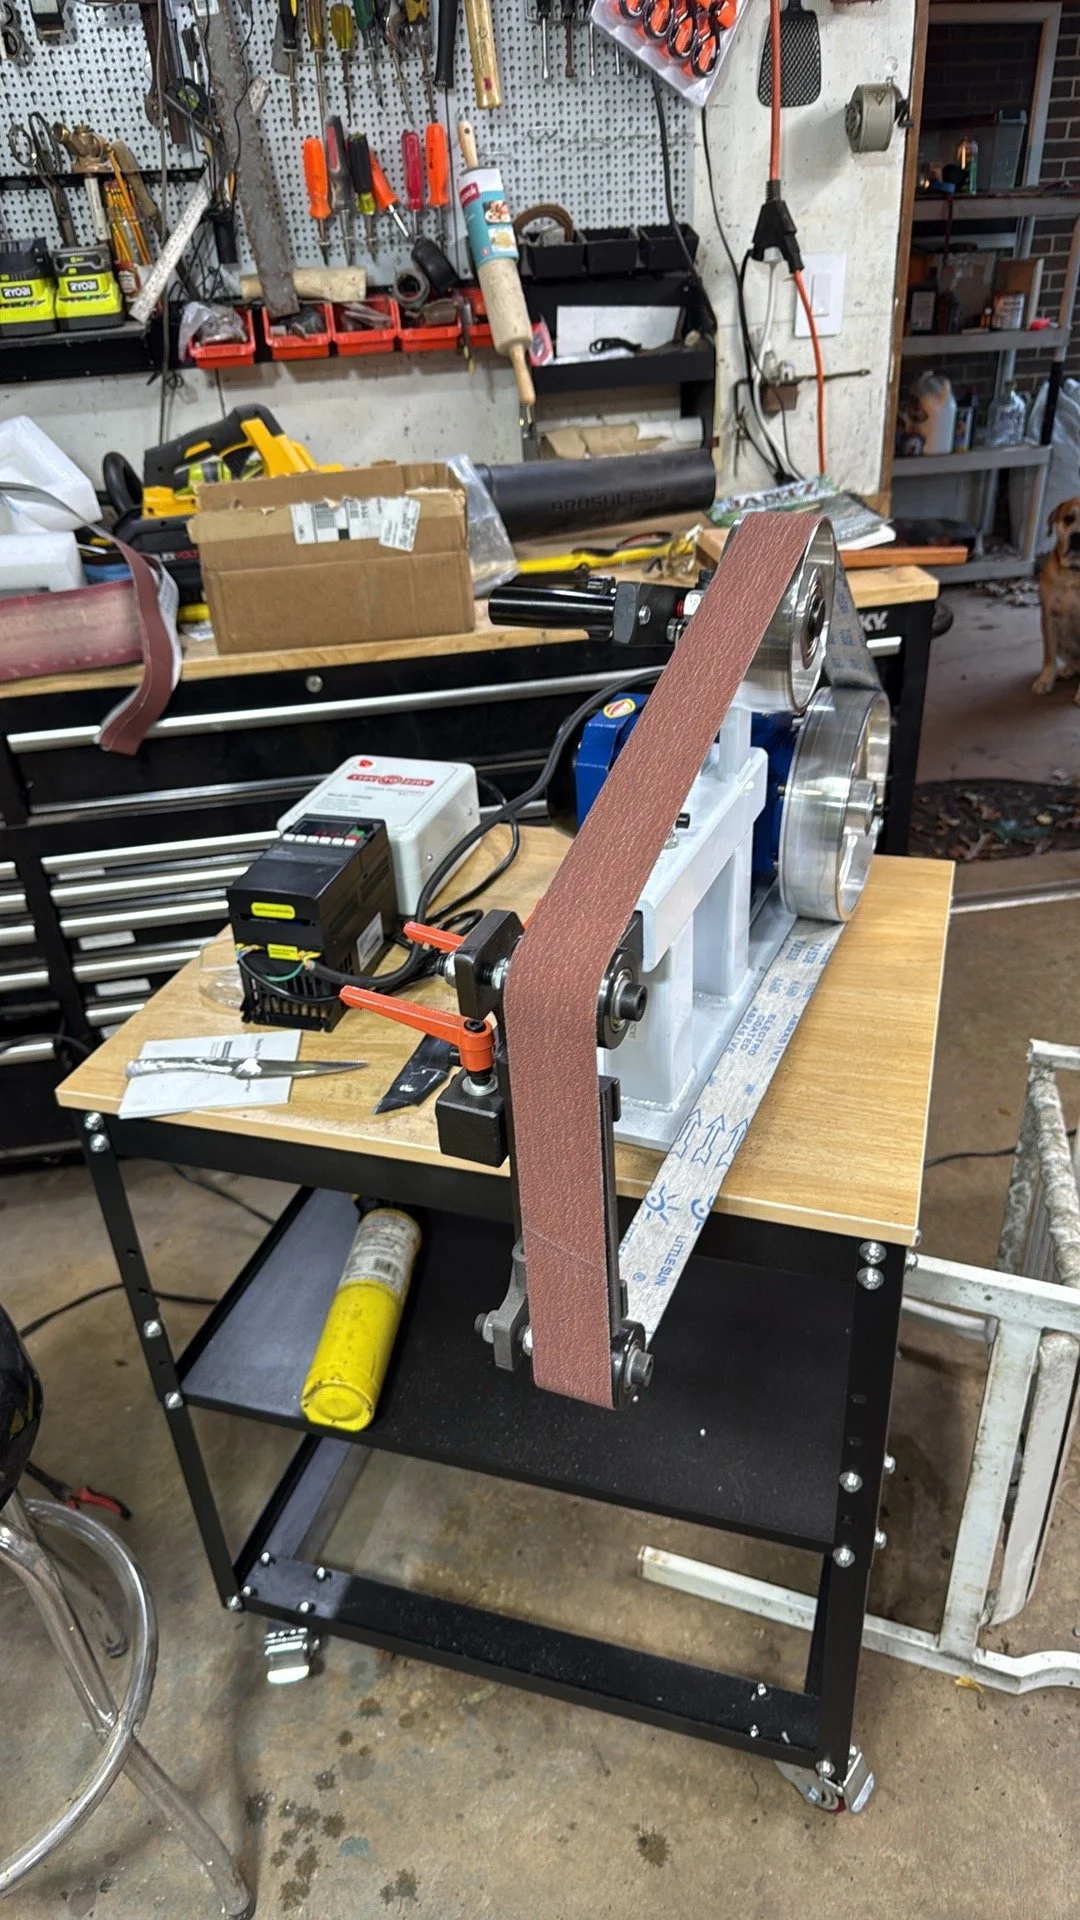
the grinder showed up after a week of waiting (it came via freight) and was set up on a rolling table.
It was at this point that I decided that any daylight hours that I was able to work on this would be spent forging and the grinding and finishing would be left for after dark. If this led to multiple knives waiting for the grinder, then so be it! The forging success of knife #1 led be to attempt a knife not following the pattern and steps outlined above. This led to knife #2 and we don’t talk about knife #2!
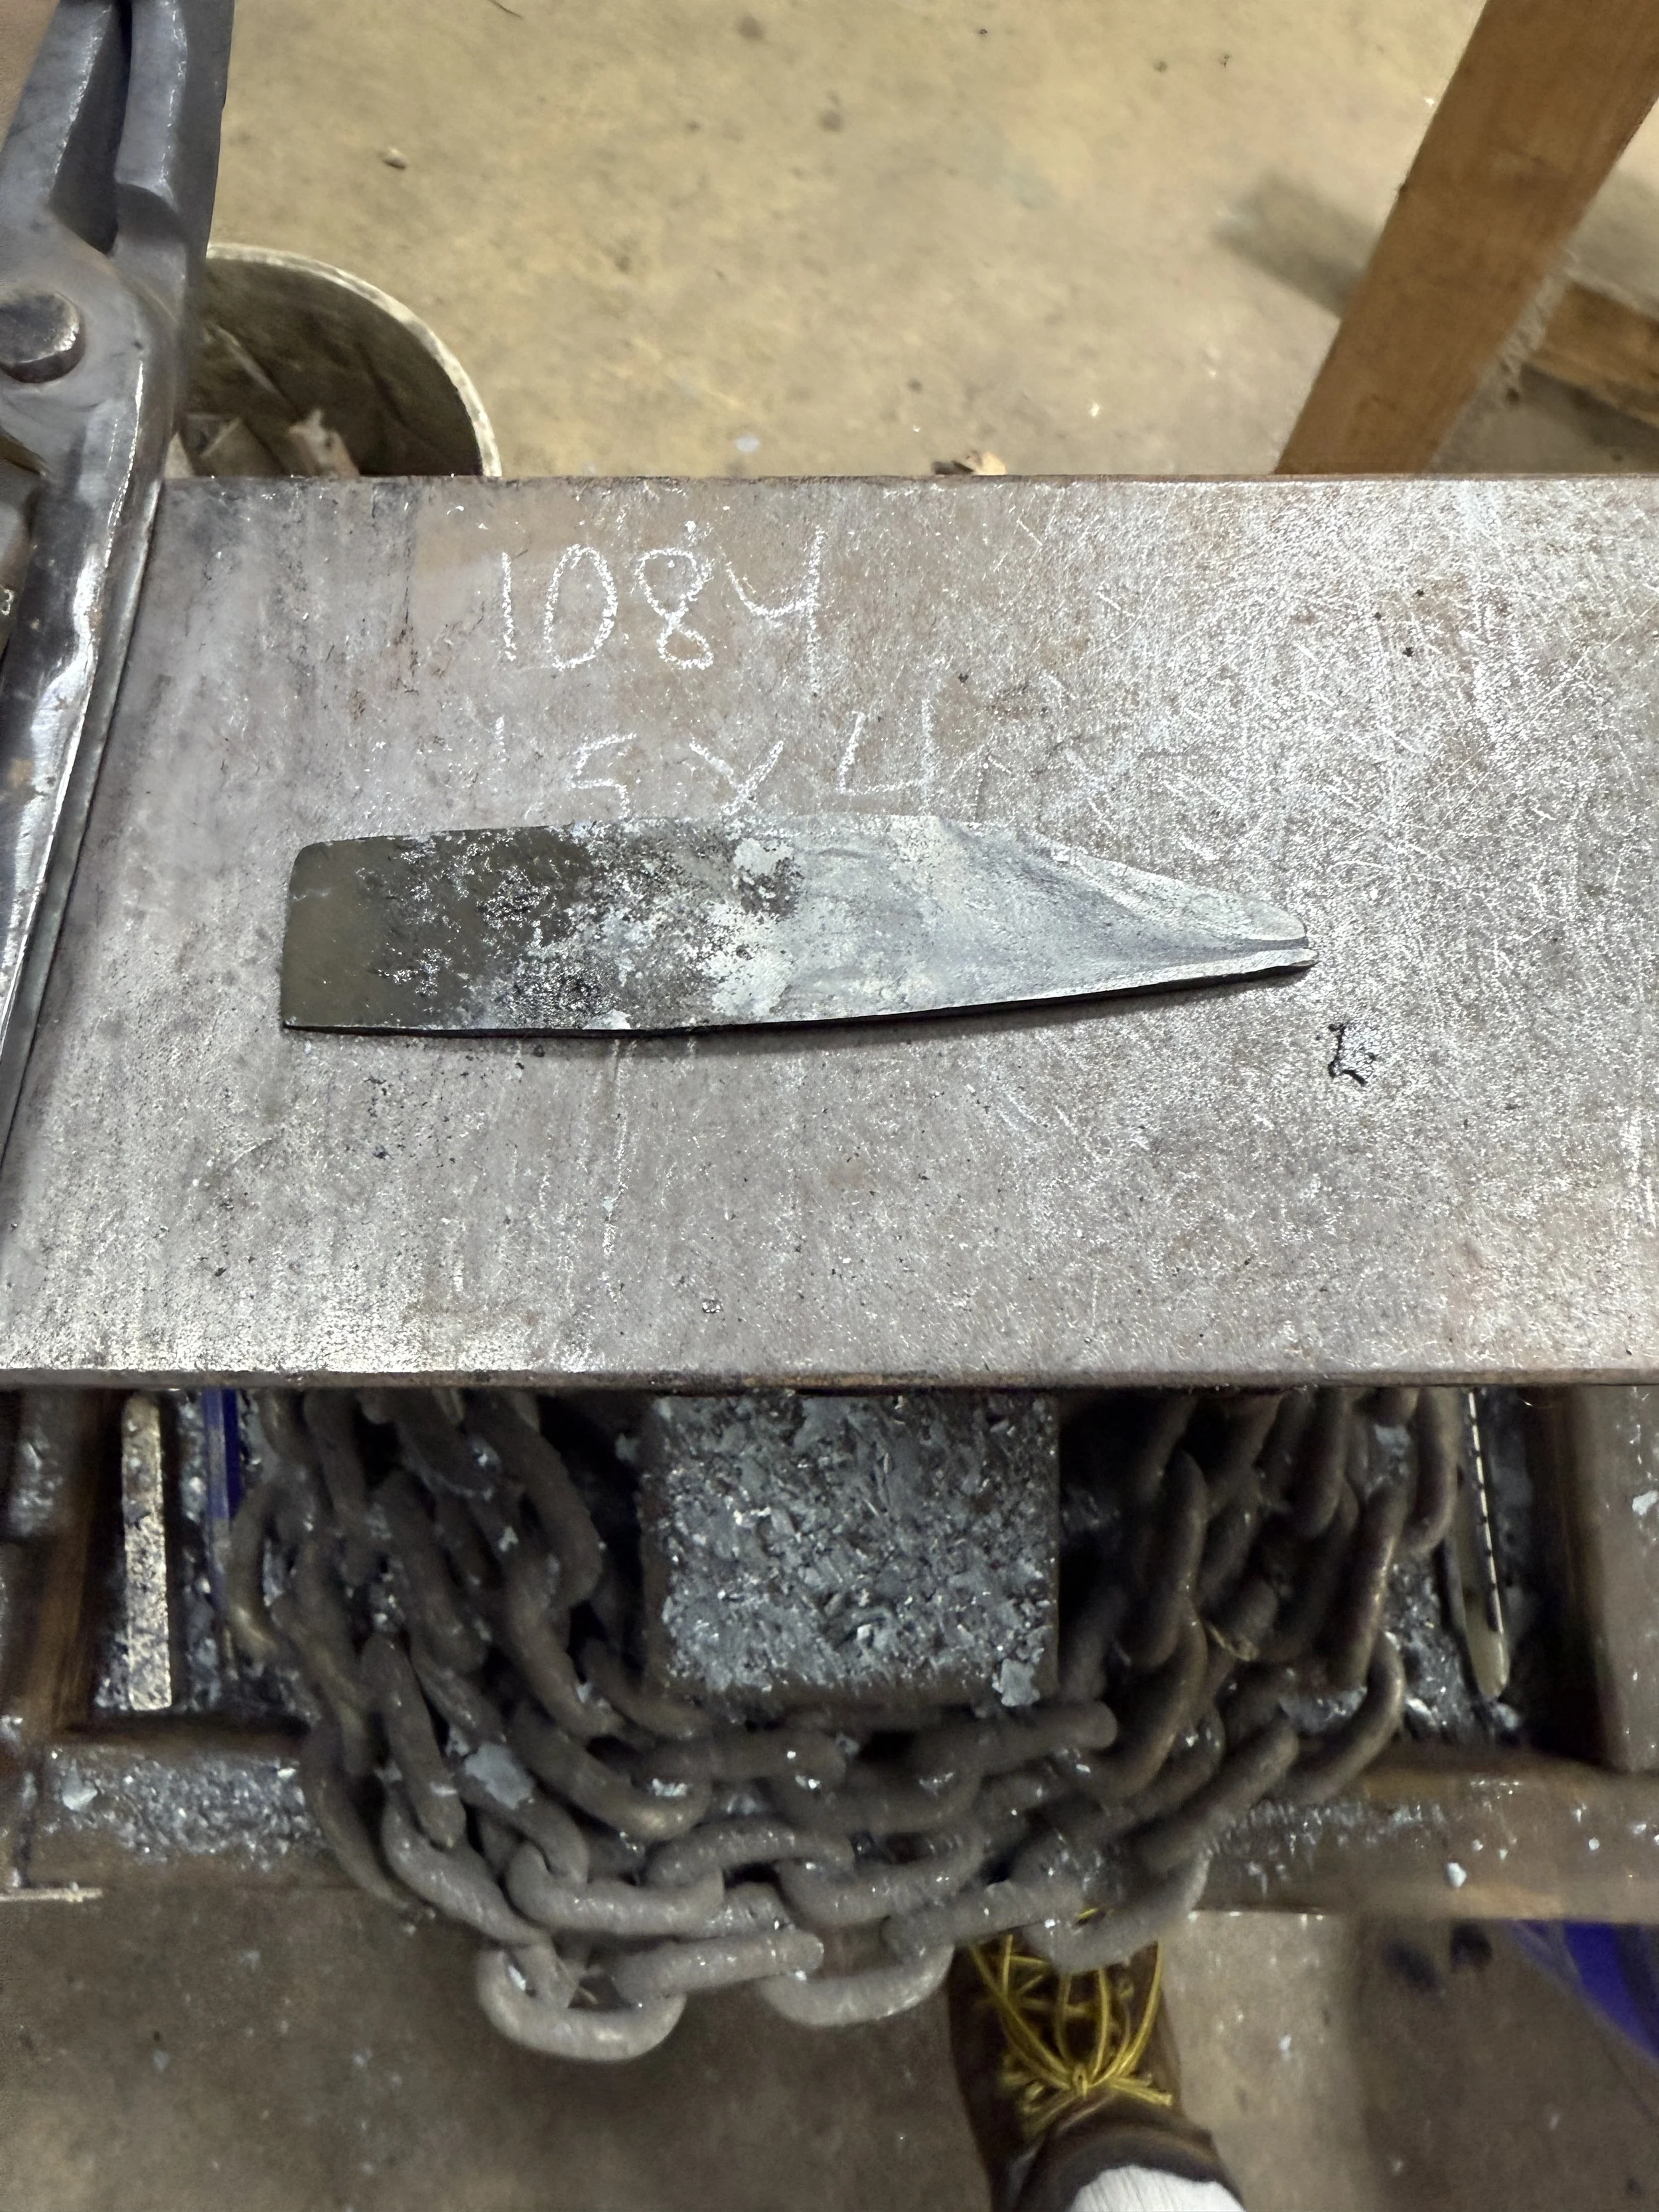
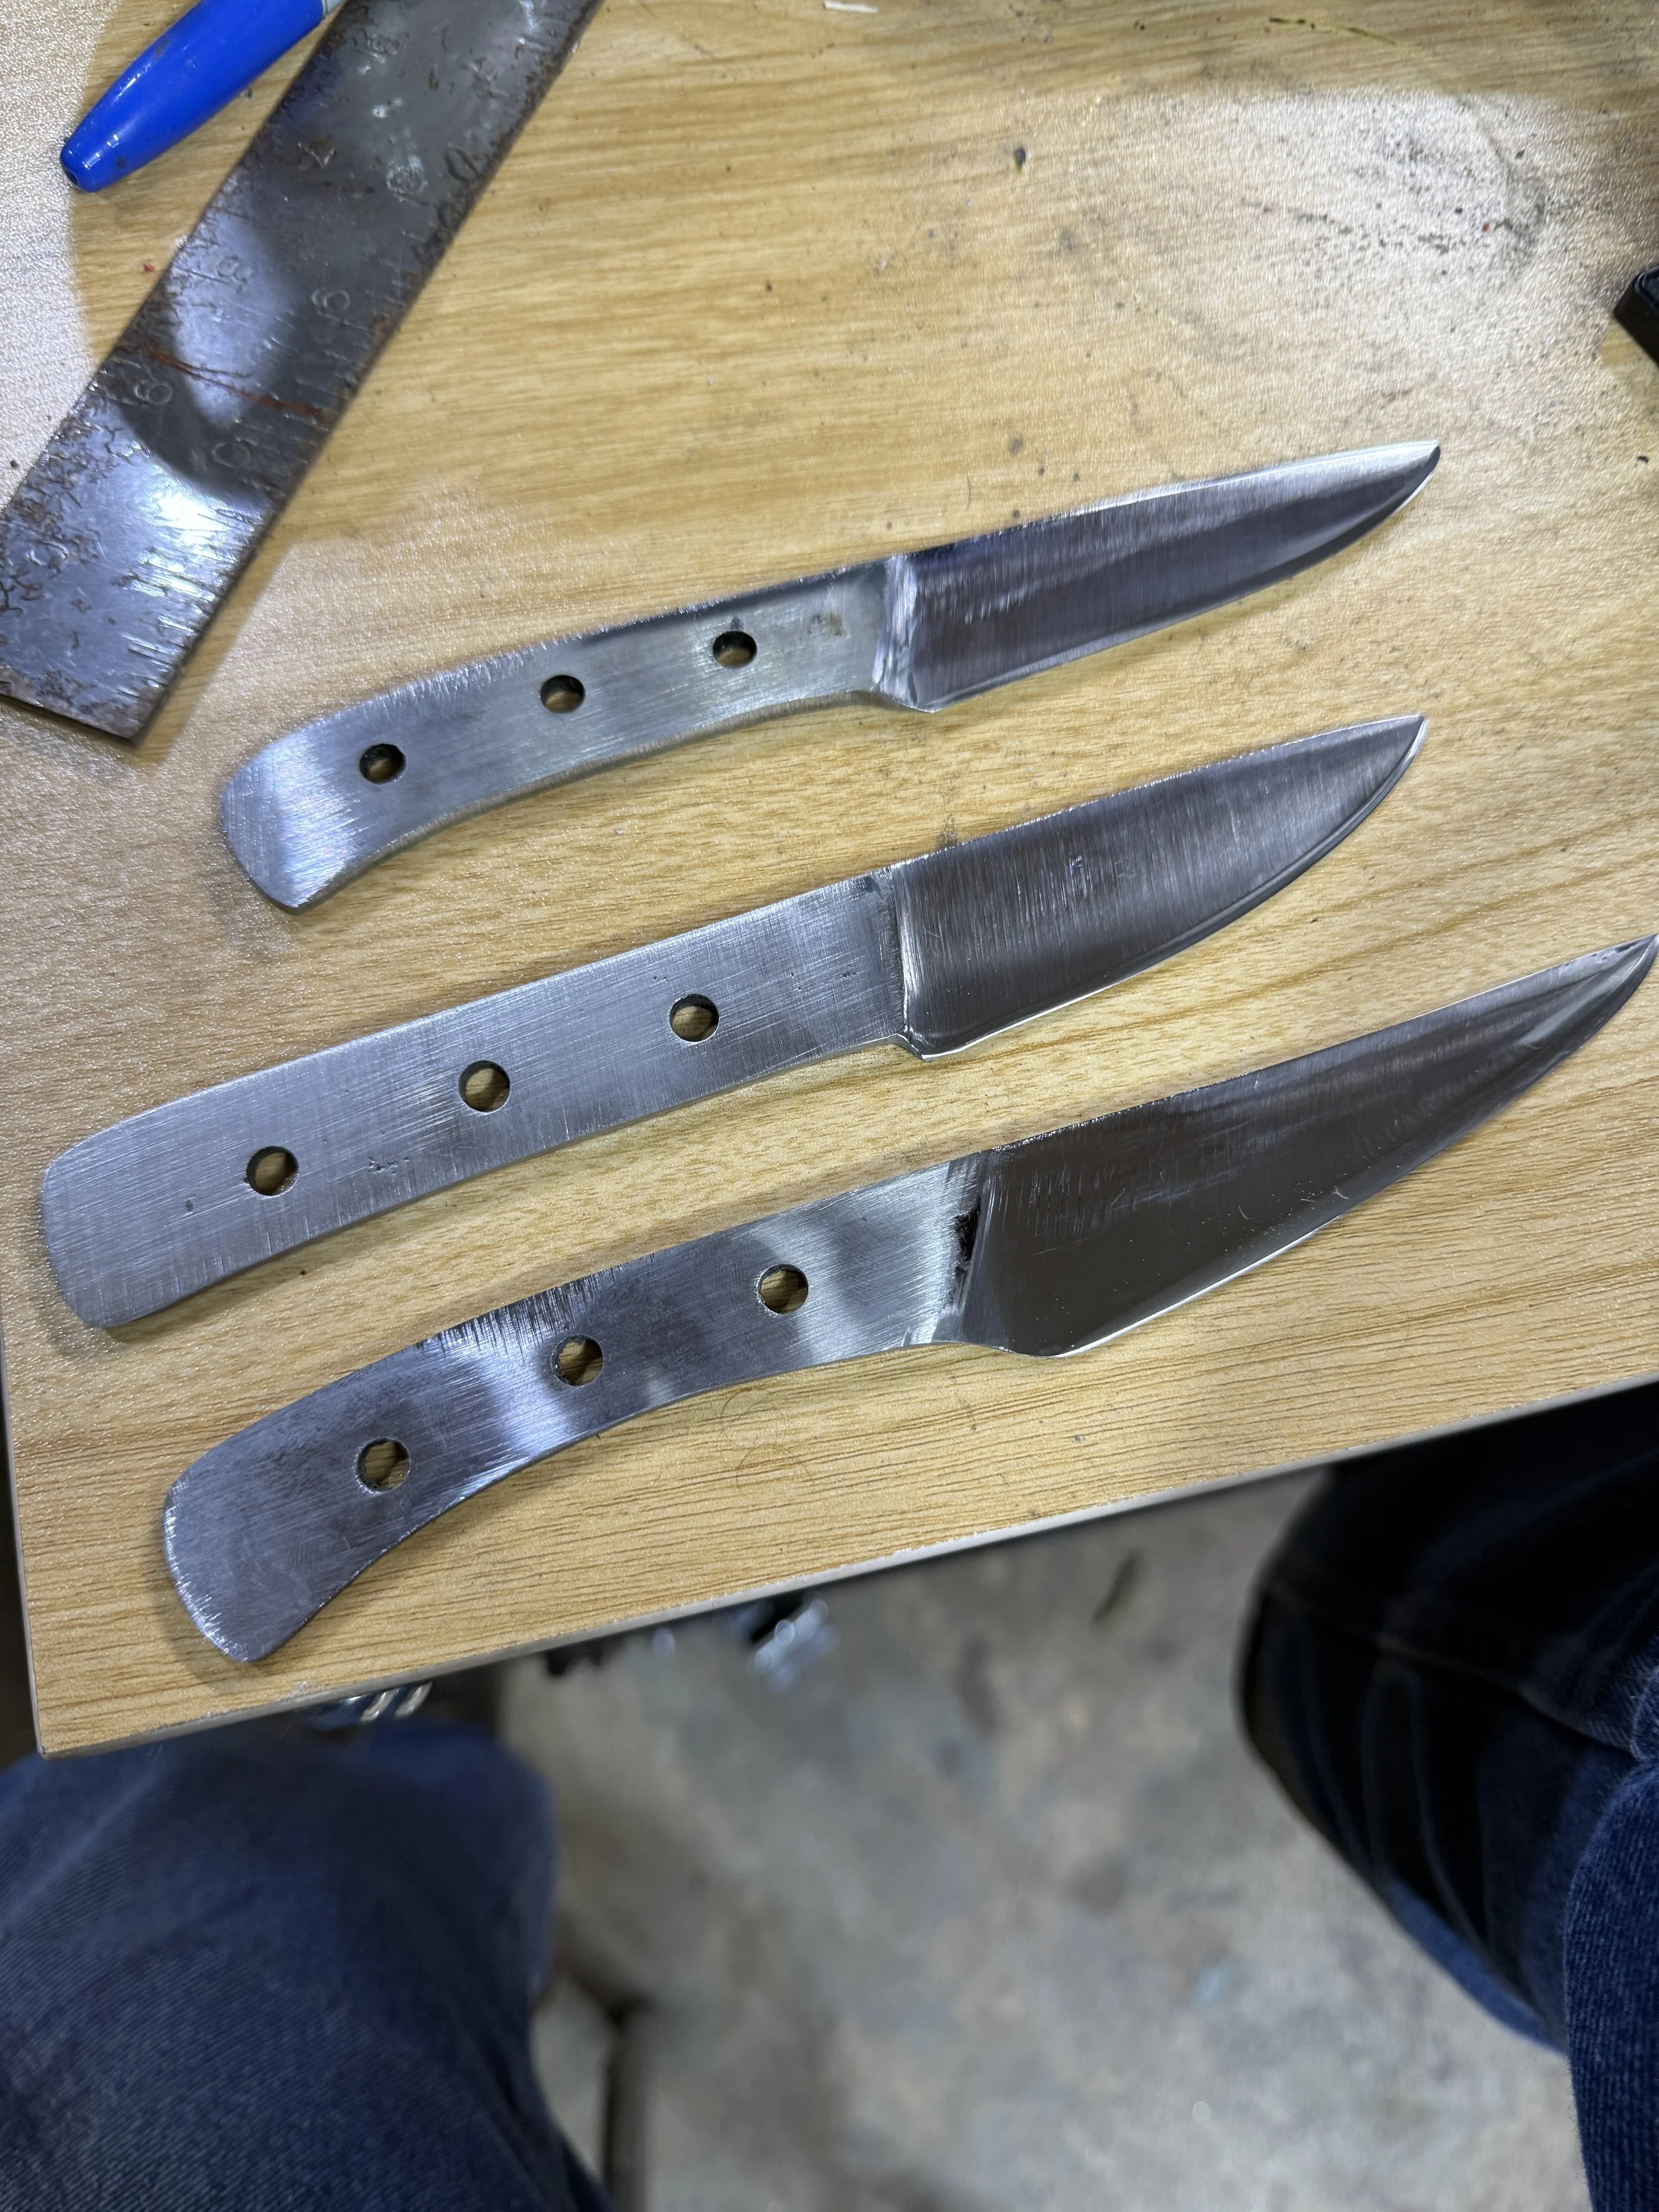
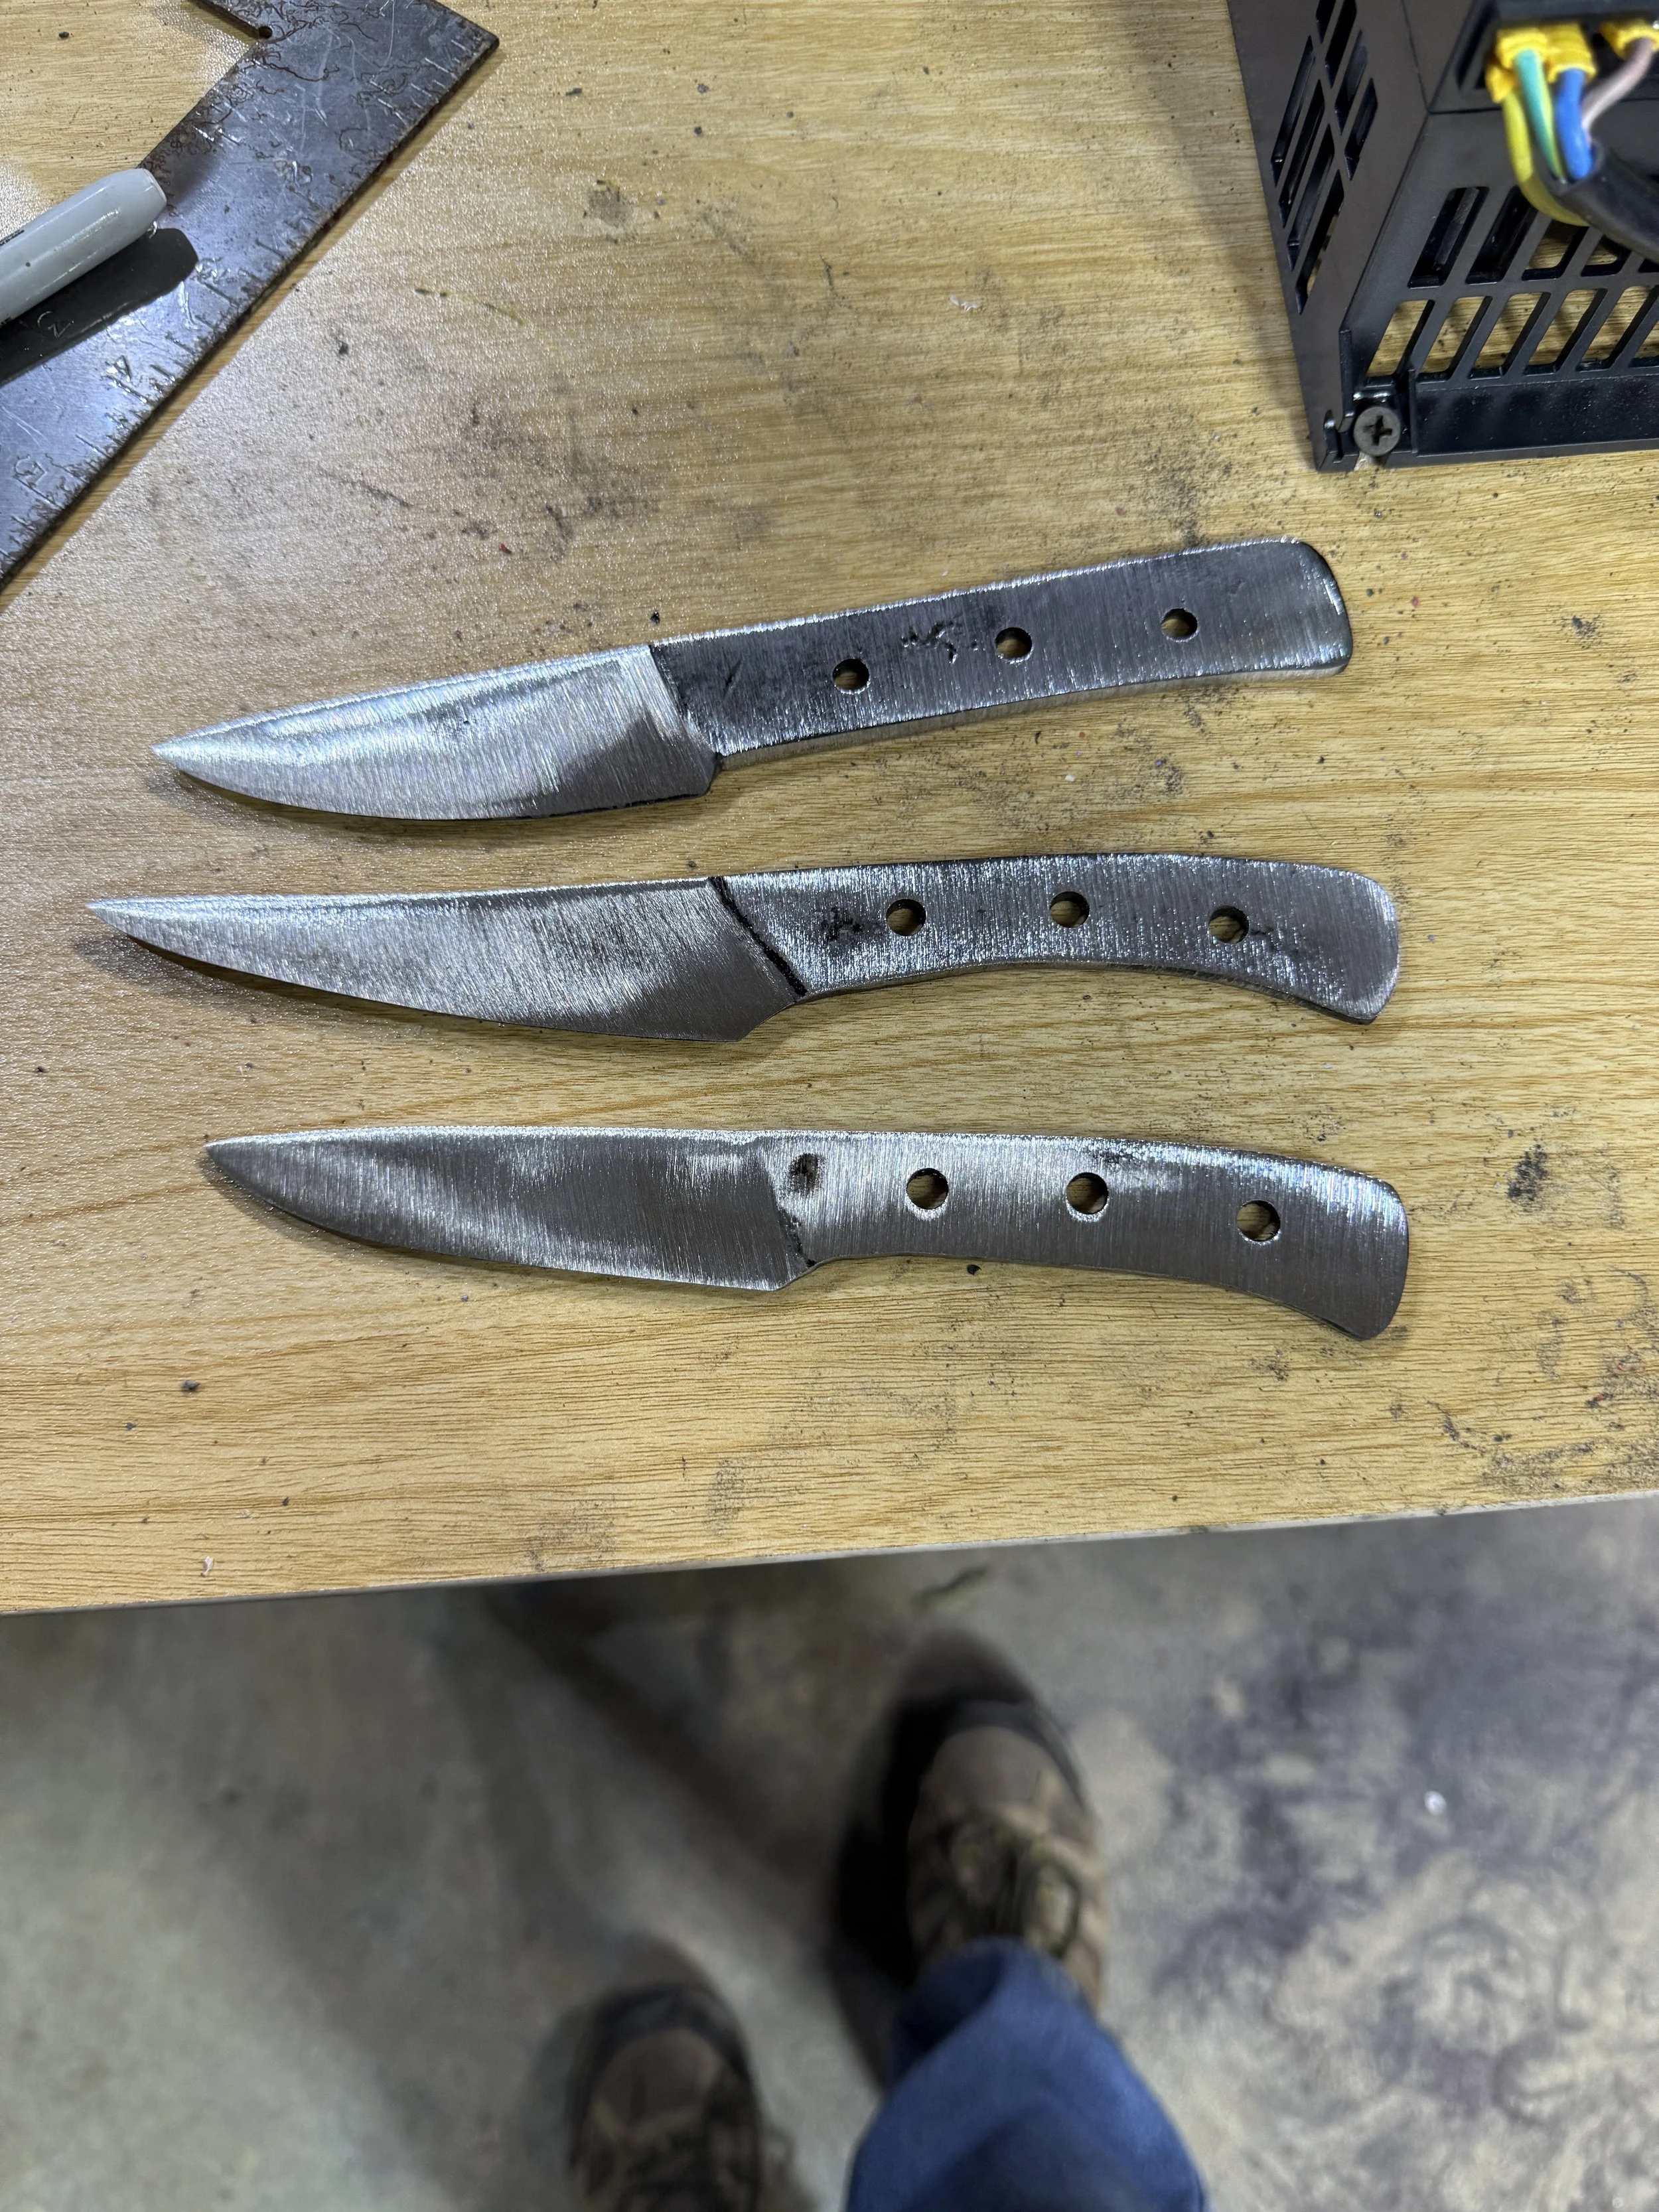
With this defeat fresh in my mind, I decided to once again deviate from my plans. Using a piece of 1080 steel that was not the same dimensions ( 1/8x1/5x4) I tried to wok this into the parameters of the class knife. Although susessful in the creation of a knife, the work it took me to force it into a knife following the class setup was much more labor then I was hoping to put into a knife. This size metal will be left for projects that fit these parameters. Still, following the steps allowed me to create knife # 3. The steps were shown in the photographs below:


By this time I had bought 2 lengths of 3/8x1x36 bars of steel to be cut into the same size as the class piece. Once more some forging time was presented to me so I grabbed it! Leading to knife #4. Much easier to wor and knocked out before I had a chance to take pictures.
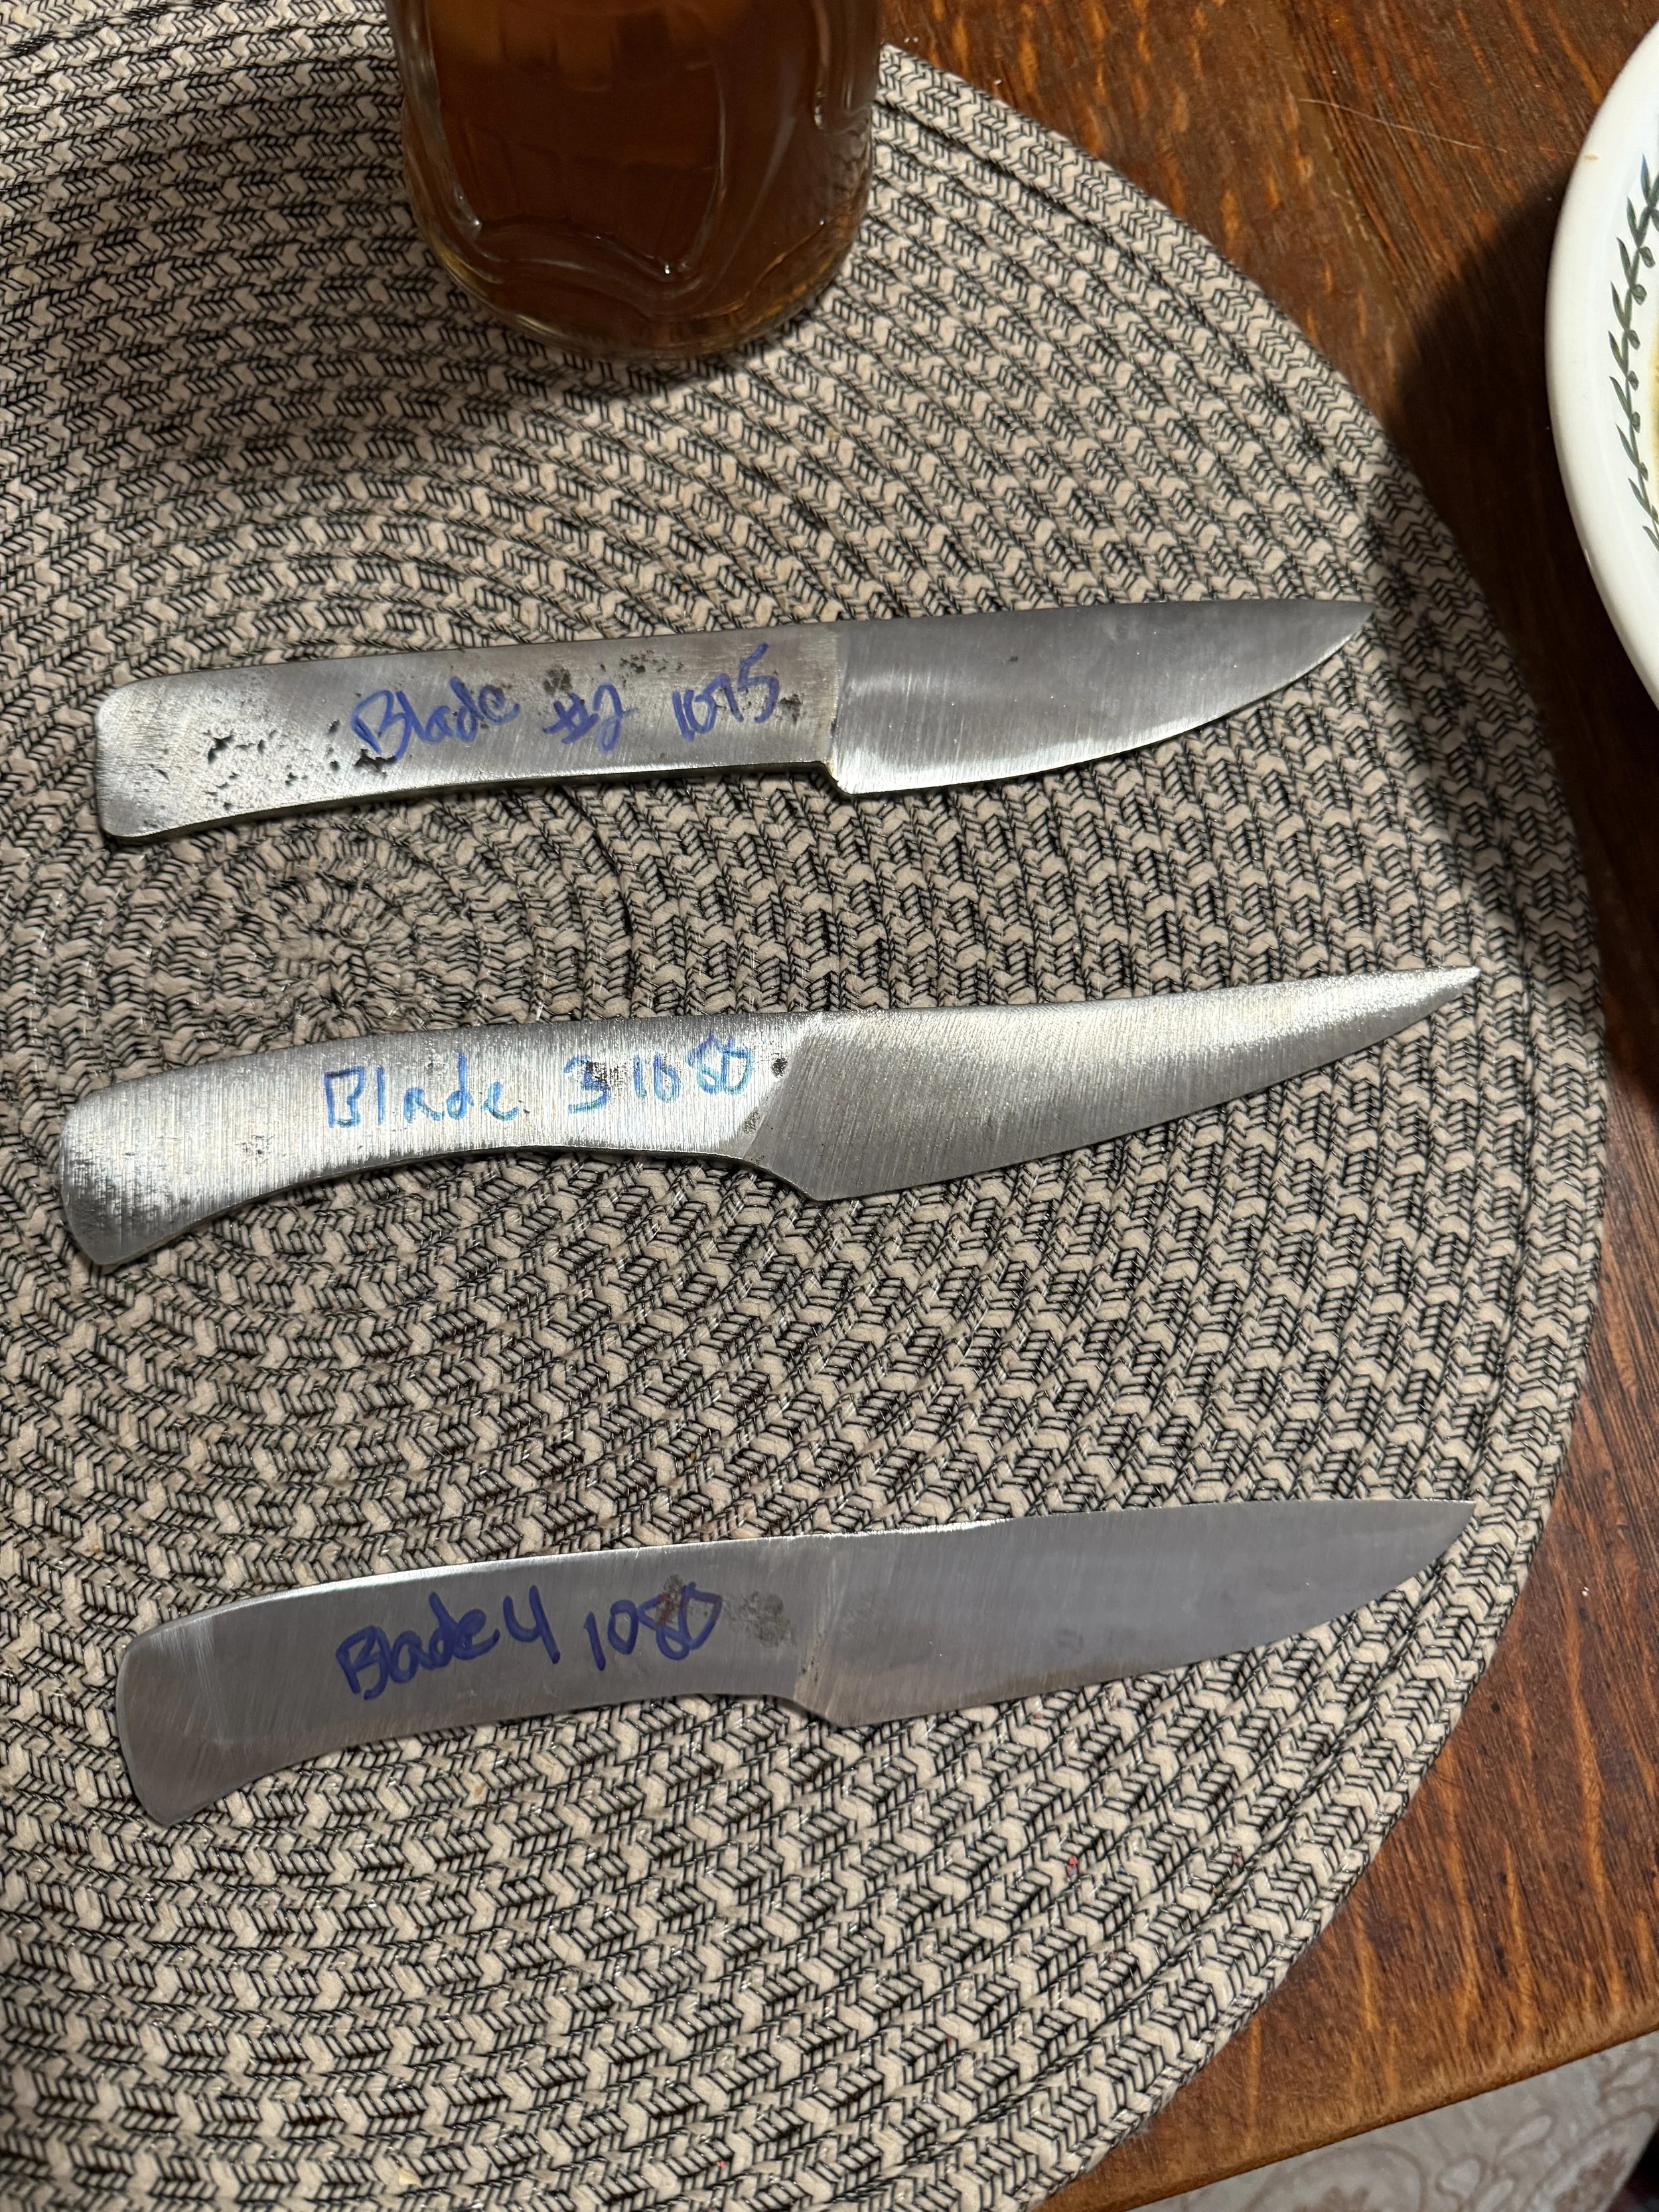
With these three done and waiting, I felt it was time to heat treat them. This involved normalizing them, then heating and quenching in oil then an hour in the toaster oven at 450, cool down then another hour at 450 degrees.


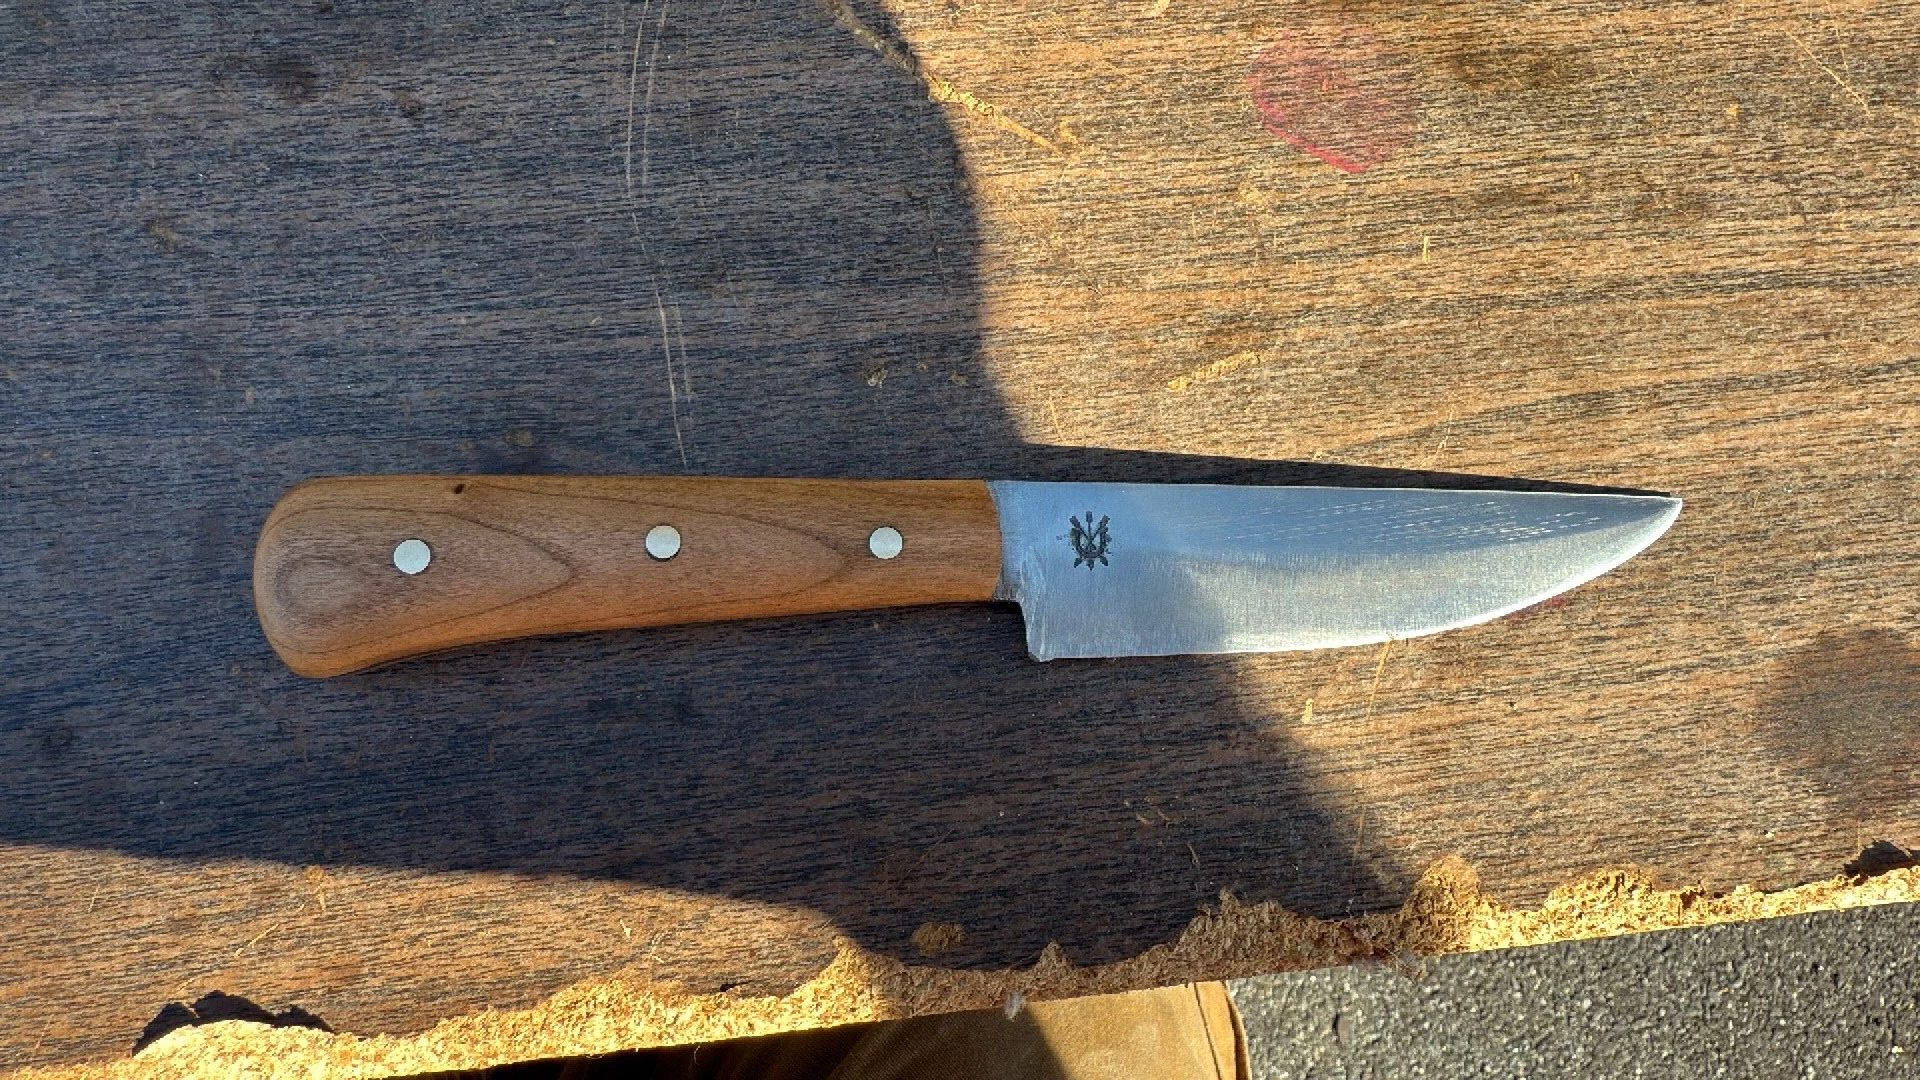
Once the knives were done with the heat treating, it was time for the final polish and attaching the handles. My wife liked #1 the best and so she got to choose the wood for the handle, and she choose my most expensive slabs of ebony. For #3, because of the fantasy look to this one, I choose to try bone handles. And the last one, which was my favorite so far, simple walnut slabs. The bone was much trickier to work with then I thought and I ended up doing it twice, because I broke the first pair. The 3 knives when polishing was done.


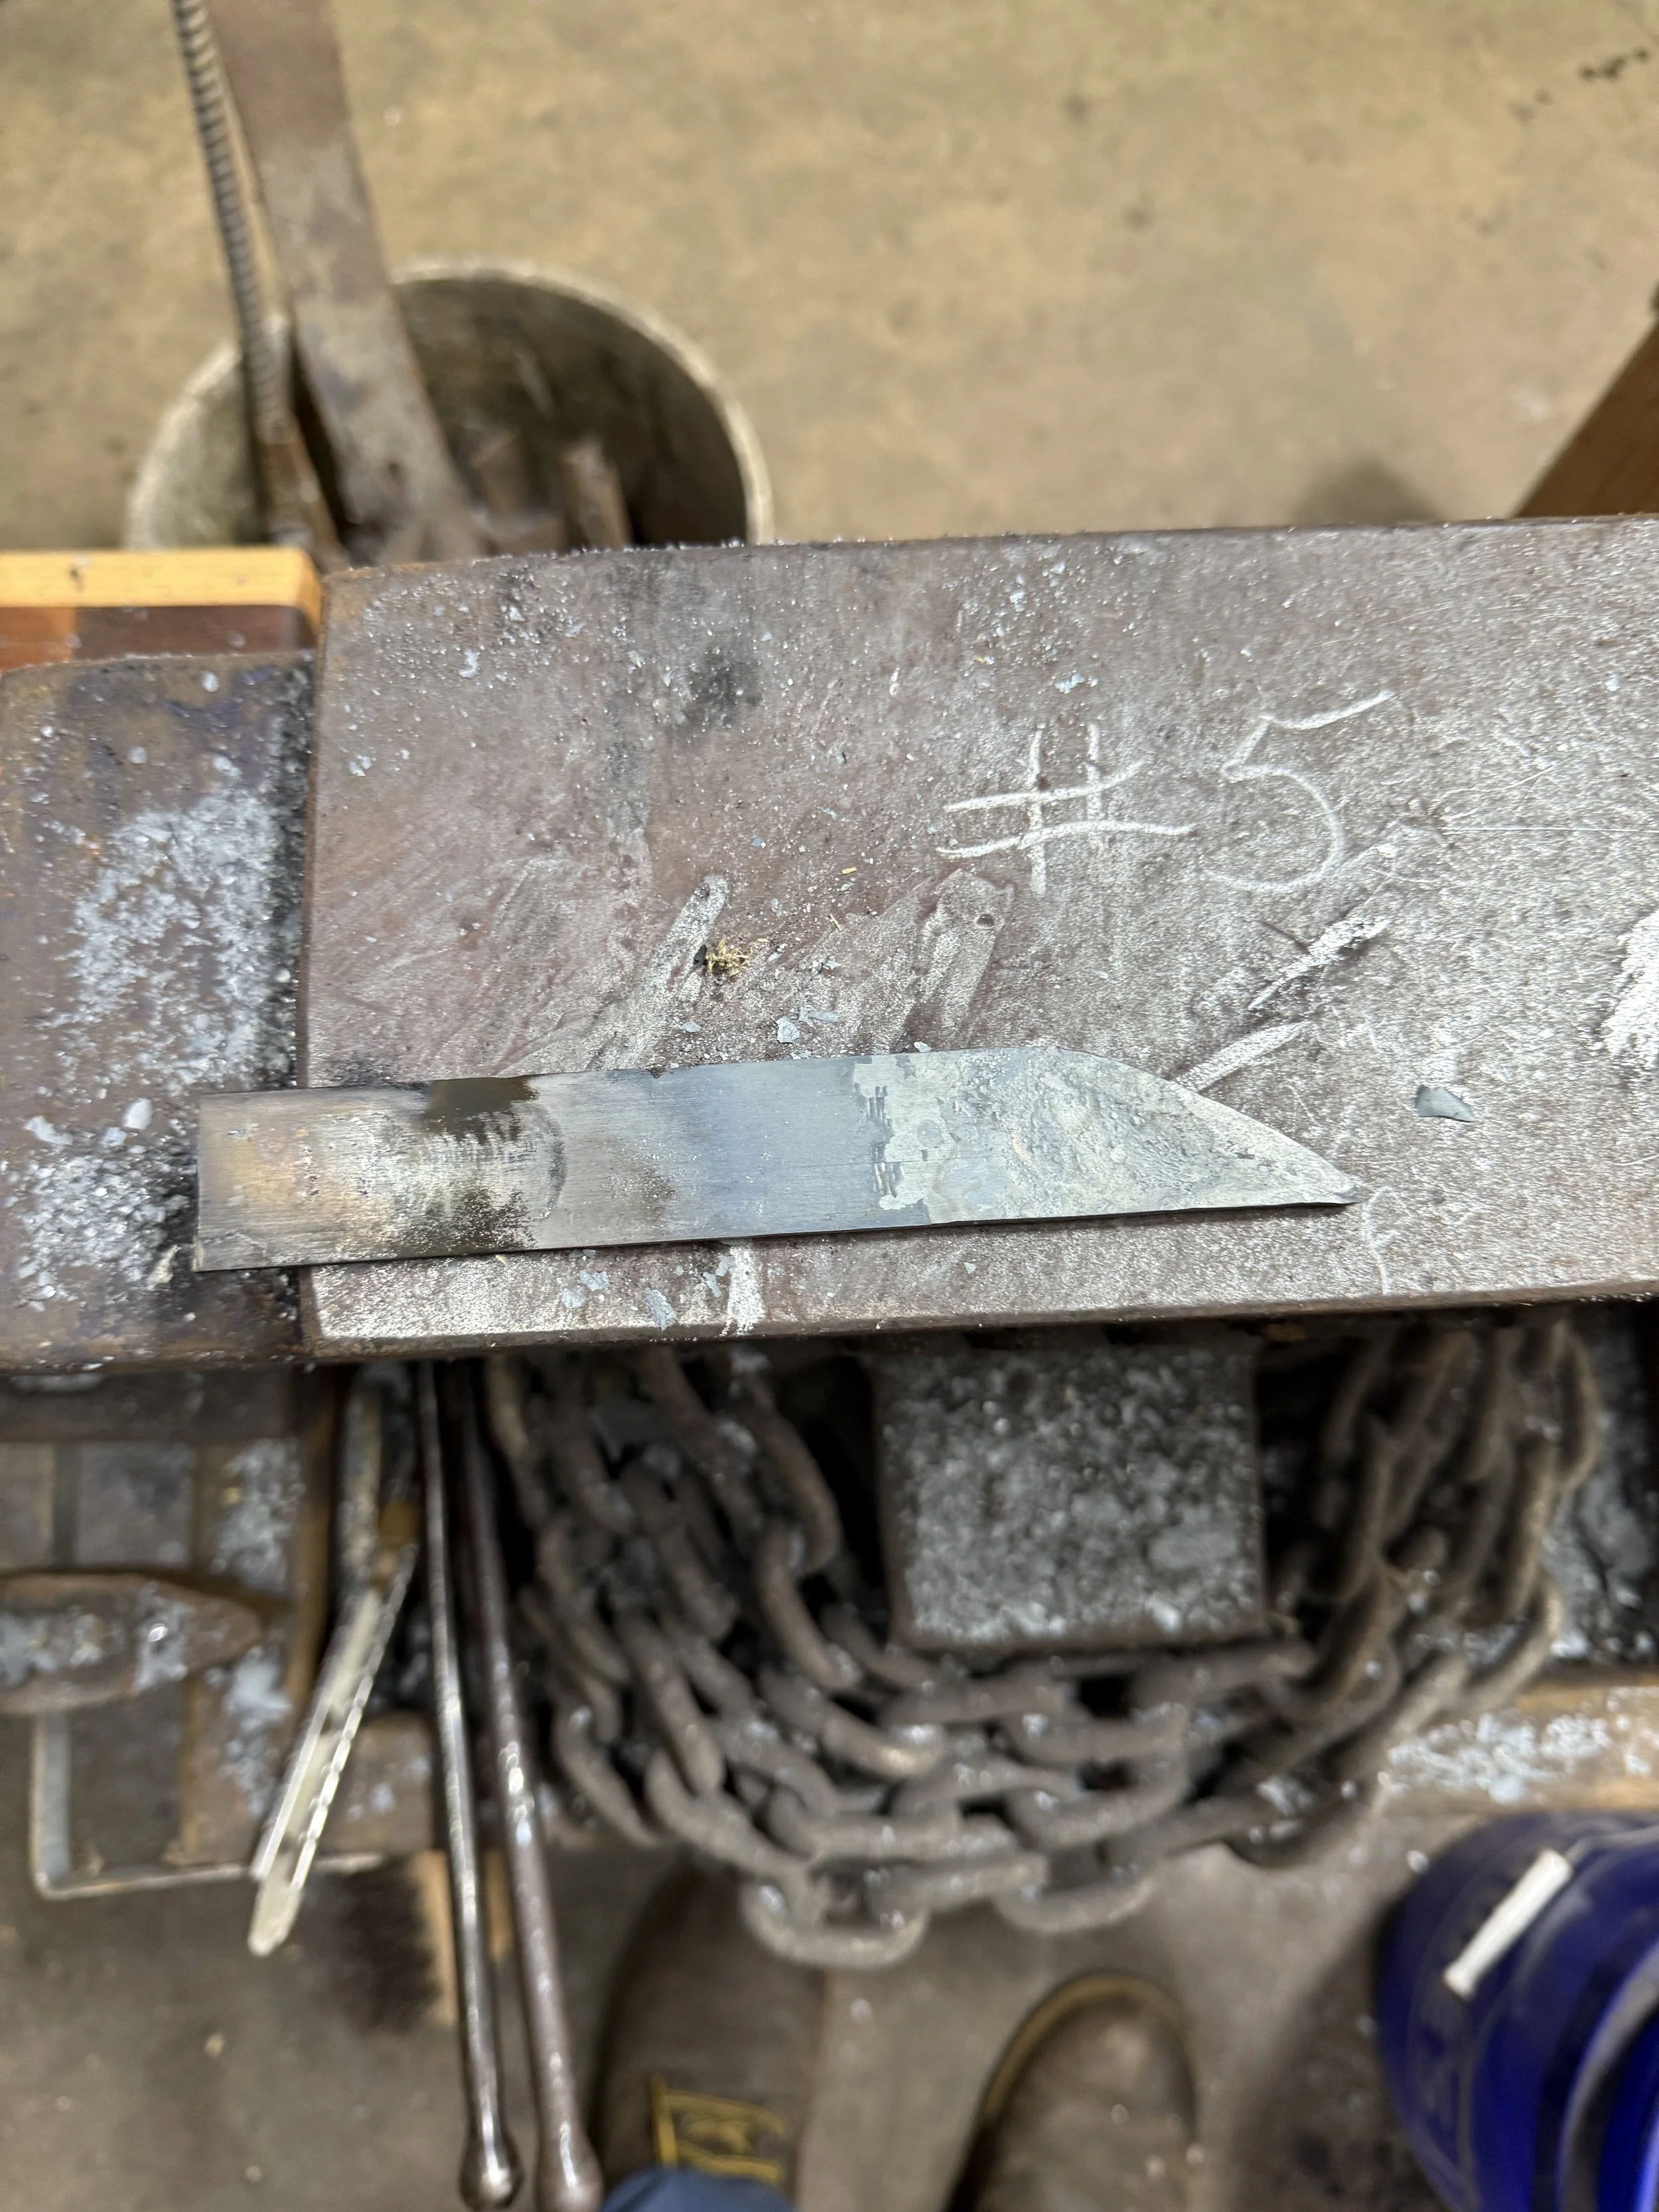
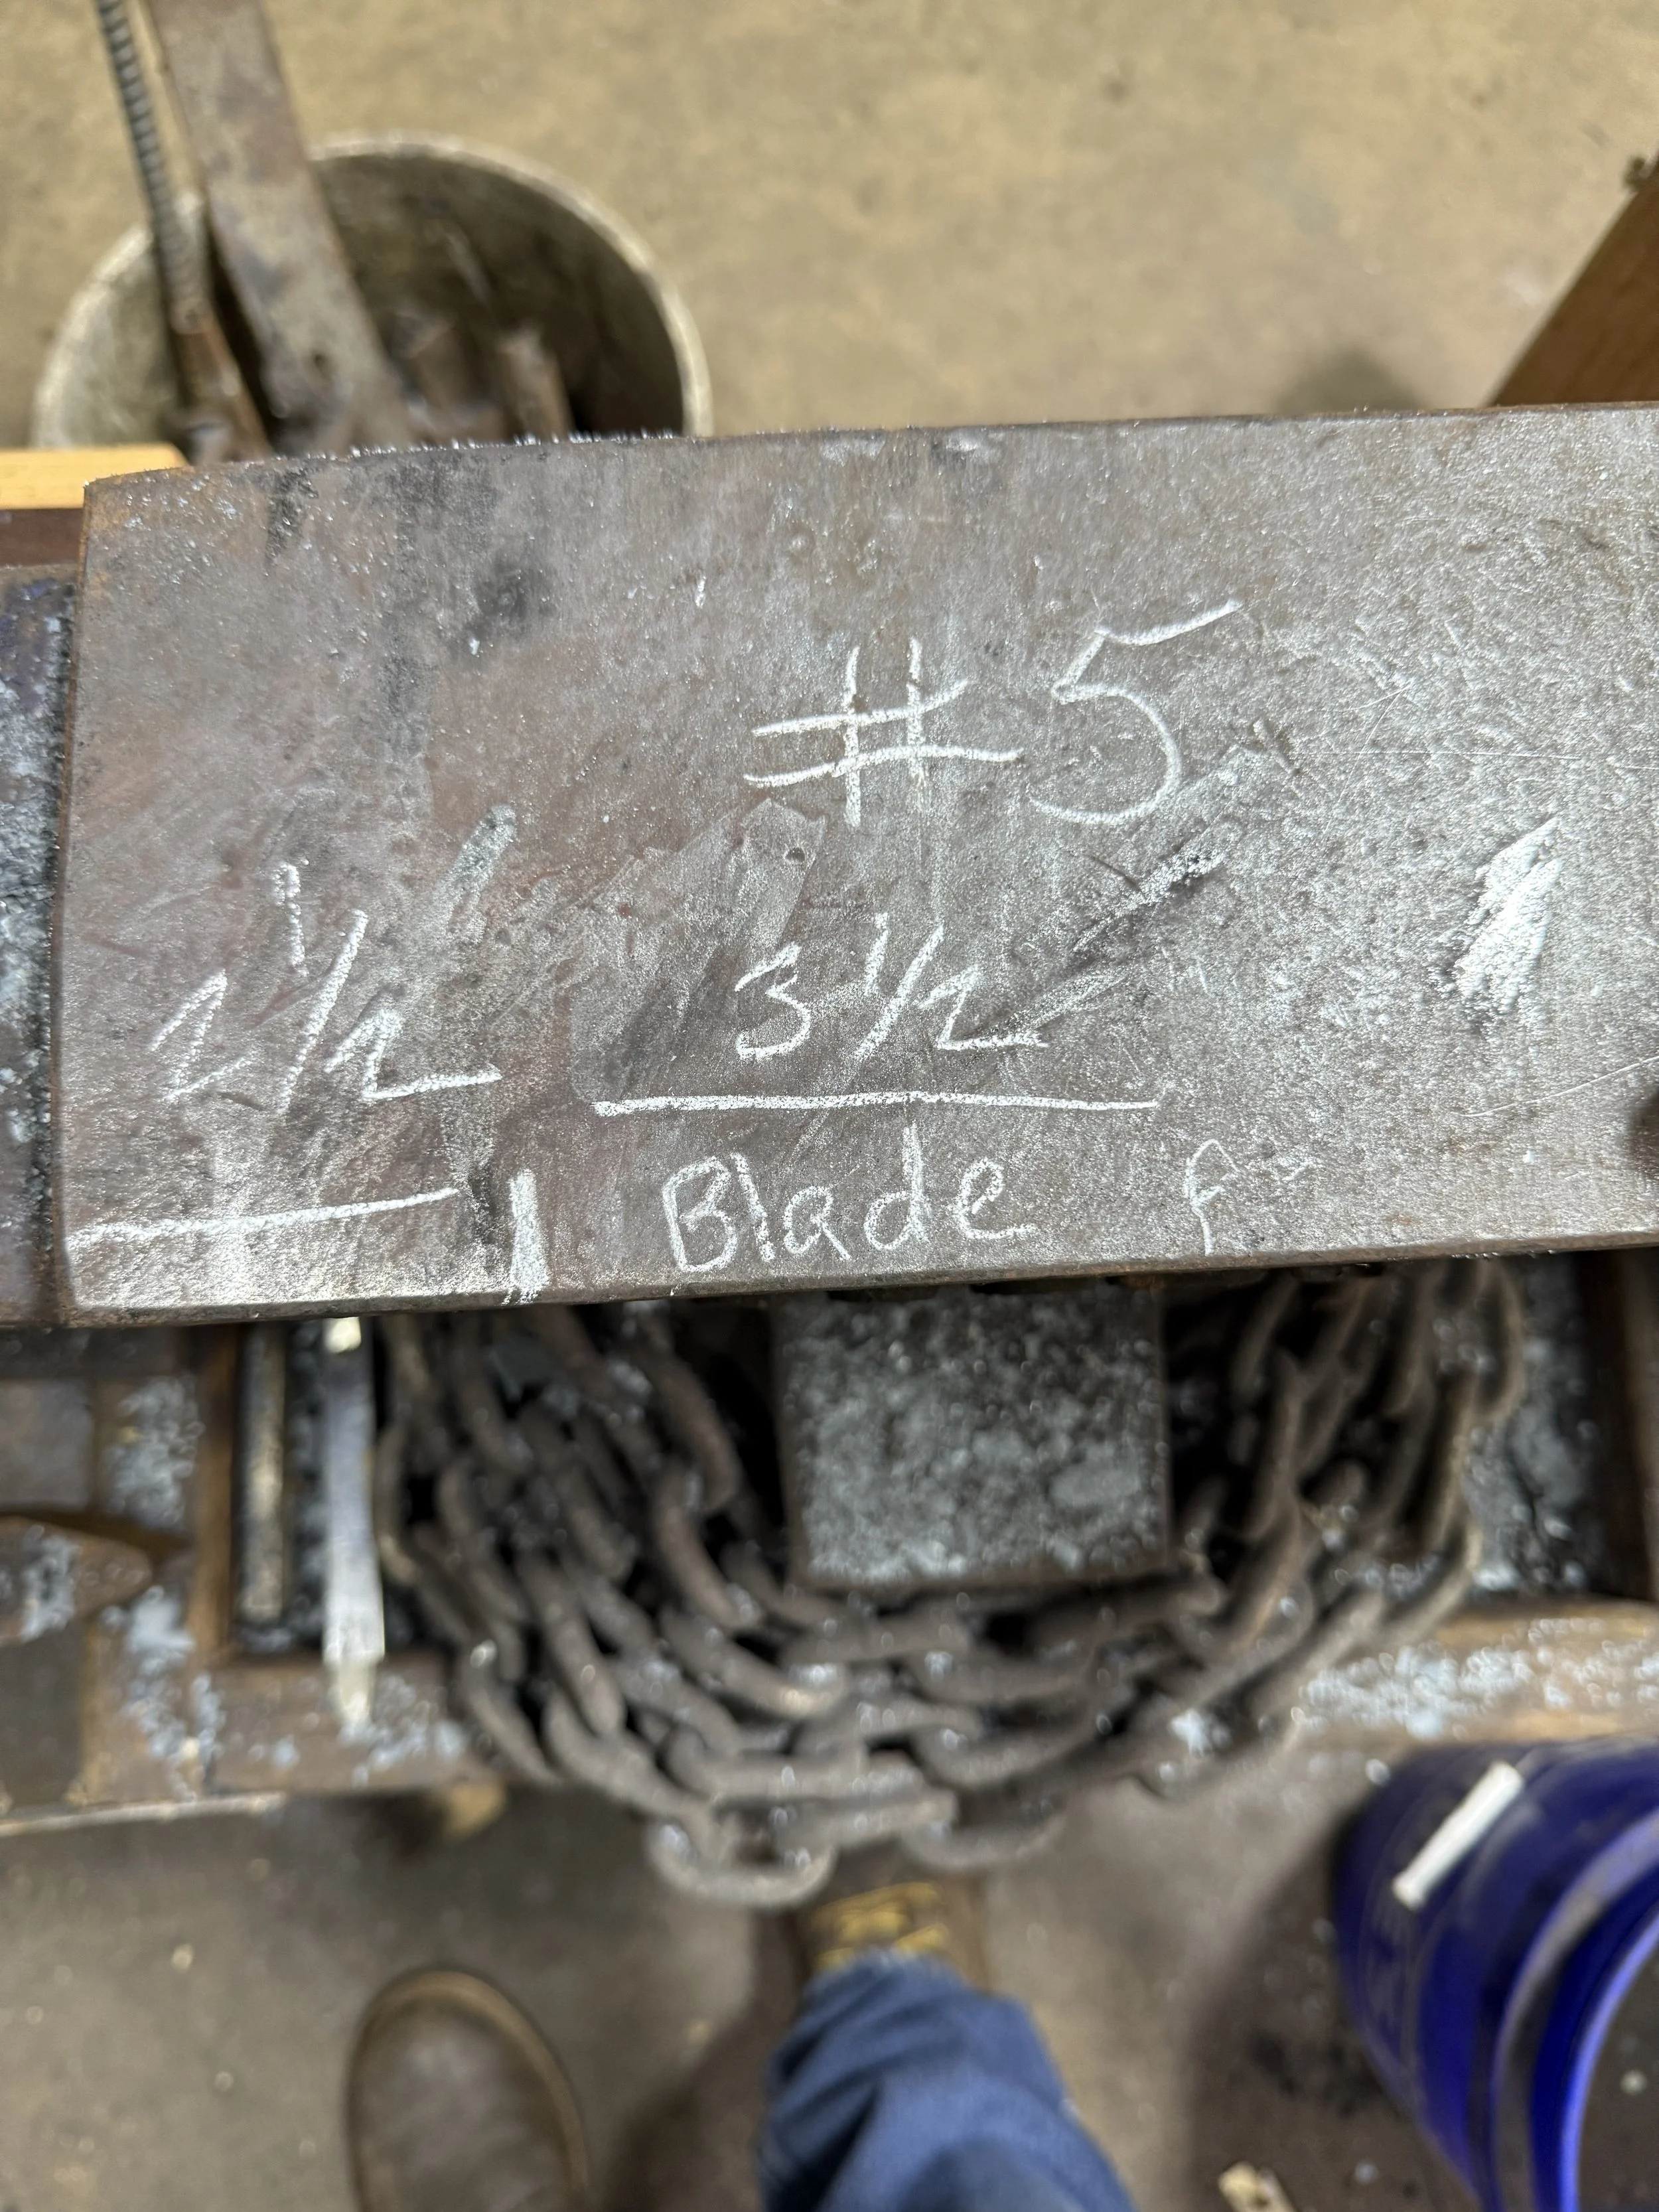
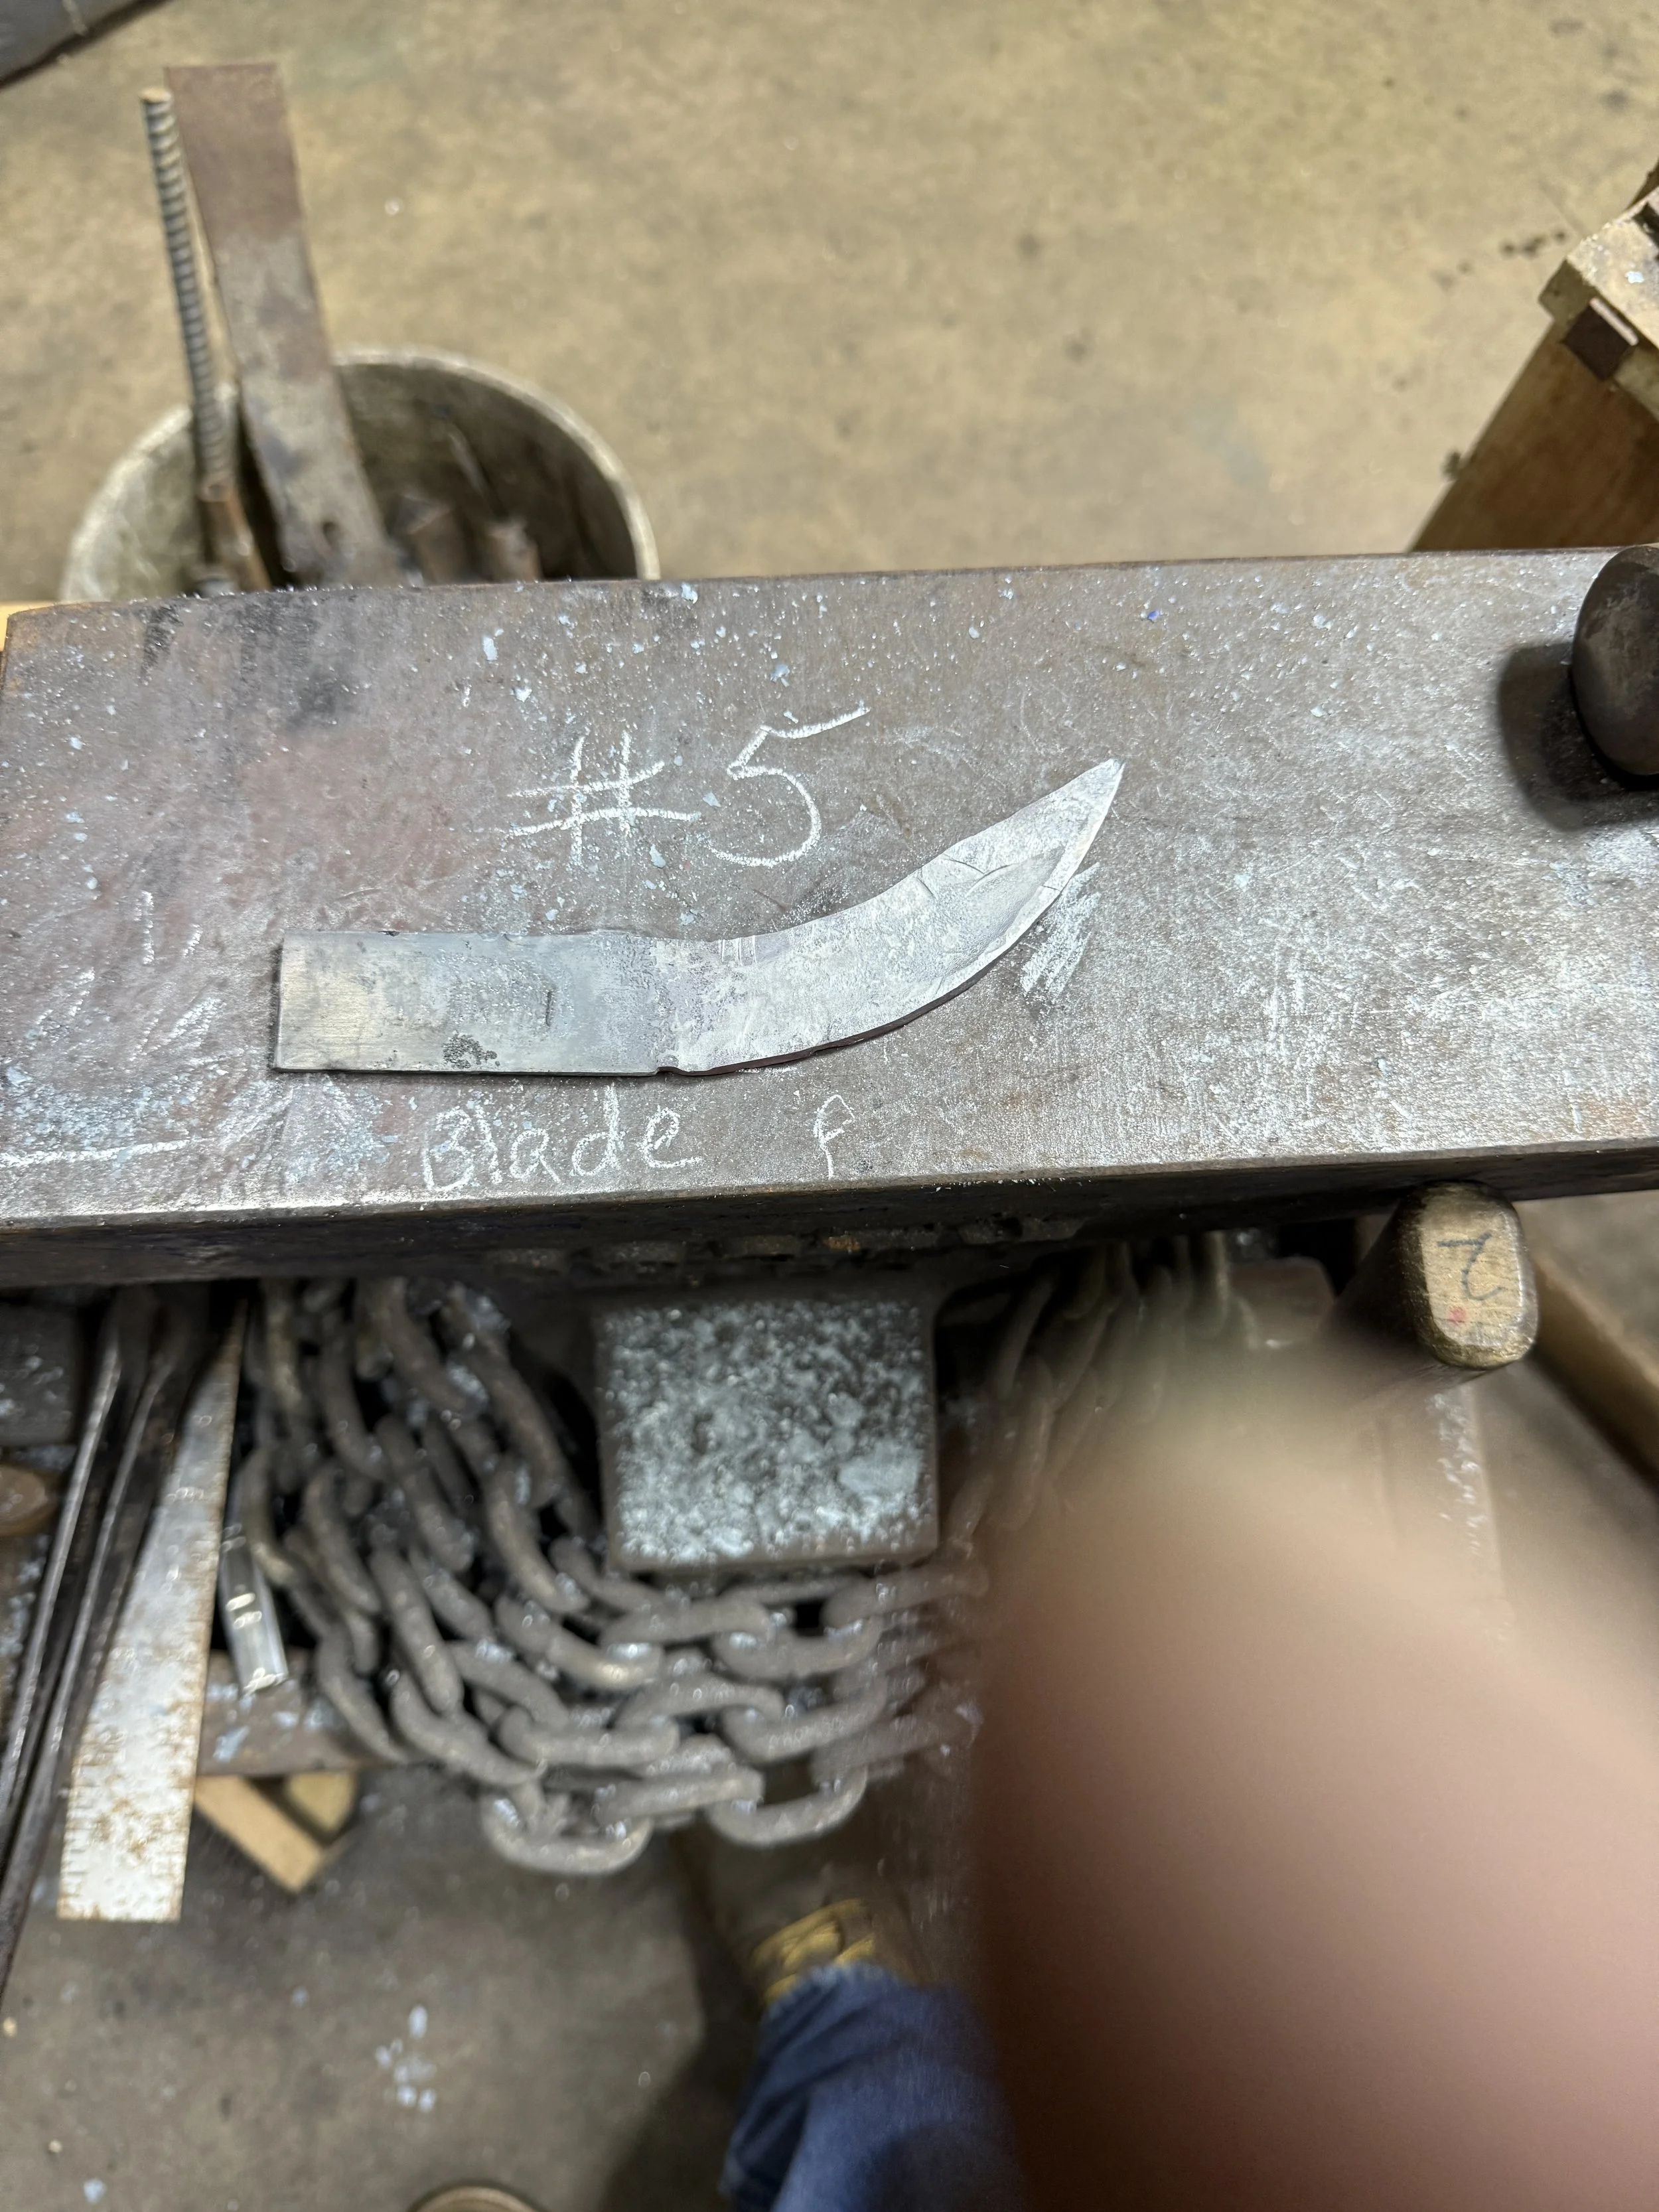
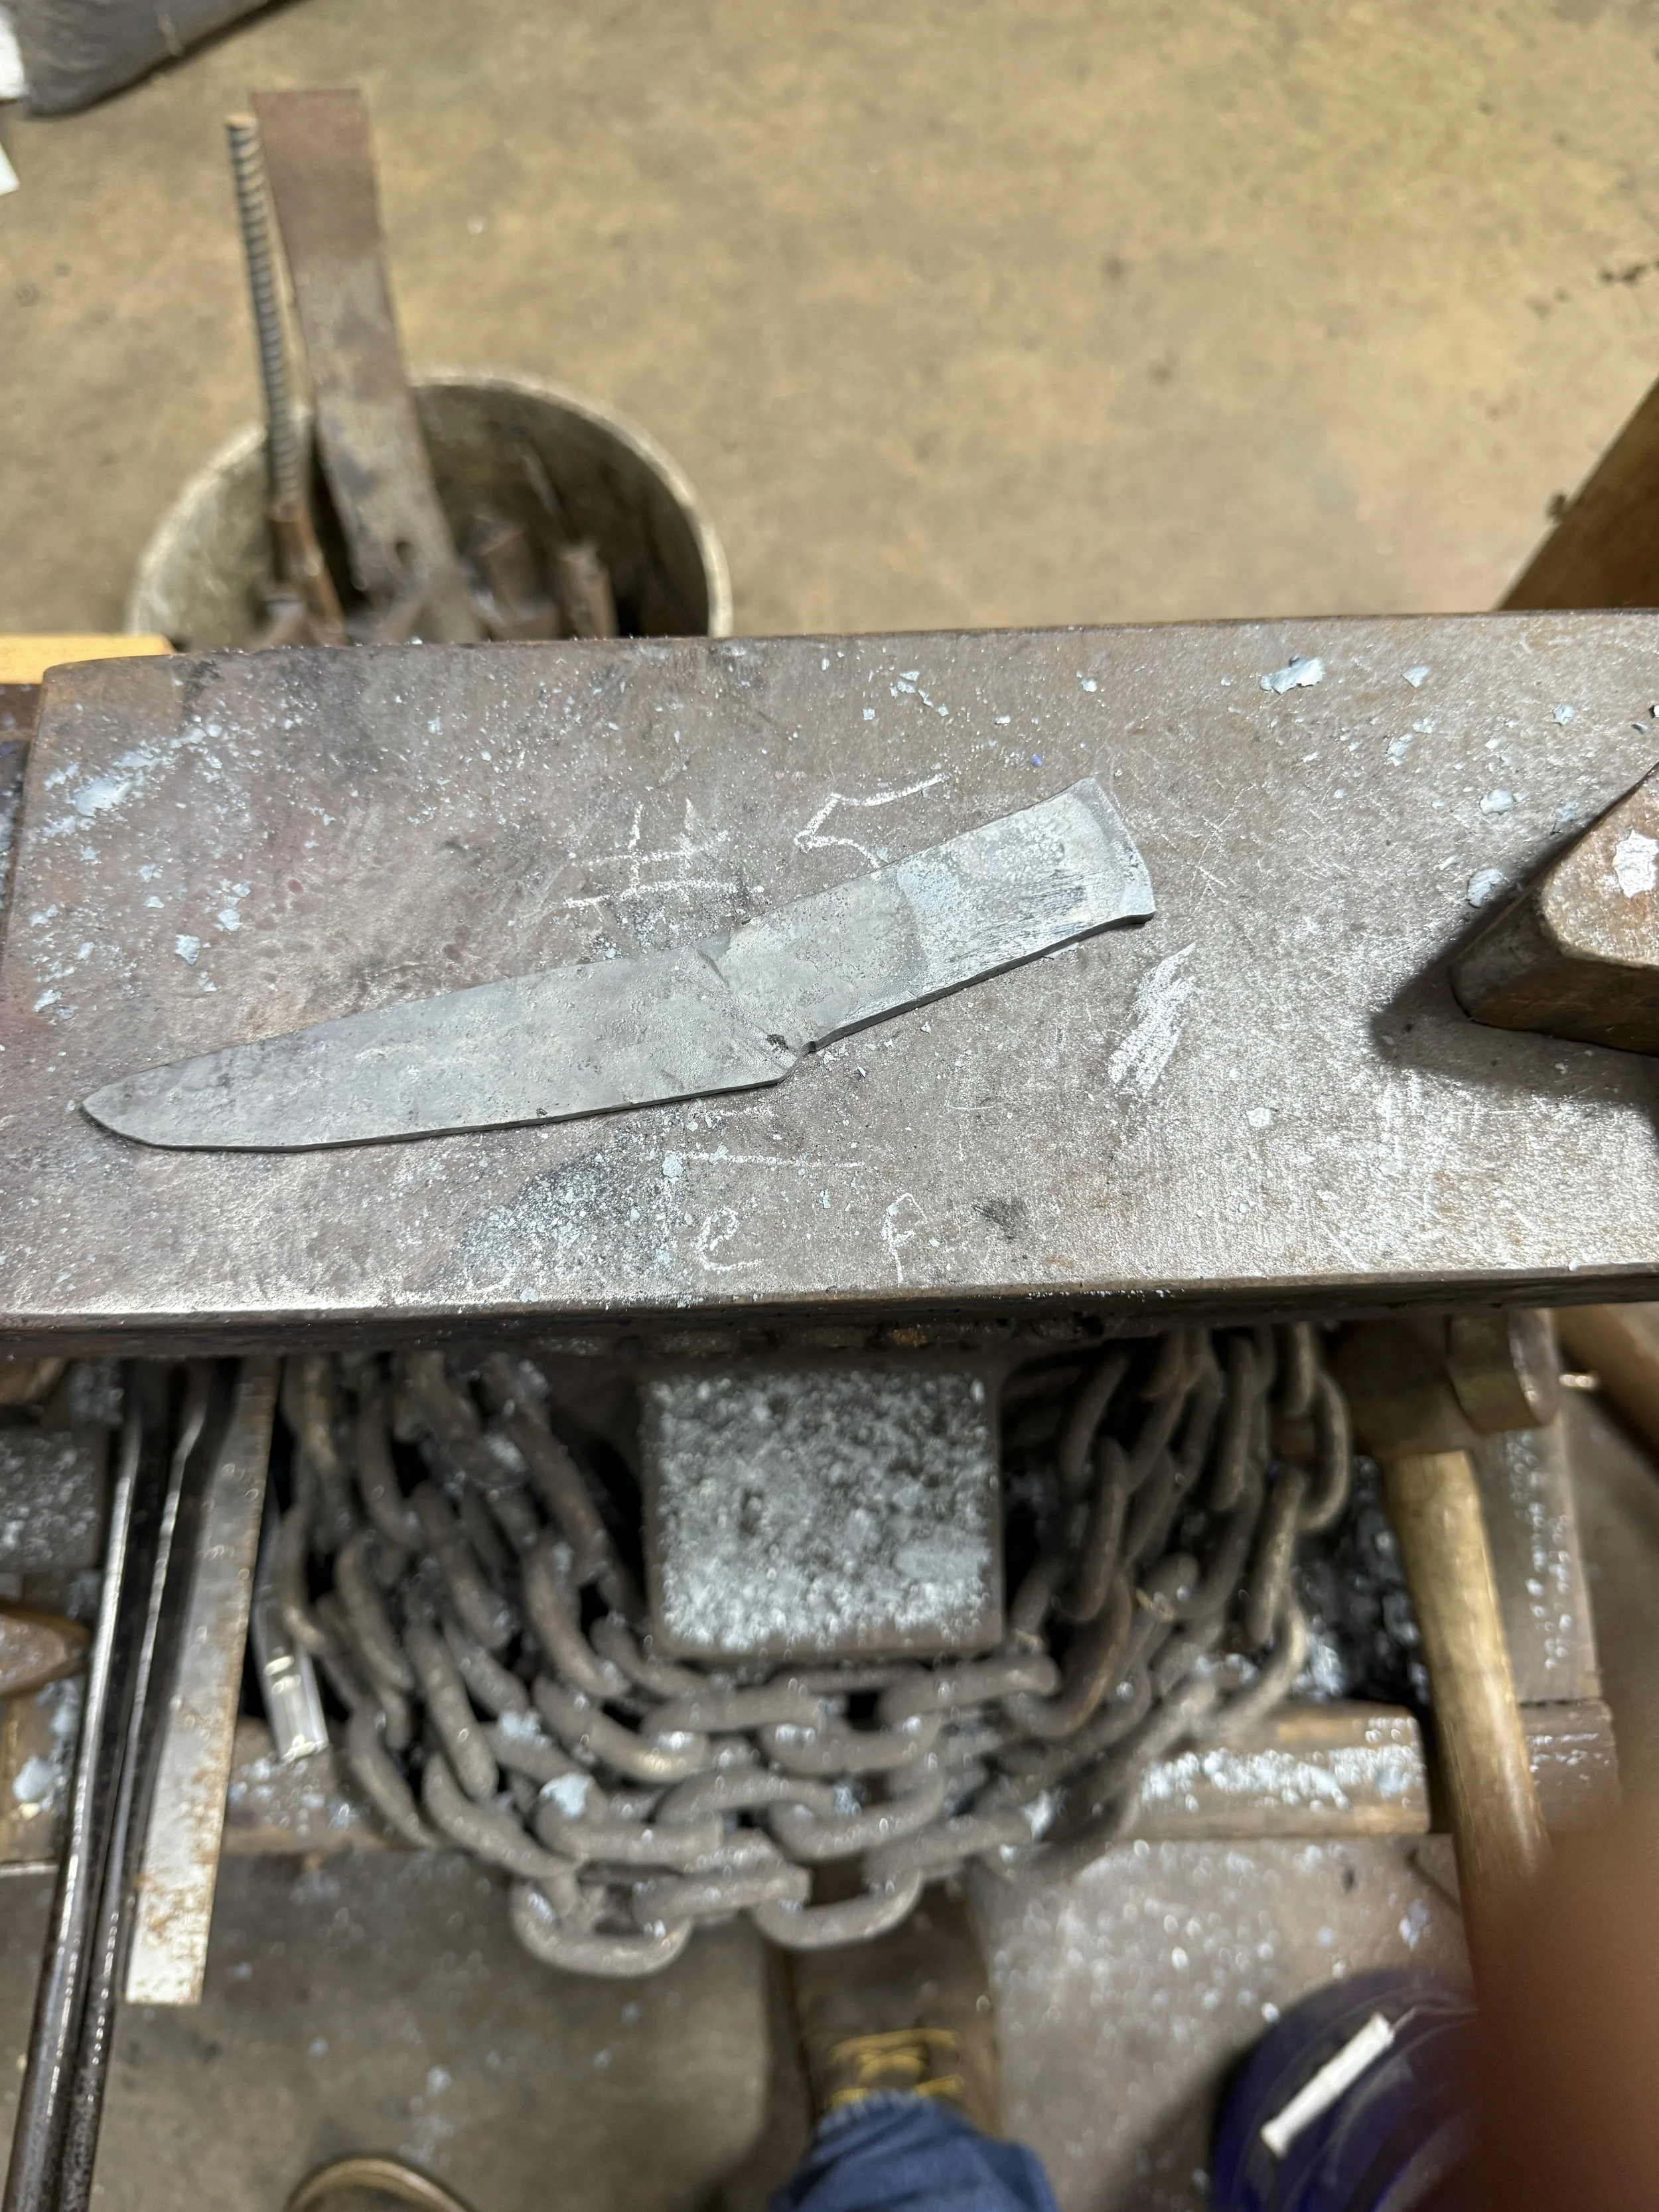
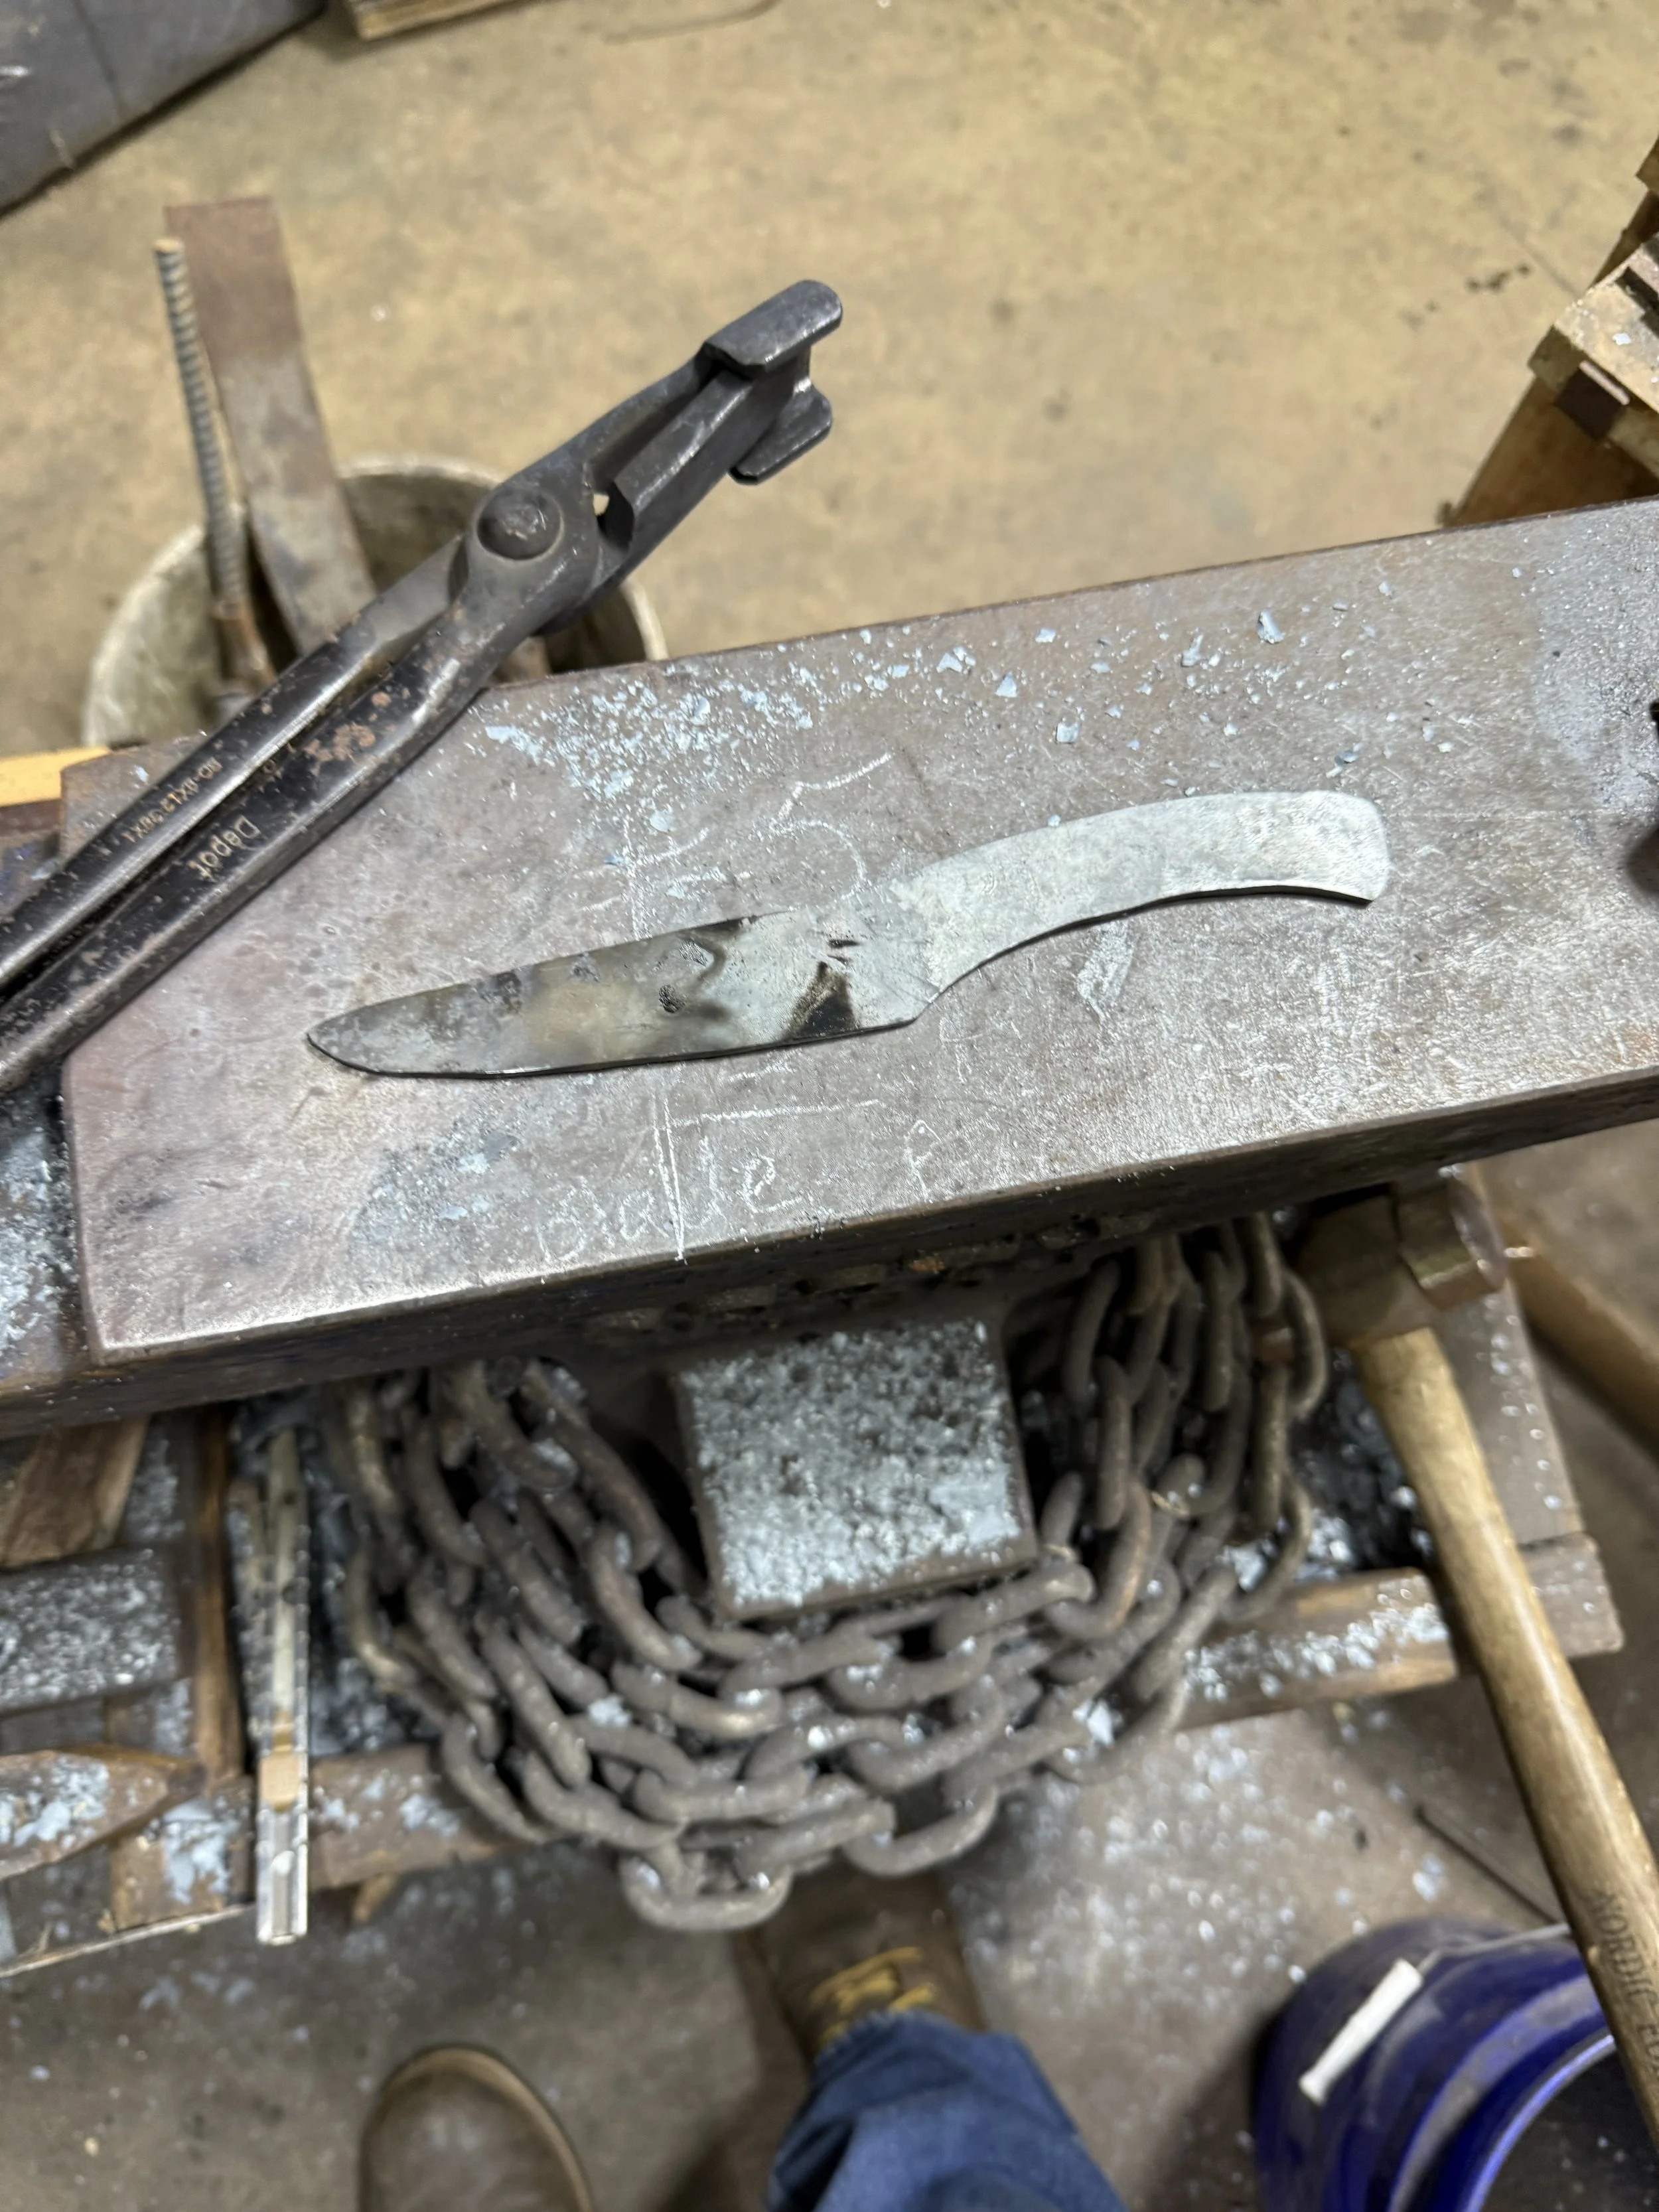
While working on polishing and finishing these 3 knives, I ended up with some daylight hours, so started knife #5. This time I followed the exact same process as the class, except putting the divider al little further back


Thus, as of the writing of this(10/22/25), I have my classroom knife, 3 finished knives and a hardened knife that need as handle


I am sorry it ended up being a little rushed at the end, but I guess that that does not really matter, as no one will make it this far anyway except tp look at the pictures. My hope is to get back into this blog a little bit more and try not to leave so much information dumped at any one time. Either way, once again I am going to try and keep up on my documenting my adventures. For my own amusement I have added a reference page for my knives as I make them, it can be found here.