
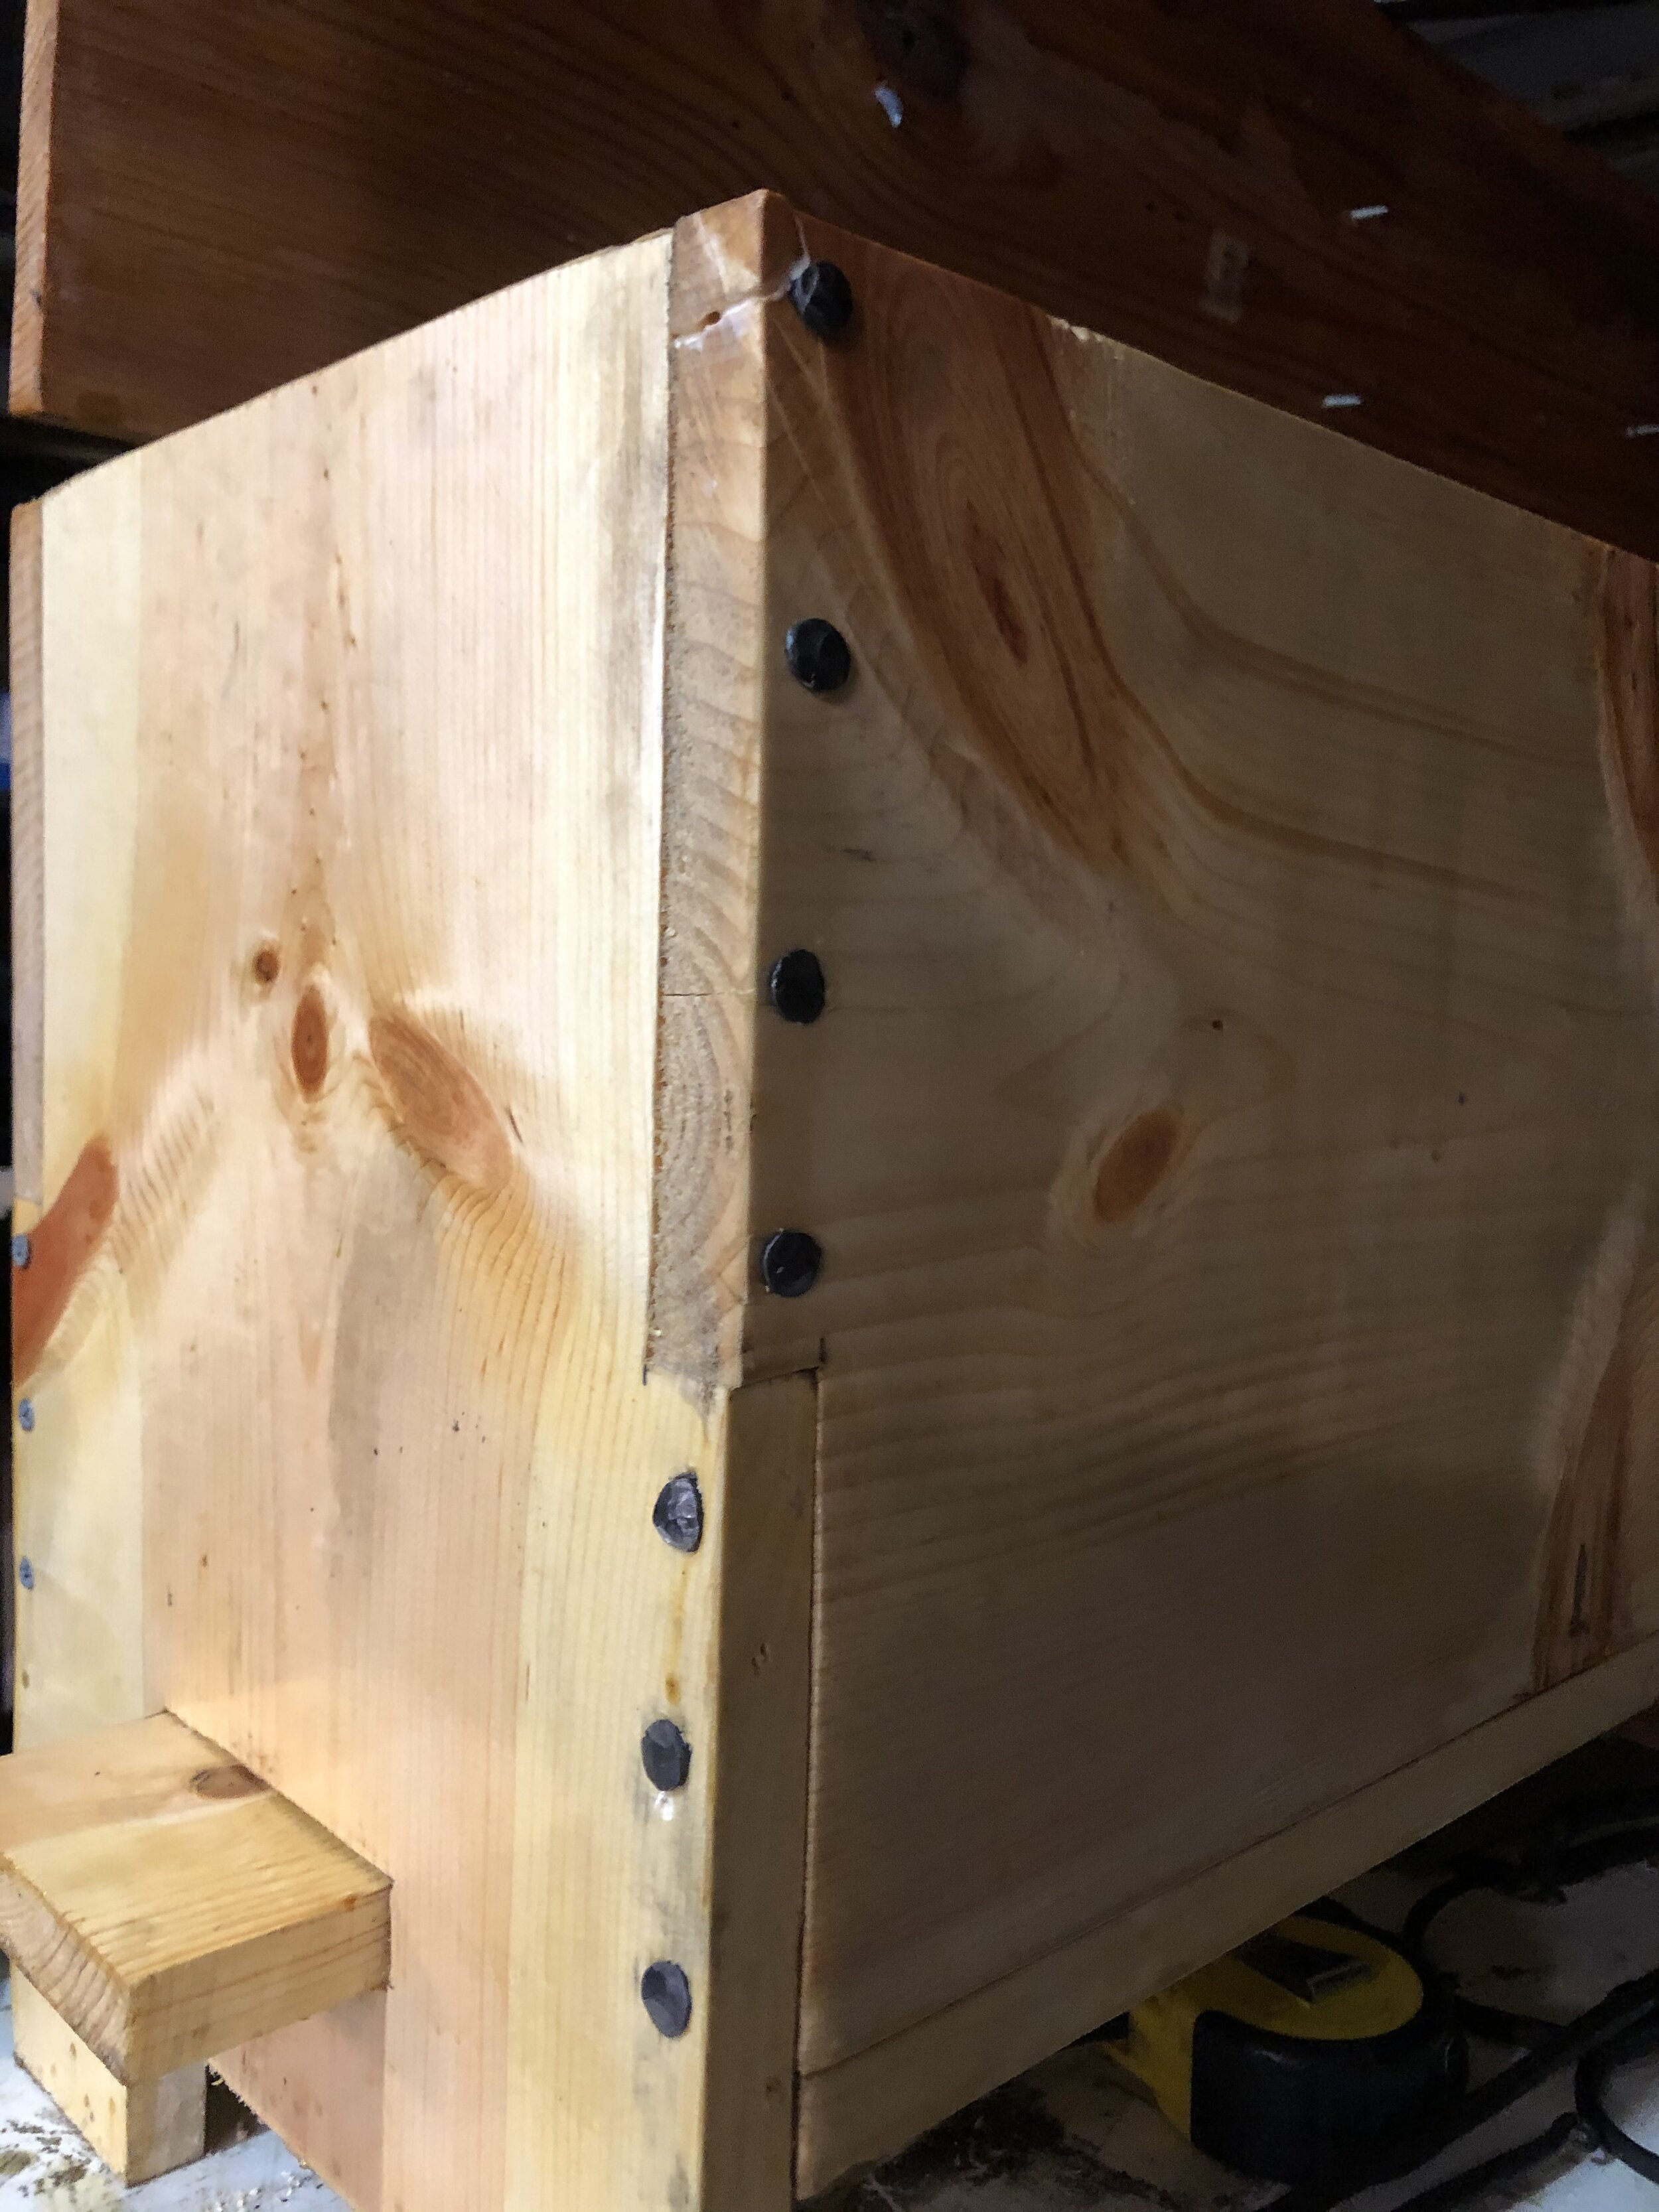
Back in the shop for the weekend. I was planning on going to Ghosts, Gouls and Goblins this weekend, but life decided that i should stay close to home. It ended up not being necessary, but I could not take a chance. In order to relax and chill, I decided to make some nails. These were for replacing the screws that are holding the chest together. I also tried out my new nail header I purchased from Pieh tools. It ended up being much better then the one I had been using. Slowly one by one I began replacing the screws with hand forged nails.

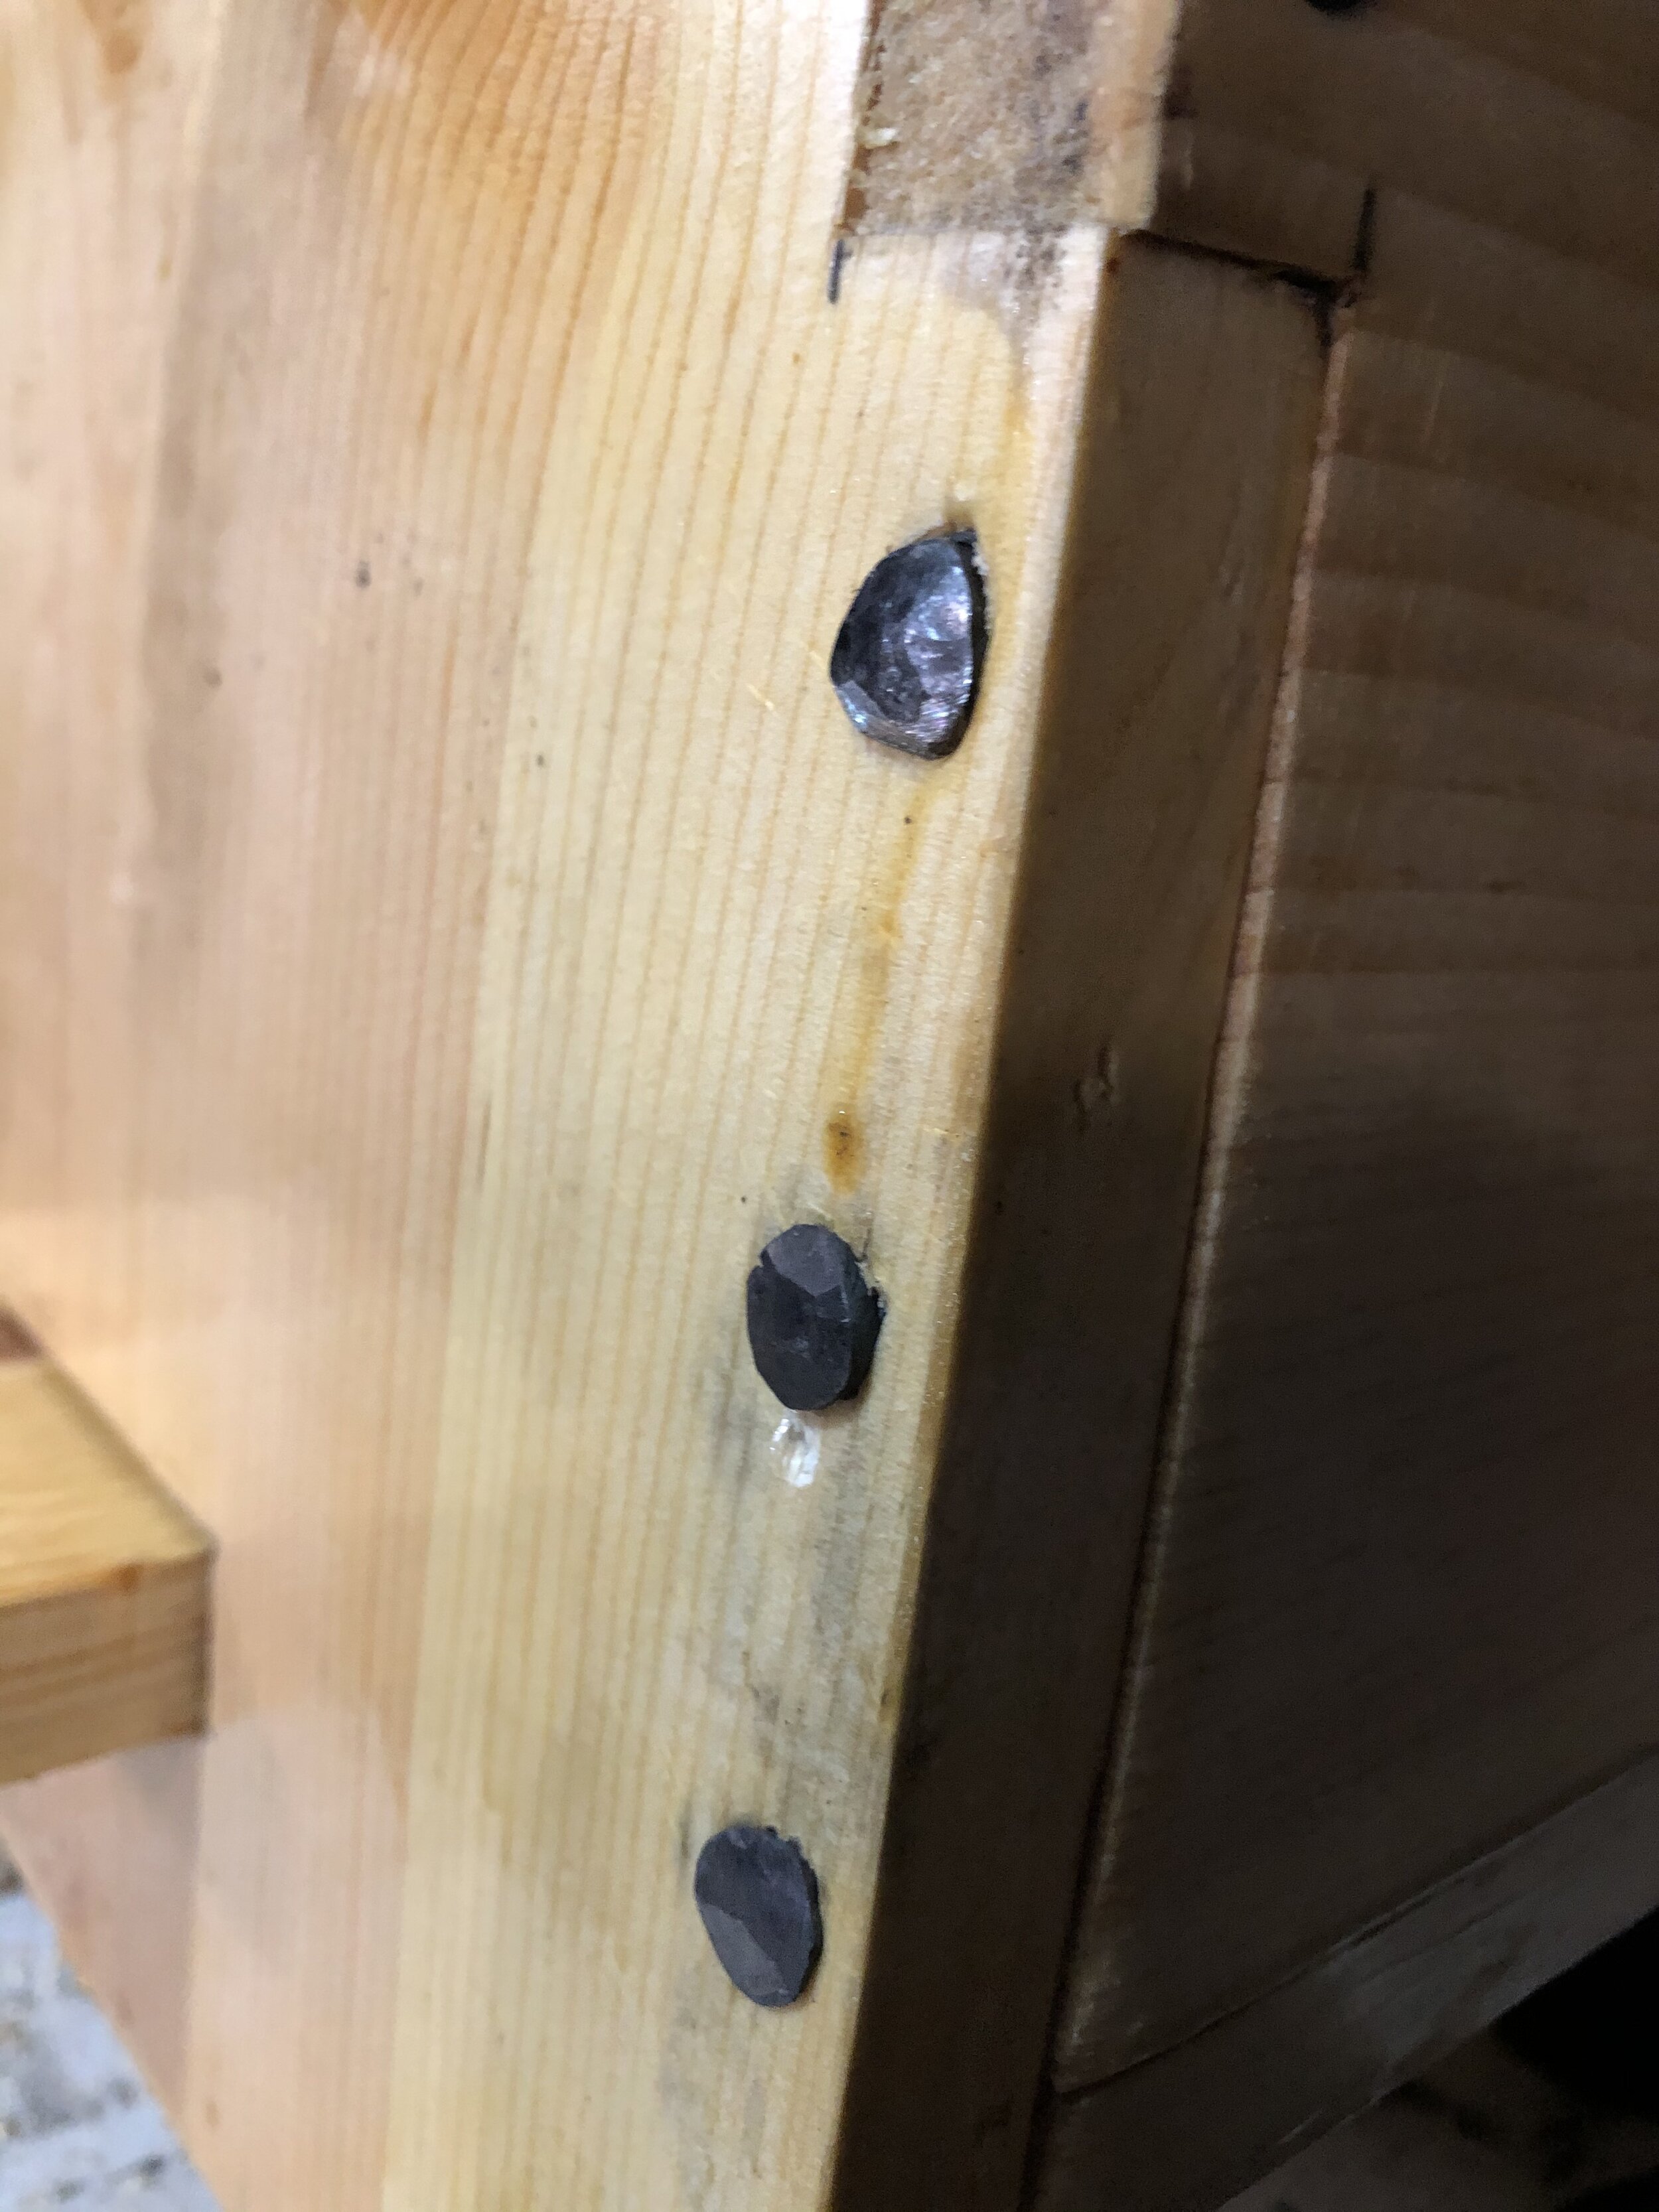
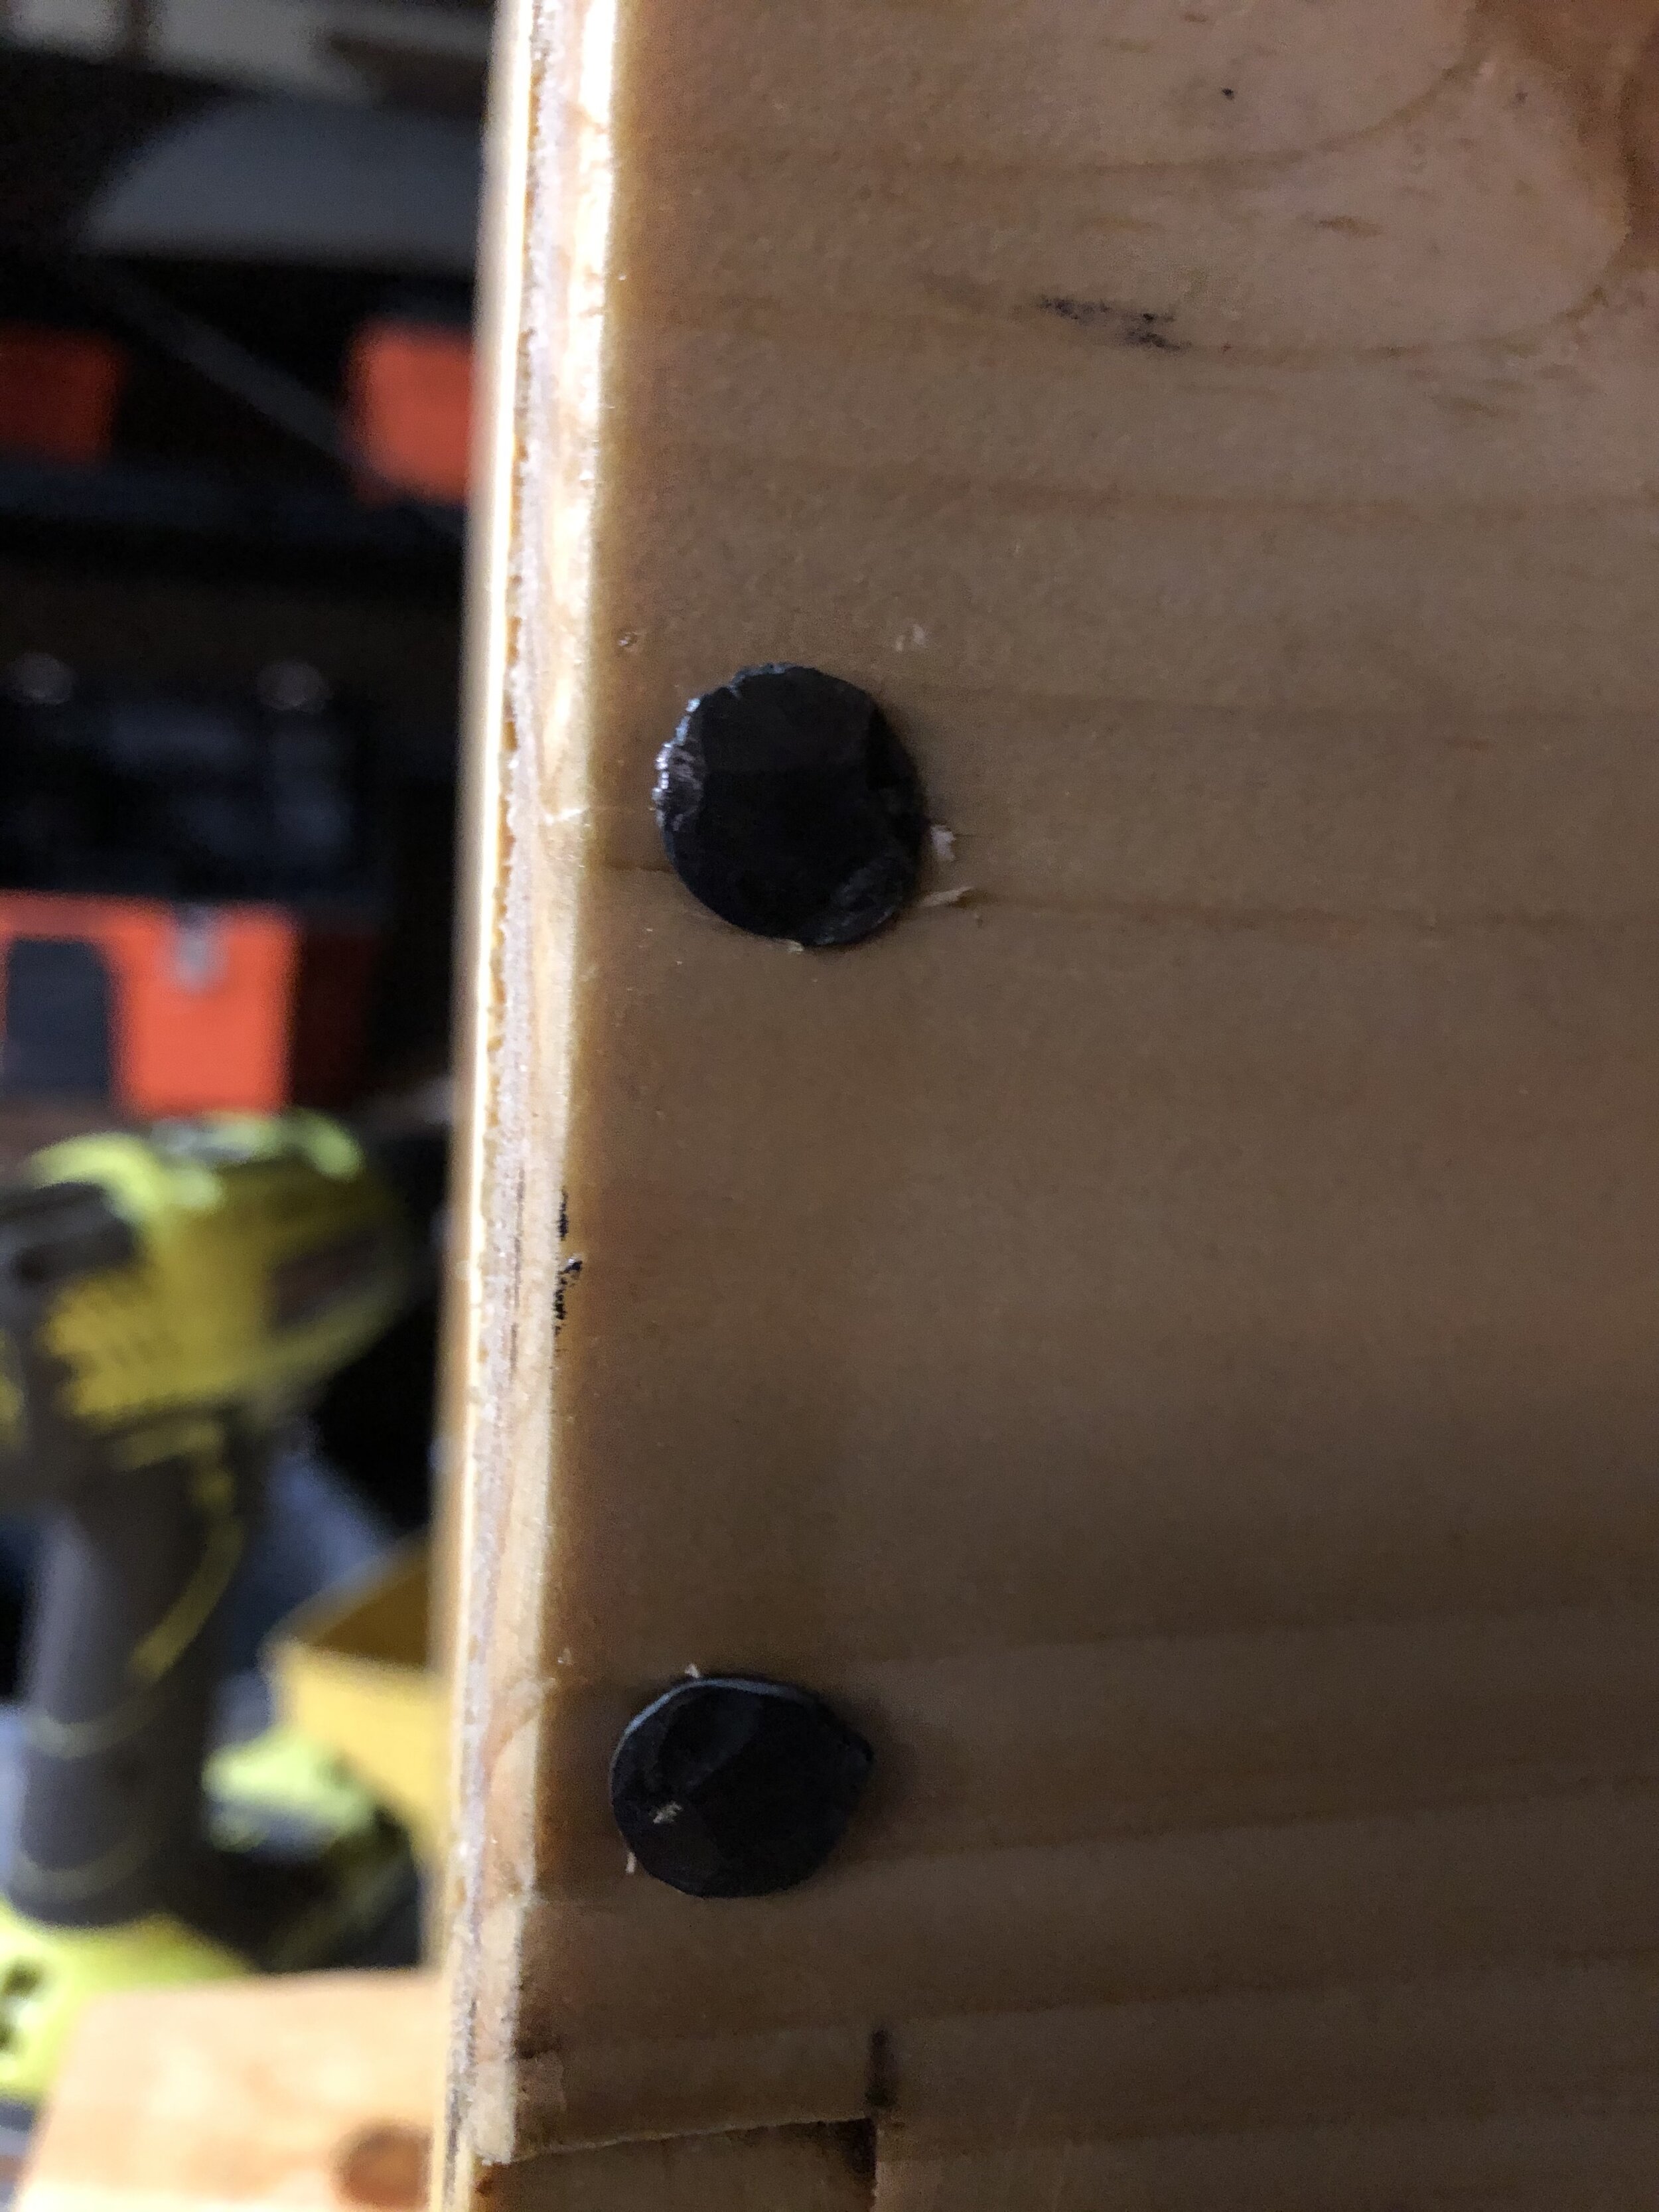


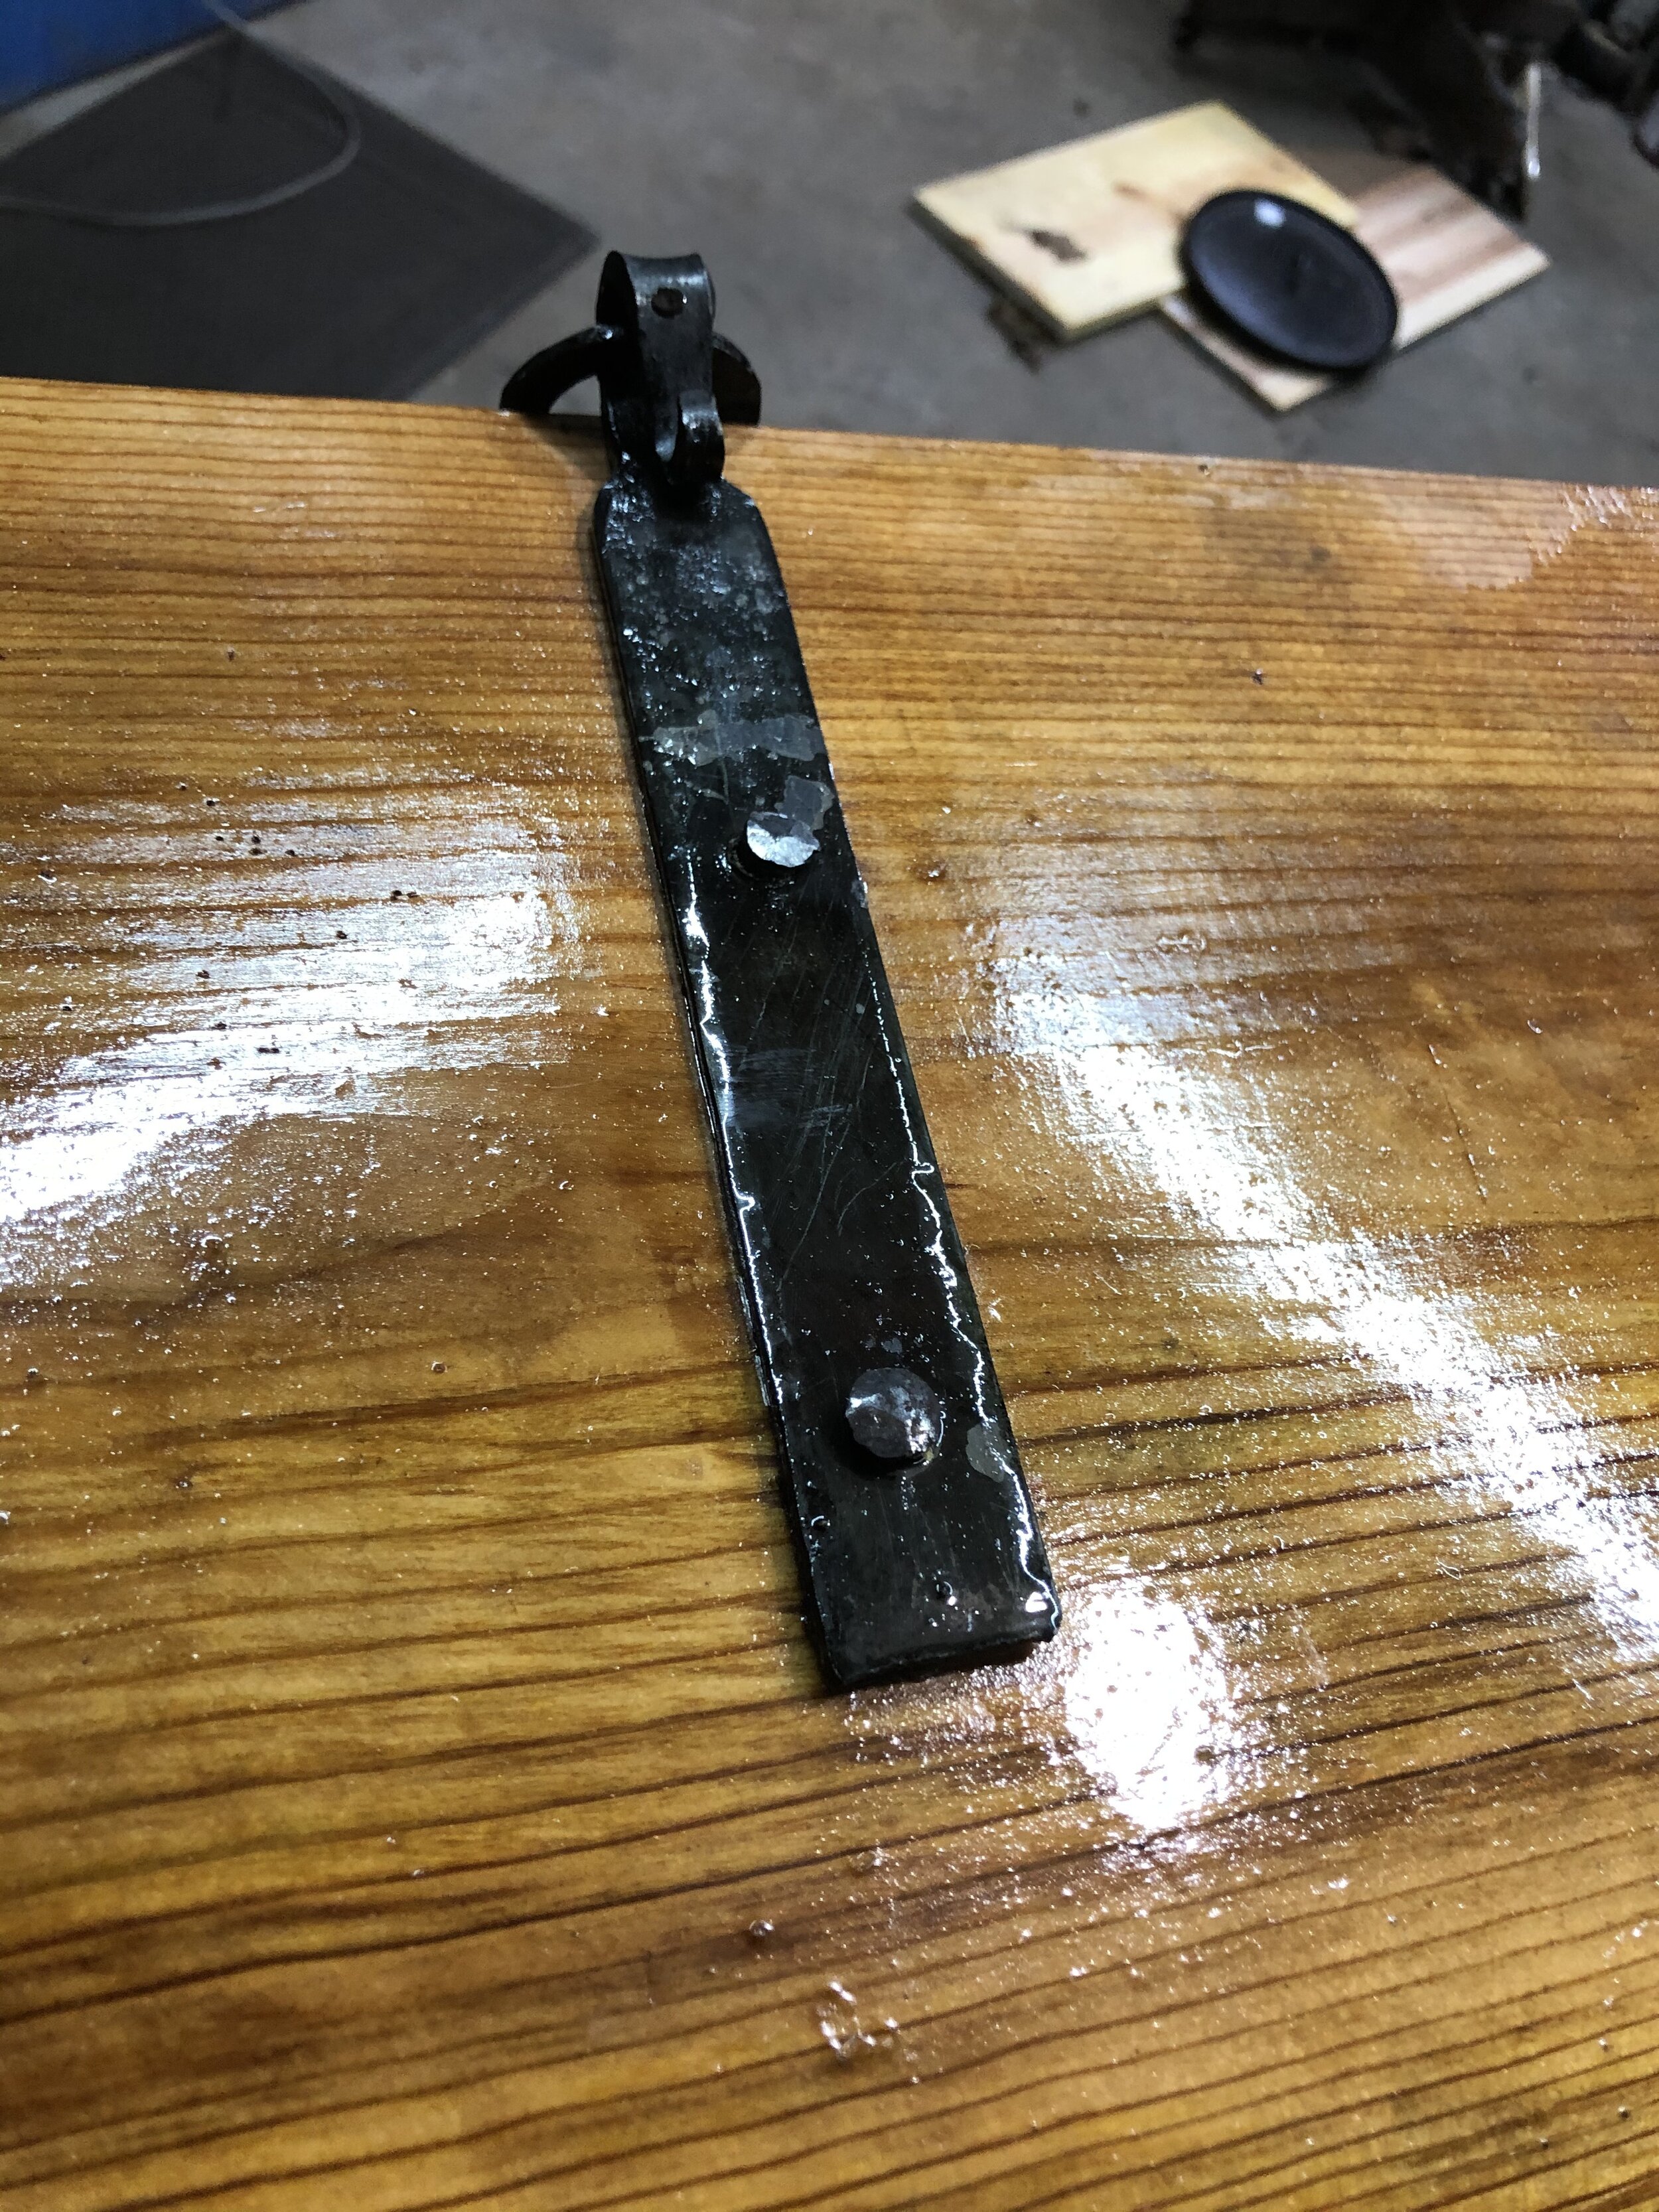
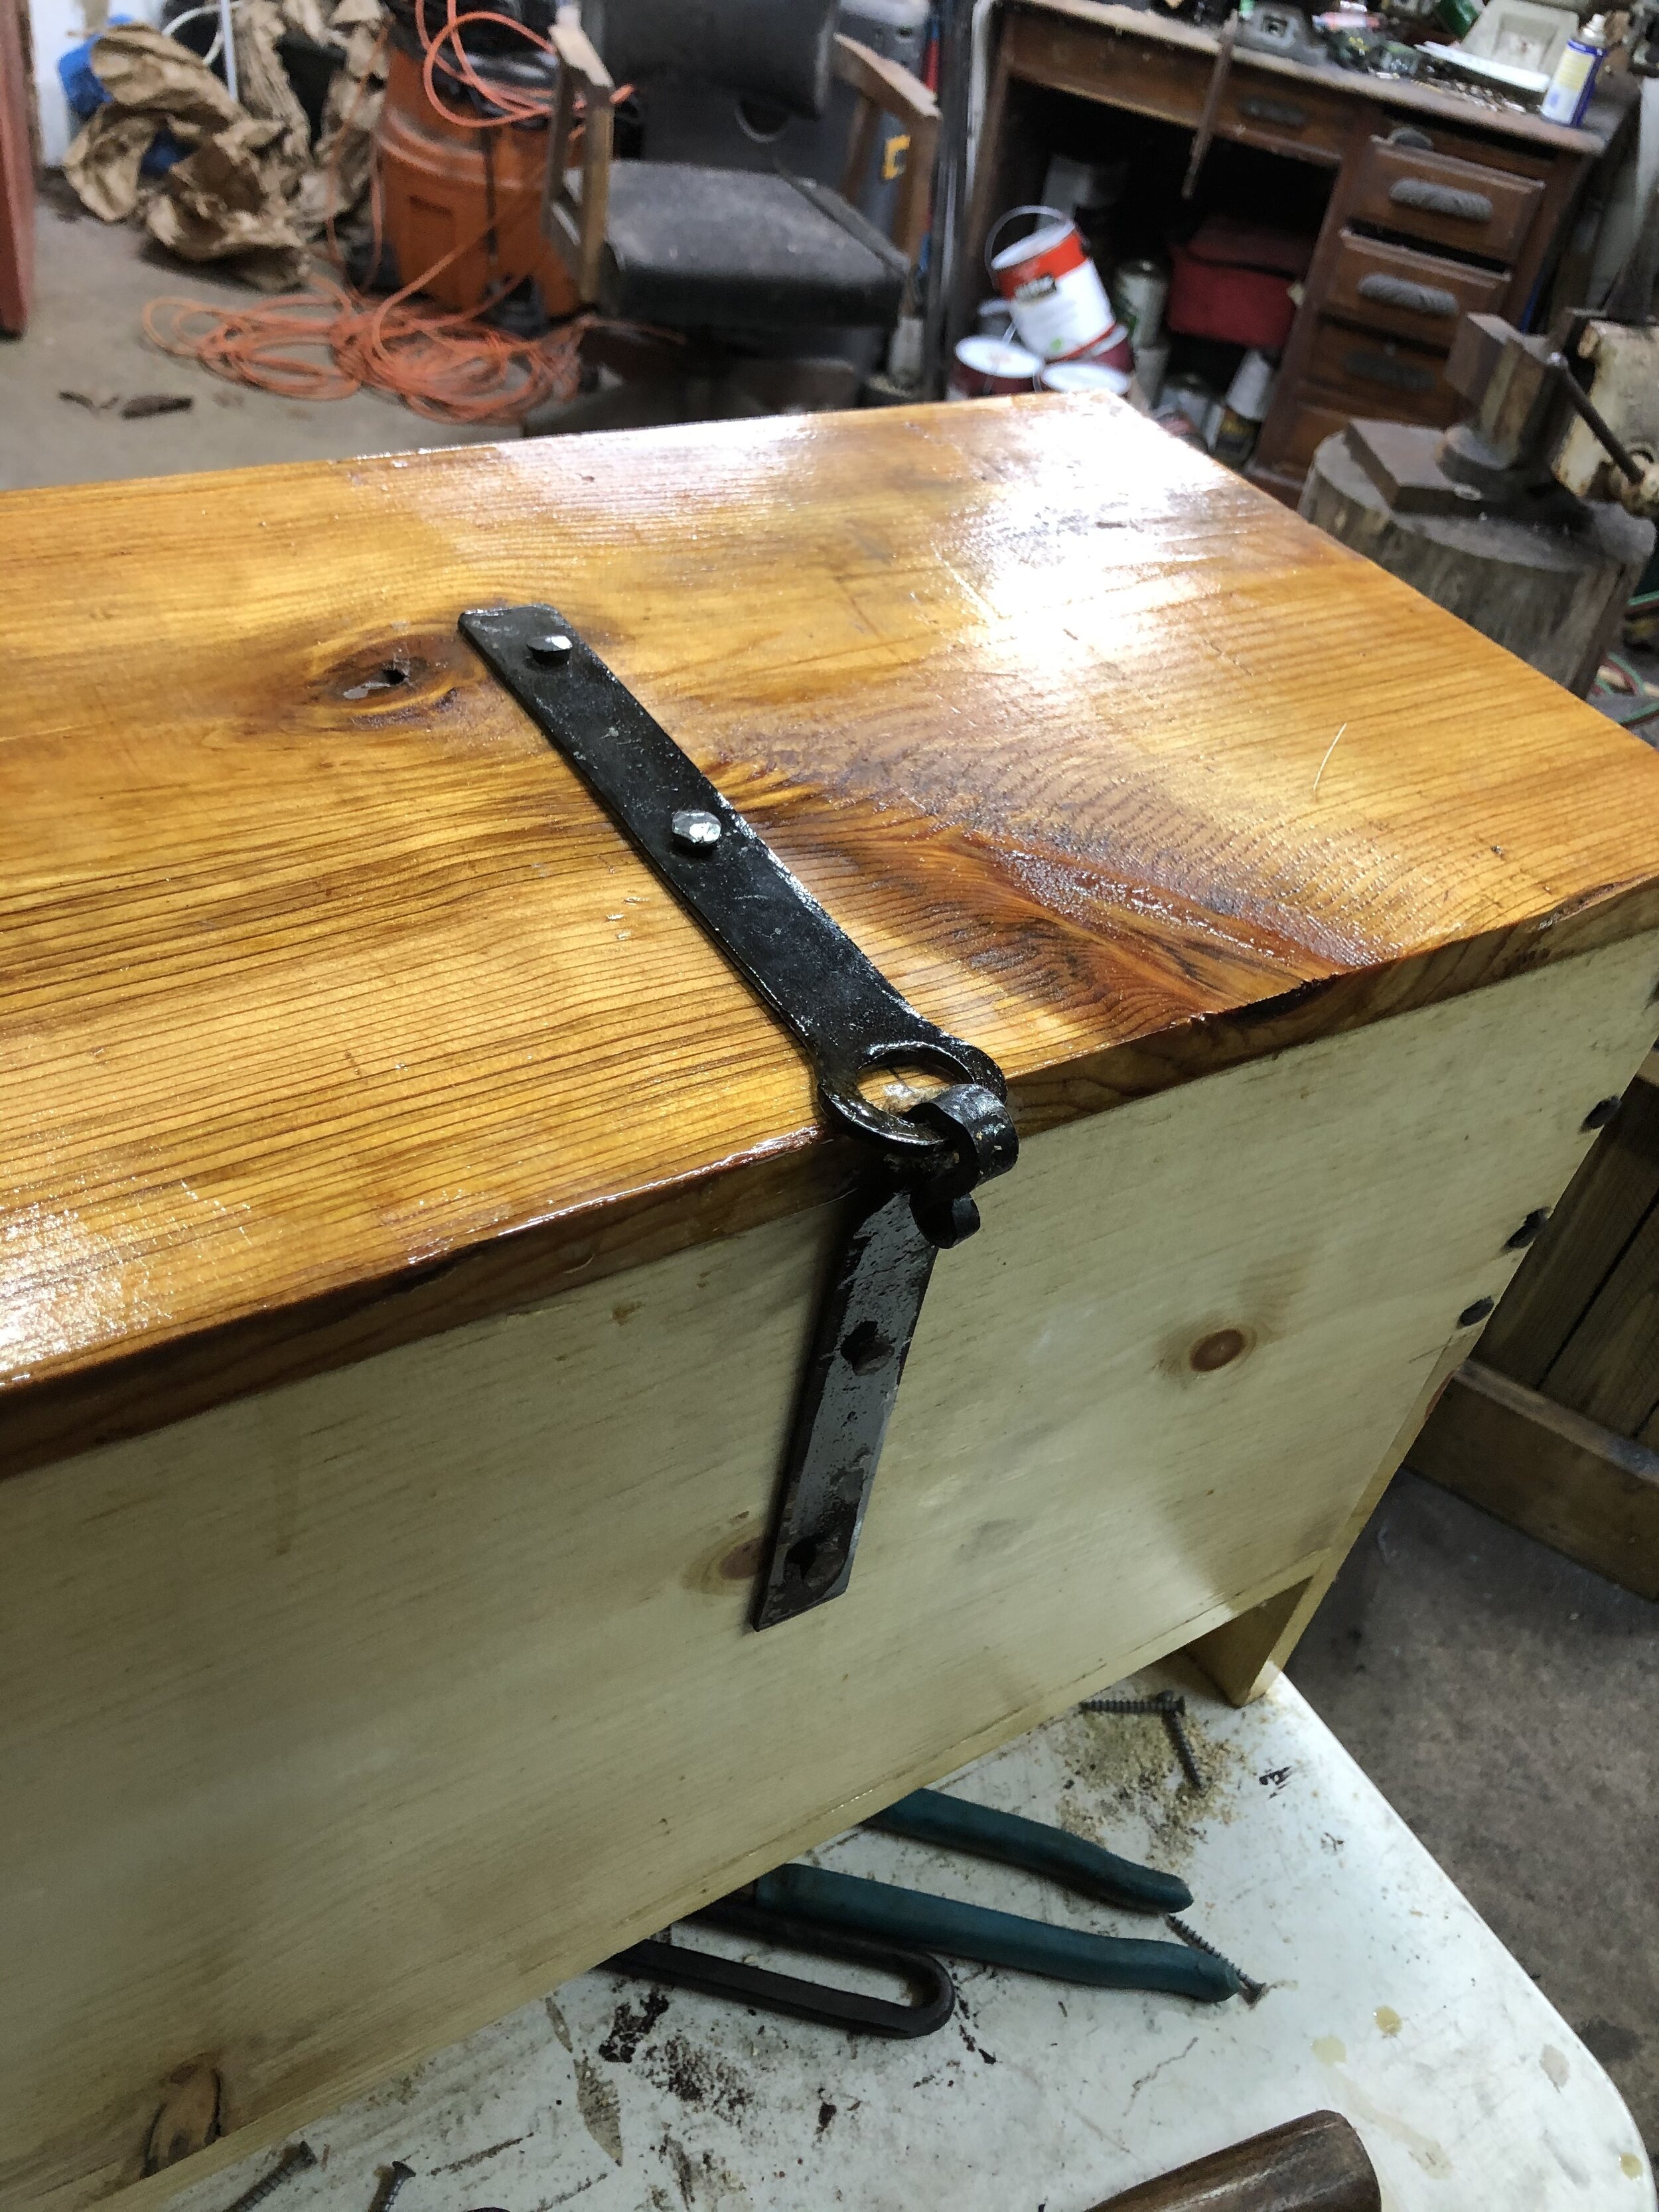
The hinges for chests of this time period were also held on with nails with the ends folded over to make them secure. Picture 4 and 5 show the screws being replaced in the hinge. This was all I was able to get done on Friday.
Saturday saw me finally start on a project that I had been dreading. I feared I had bitten off more then I could chew and I was not going to be able to create what was needed.
Backstory:
For quite a while, I have wanted a bigger leg vice to be able to handle larger jobs. Most of them that I have been able to find online, the shipping made them cost prohibitive. At Pennsic this summer, Rabenwald Metalsmiths had a large post leg vice that was missing a few parts. They wanted a fair price for the condition that it was in, just a question of where or how I would get the parts. After a few days of himming and humming, I decided to take a chance and purchase it. It was transported to Grimmsfield and a suitably dark corner was found that I could ignore it in!. And thus I did. Friday while trying to make a part for the chest, The current leg vice once again reminded me that it was not the optimal tool for the projects that I asked of it. So, having filled myself with false confidence and a bunch of YouTube videos, Saturday was going to be the day I fixed the vice. Two parts were needed for the vice to be operational, a spring and a wedge to hold the spring and vice in the mounting bracket. For the spring, I used the spring on the old vice as a model and began forging one that would fit in the new vice. The bottom retaining lips were relatively east, but the top bend took several tries to get the spring to be the right length. For the wedge, I decided to go with a setup similar to that used on a crossbow for the irons. I forged 2 squares pieces. each slightly tapered from beginning to end. With the spring in place, these were then driven in to the mounting plate slot from opposite ends to form a tight bond. Not only did this work out, but it did so on the first try!!!! The action was smooth, the jaws lined up perfectly, everything was great! The vice is mounted to the vice stand of the older vice, on the opposite side and all I needed to do wa s turn the stand around and I had a new working vice!.


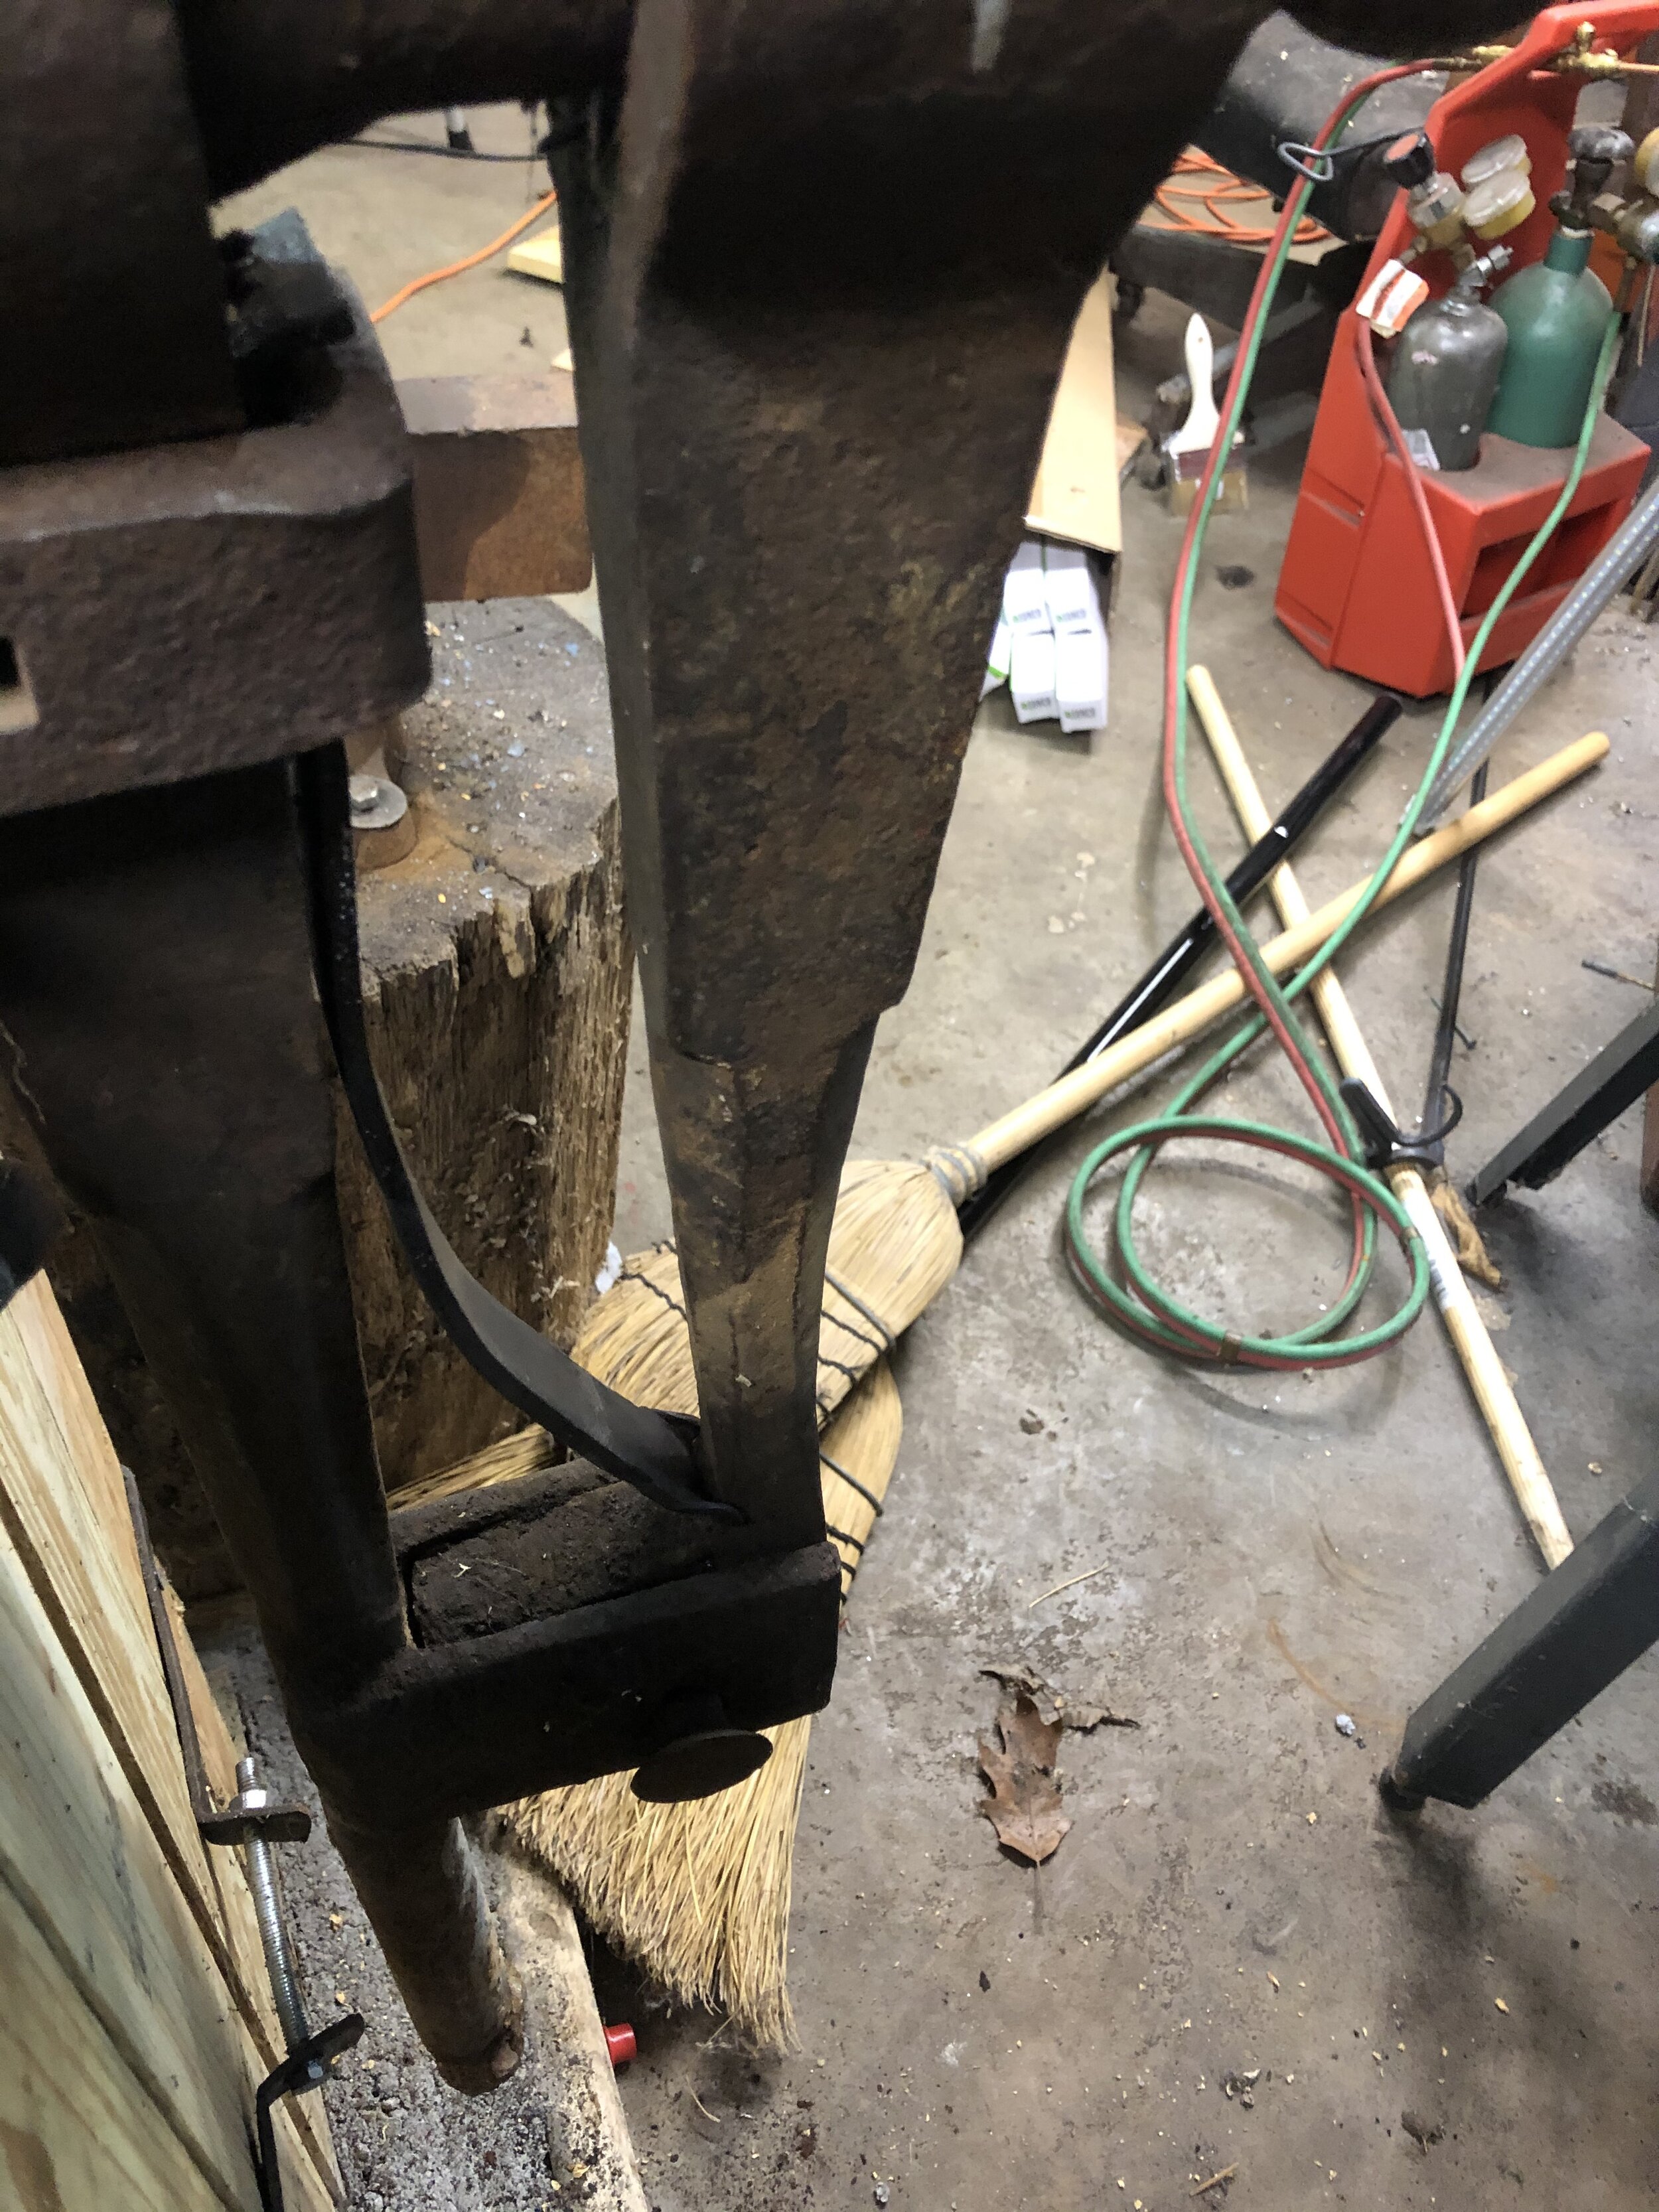
I hate to admit it, but this made me more proud then anything else I have forged. They are not pretty pieces, not something that anyone would ever point to and say, “Wow did you forge that?” But, it was a job that needed an exact part and I was able to make that part! This to me strikes at the heart of blacksmithing. Being able to make a shovel or rake or any other tool does not have any exacting specs. to be able to forge a piece and fix a tool (to me) is making it on a whole other level. This ended the work for Saturday, as it was time for mundane life to interfere.
Sunday saw Lady Gunnora going off to do pony things for most of the day, which left me home to my own devices. So, guess where I was. That’s right, back in the forge. The first chore was to clean up the shop a little bit. This also included hanging new lights, hanging a new power strip, and re-attaching the air feed tube. Man, I had no idea how much air I was loosing through leakage. I was amazes when I fired up the forge how hot I was able to get it and how quickly as well. On to forging!
The first project was using another “what have I done” object. For the fire table, the cooks had requested a shovel for moving coals around. No problem I thought. I have bought several shovel heads (or fireplace kits that I have pulled the shove from). But wait, my brain cried, why would you buy a shovel head for $12.00 when you could buy a swage block for $300.00 and then spend $12.00 to buy a piece of metal to spend hours trying to make it to shape. So naturally I bought the swage block! This was purchased soon after Pennsic and has sat on a stump ever sense. So, last week I purchased a piece of 16 ga. mild steel sheet with enough metal metal to make 2 shovels. This was split in half and the fun began.


I was not sure about forging from flat sheet, as I had never tried it. This was another success story! I left more forging marks in the shovel then I wanted, bit I was able to forge something that 9 out of 10 people would point to and say that is a shovel. While forging the handle, i was able to use my vice for the first time. Yes, it was only to hold the bar for twisting, but it worked perfectly! Because I set it up on the stand made for a smaller vice, I am not sure if it is not set up to high, however. I will need to use it a few more times to see if it is a problem. Inspired by the success of this handle, i decided to forge on and make the handle for the broom that would go with the set.


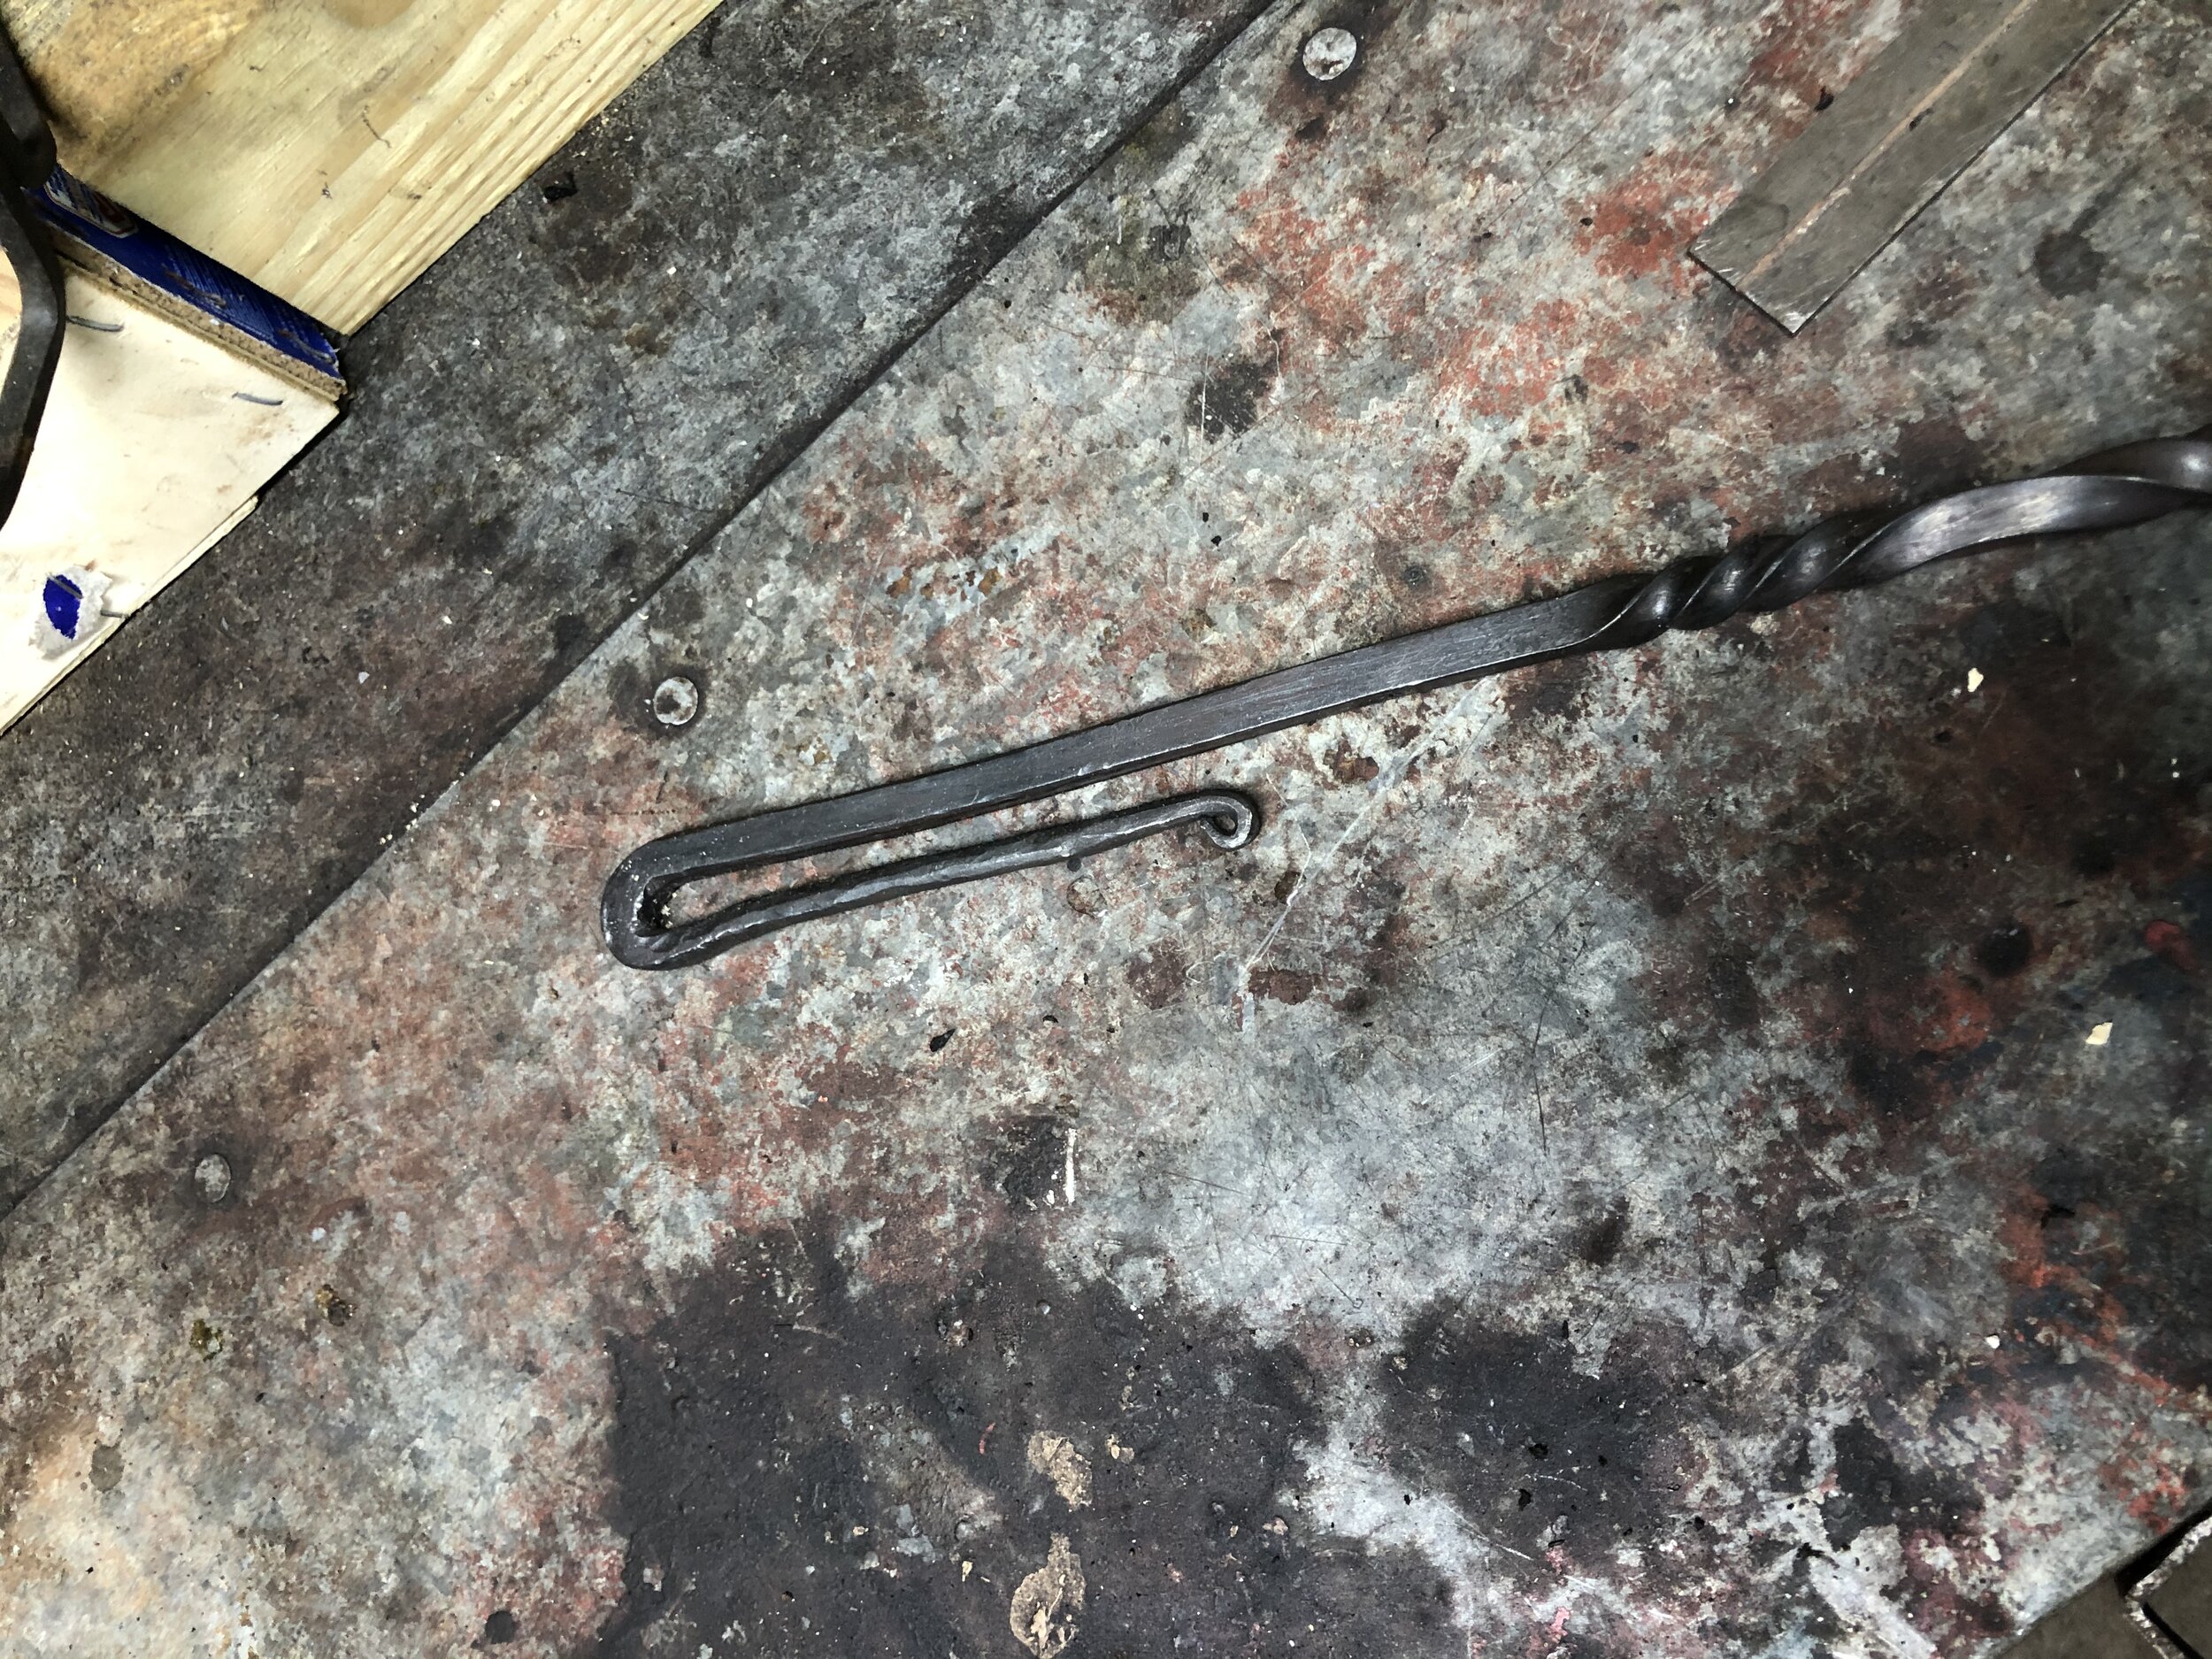
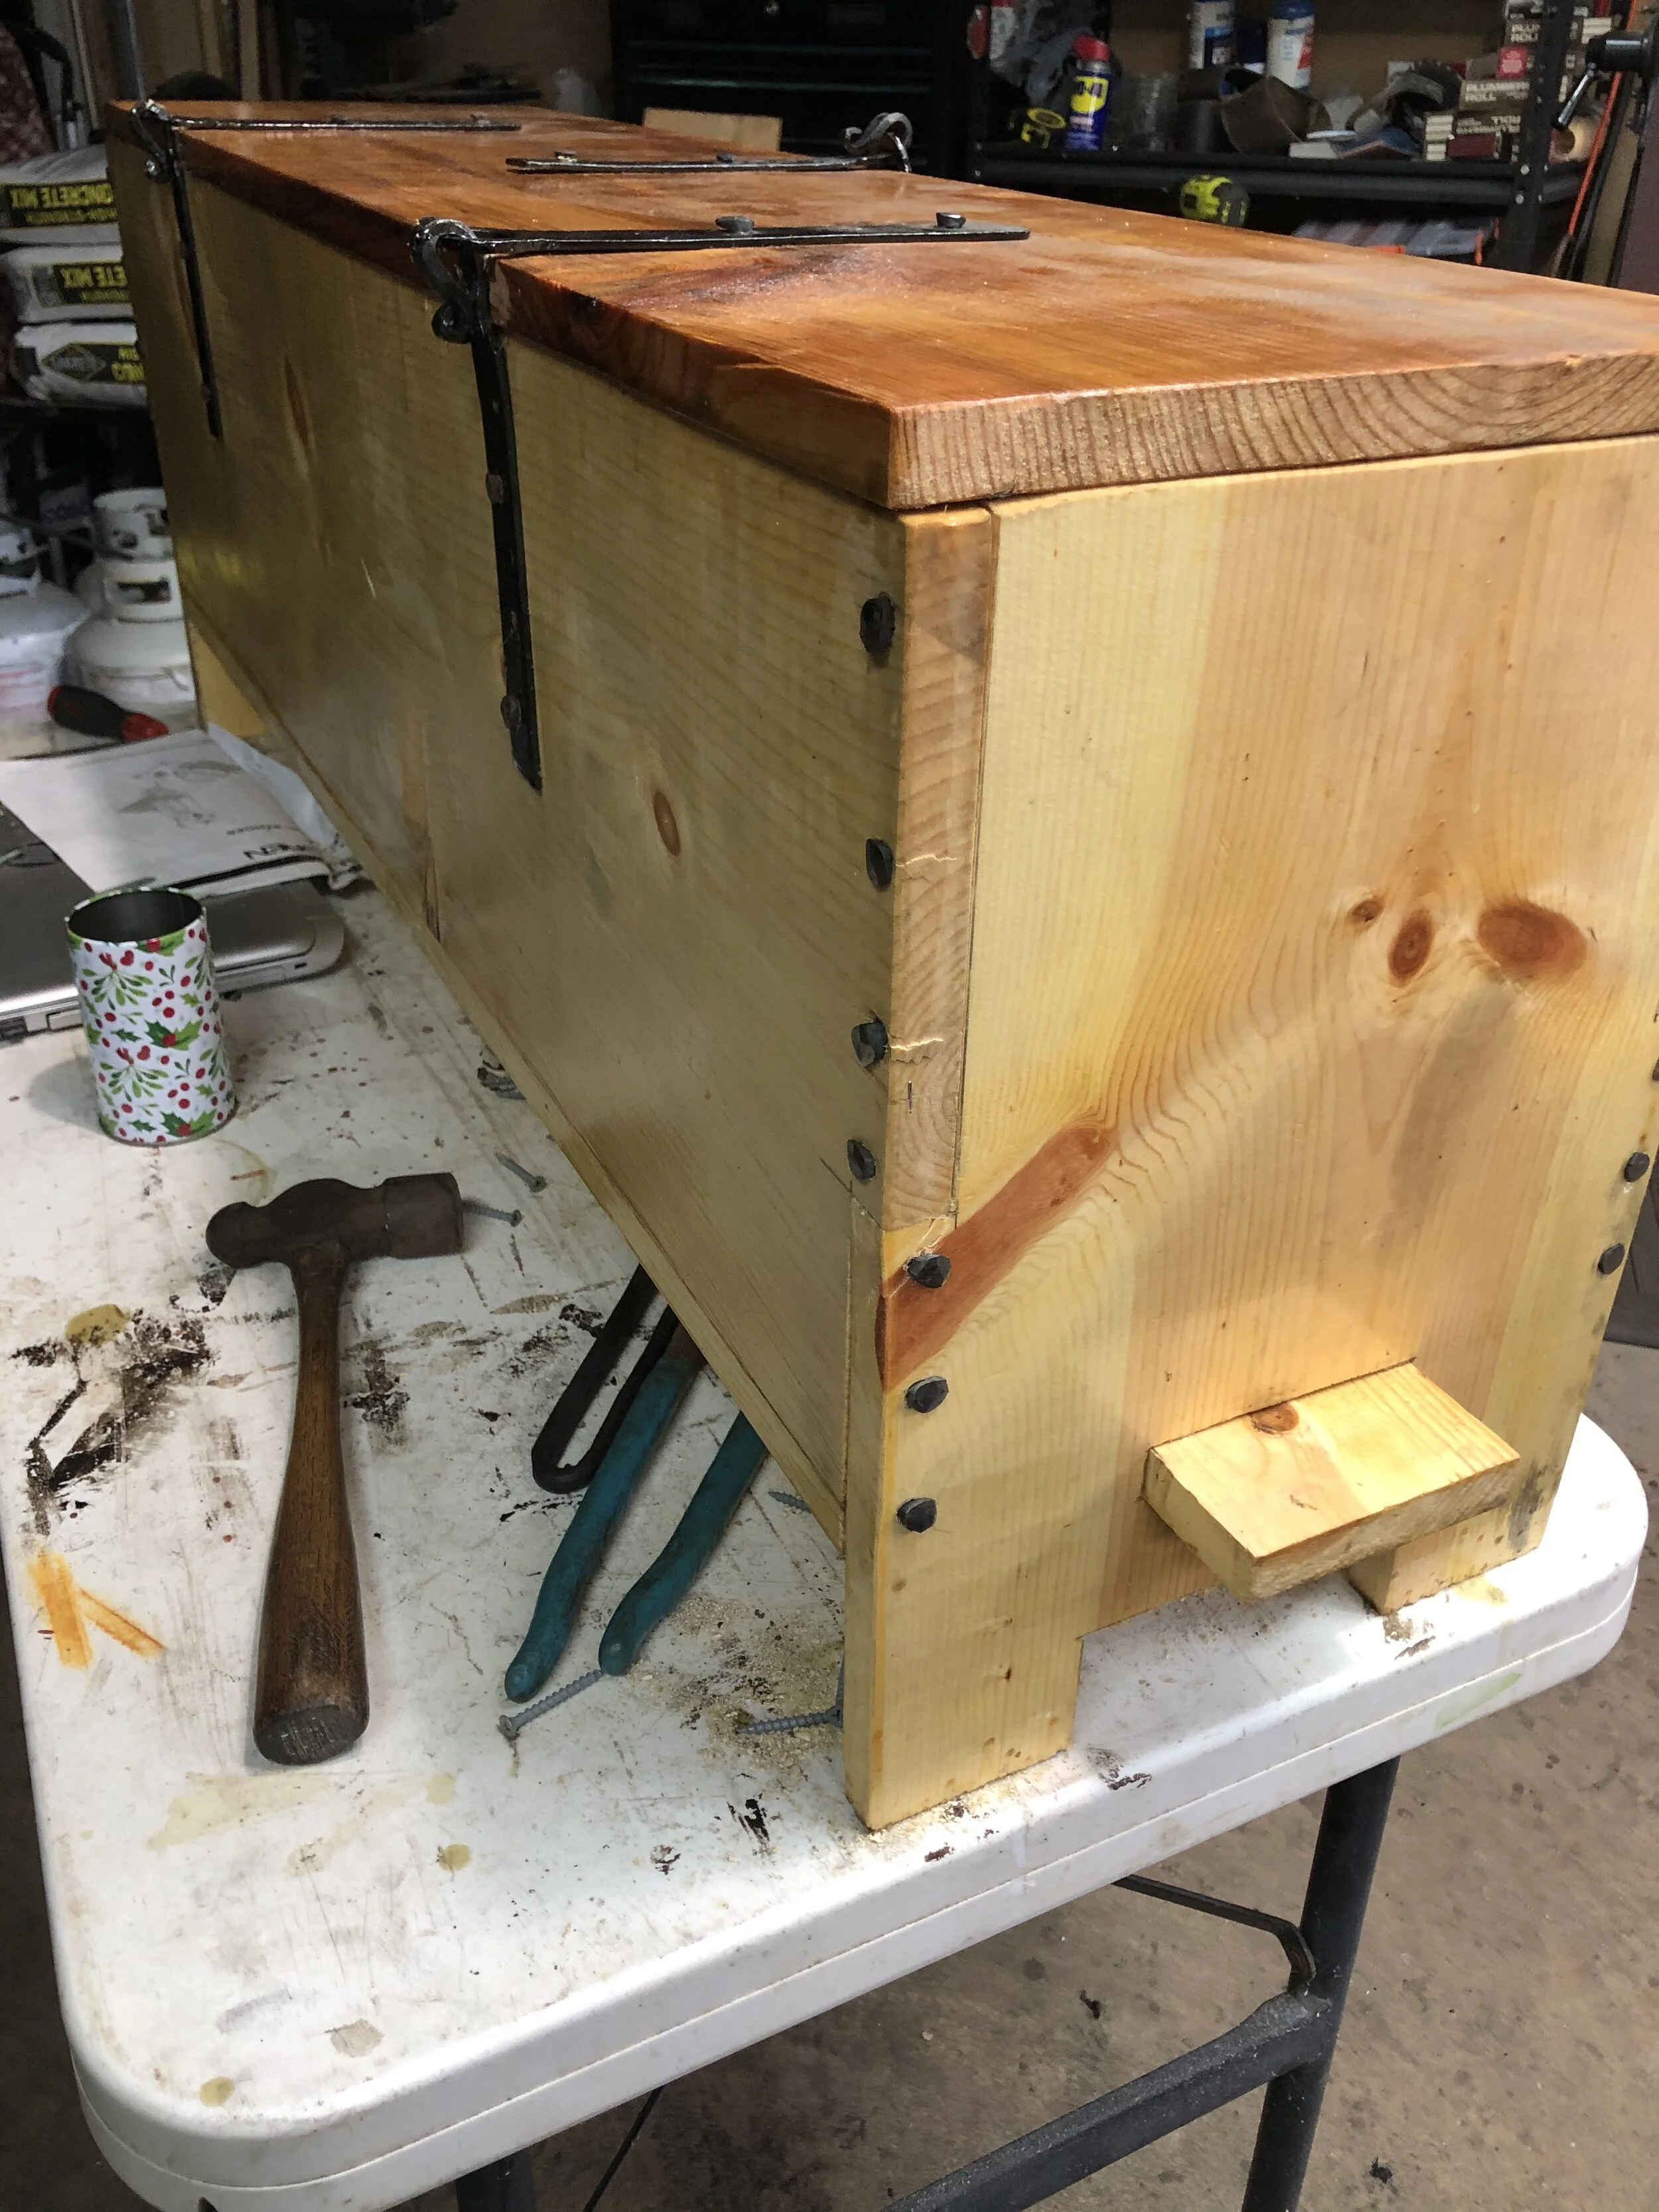
After all of this, it was time to wind down. Just going to make a few nails. The nails that I made, added to the nails I forged a while ago were just enough to finish the chest. All hinges and hardware on the chest were now hand forged by me. the bending of the nails on the hinges still need some work. the joints are sloppy. I think i can fix this by re-bending with a solid block behind the head.


with the adding of the final nail, I ended my day in the shop. Time to go and spend some quality time with the wife. Enjoying dinner while watching the hockey game (pre-recorded). But, as long as I am just sitting here, lets go ahead and get out the broom making supplies. The handle is done, so time to start thinking about the broom. Once I had dug the supplies out, i figured I had better practice a little first. To that end, i found an old whisk broom handle I had forged a while ago. I made several of these during the great broom making phase I went through.
Unfortunately, I did not take any pictures of this, so you will just have to wait for next post for me to put up pictures. That might be sooner then usual, because I hope to get some work in tomorrow.