Will he ever get back to his blog......

To be honest, I’m not sure. I spent the last 2 months involved with a contest in Markland and was not able to post the results till the contest was over. All entries were anonymous. Instead of March Madness, the had a Makers Madness contest. It consisted of 4 rounds with the bottom scorers dropping out each round until there was a final 4 for the final round. I managed to come in 2nd of which I am very pleased. The Artisans did an incredible job and I was surprised to finish so highly. My 4 entries were as follows:

1st Round: Mastermyr Griddle

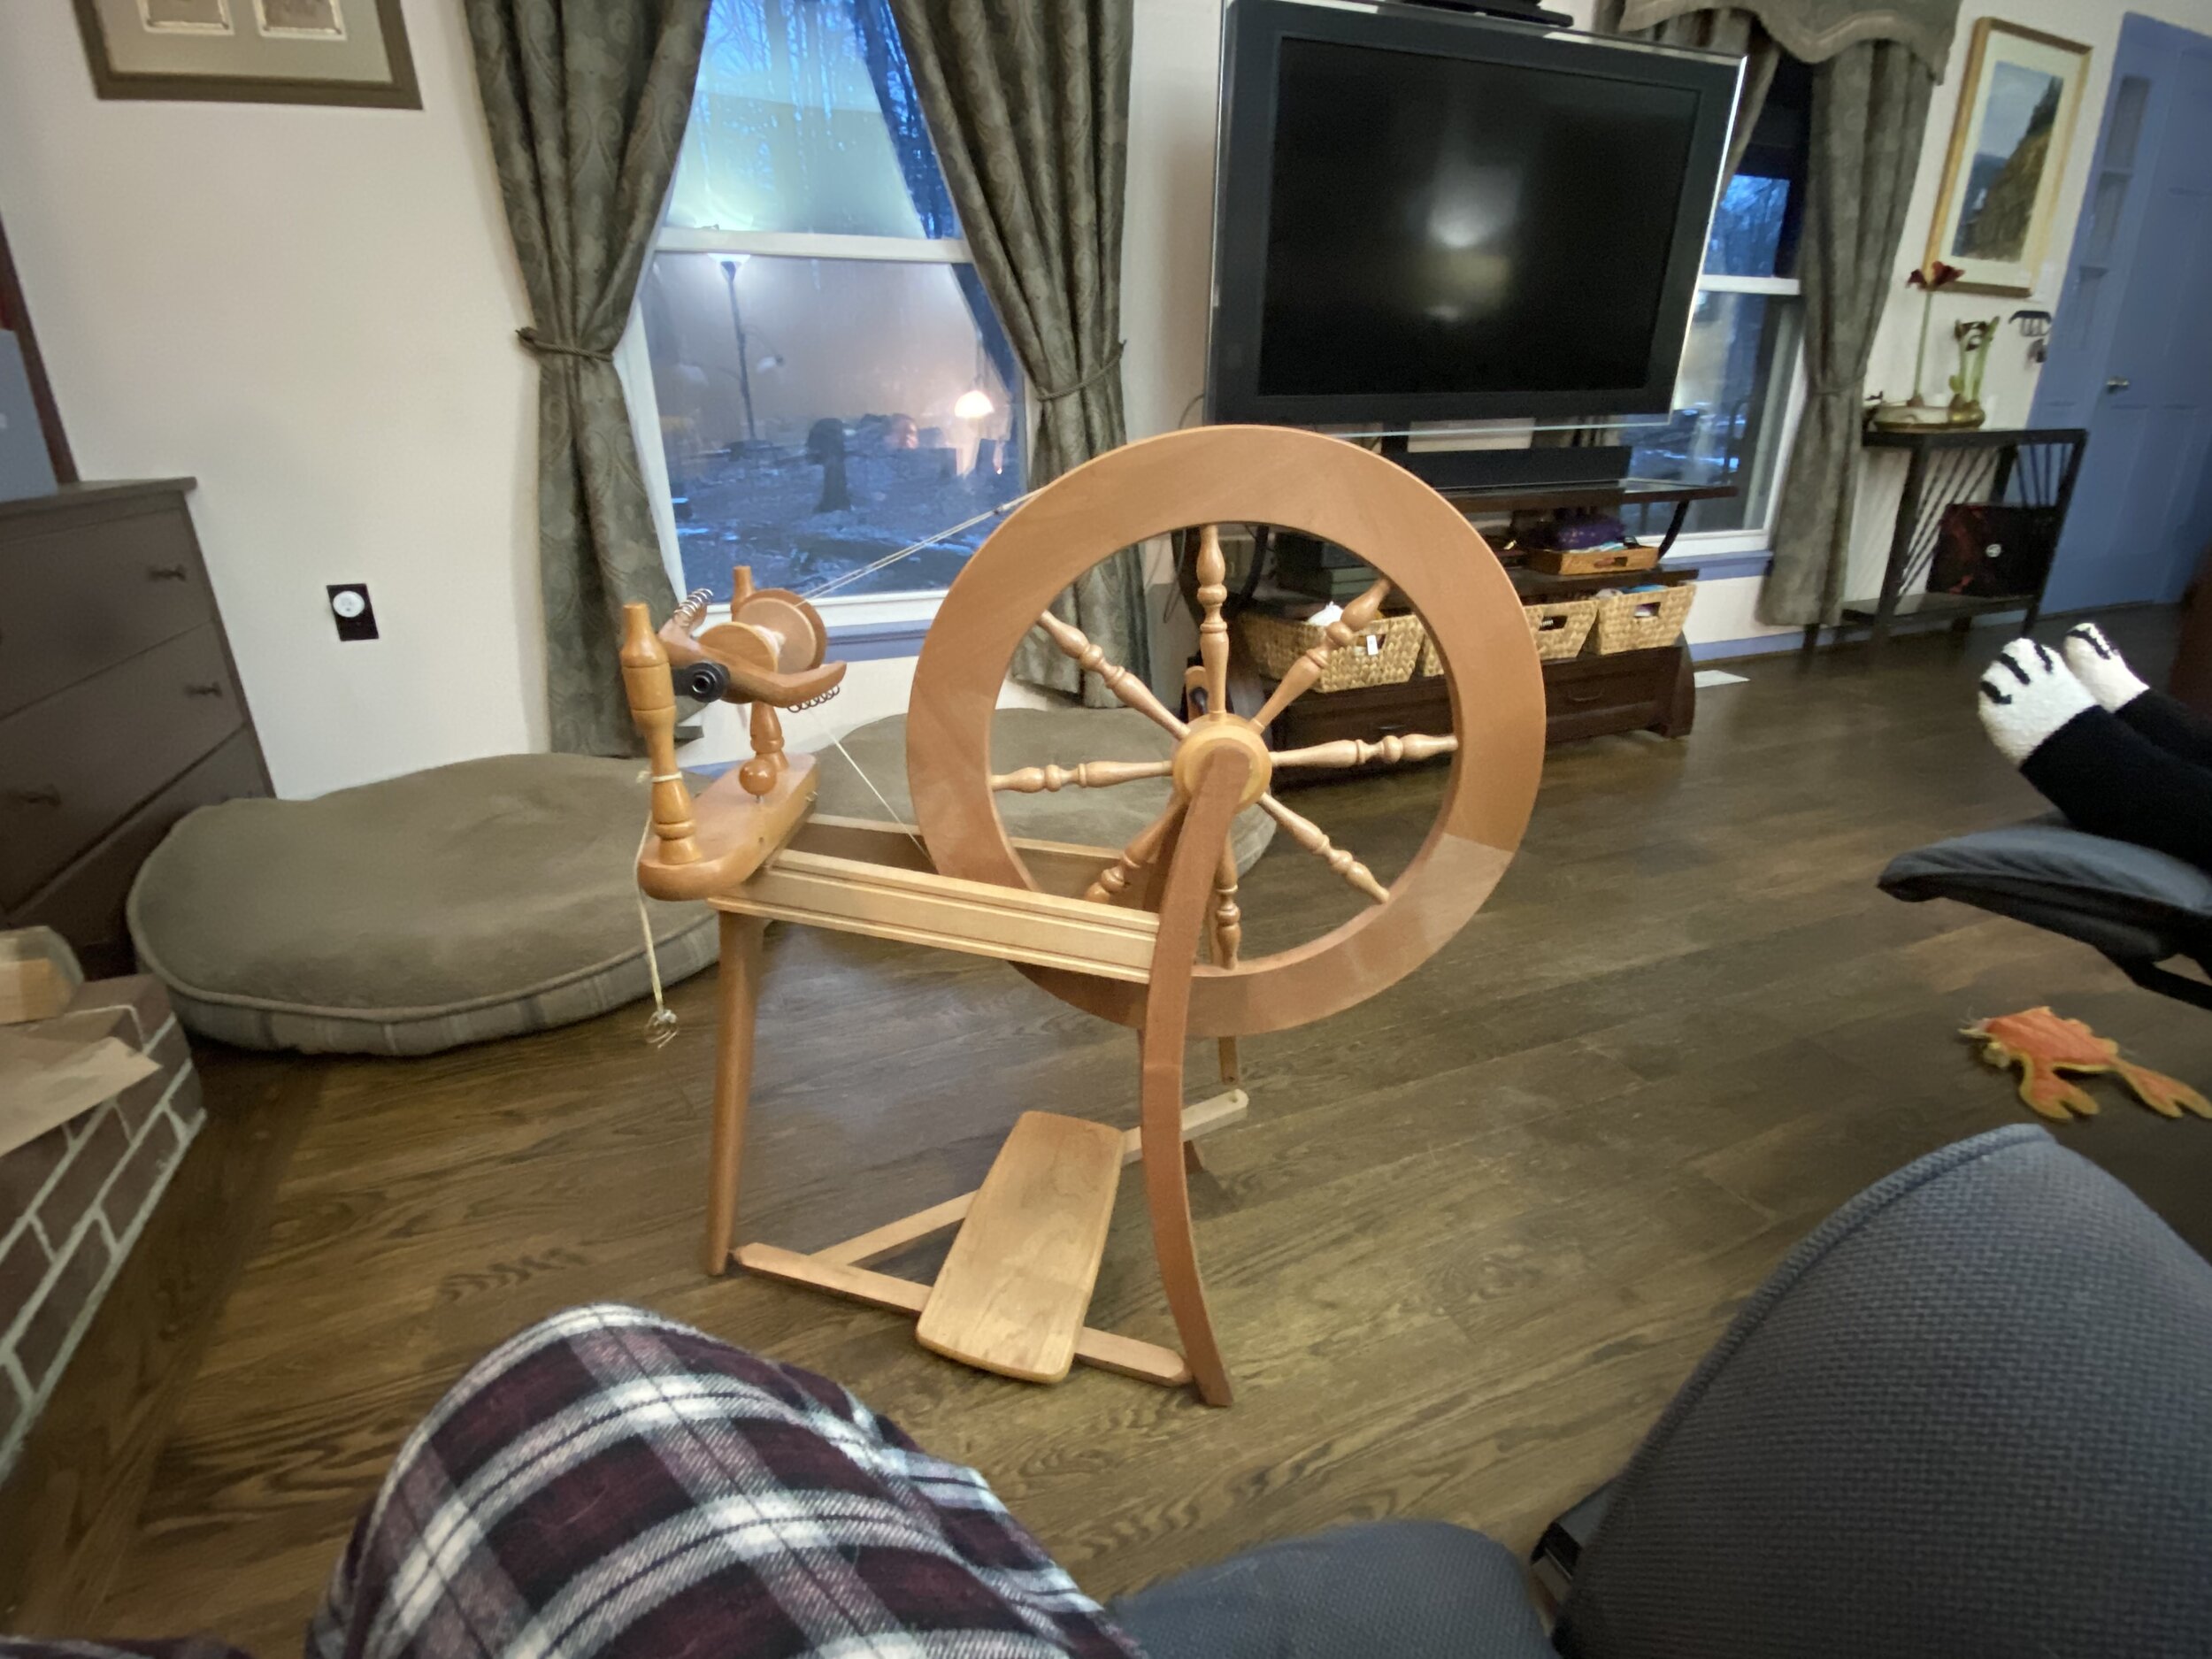
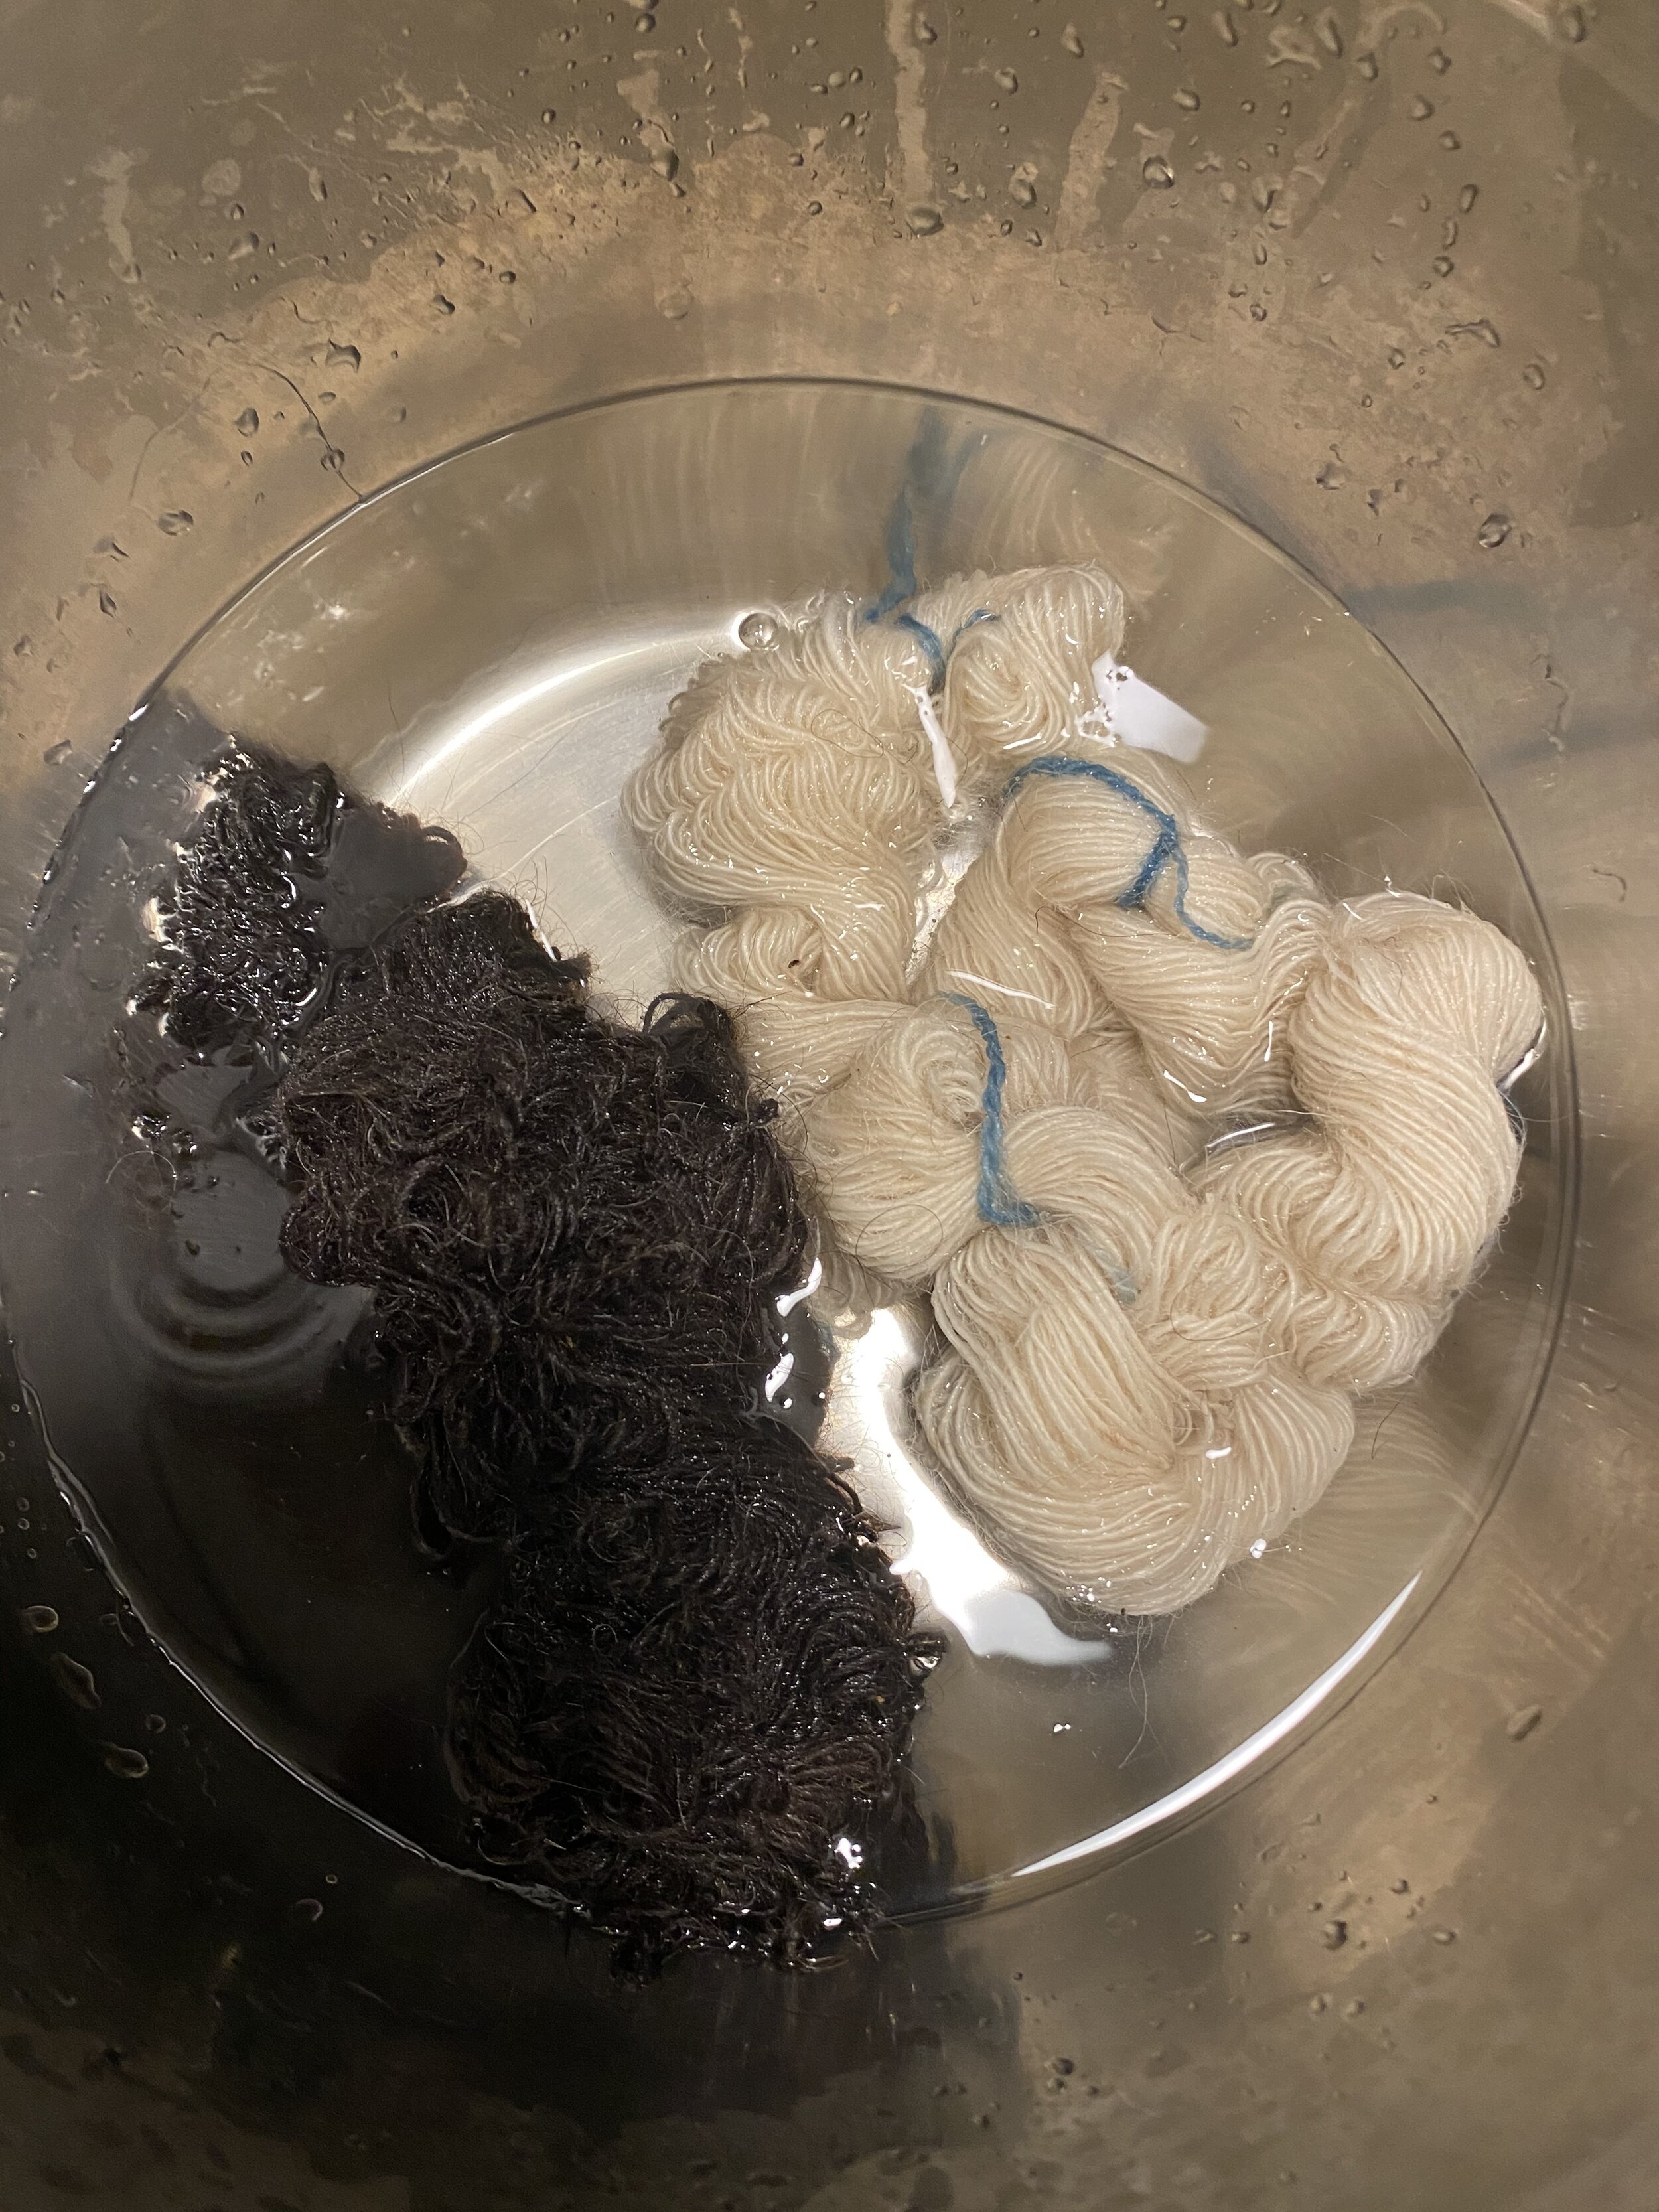
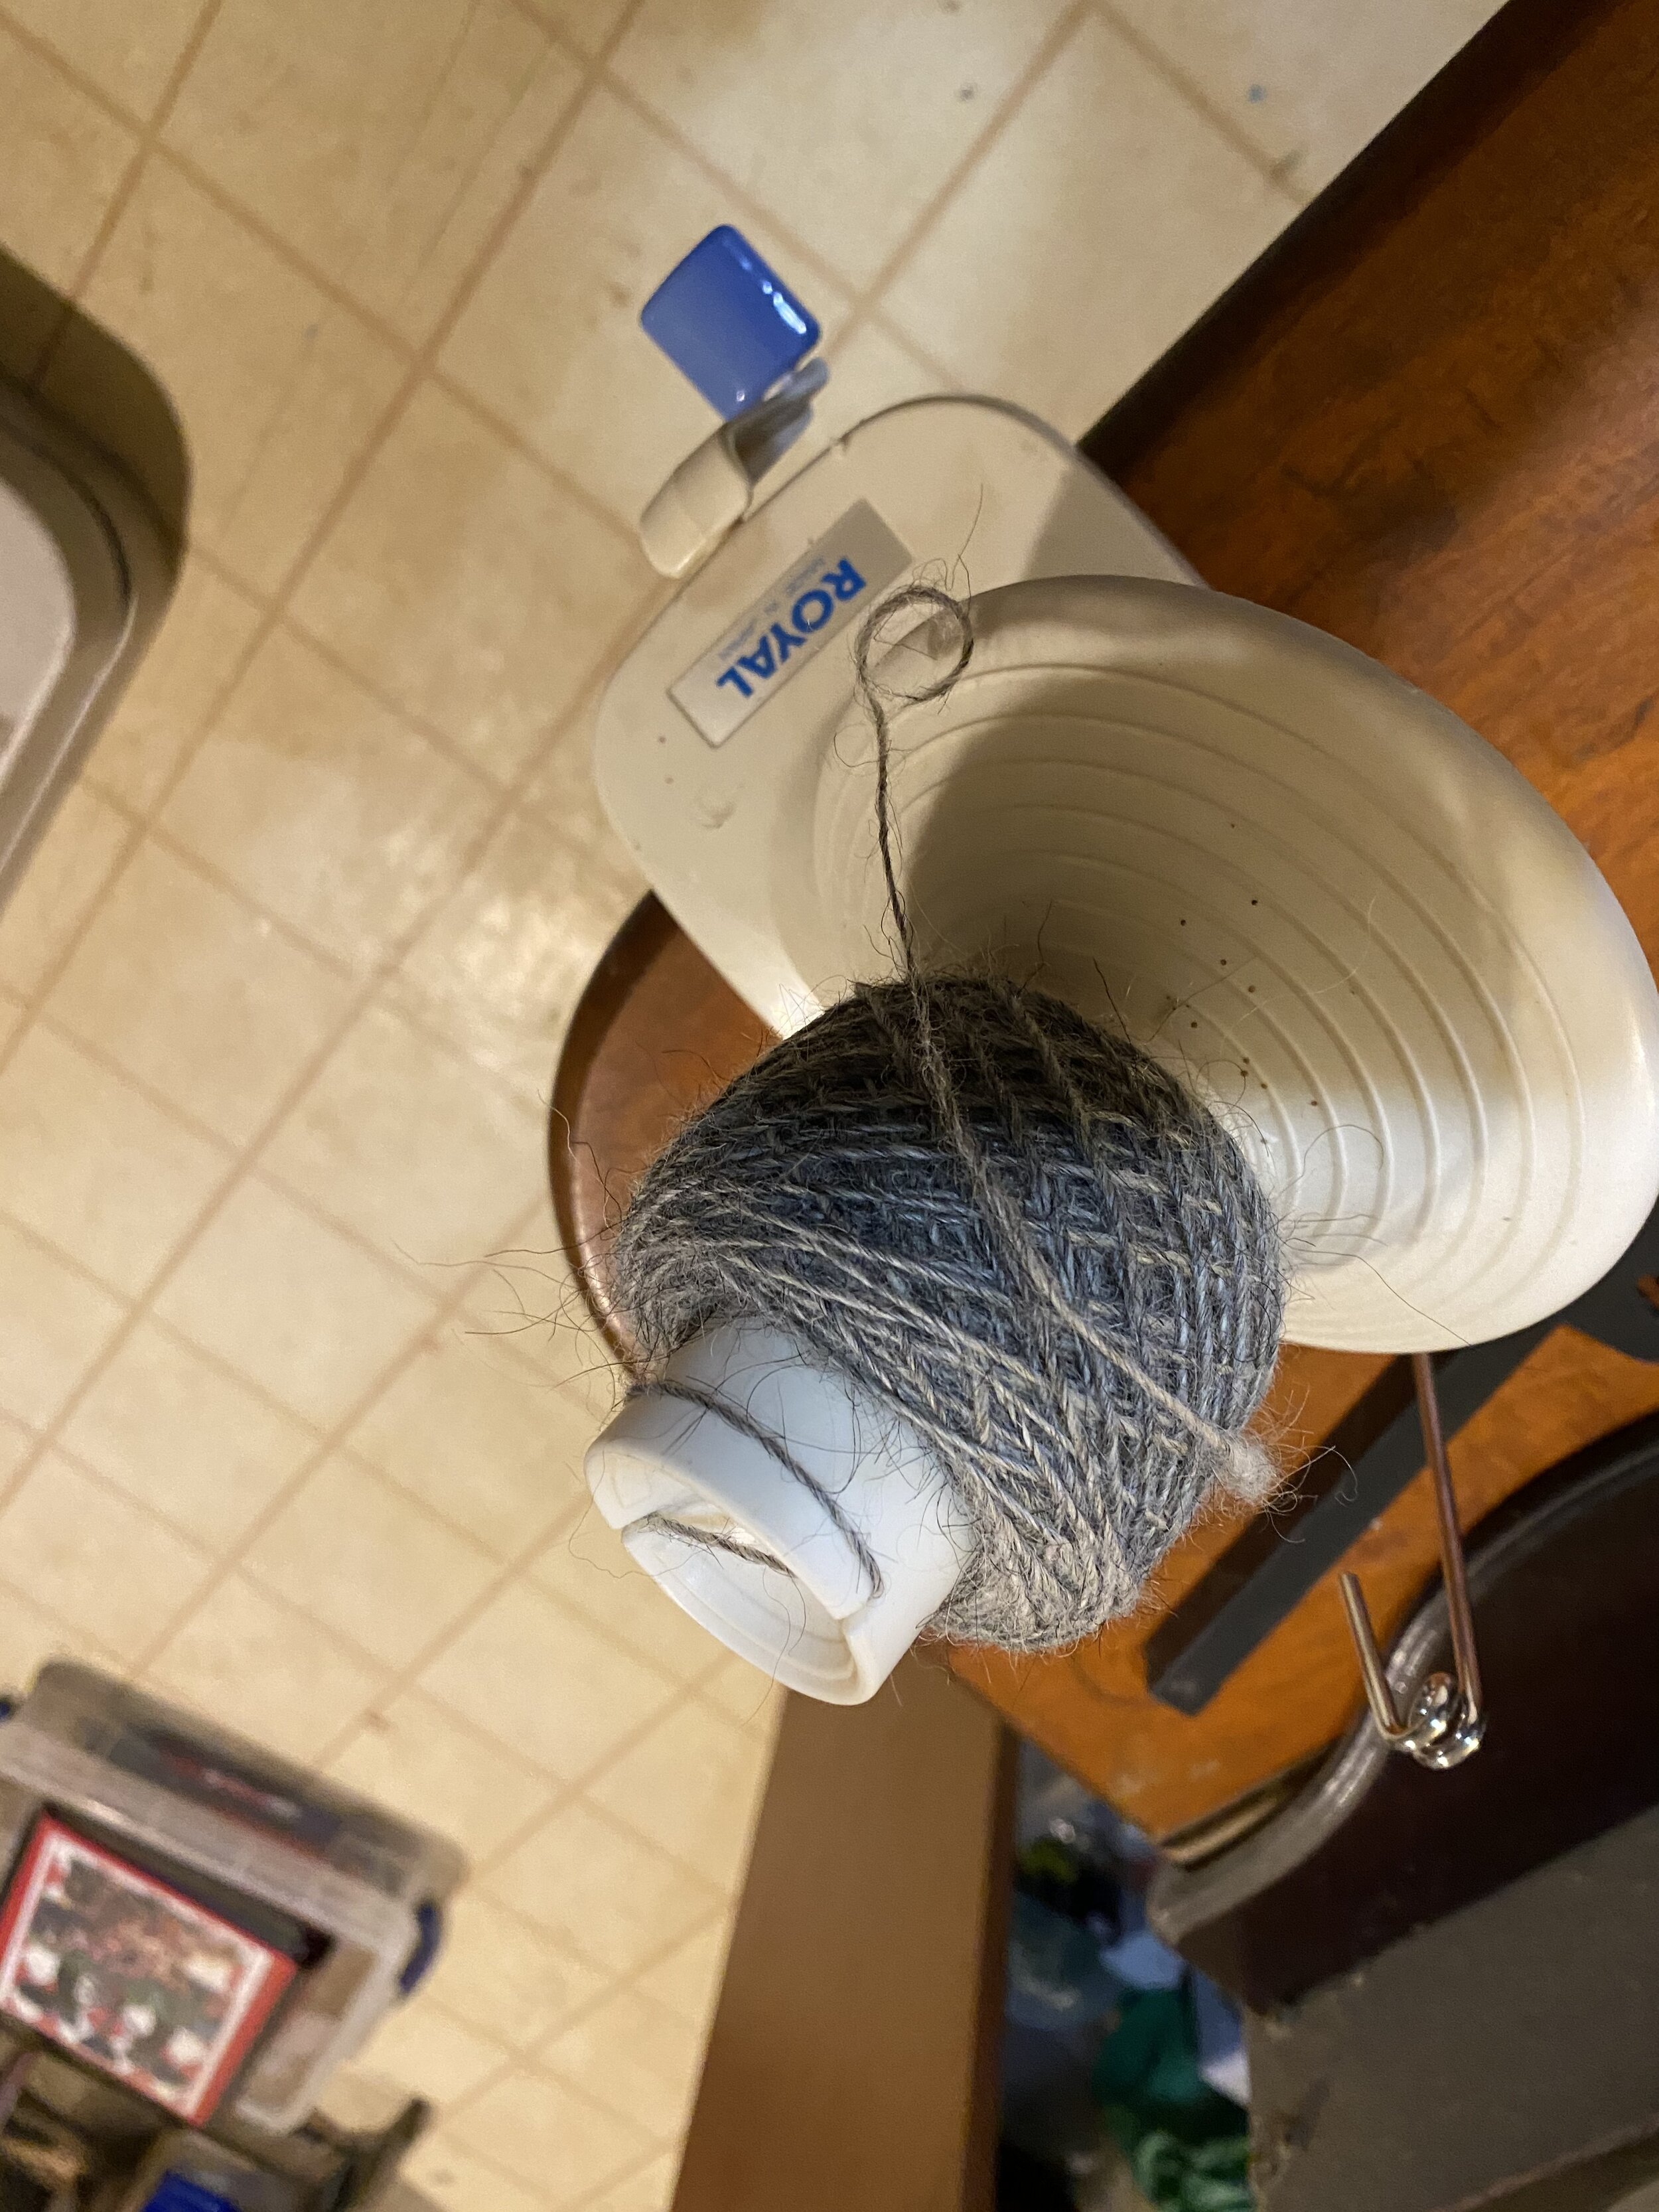
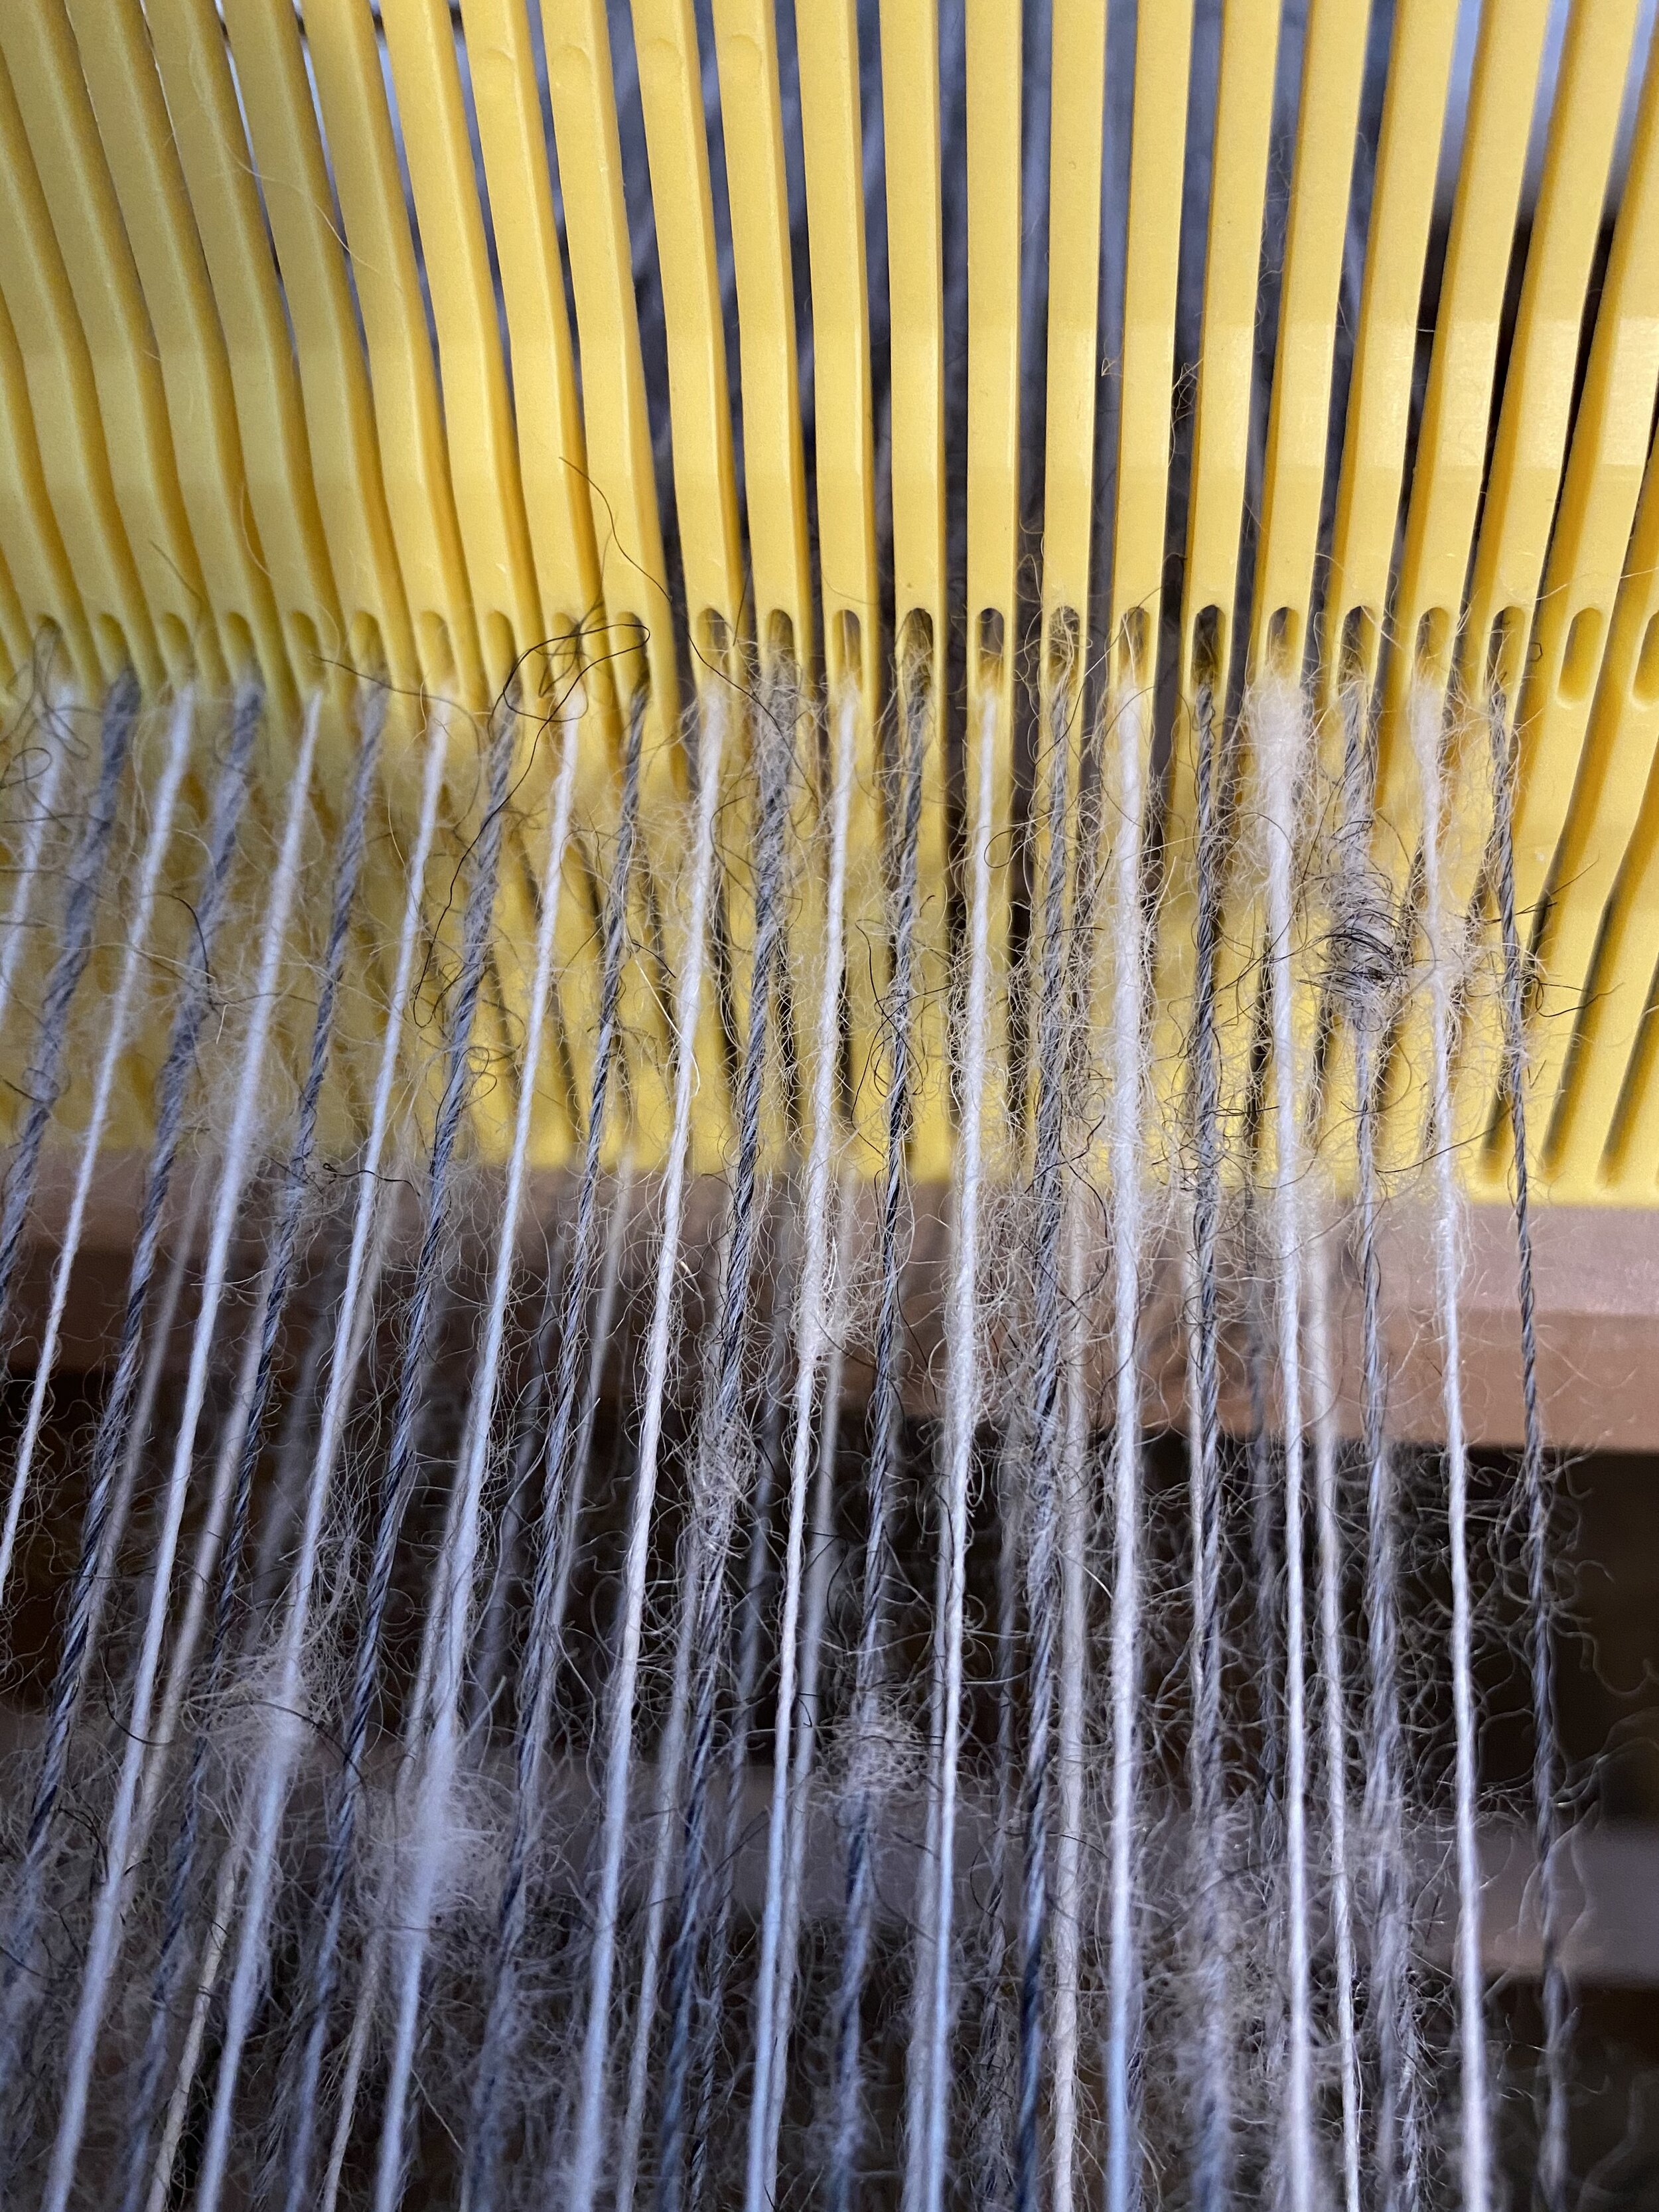
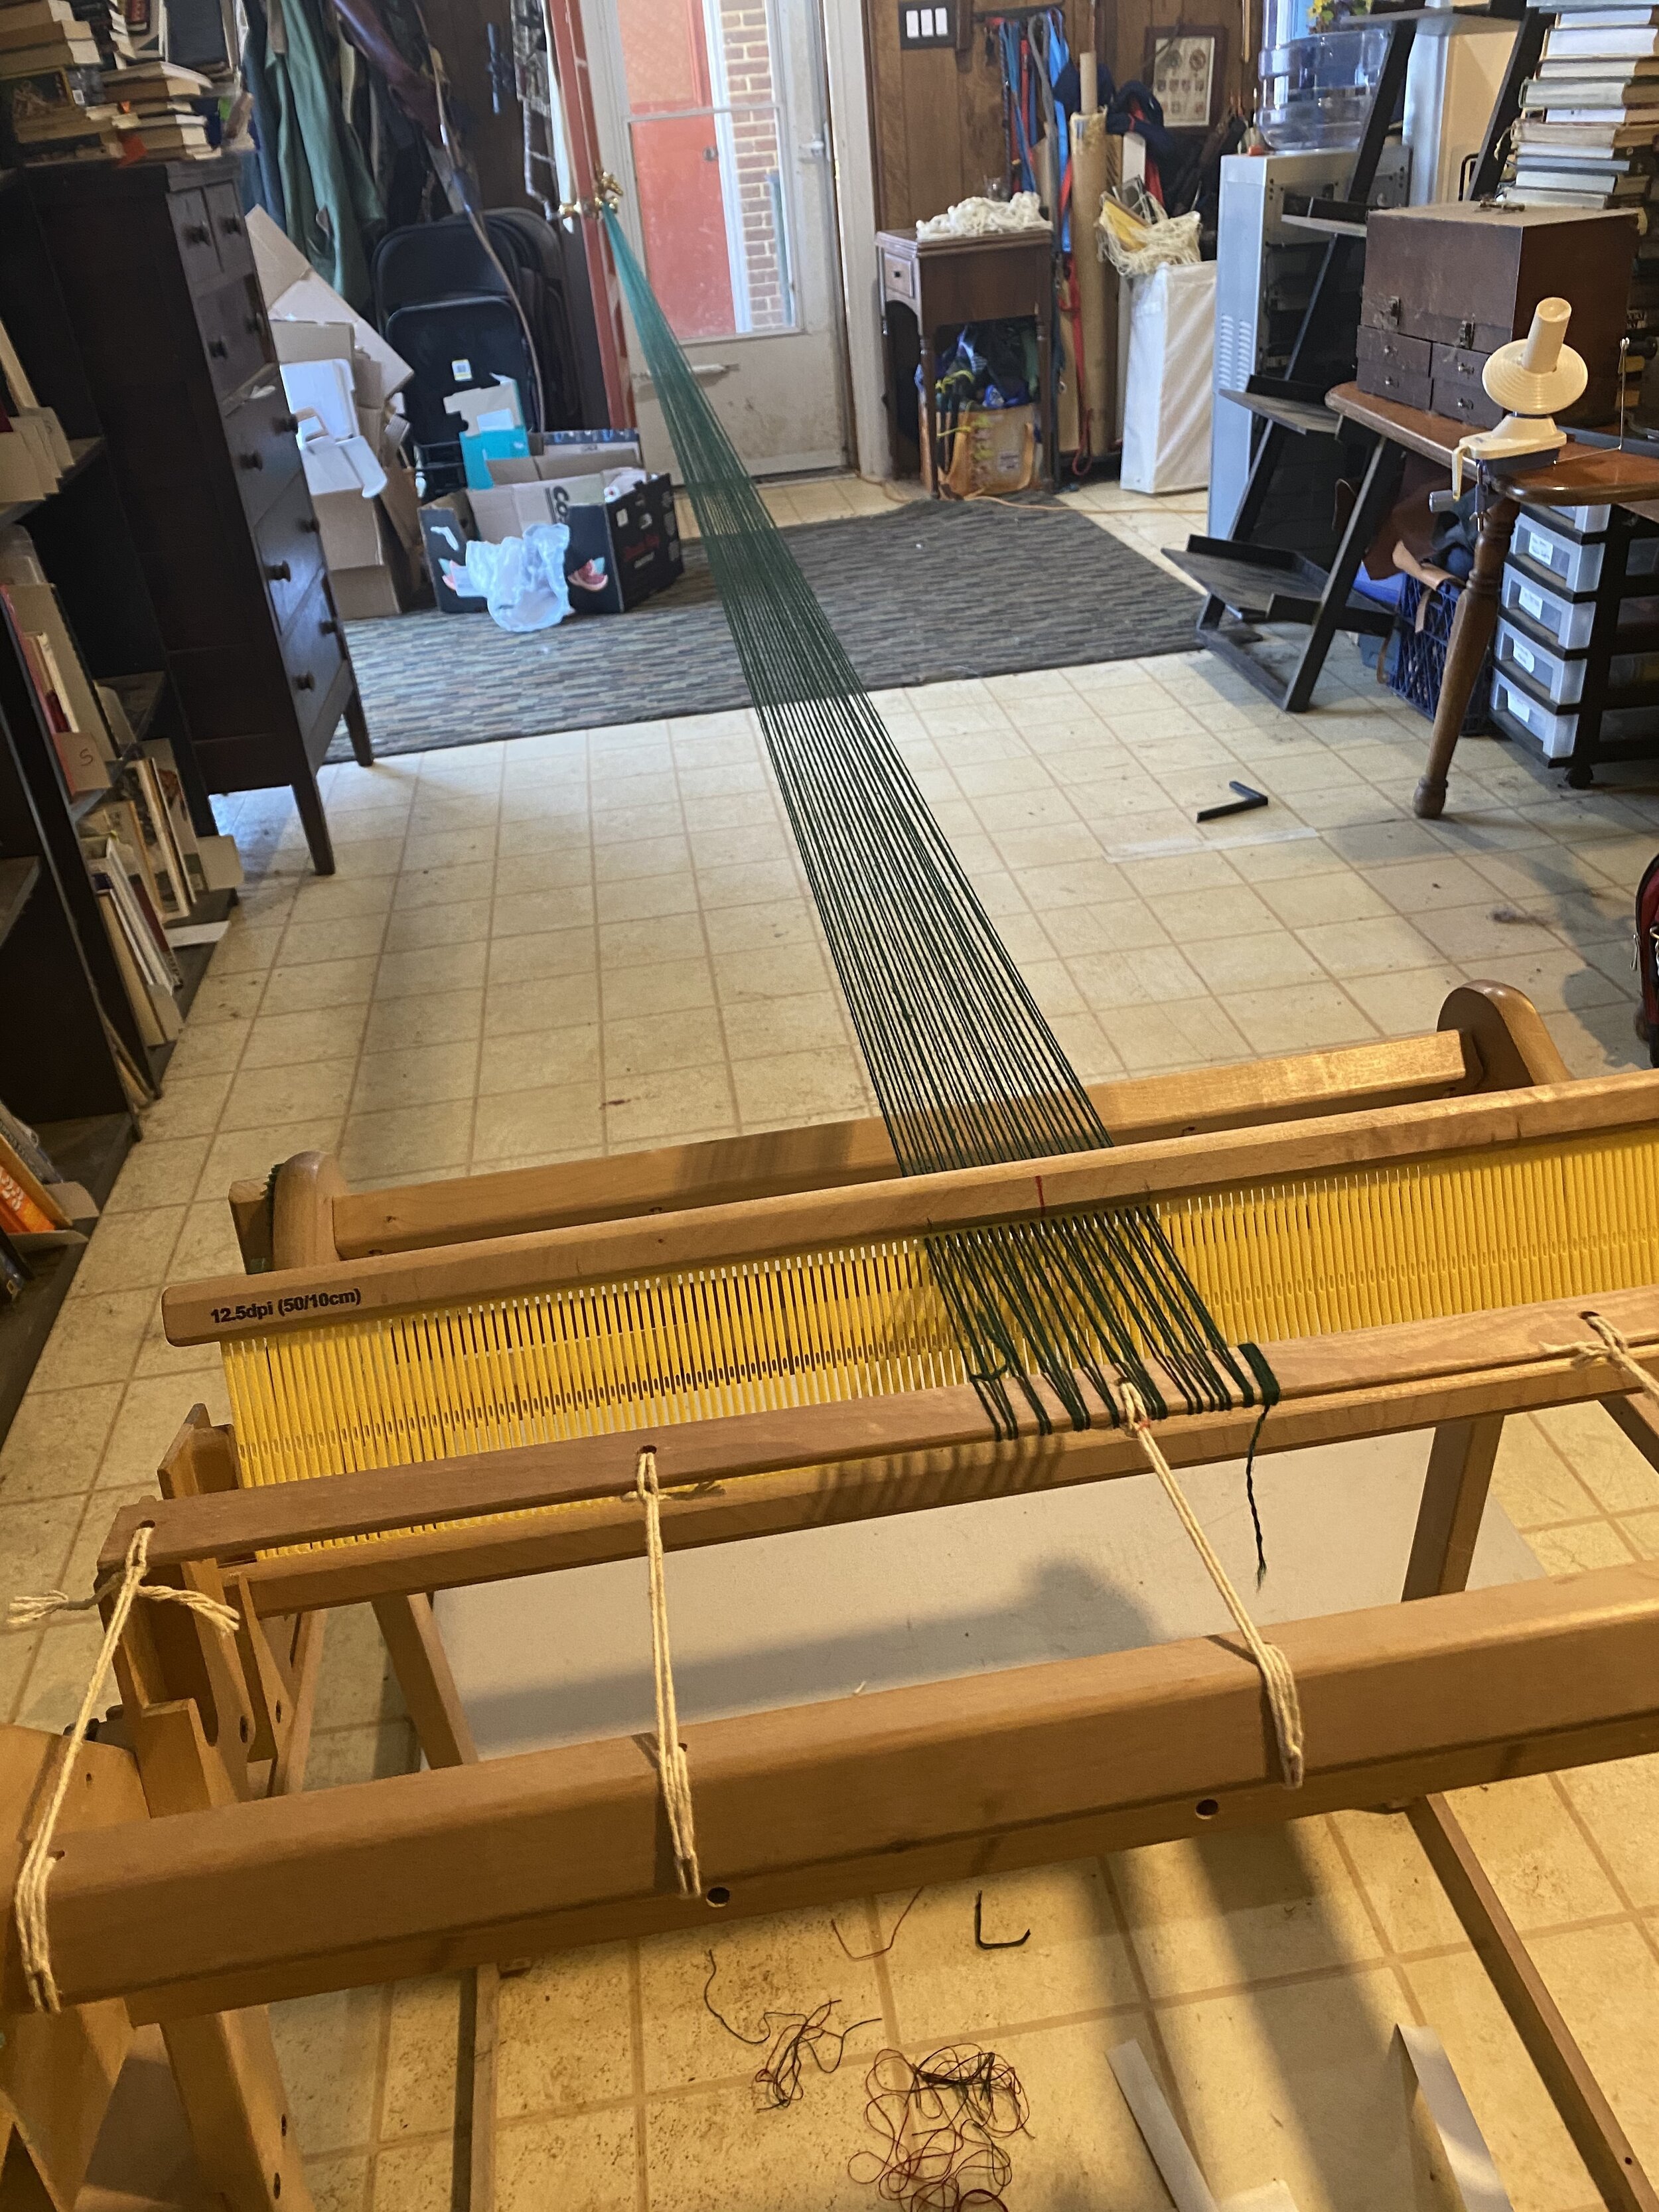
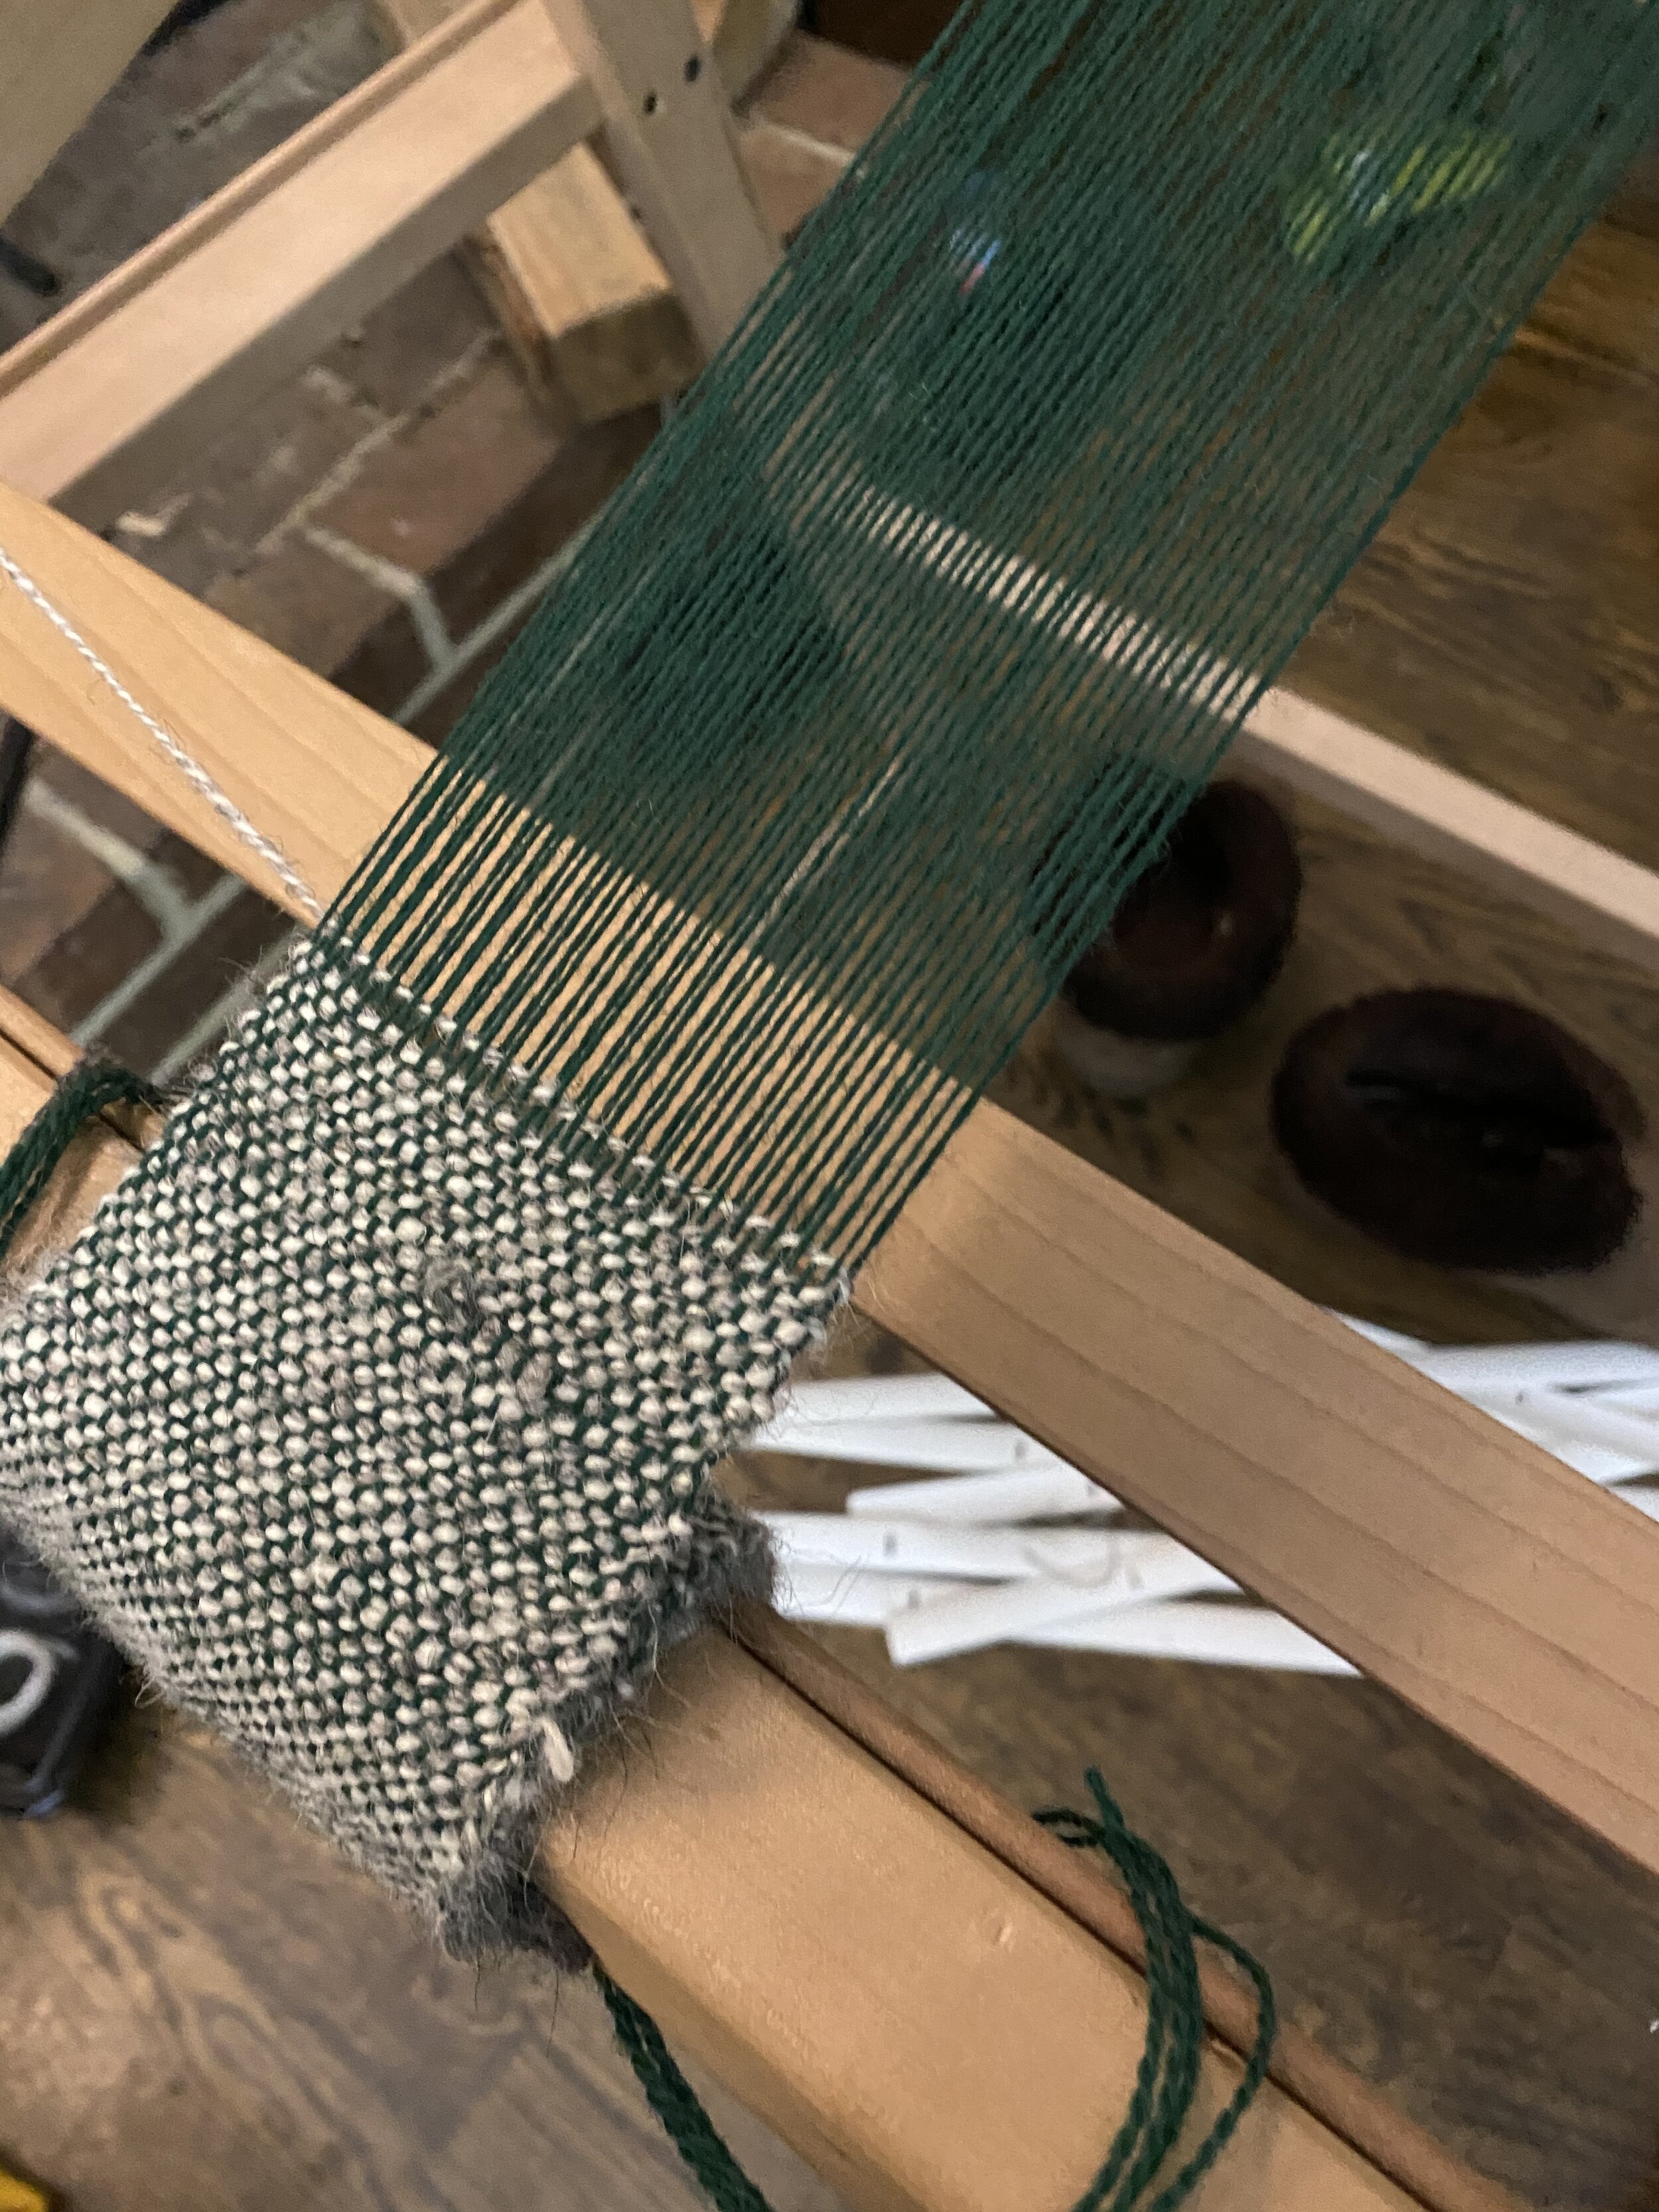
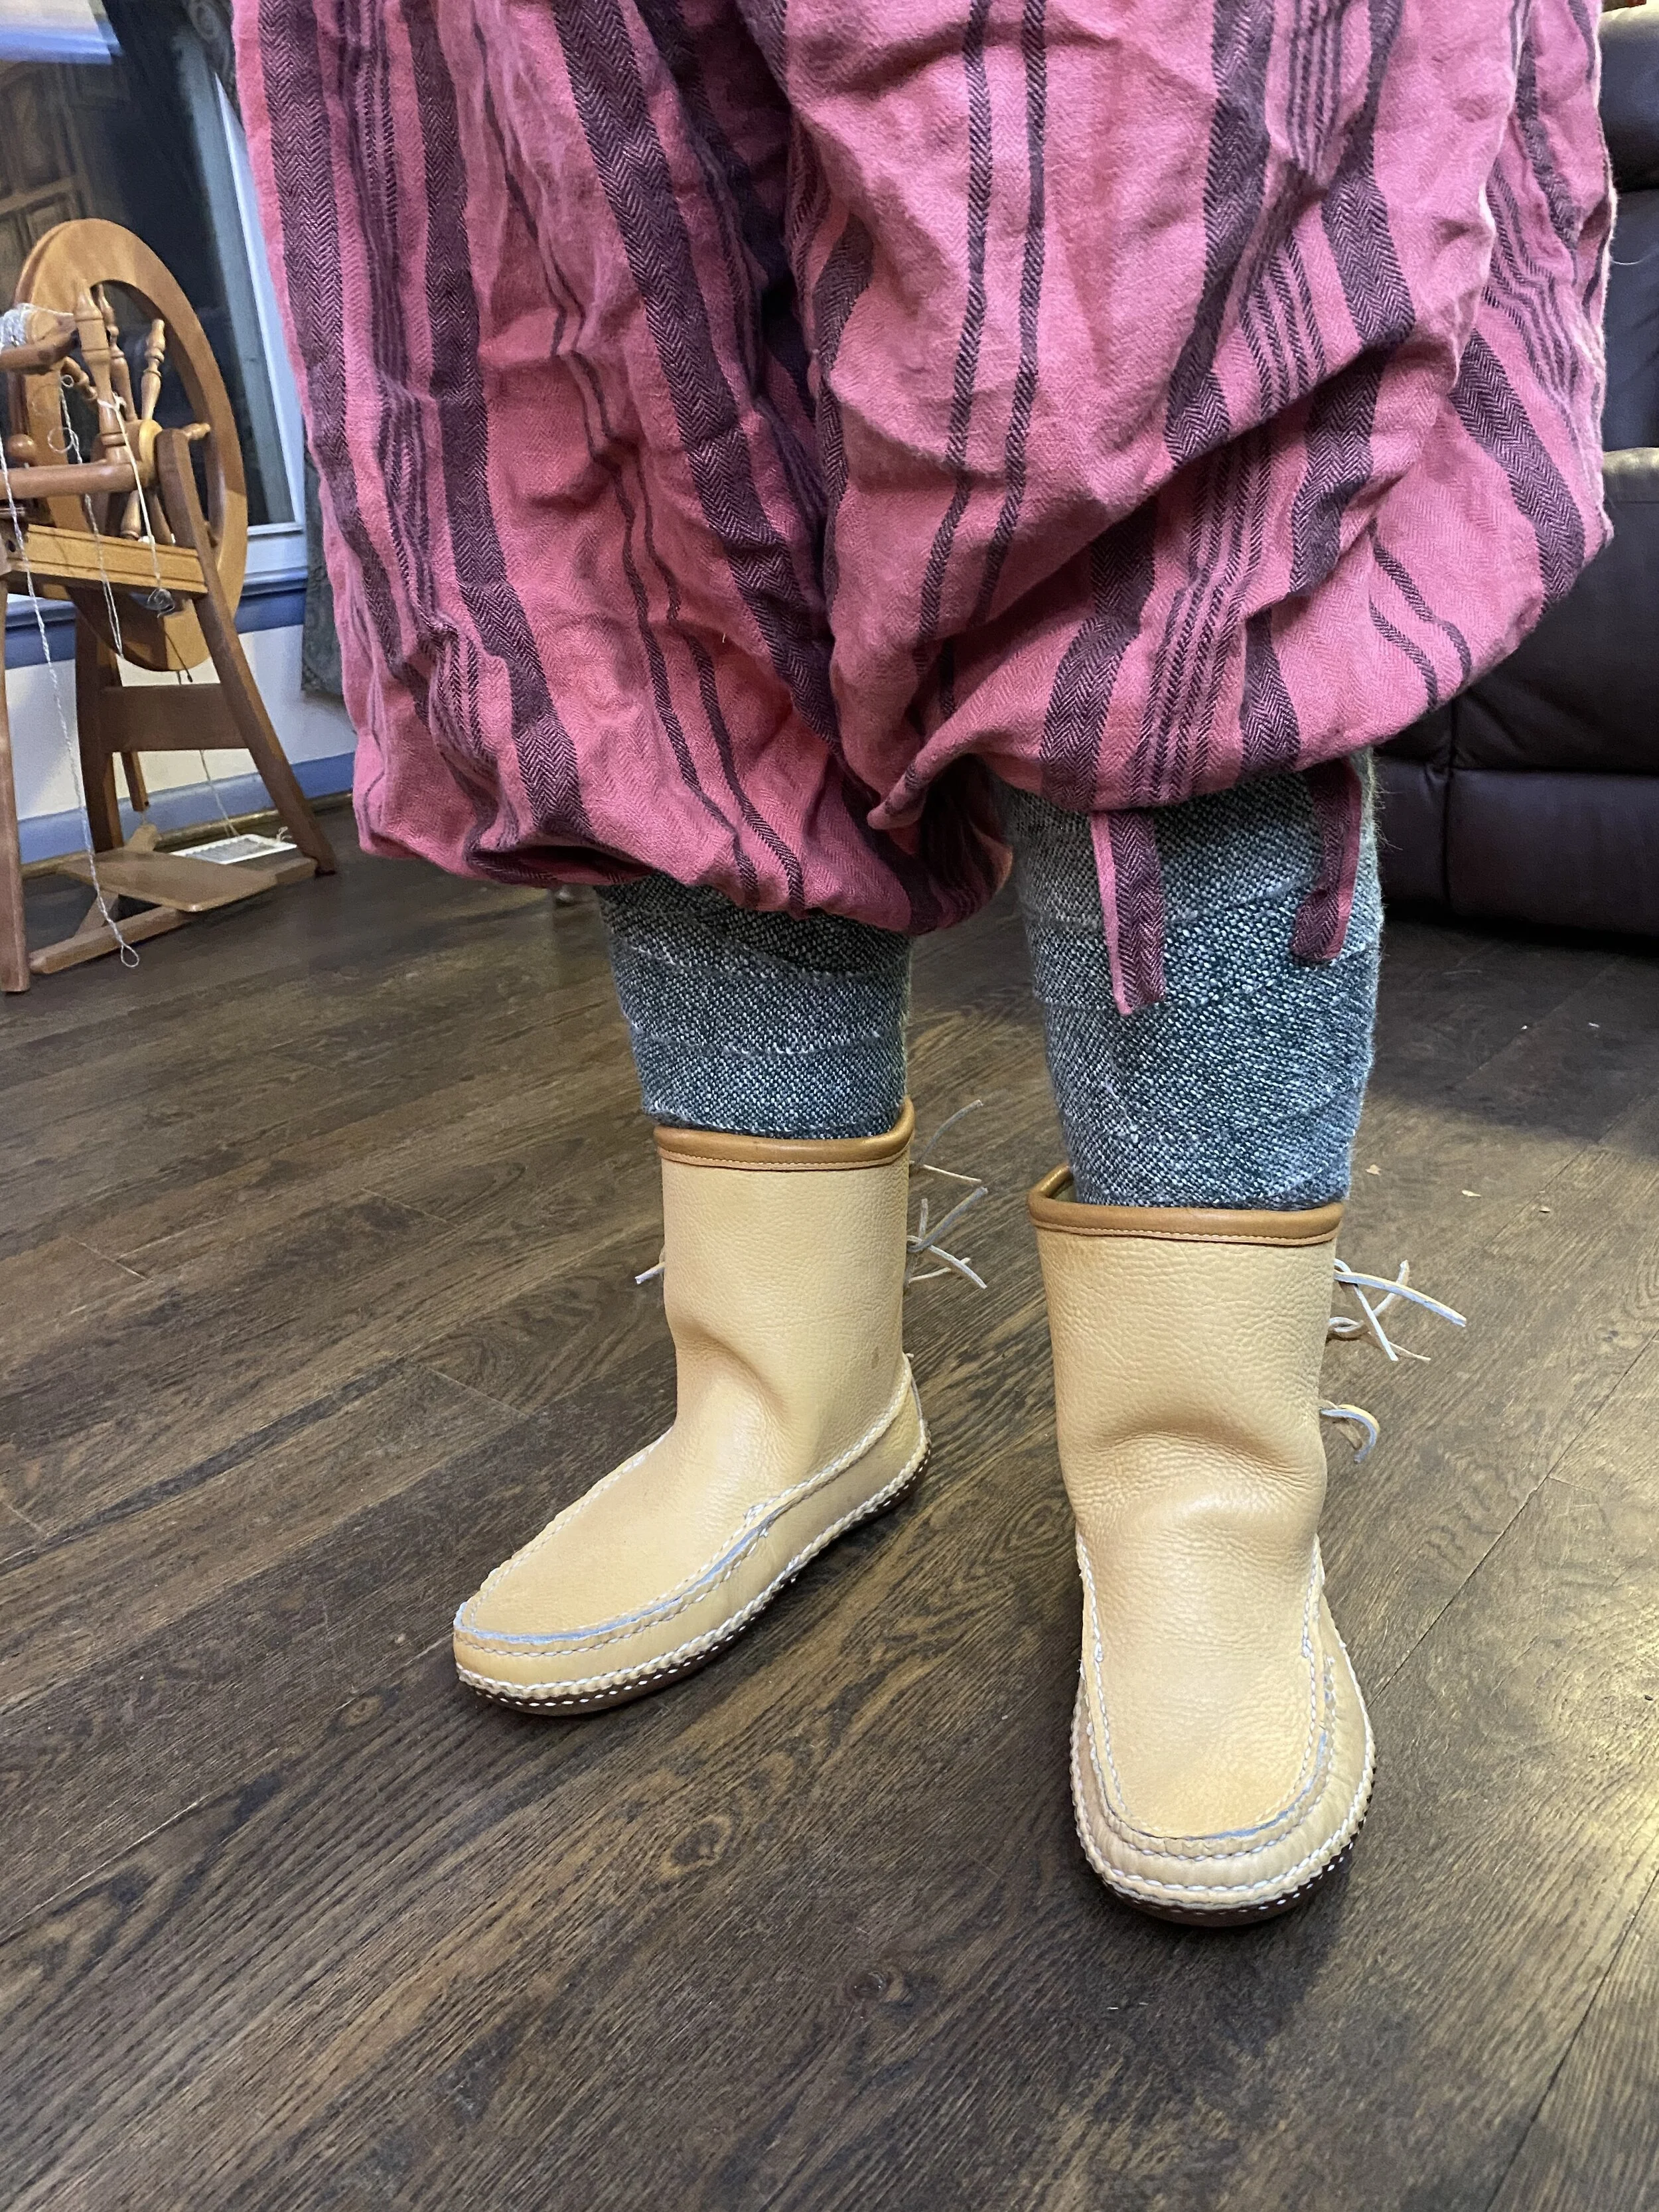
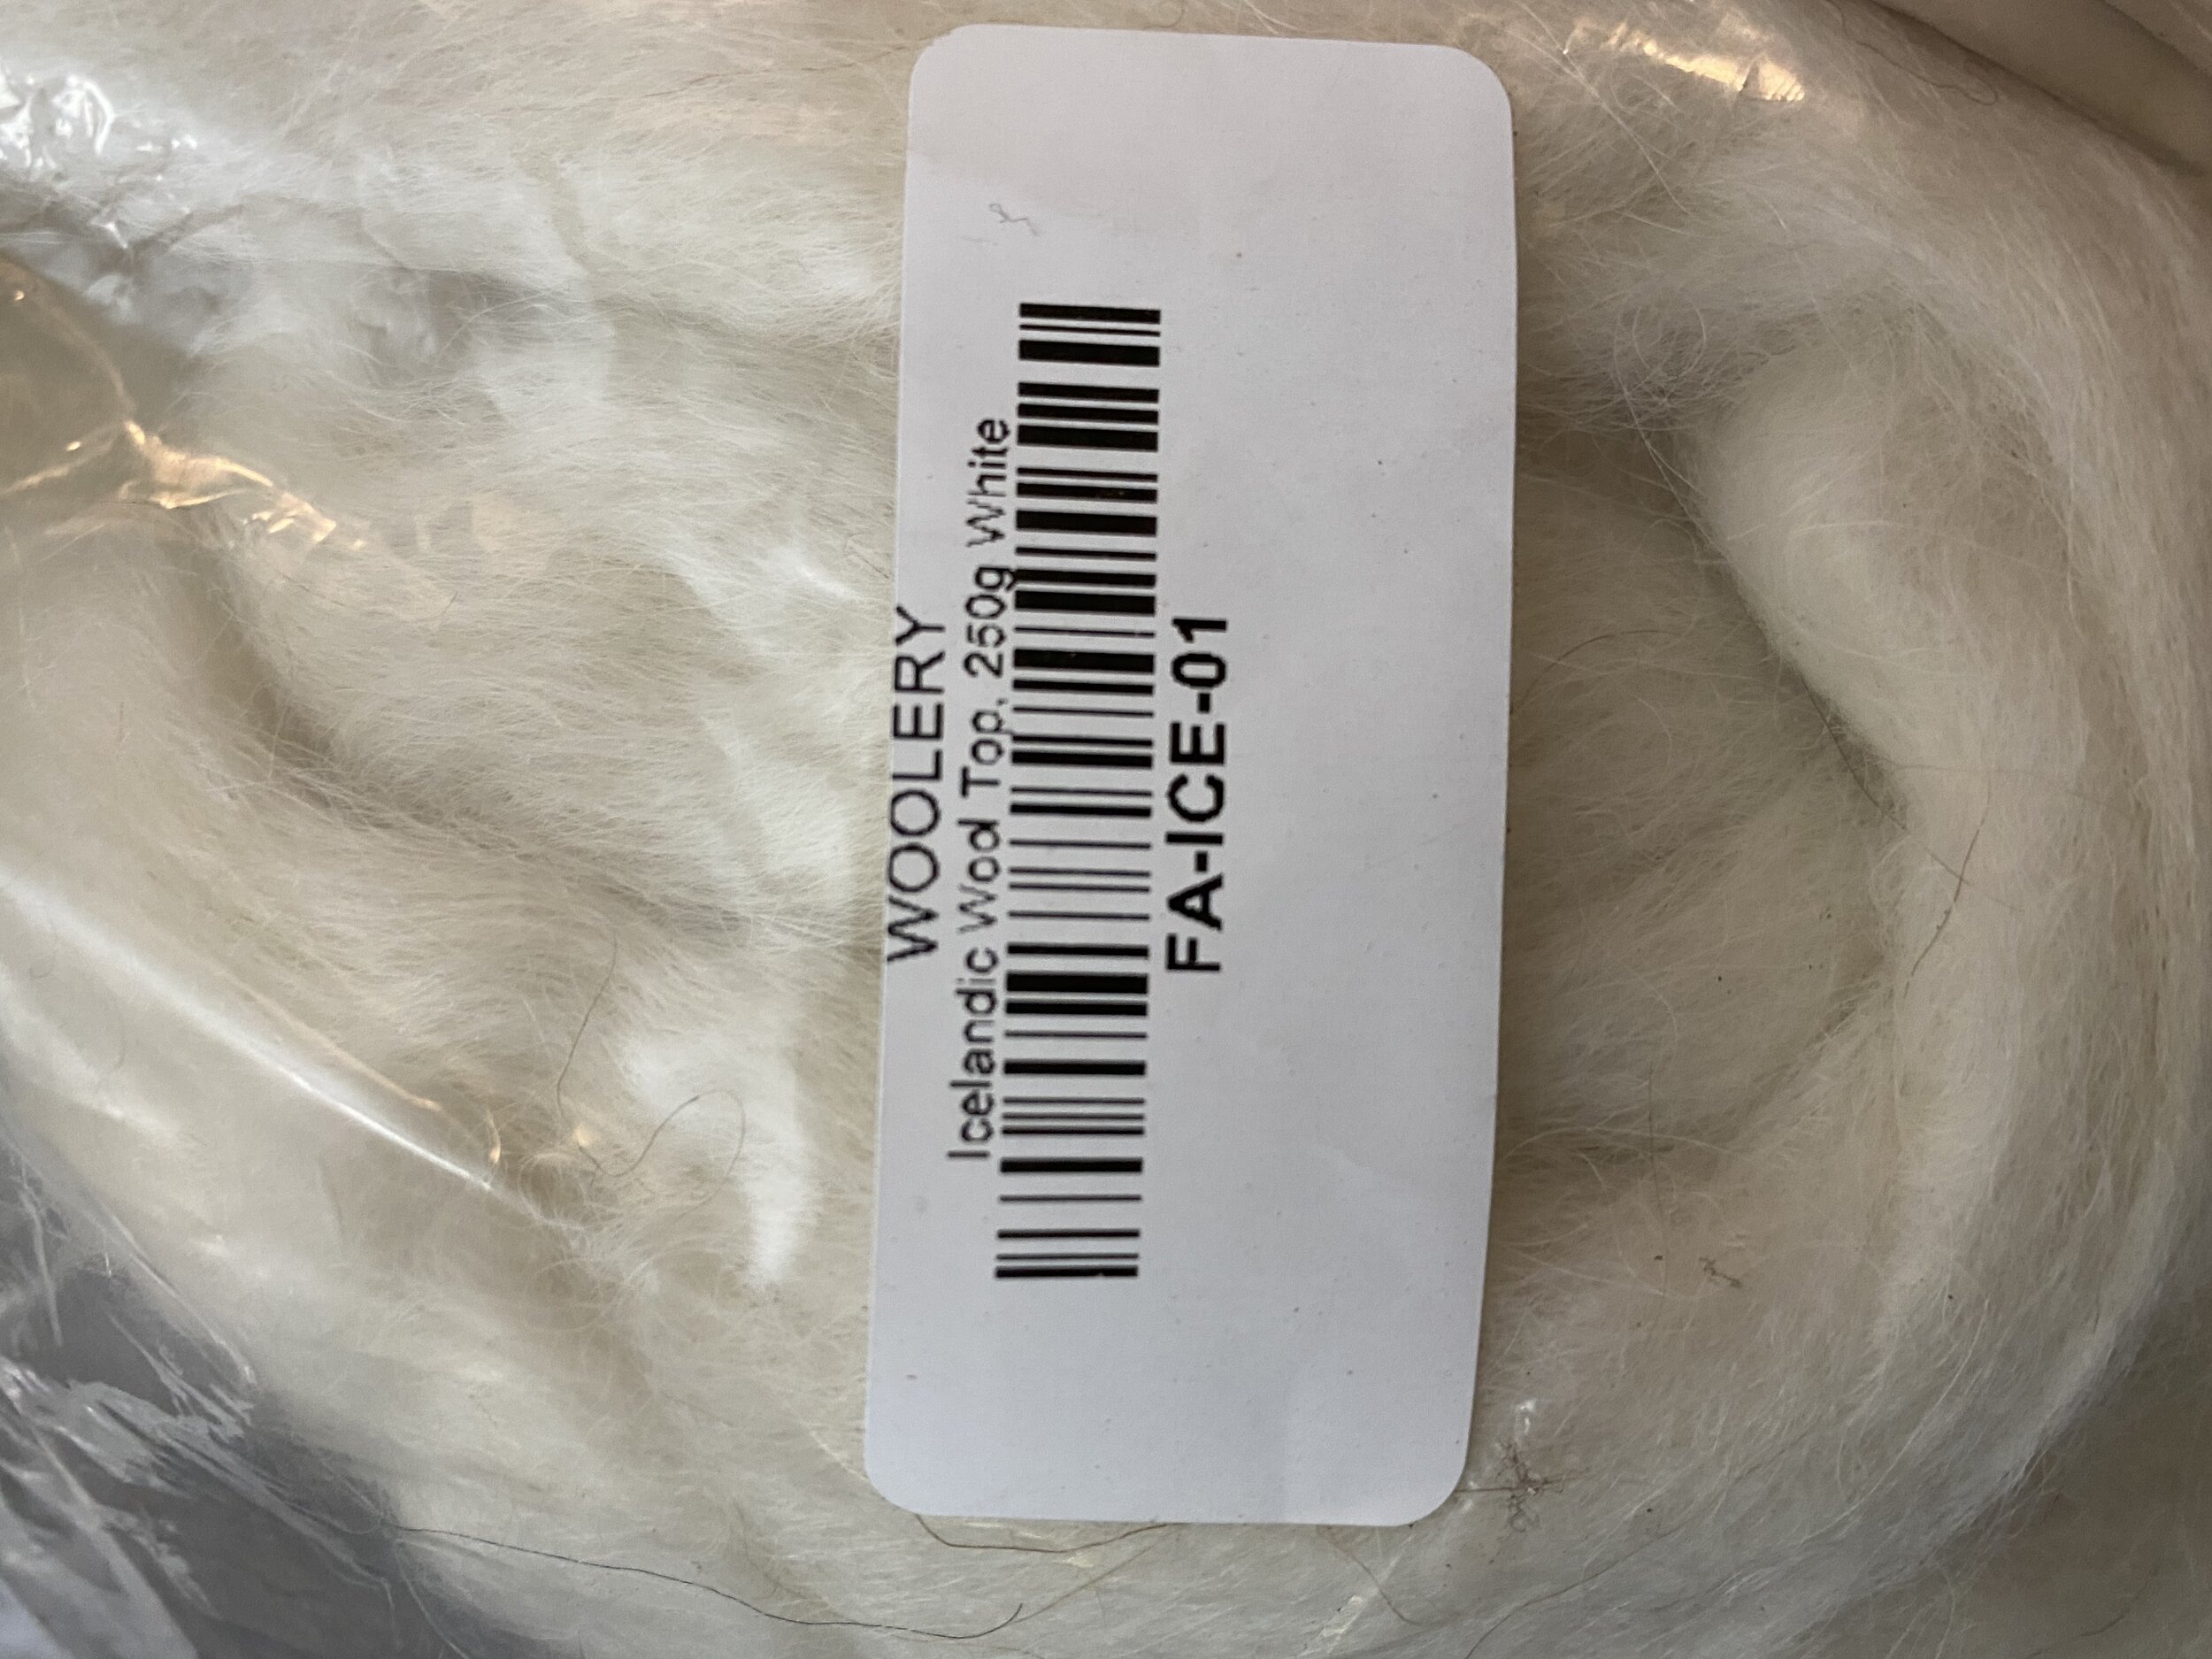
2nd Round: Hand spun and woven Winingas

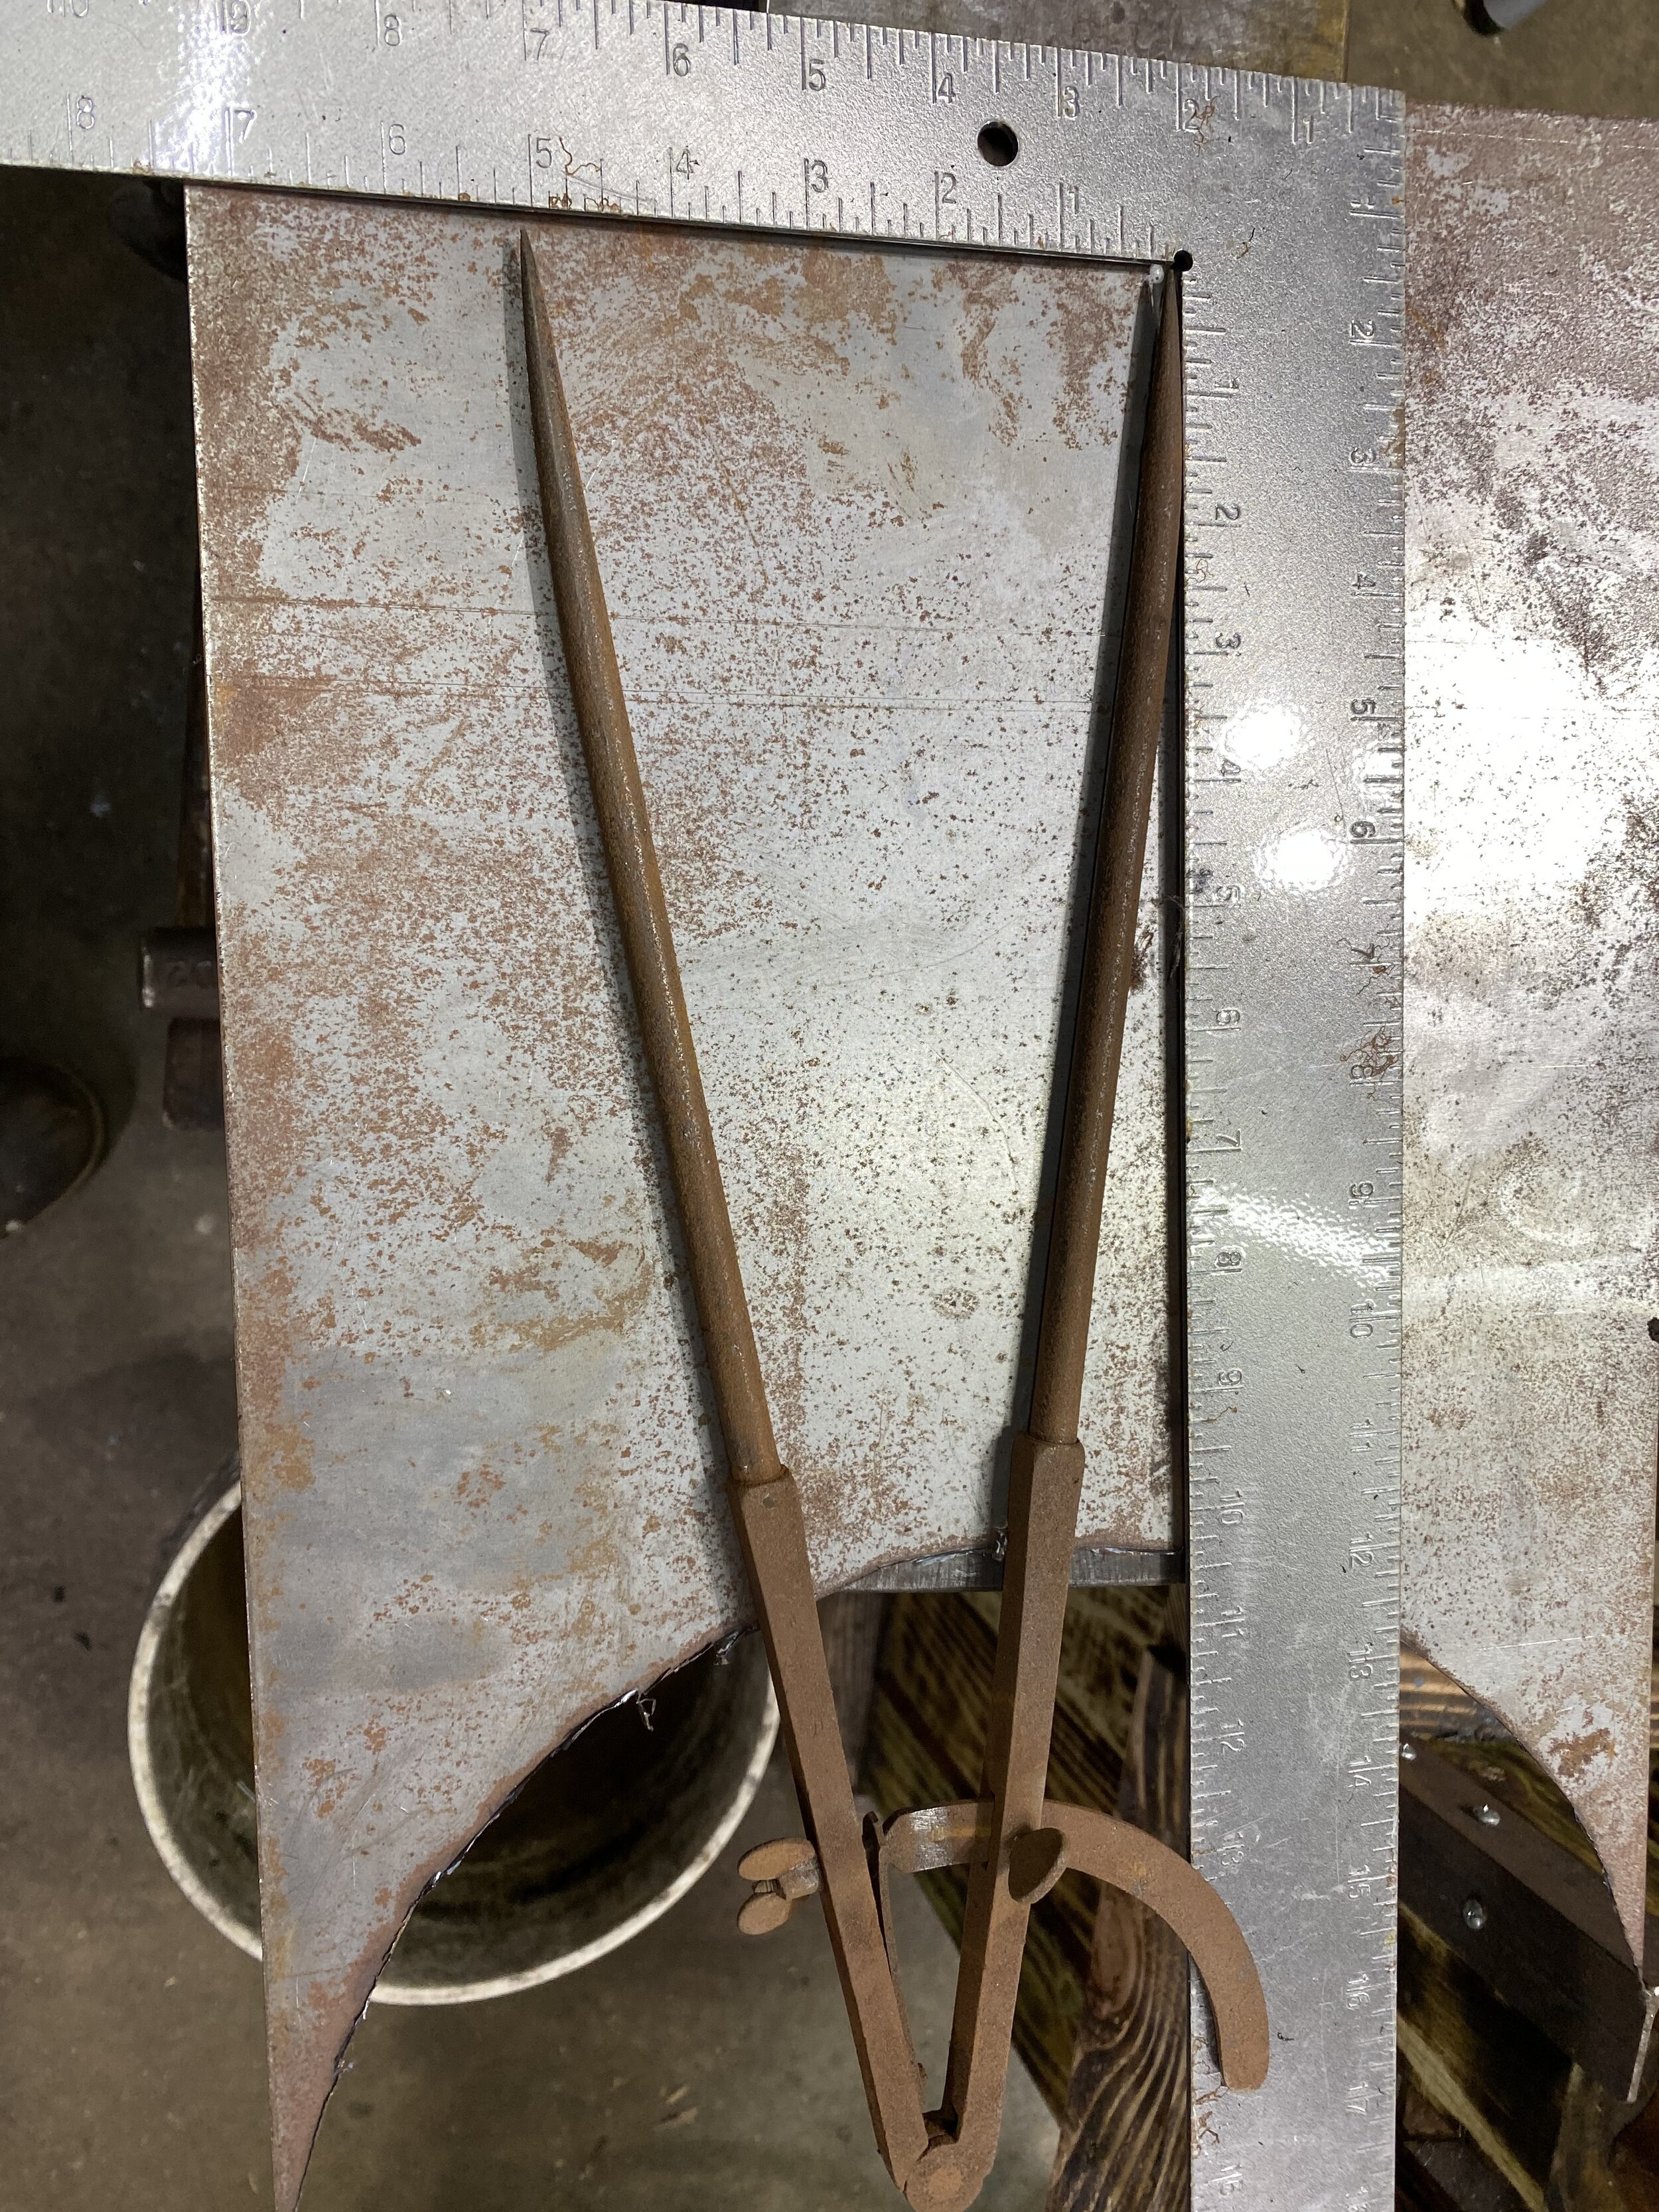
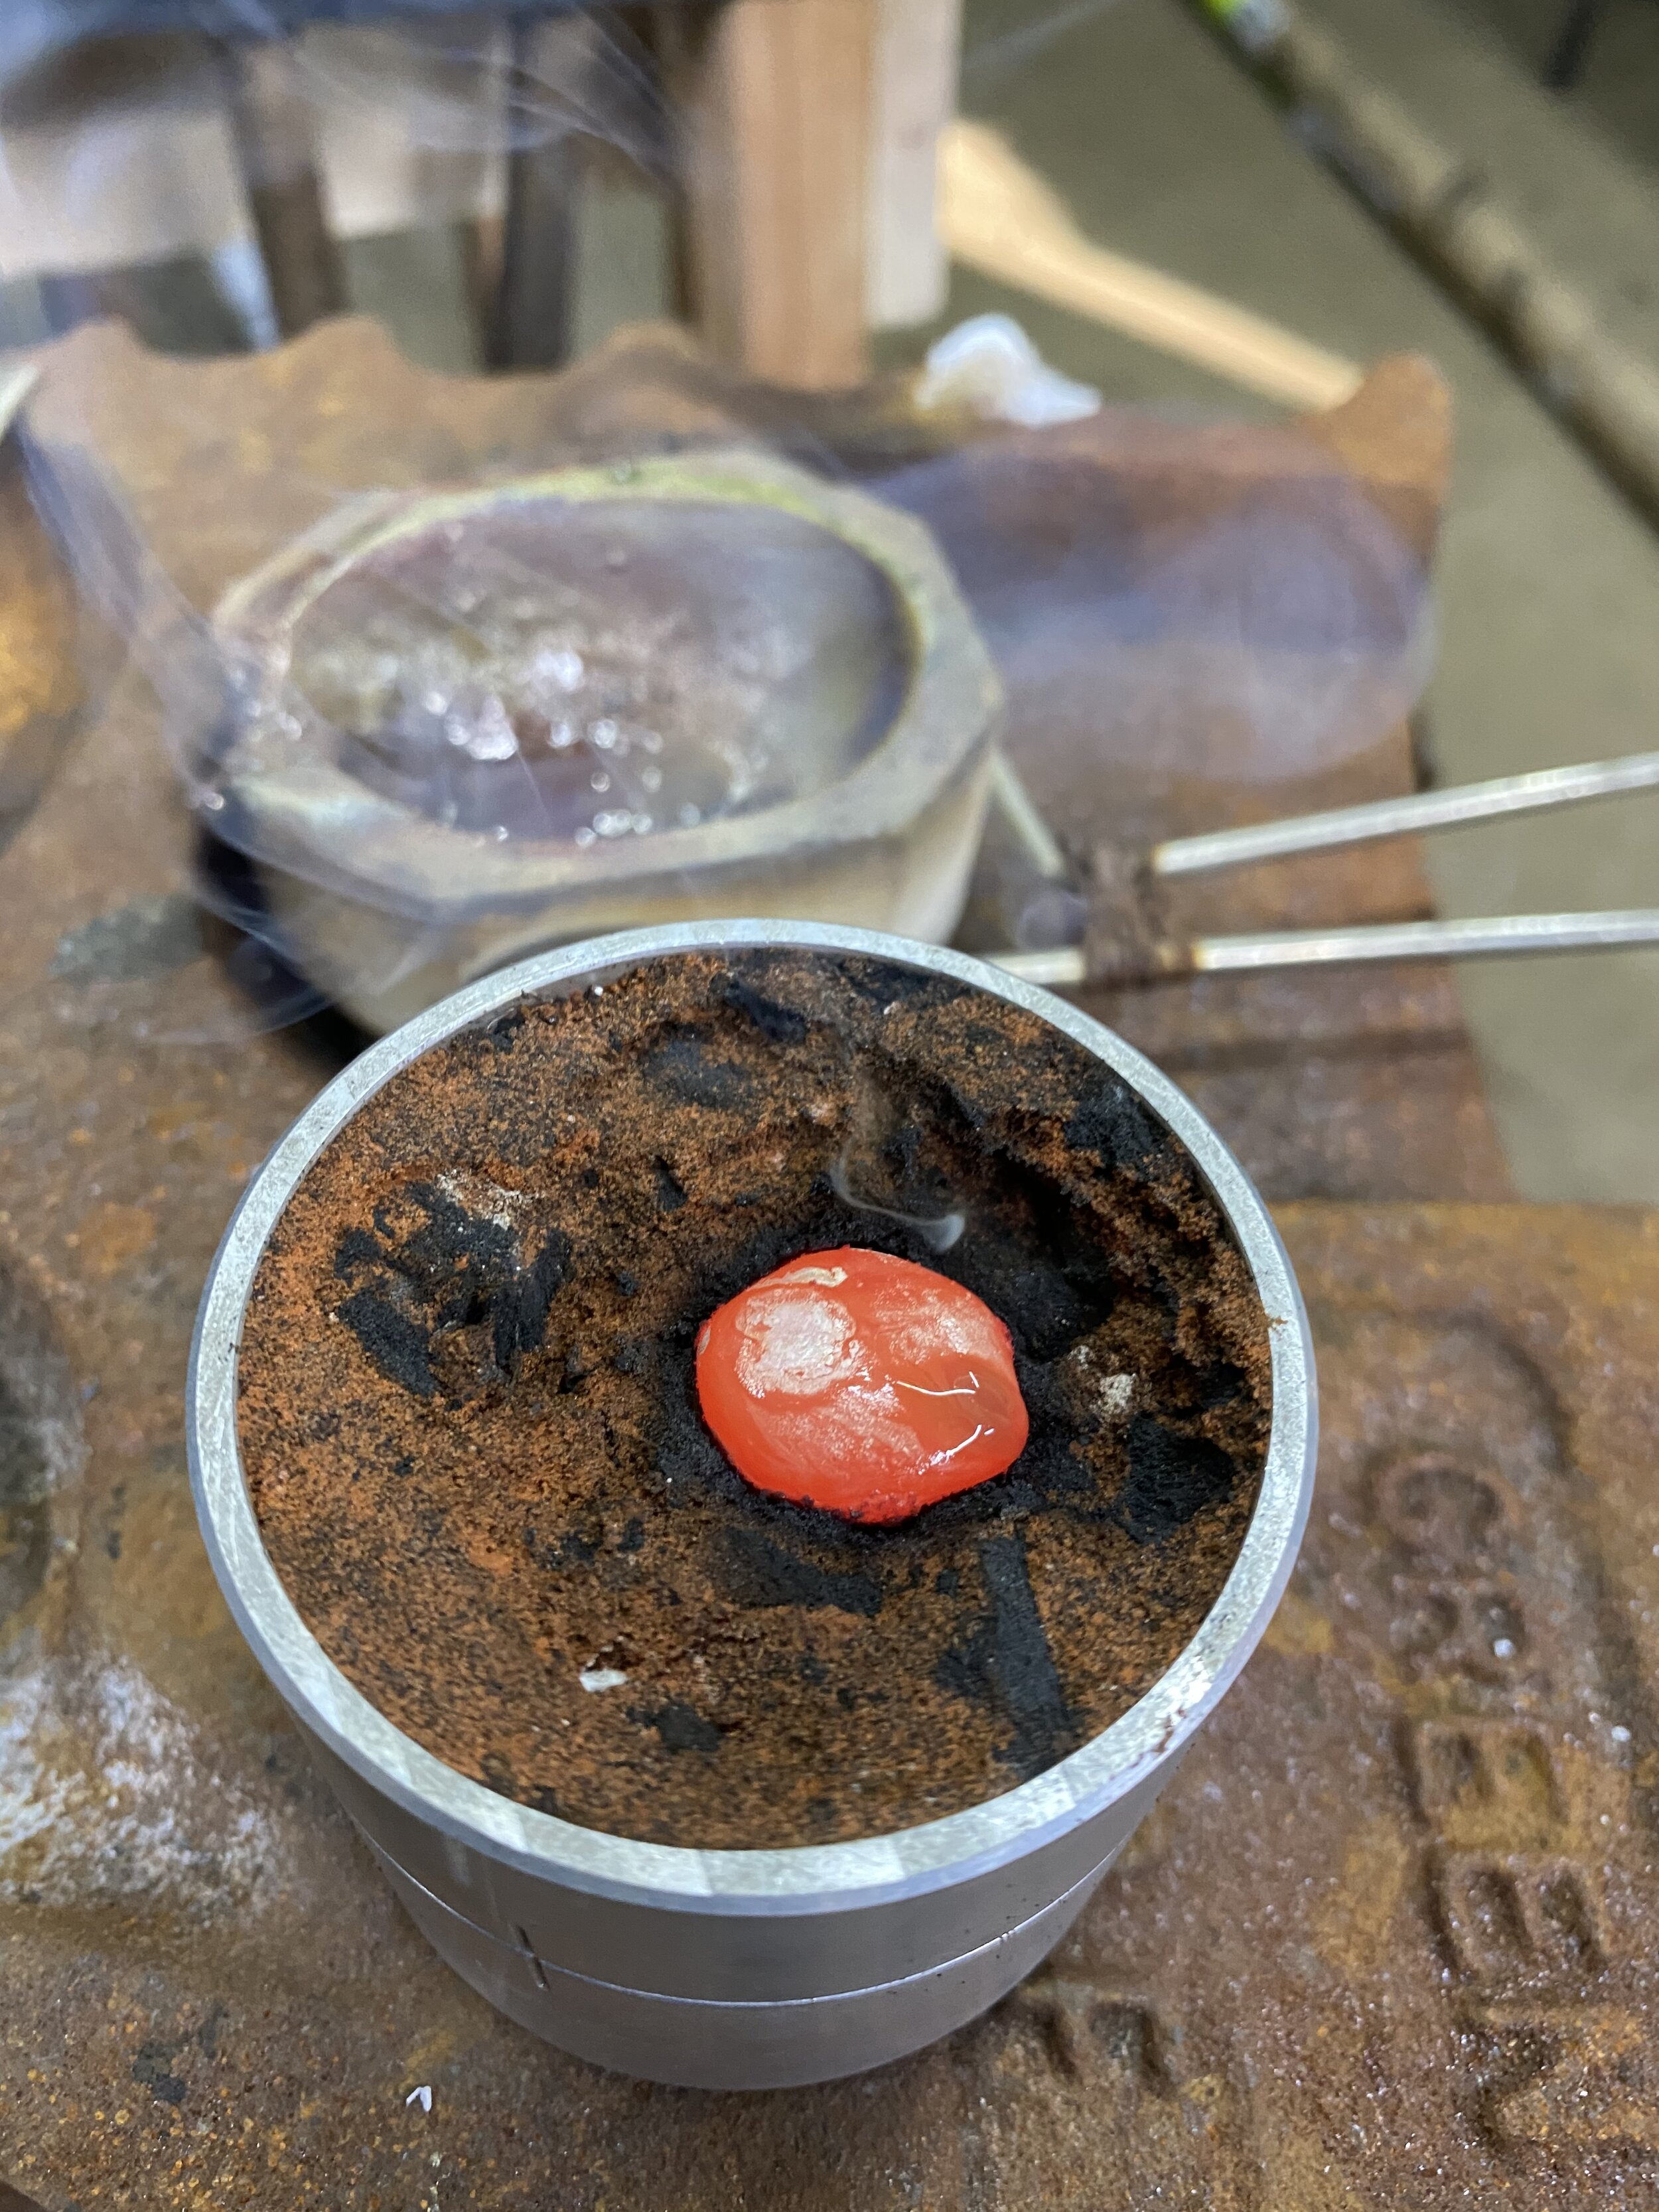
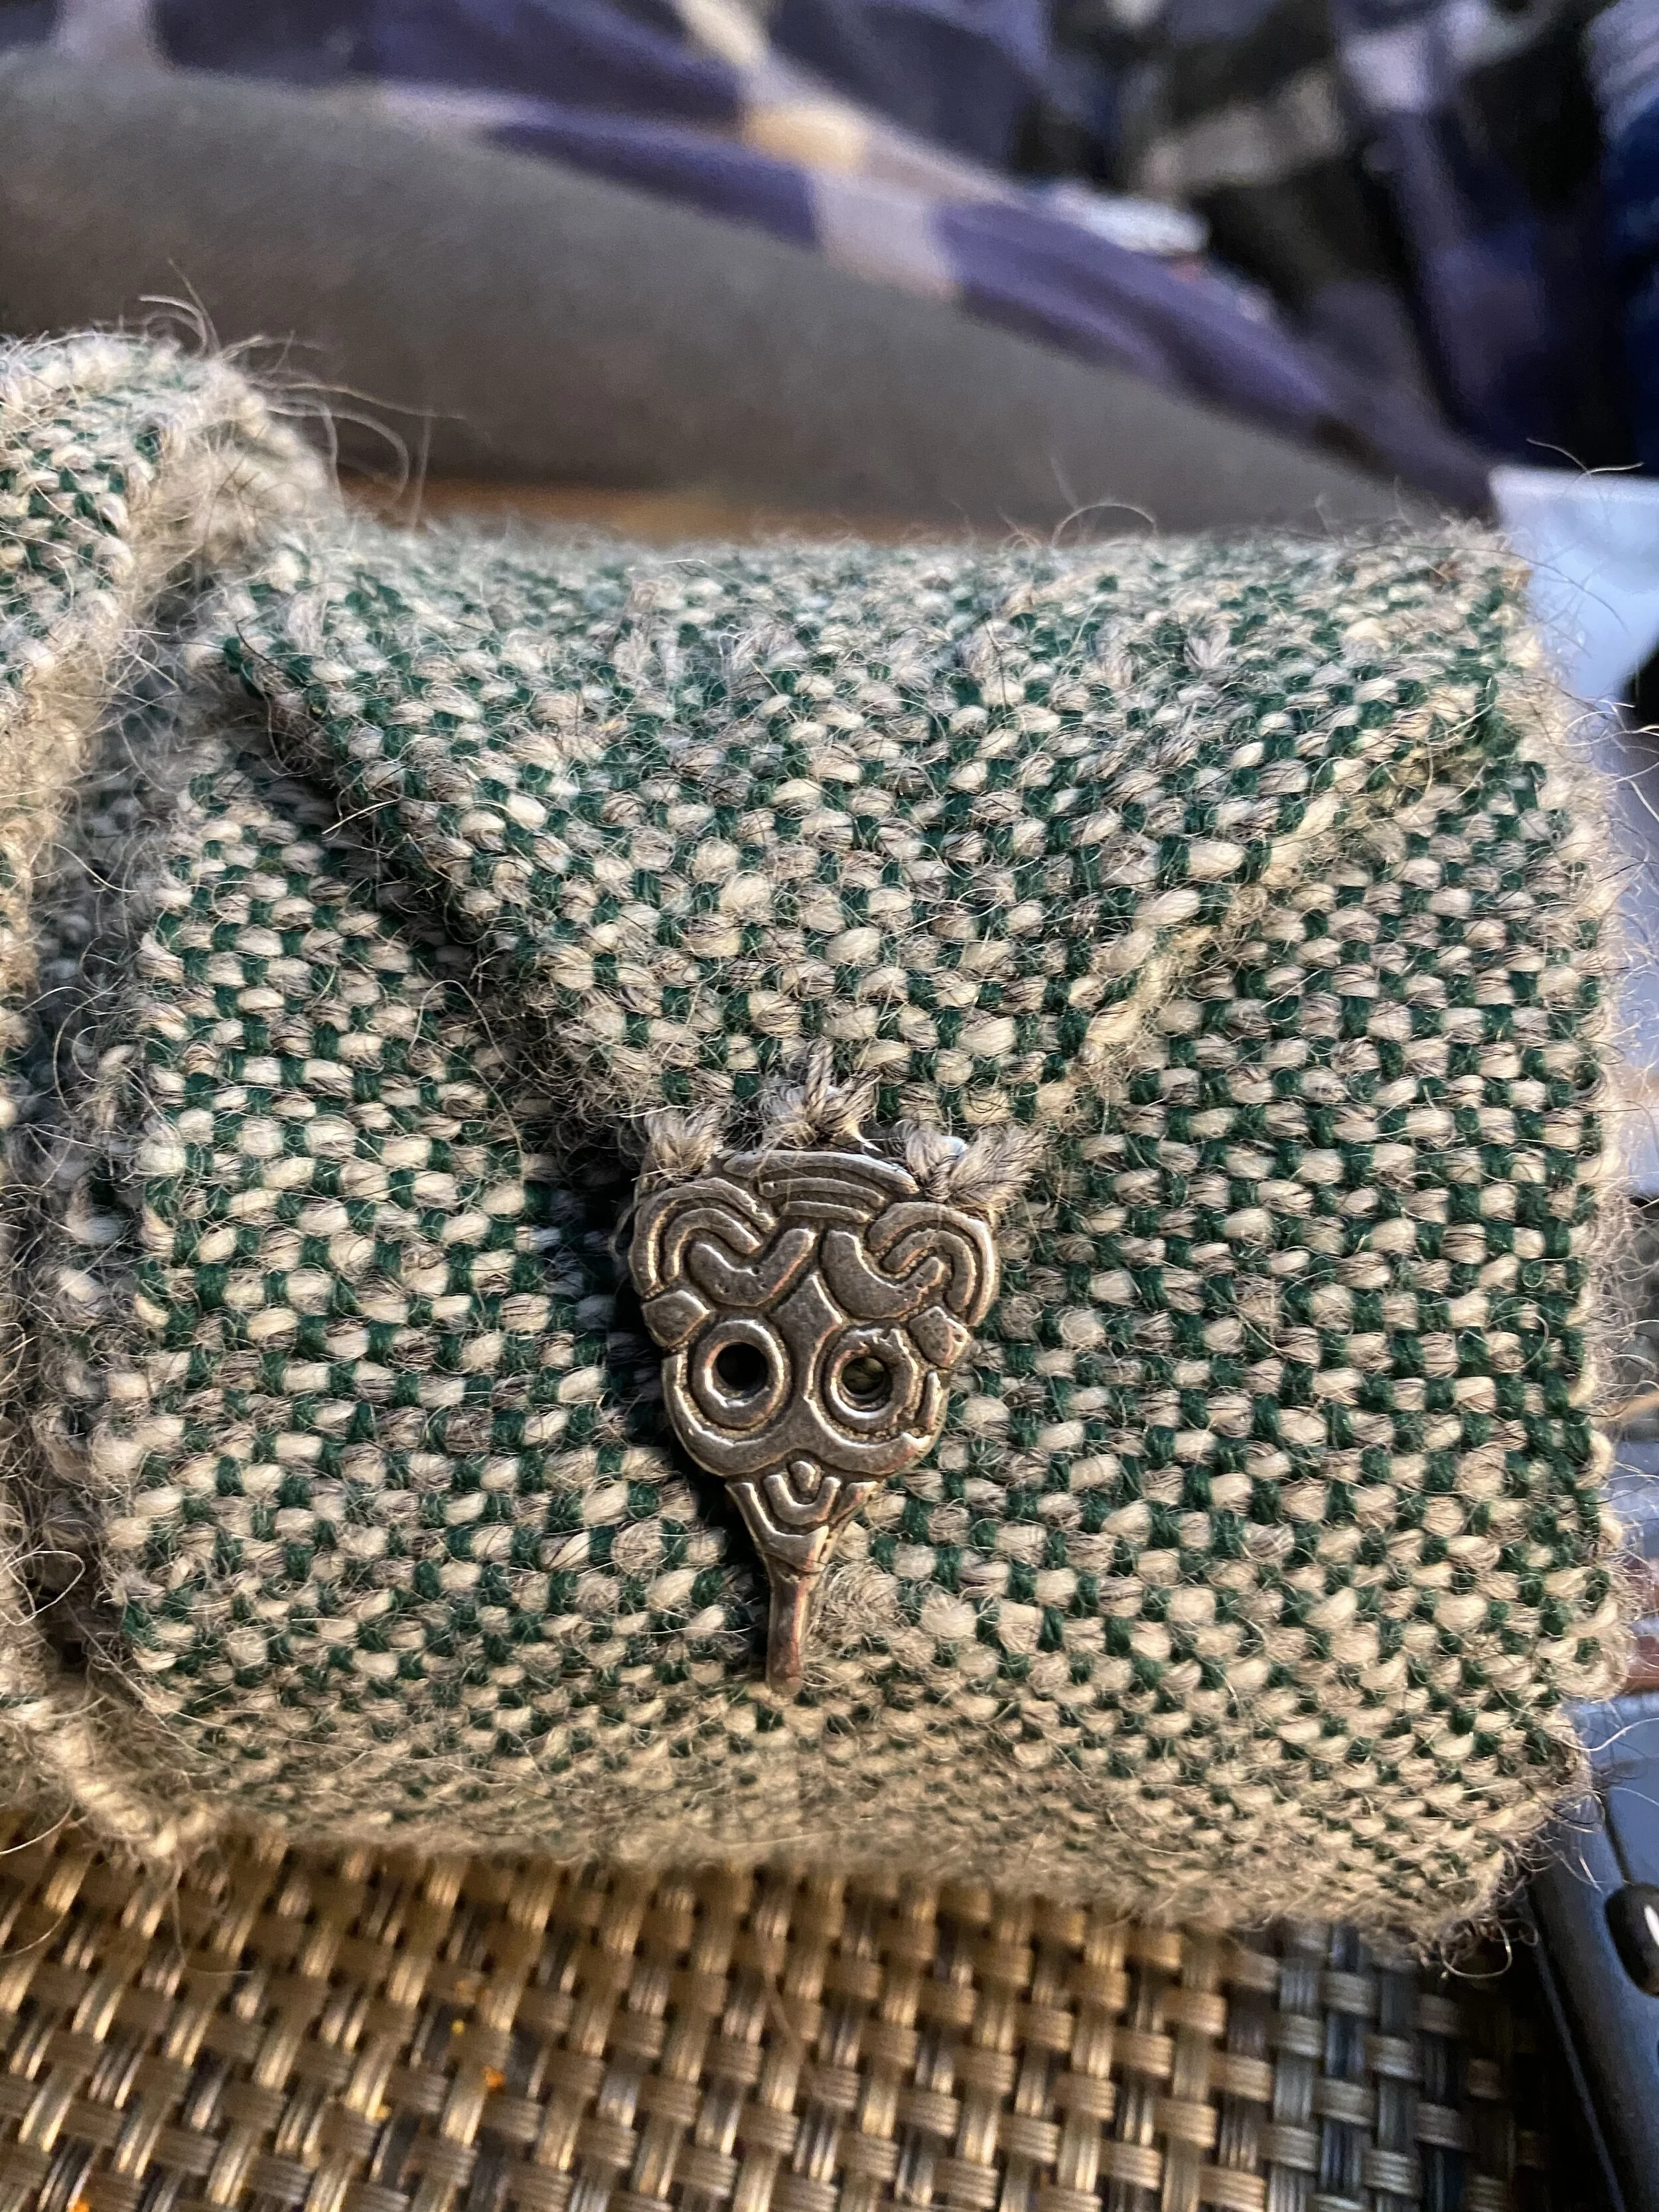
3rd Round: Cast Silver hooks for Winingas

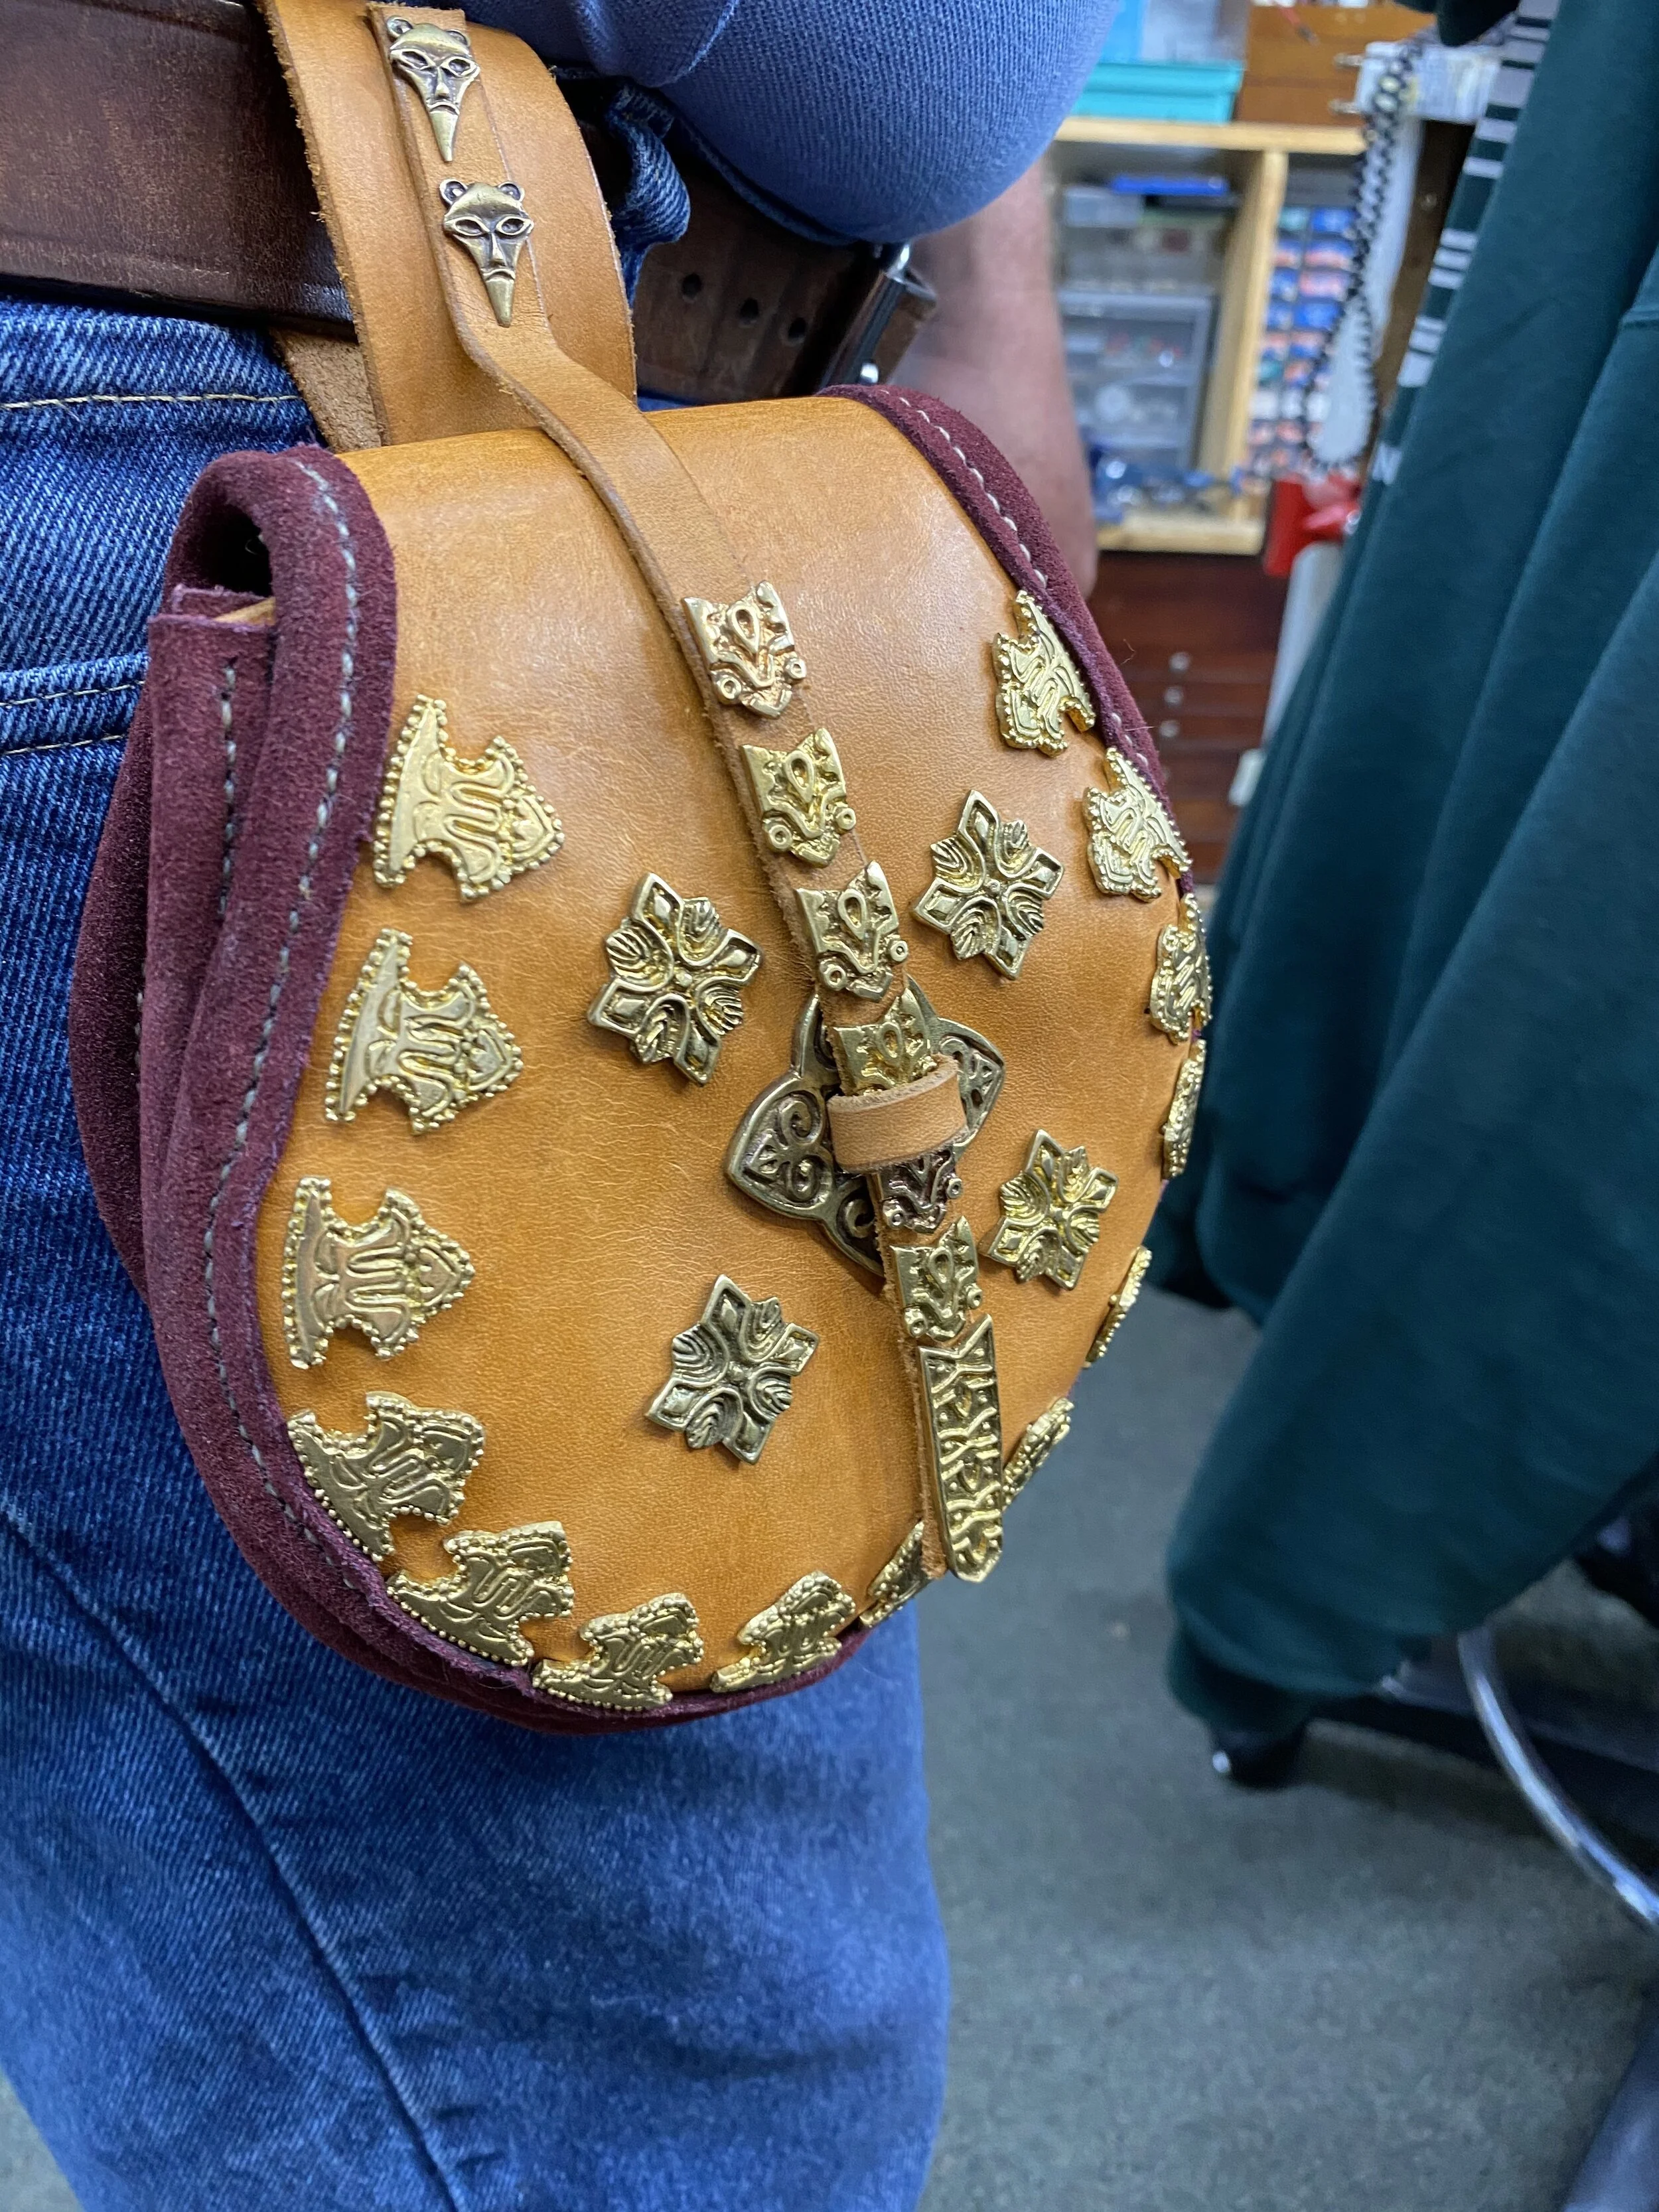
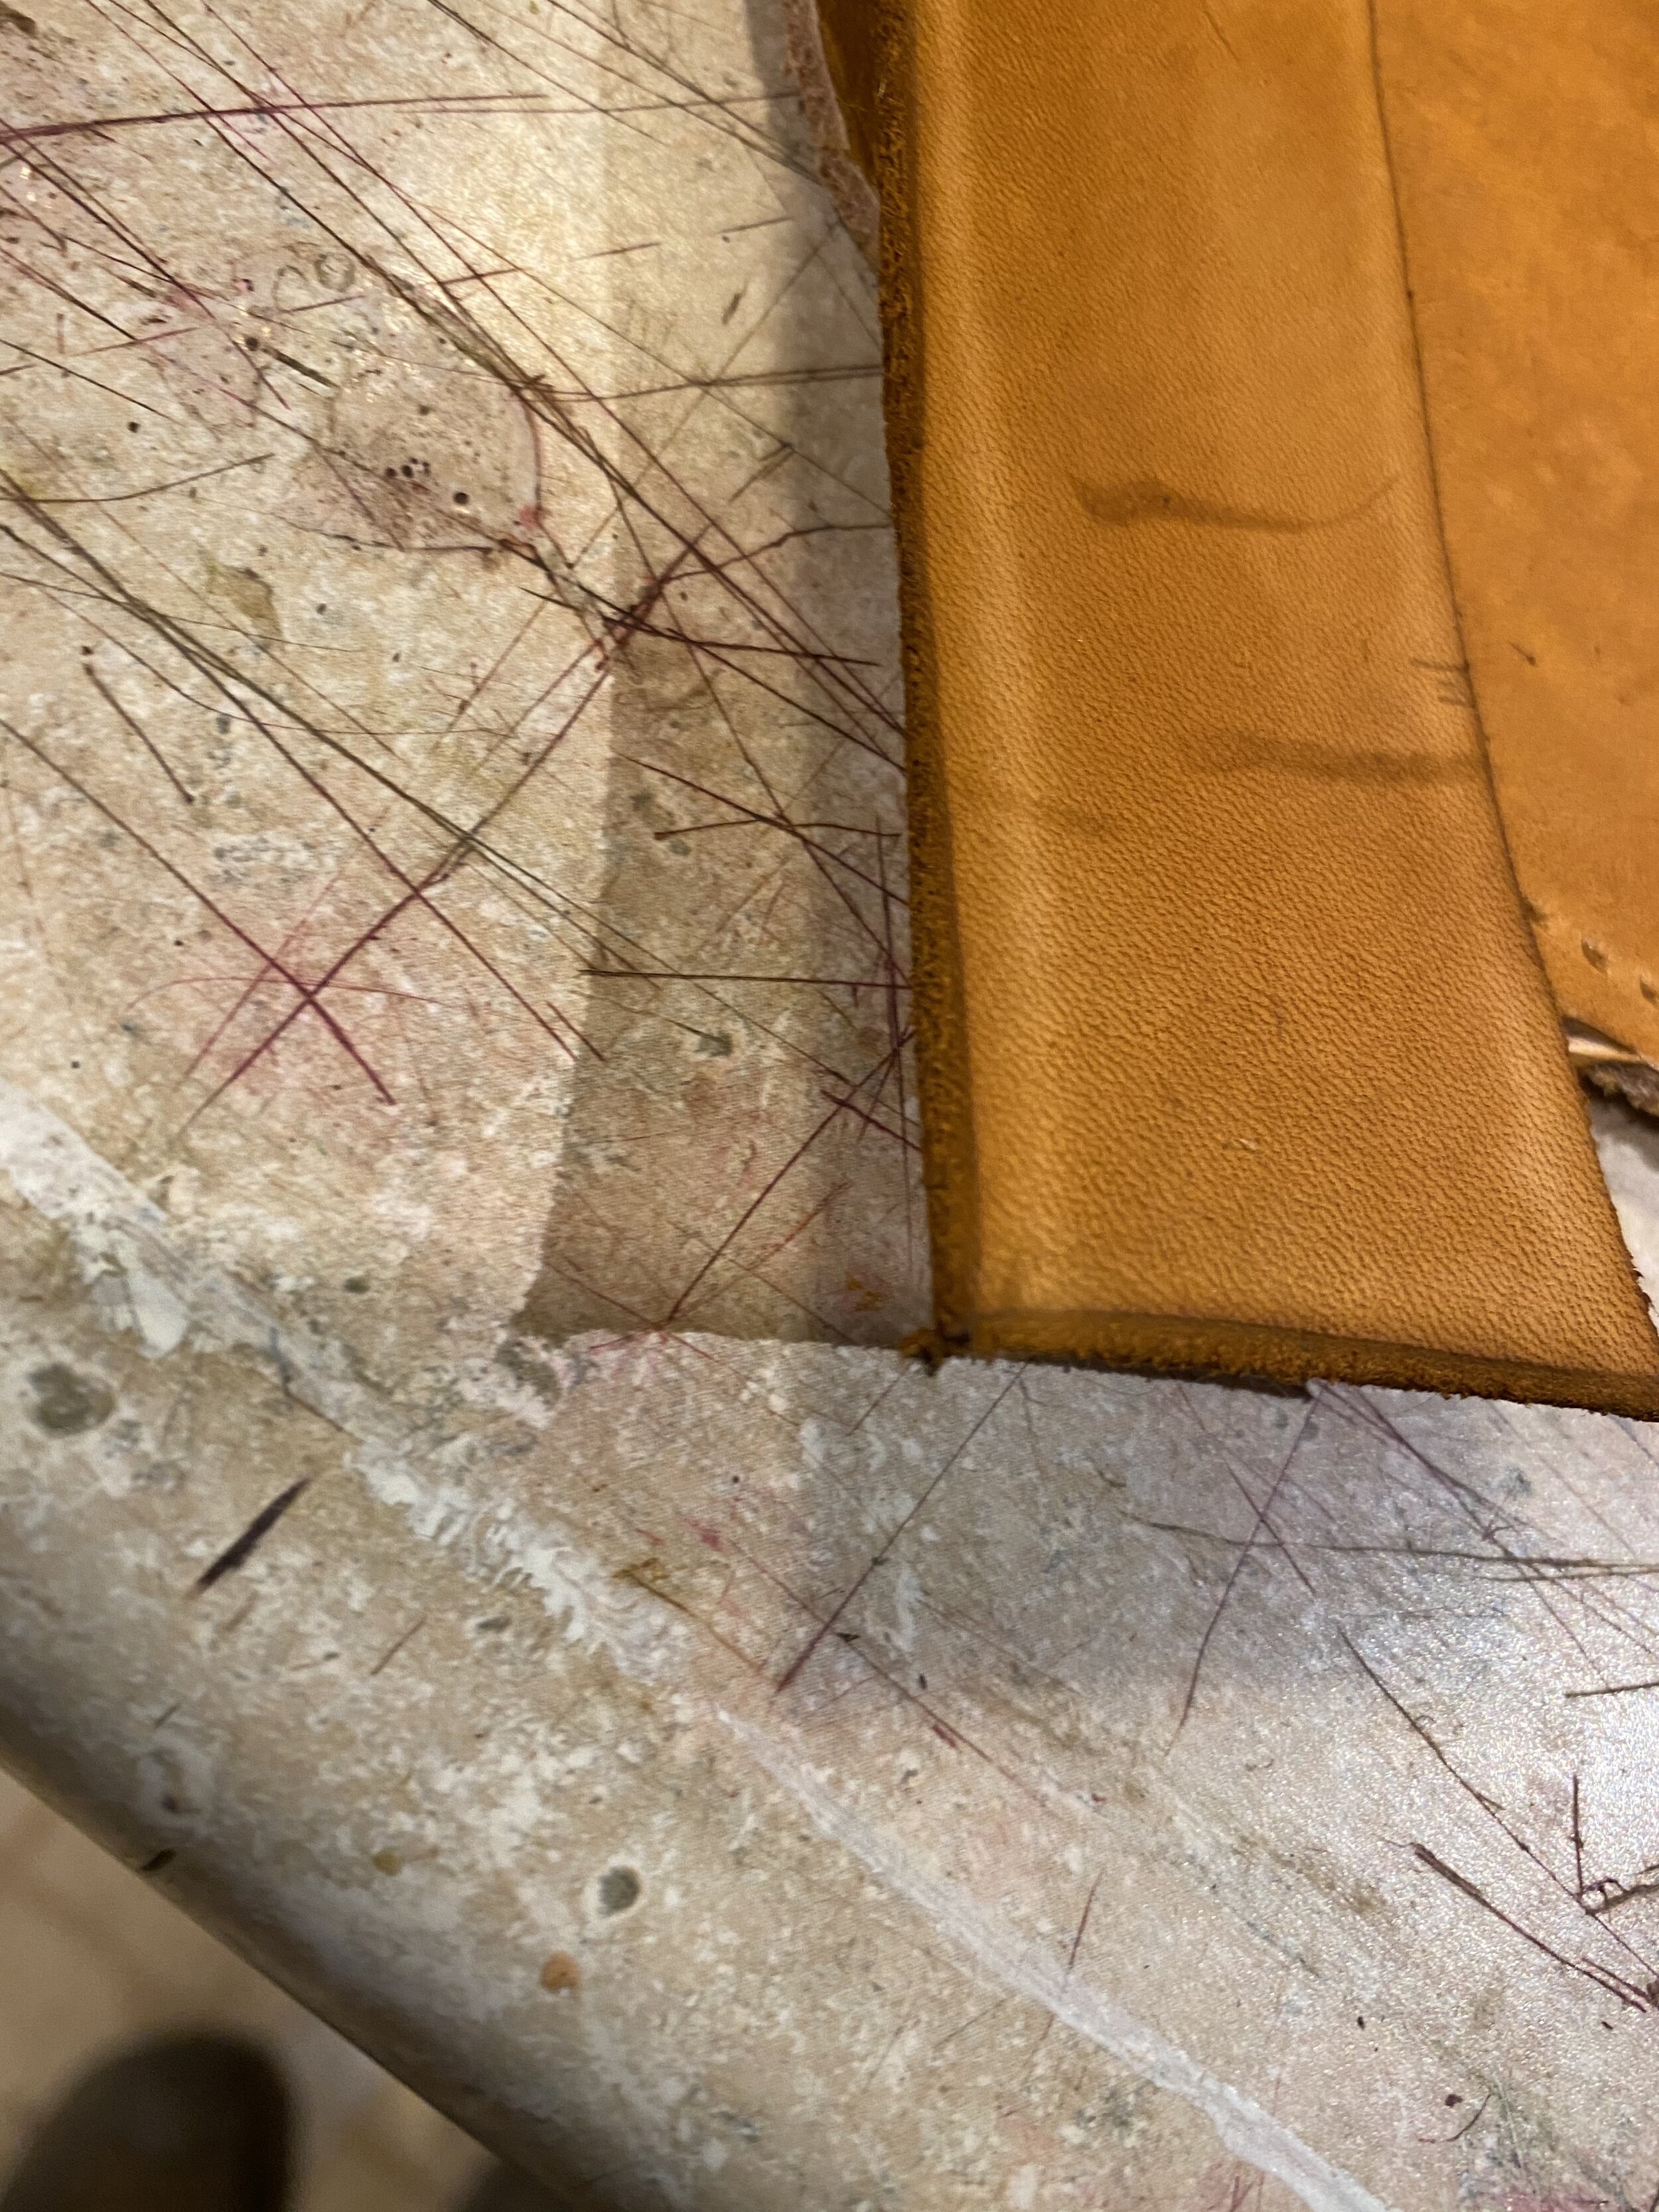
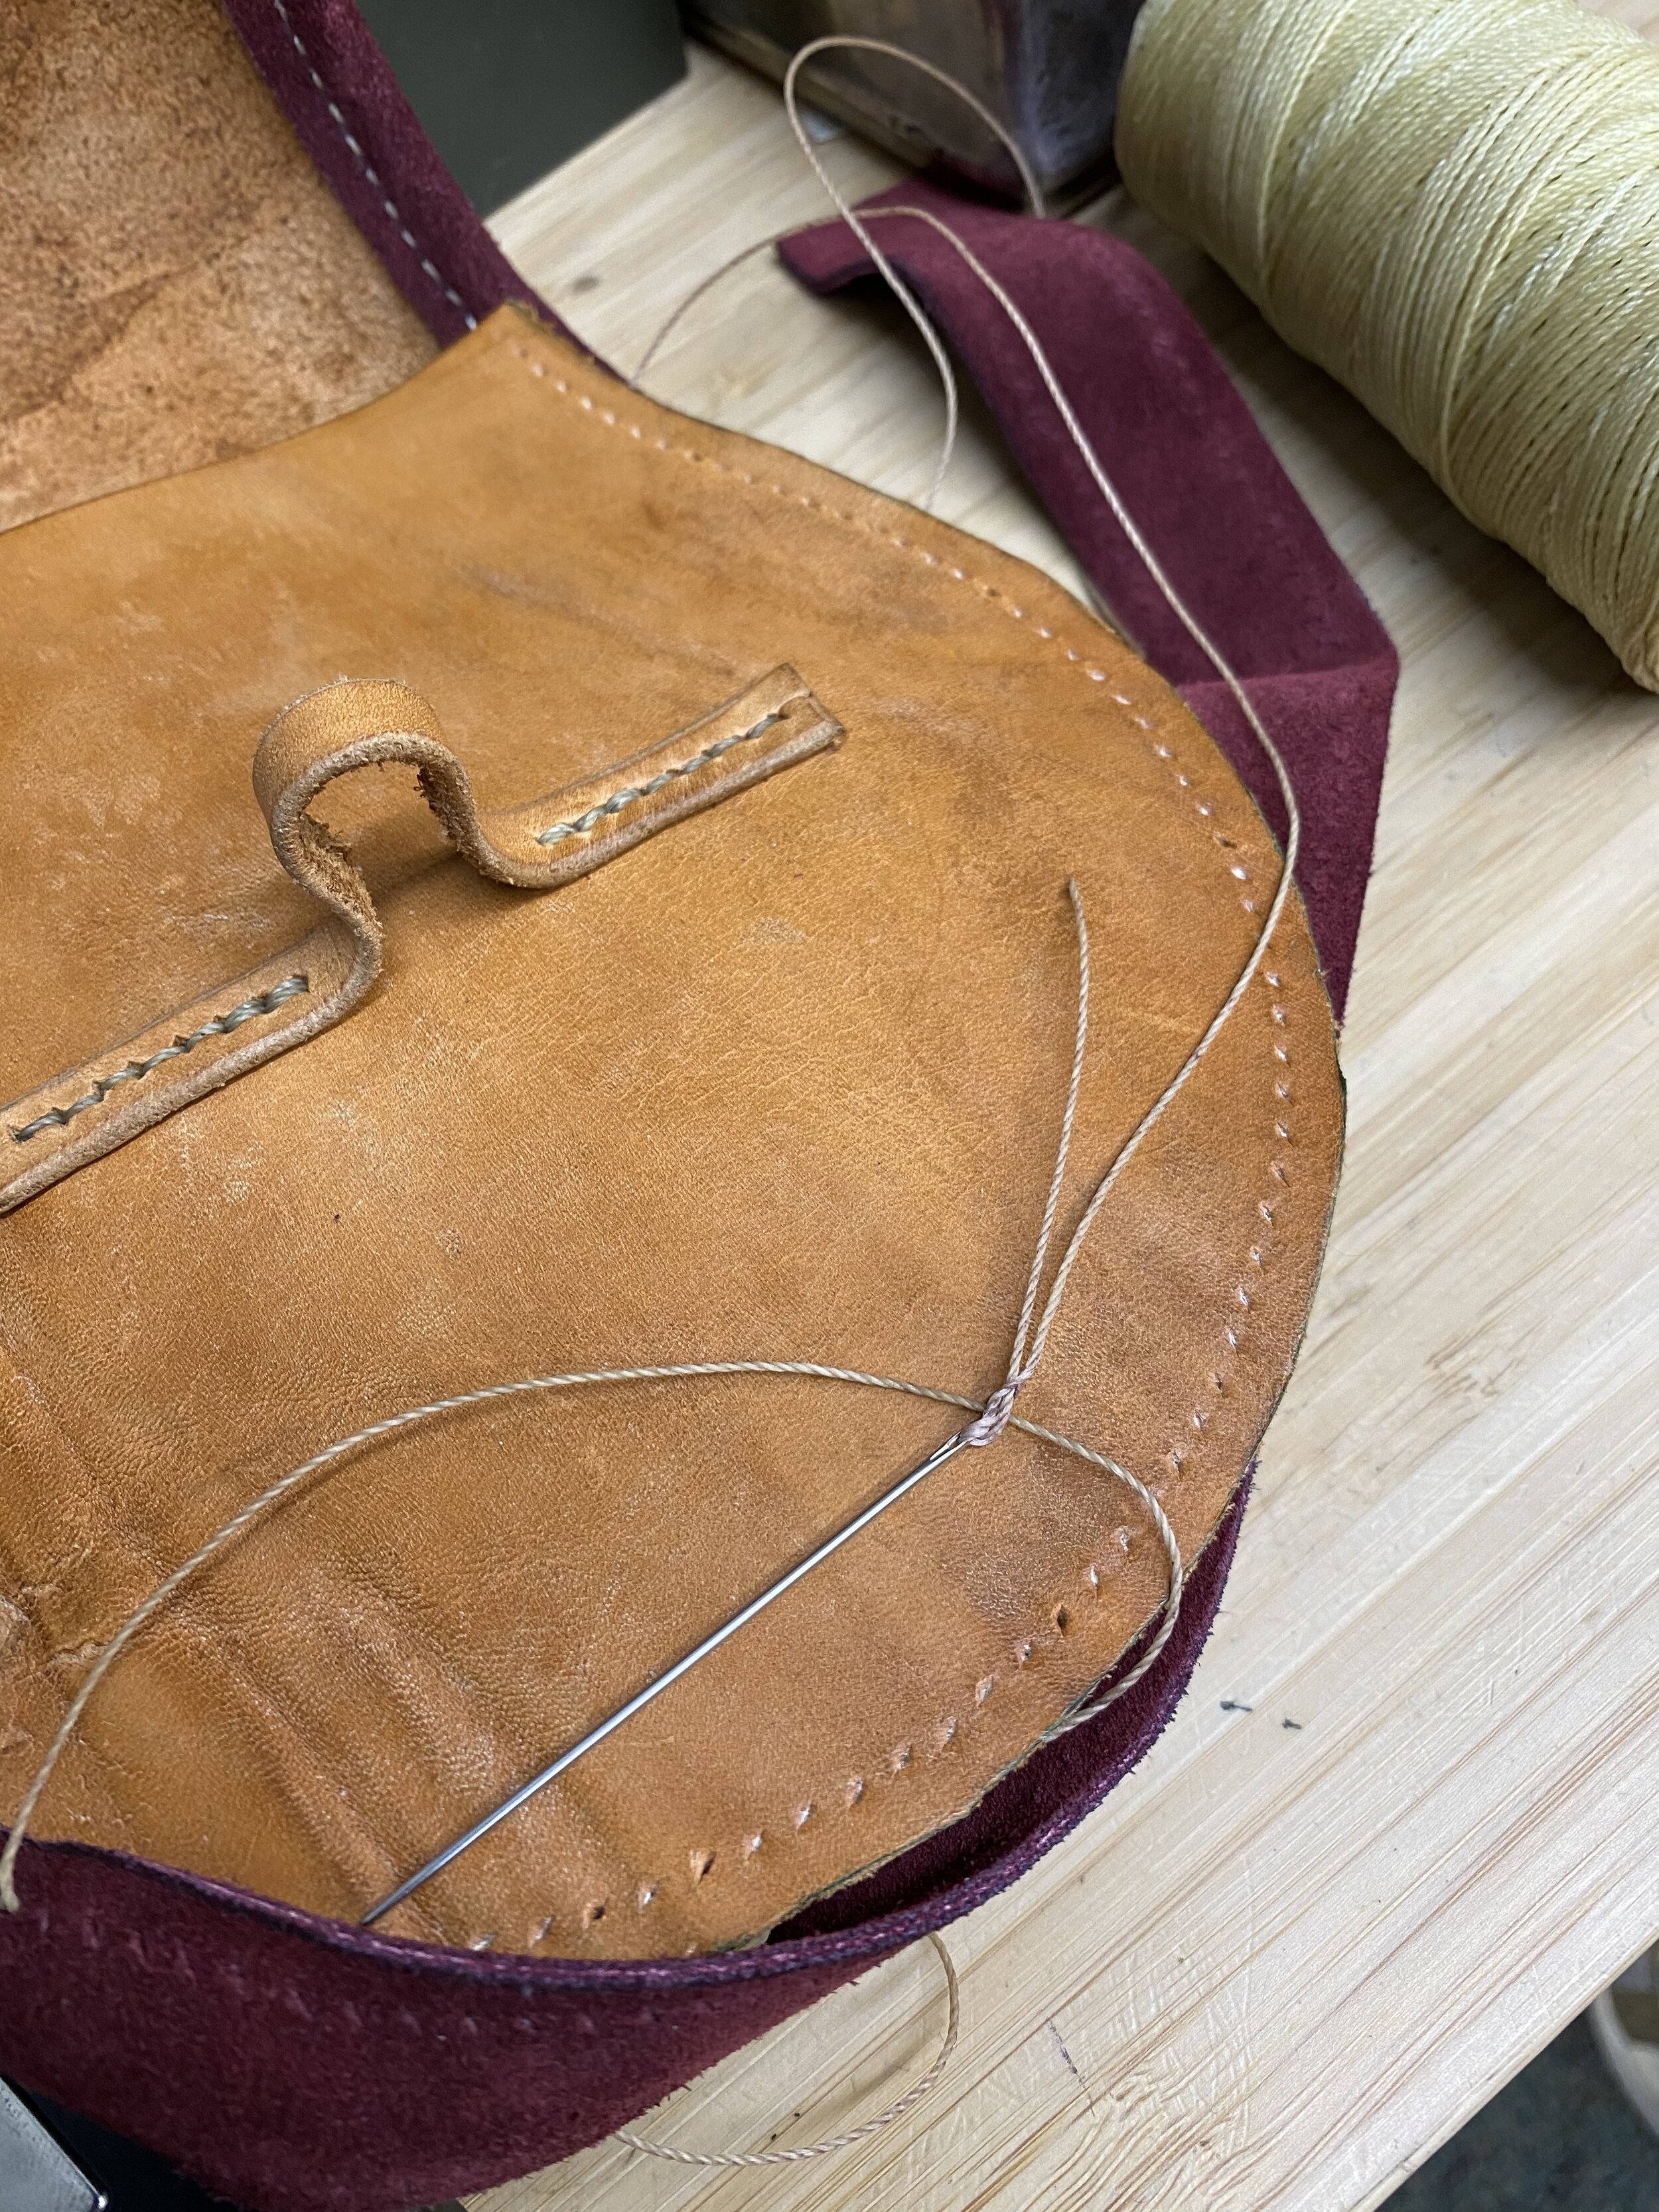
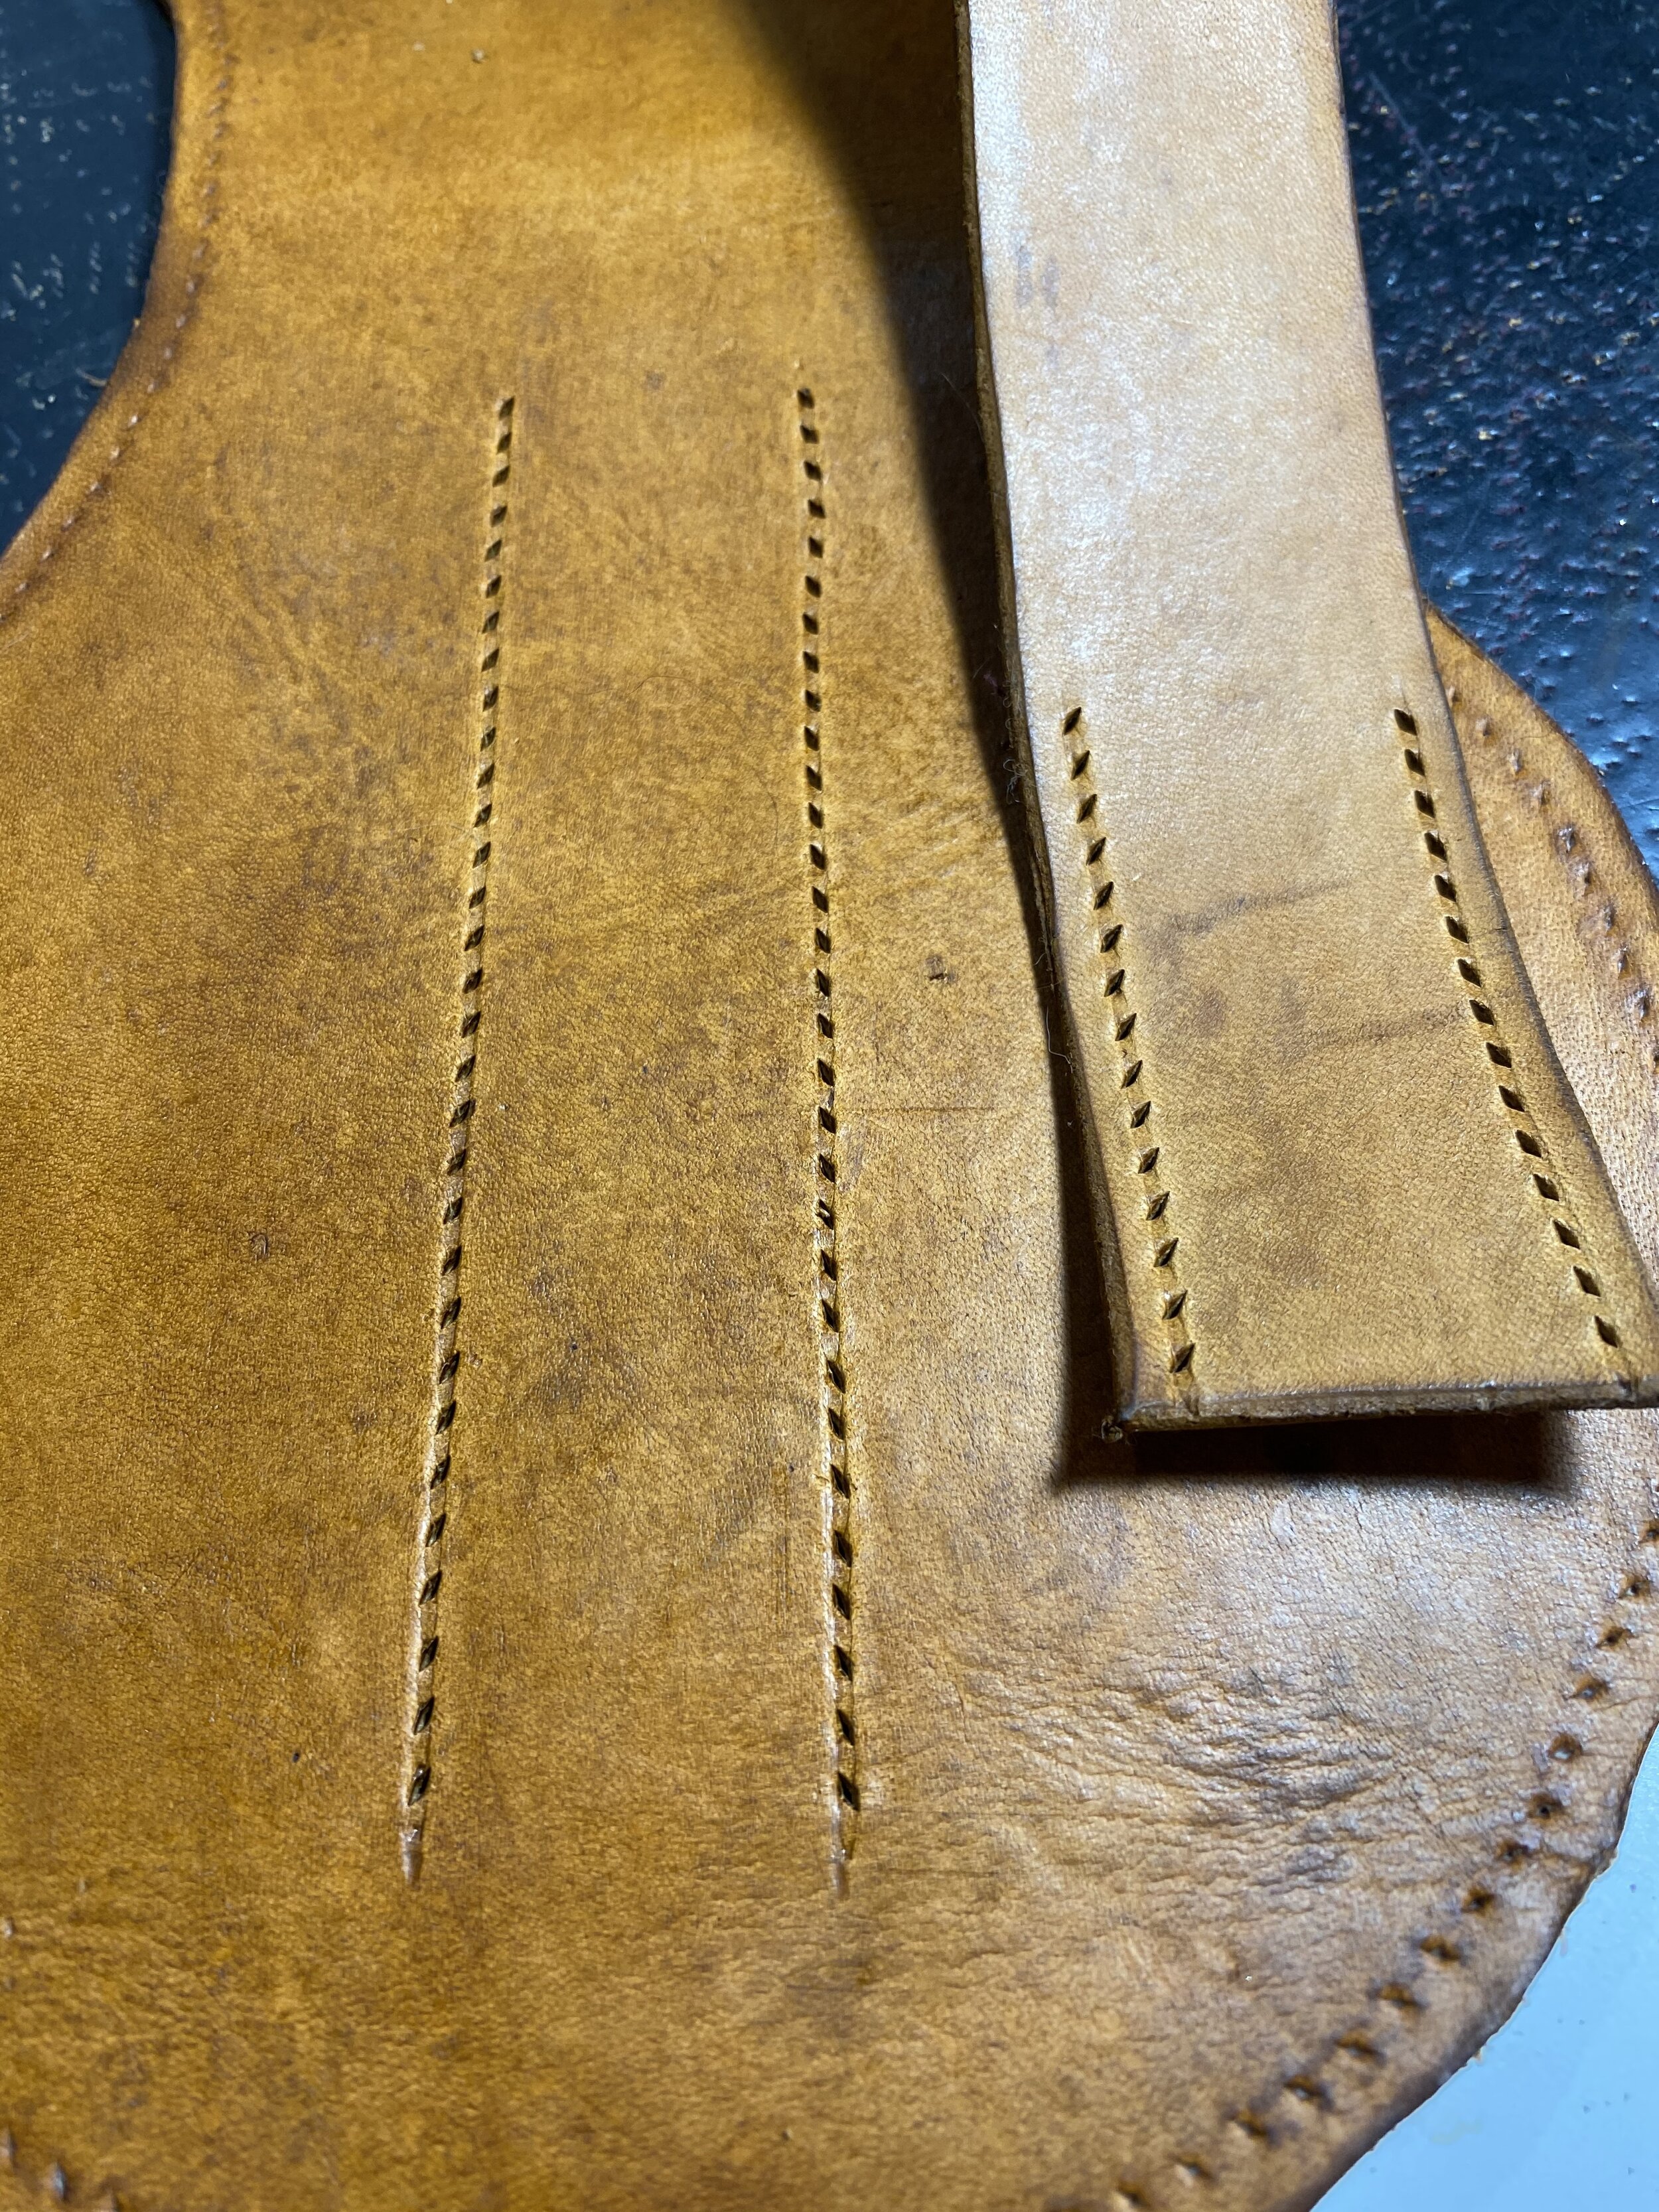
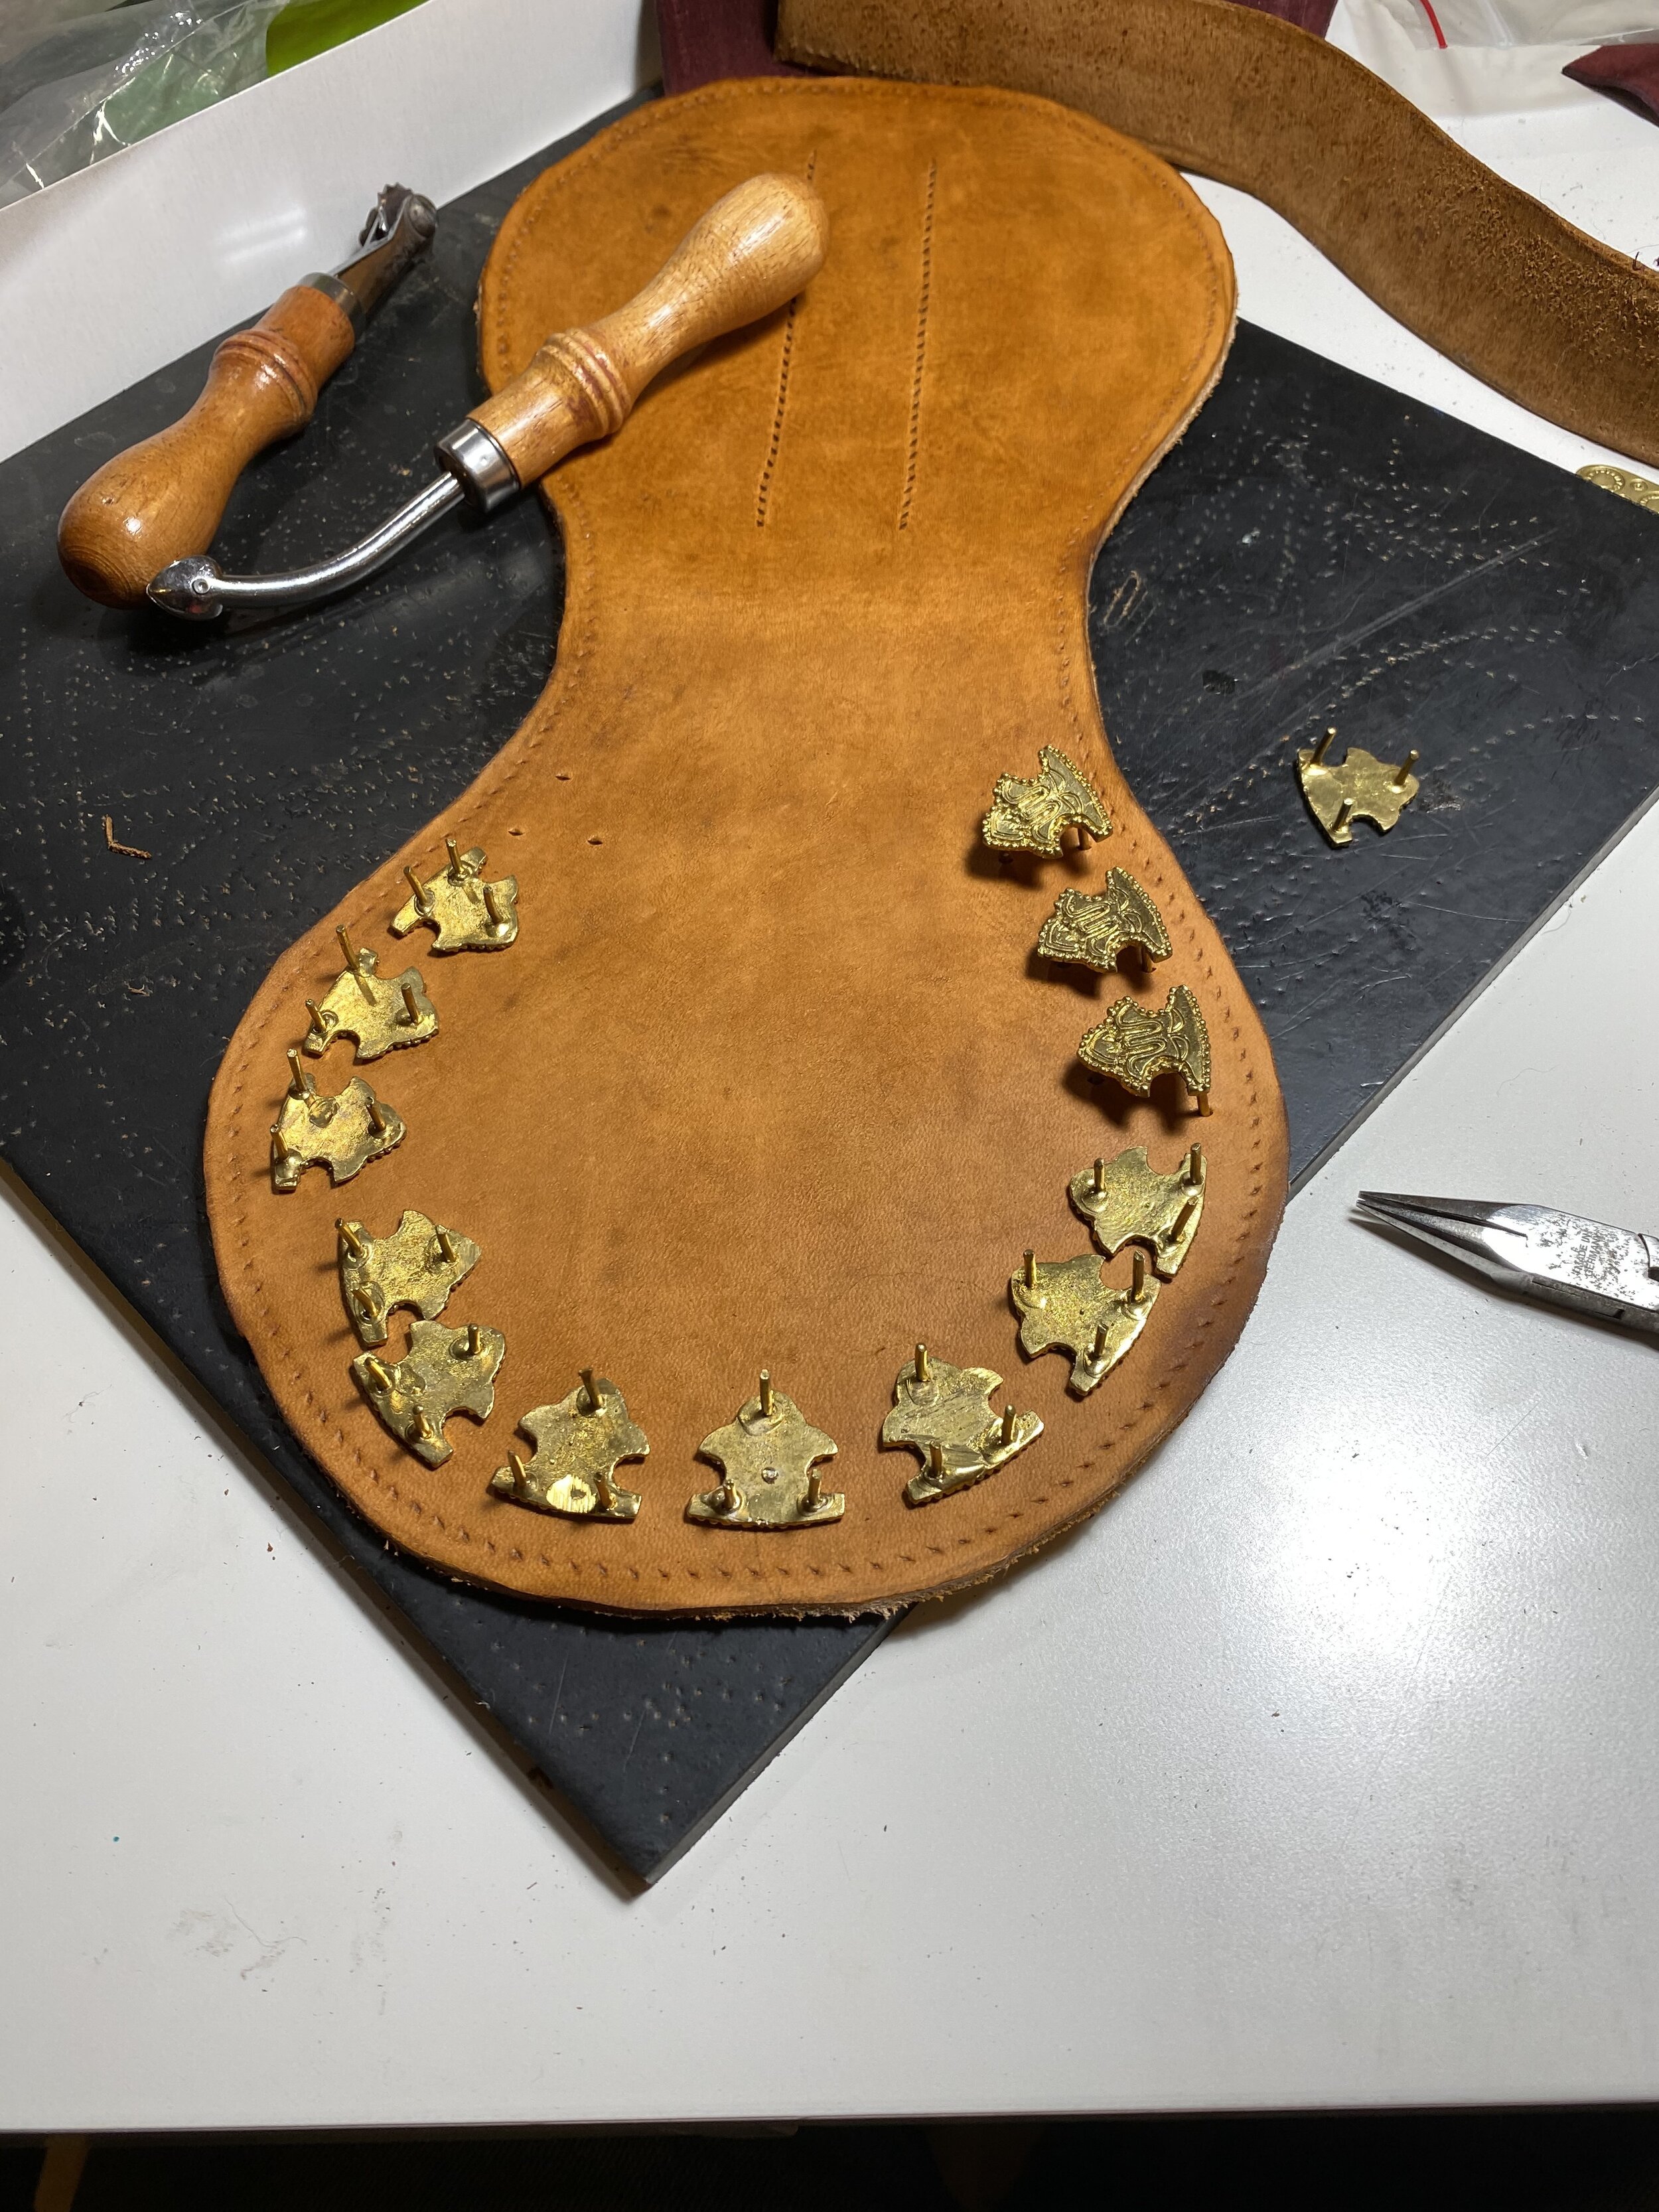
4th and Final Round: Birka Pouch

Each entry could not be started until the previous was finished and the time between judging got smaller and smaller.

Now that that is out of the way and I can get back to putzing around, I need to clean up all the pictures and other things I have been doing up till now, so here goes:

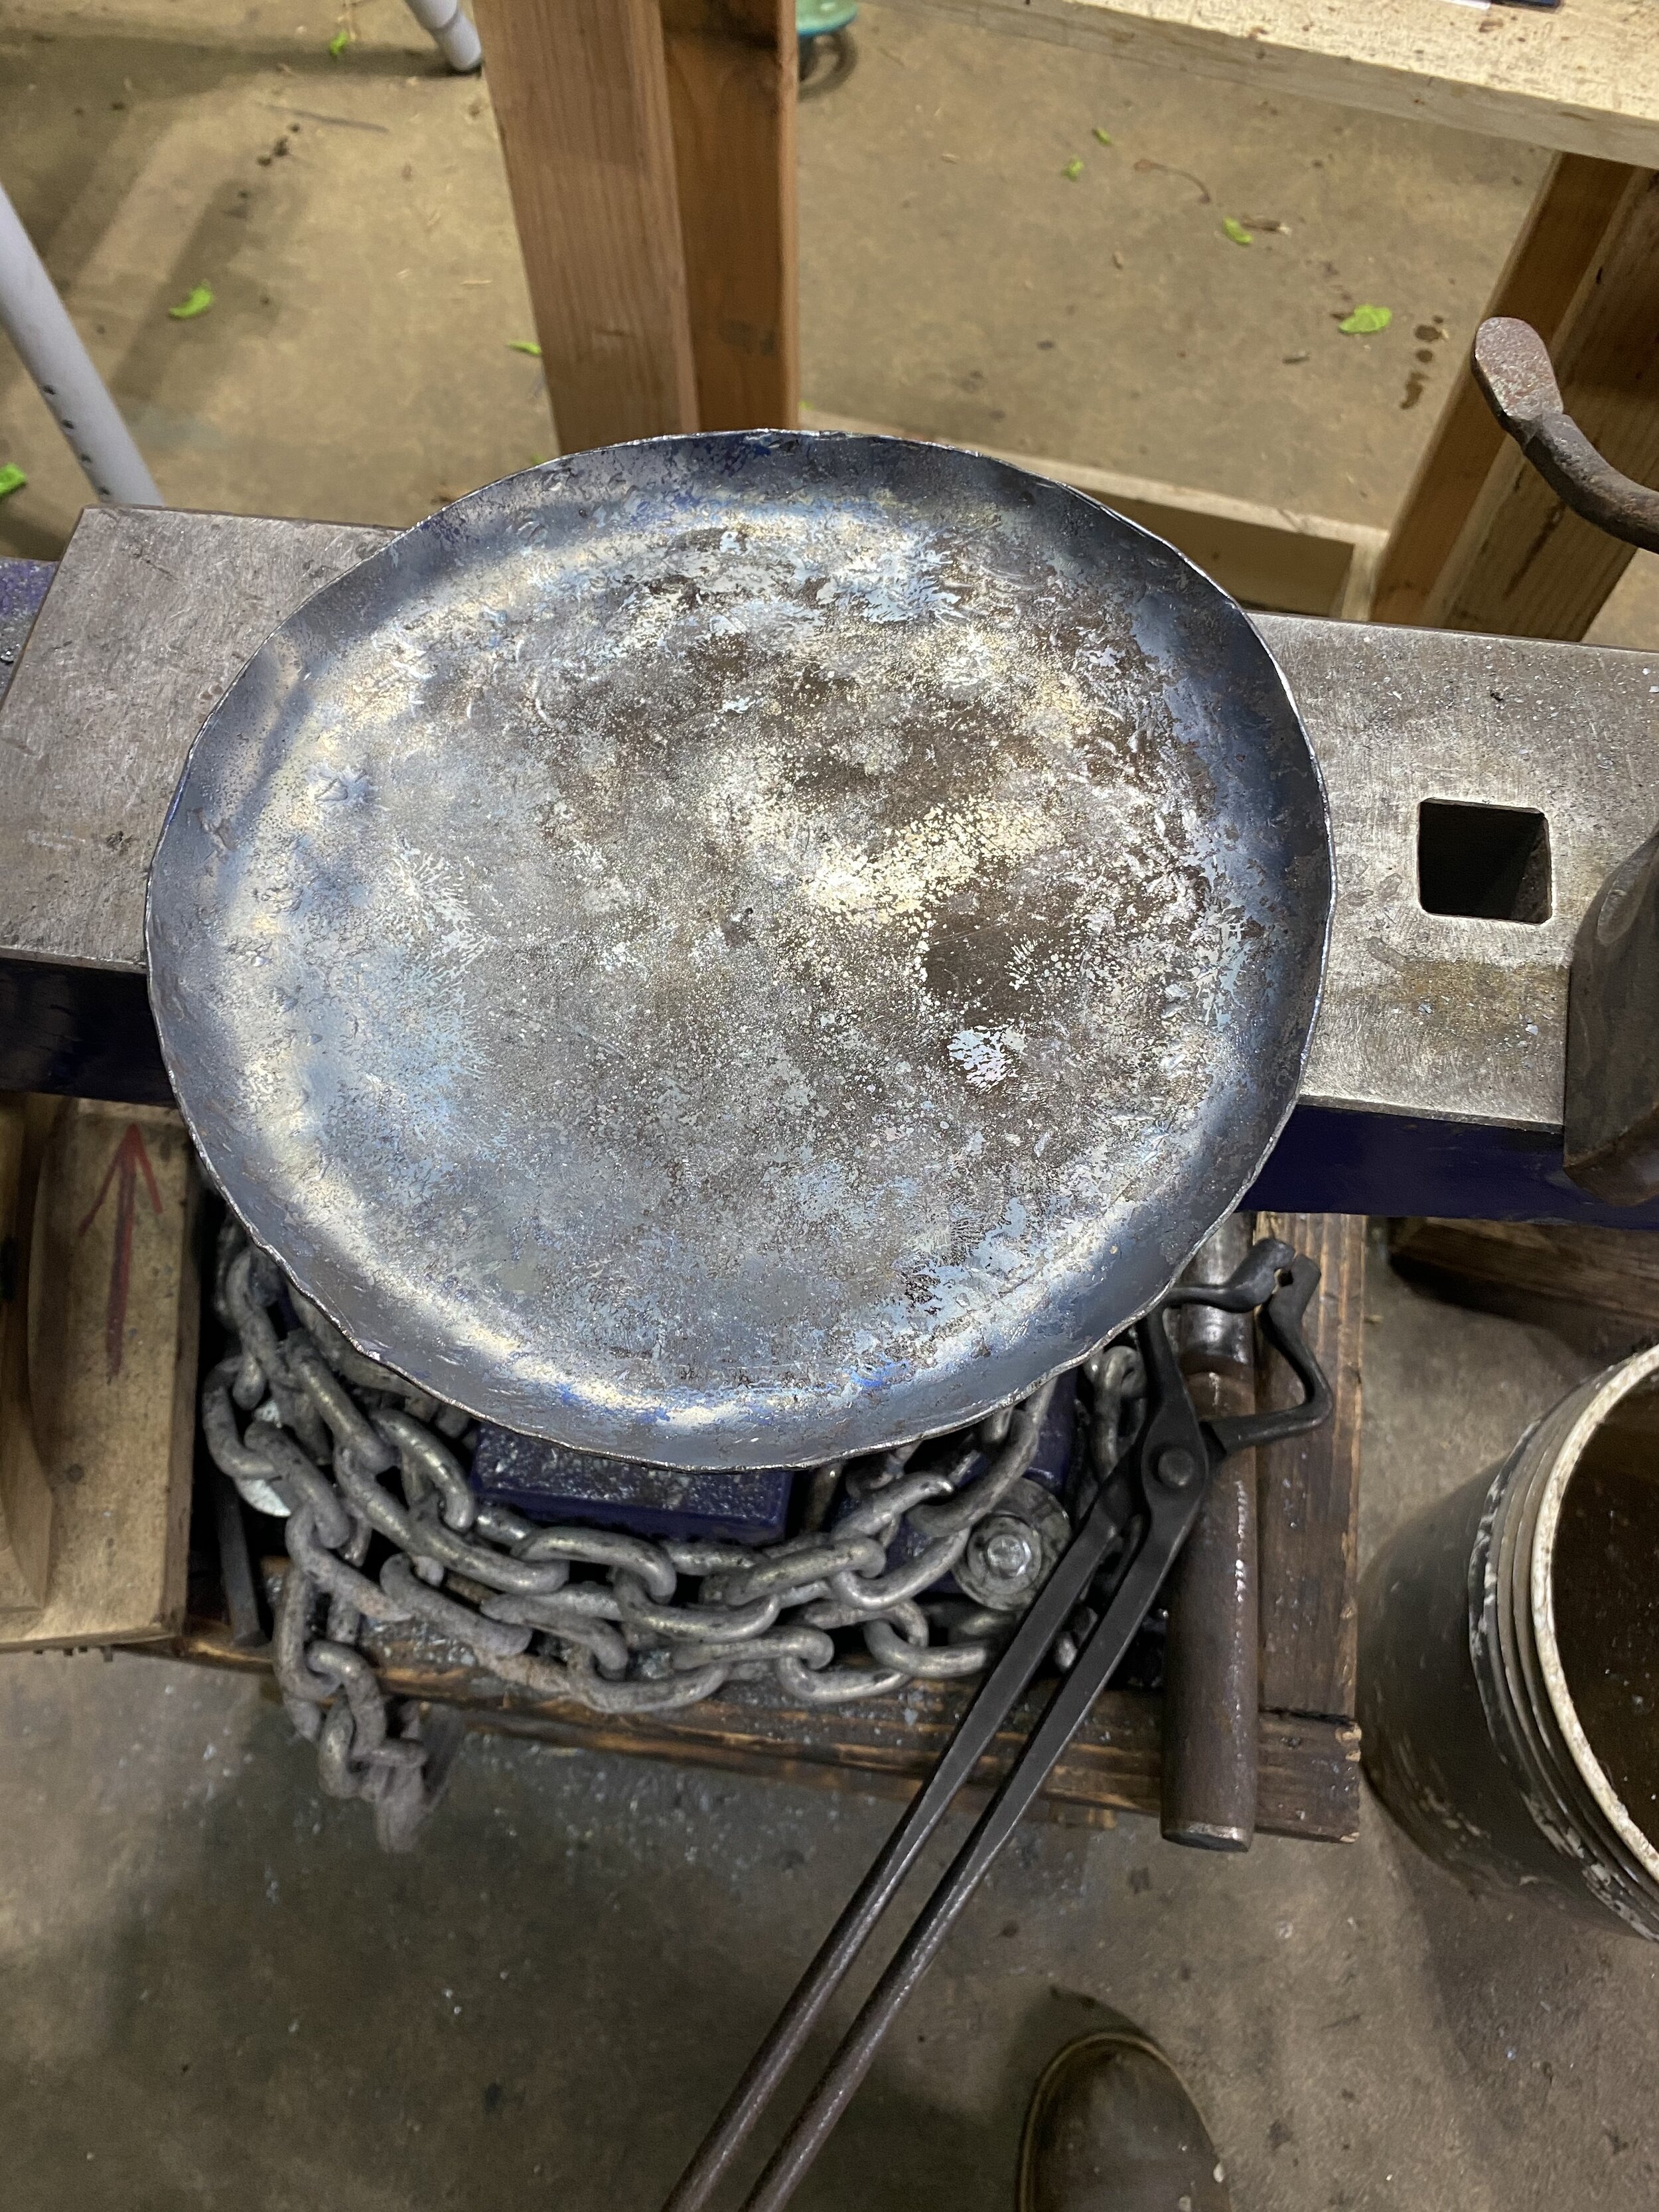
Photo dump of Mastermyr Griddle:

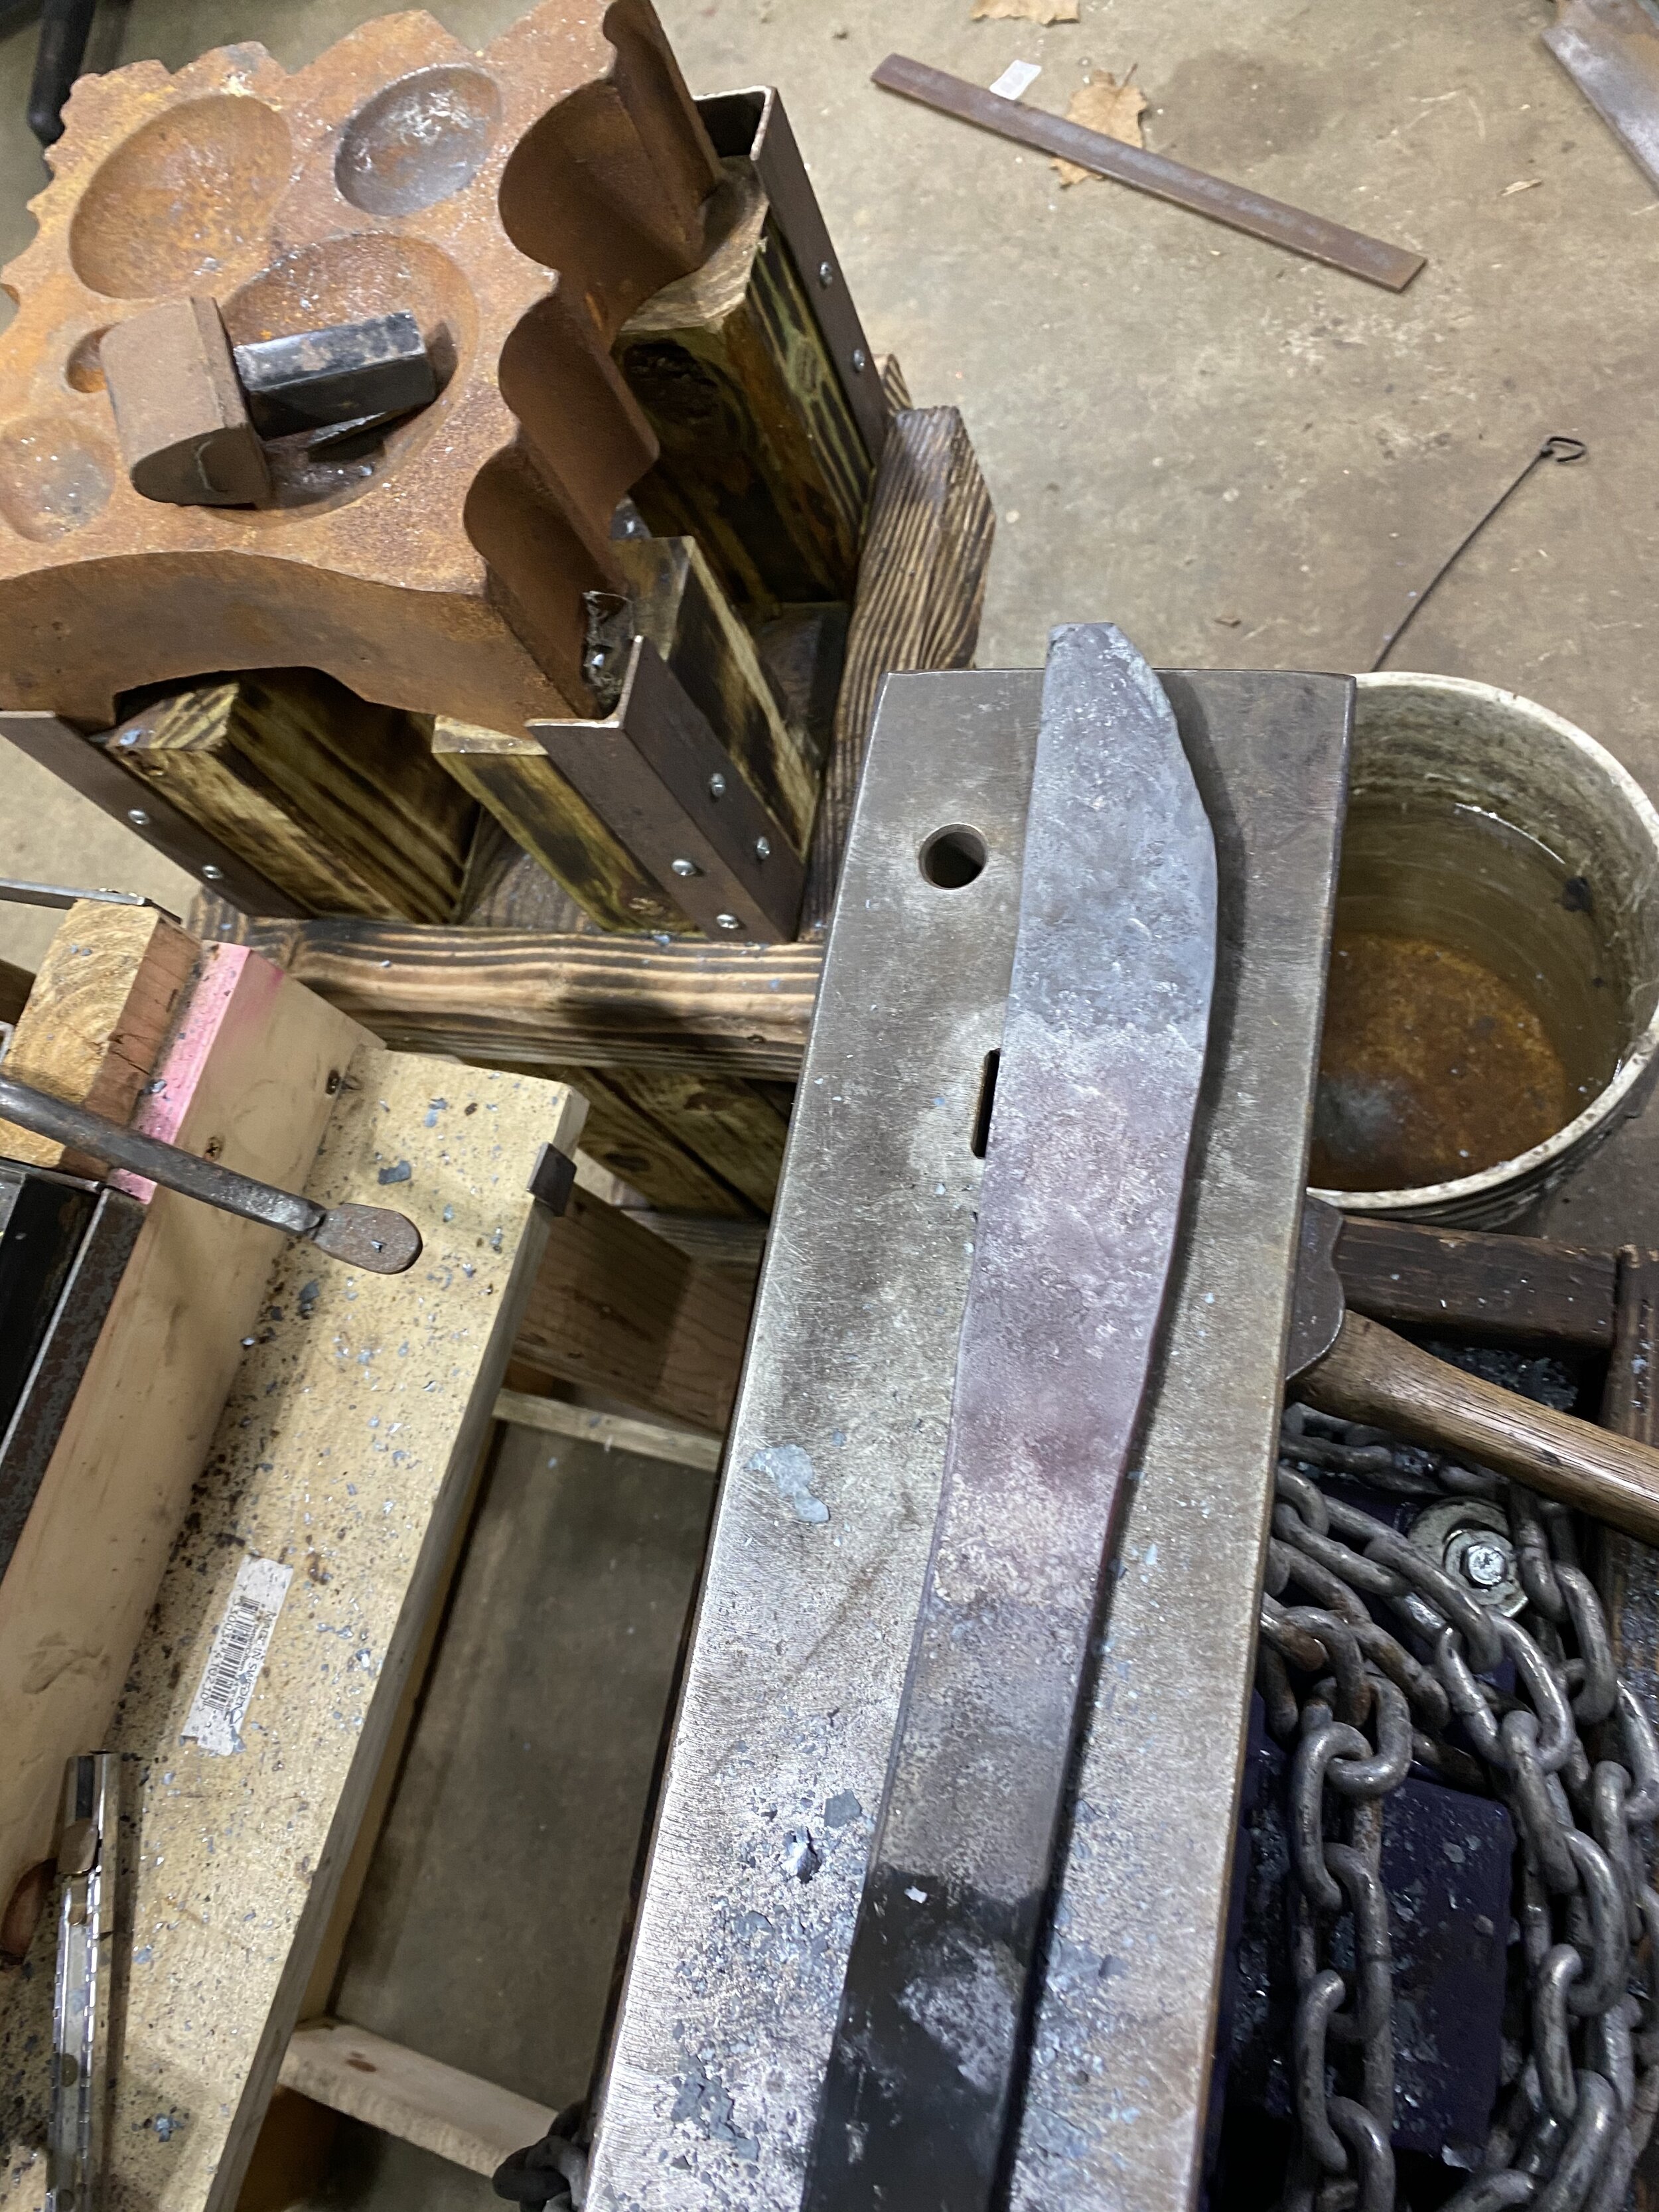
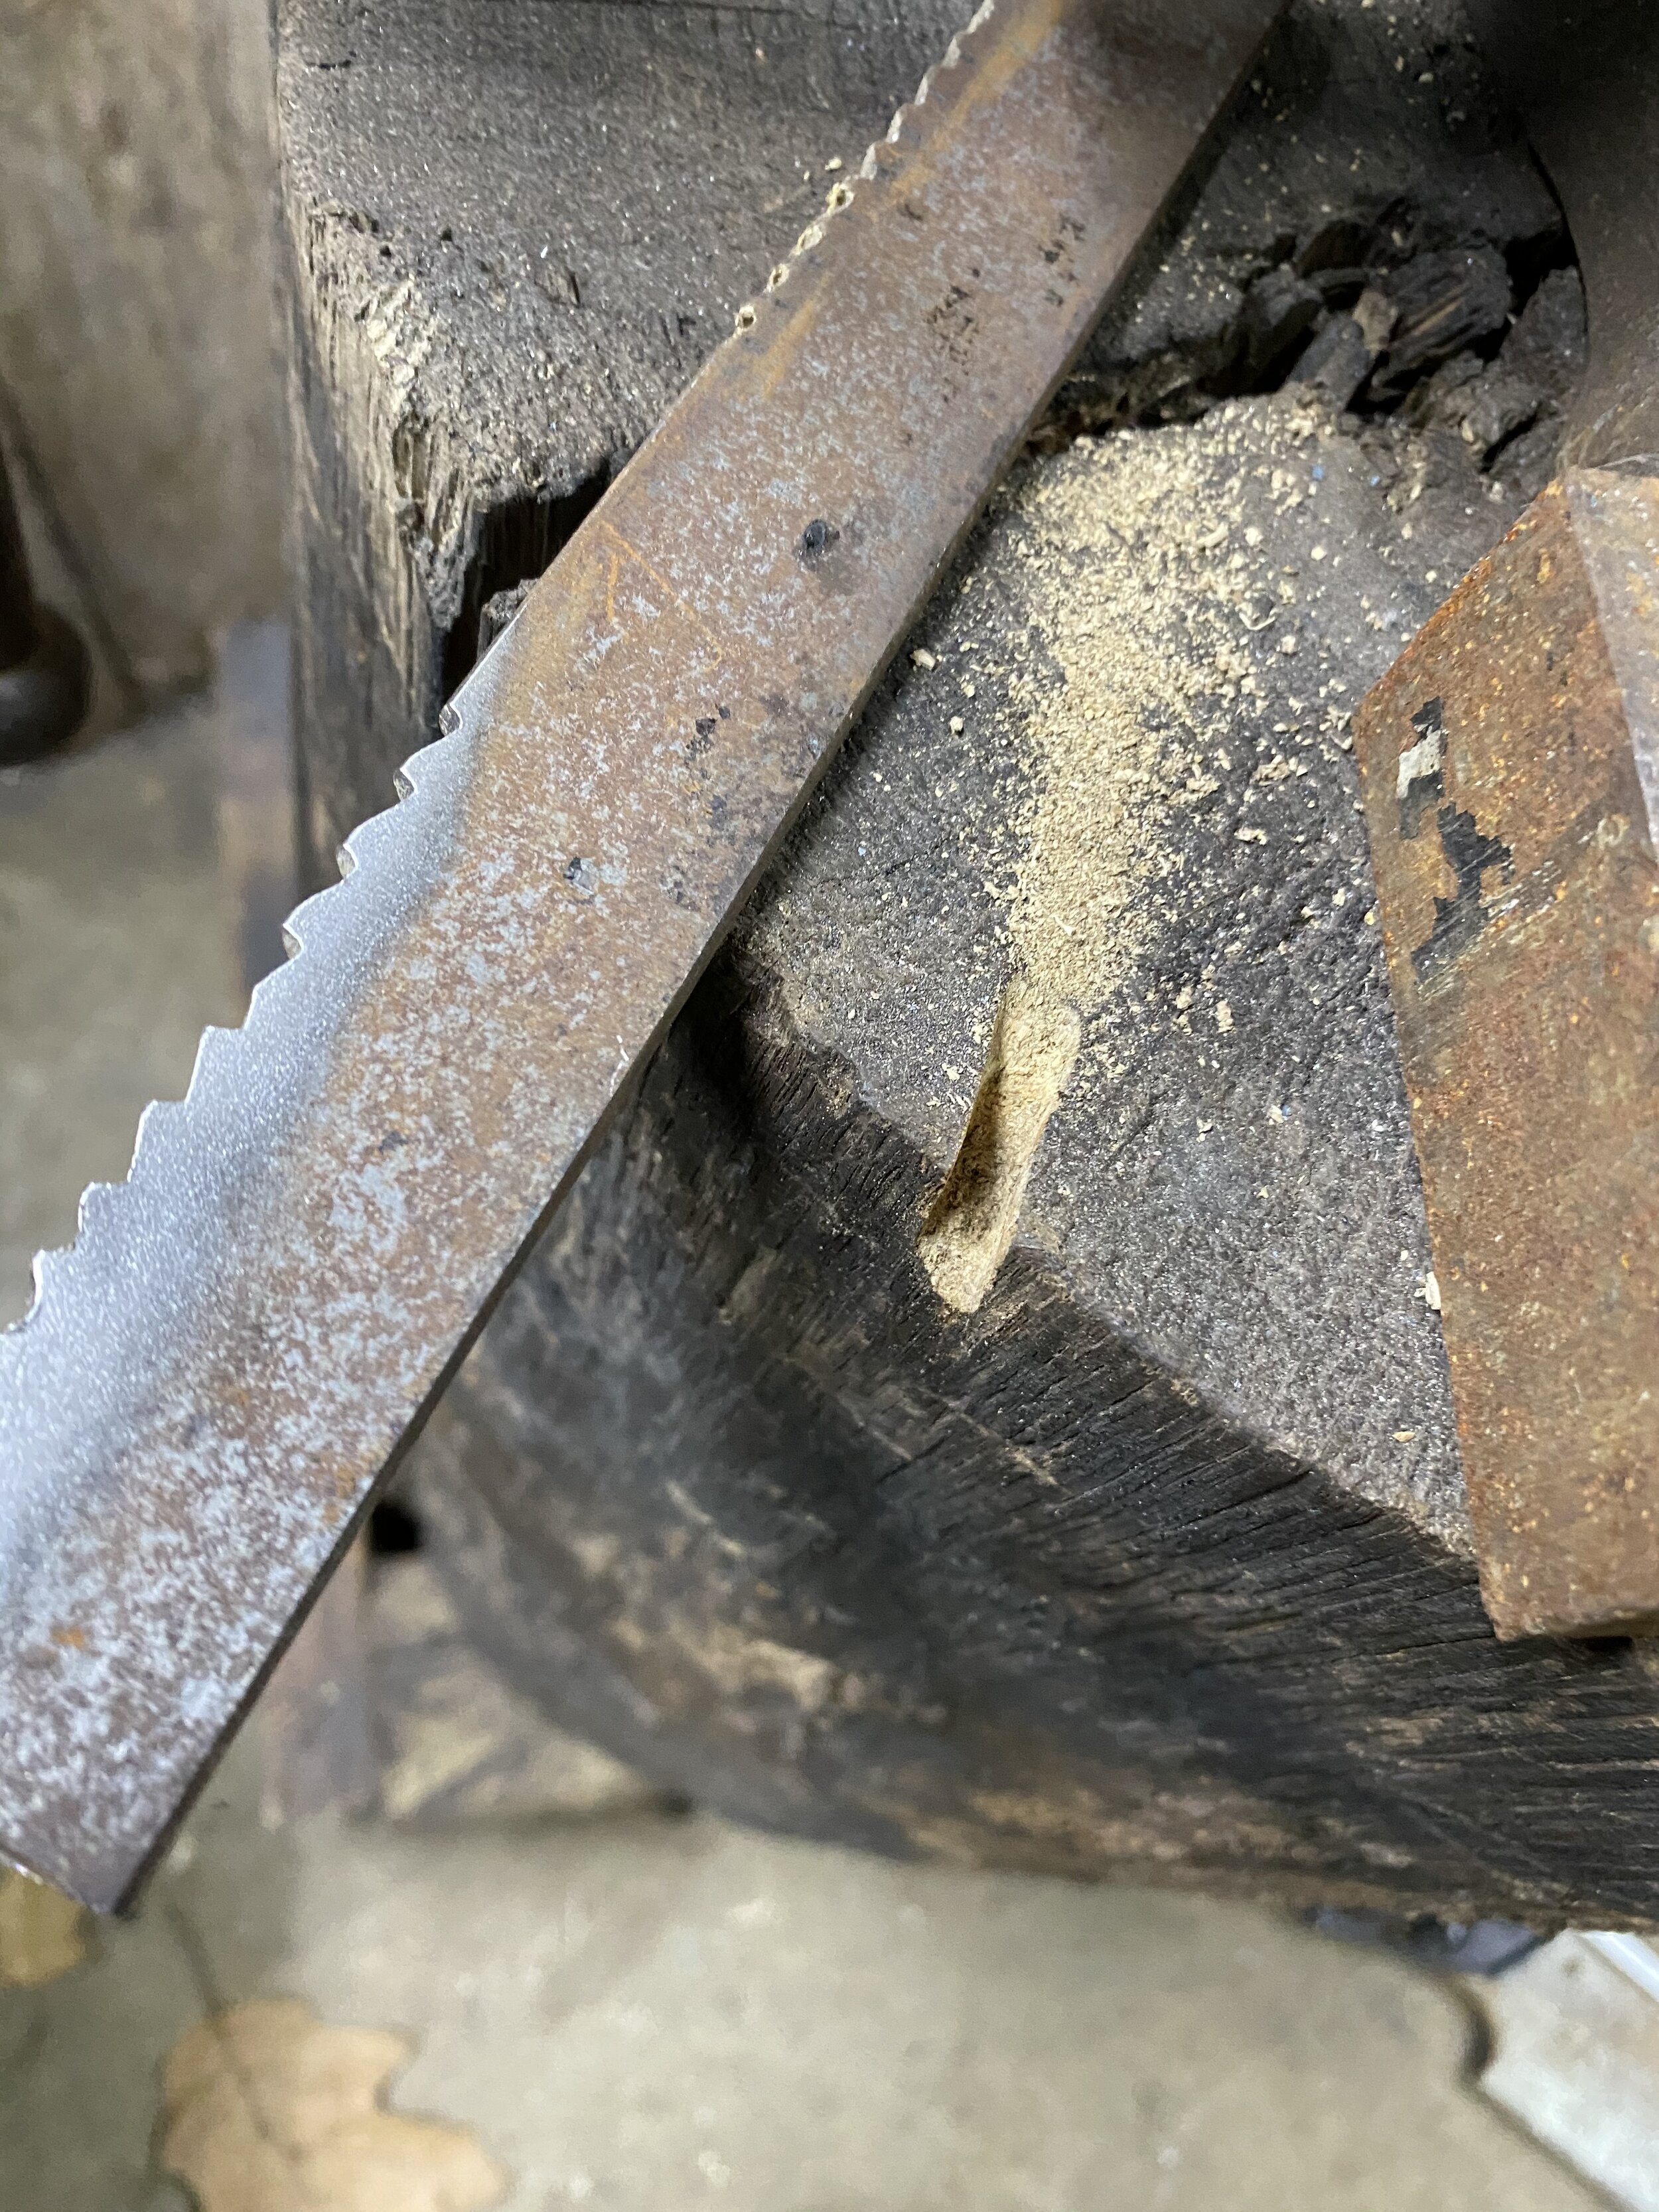
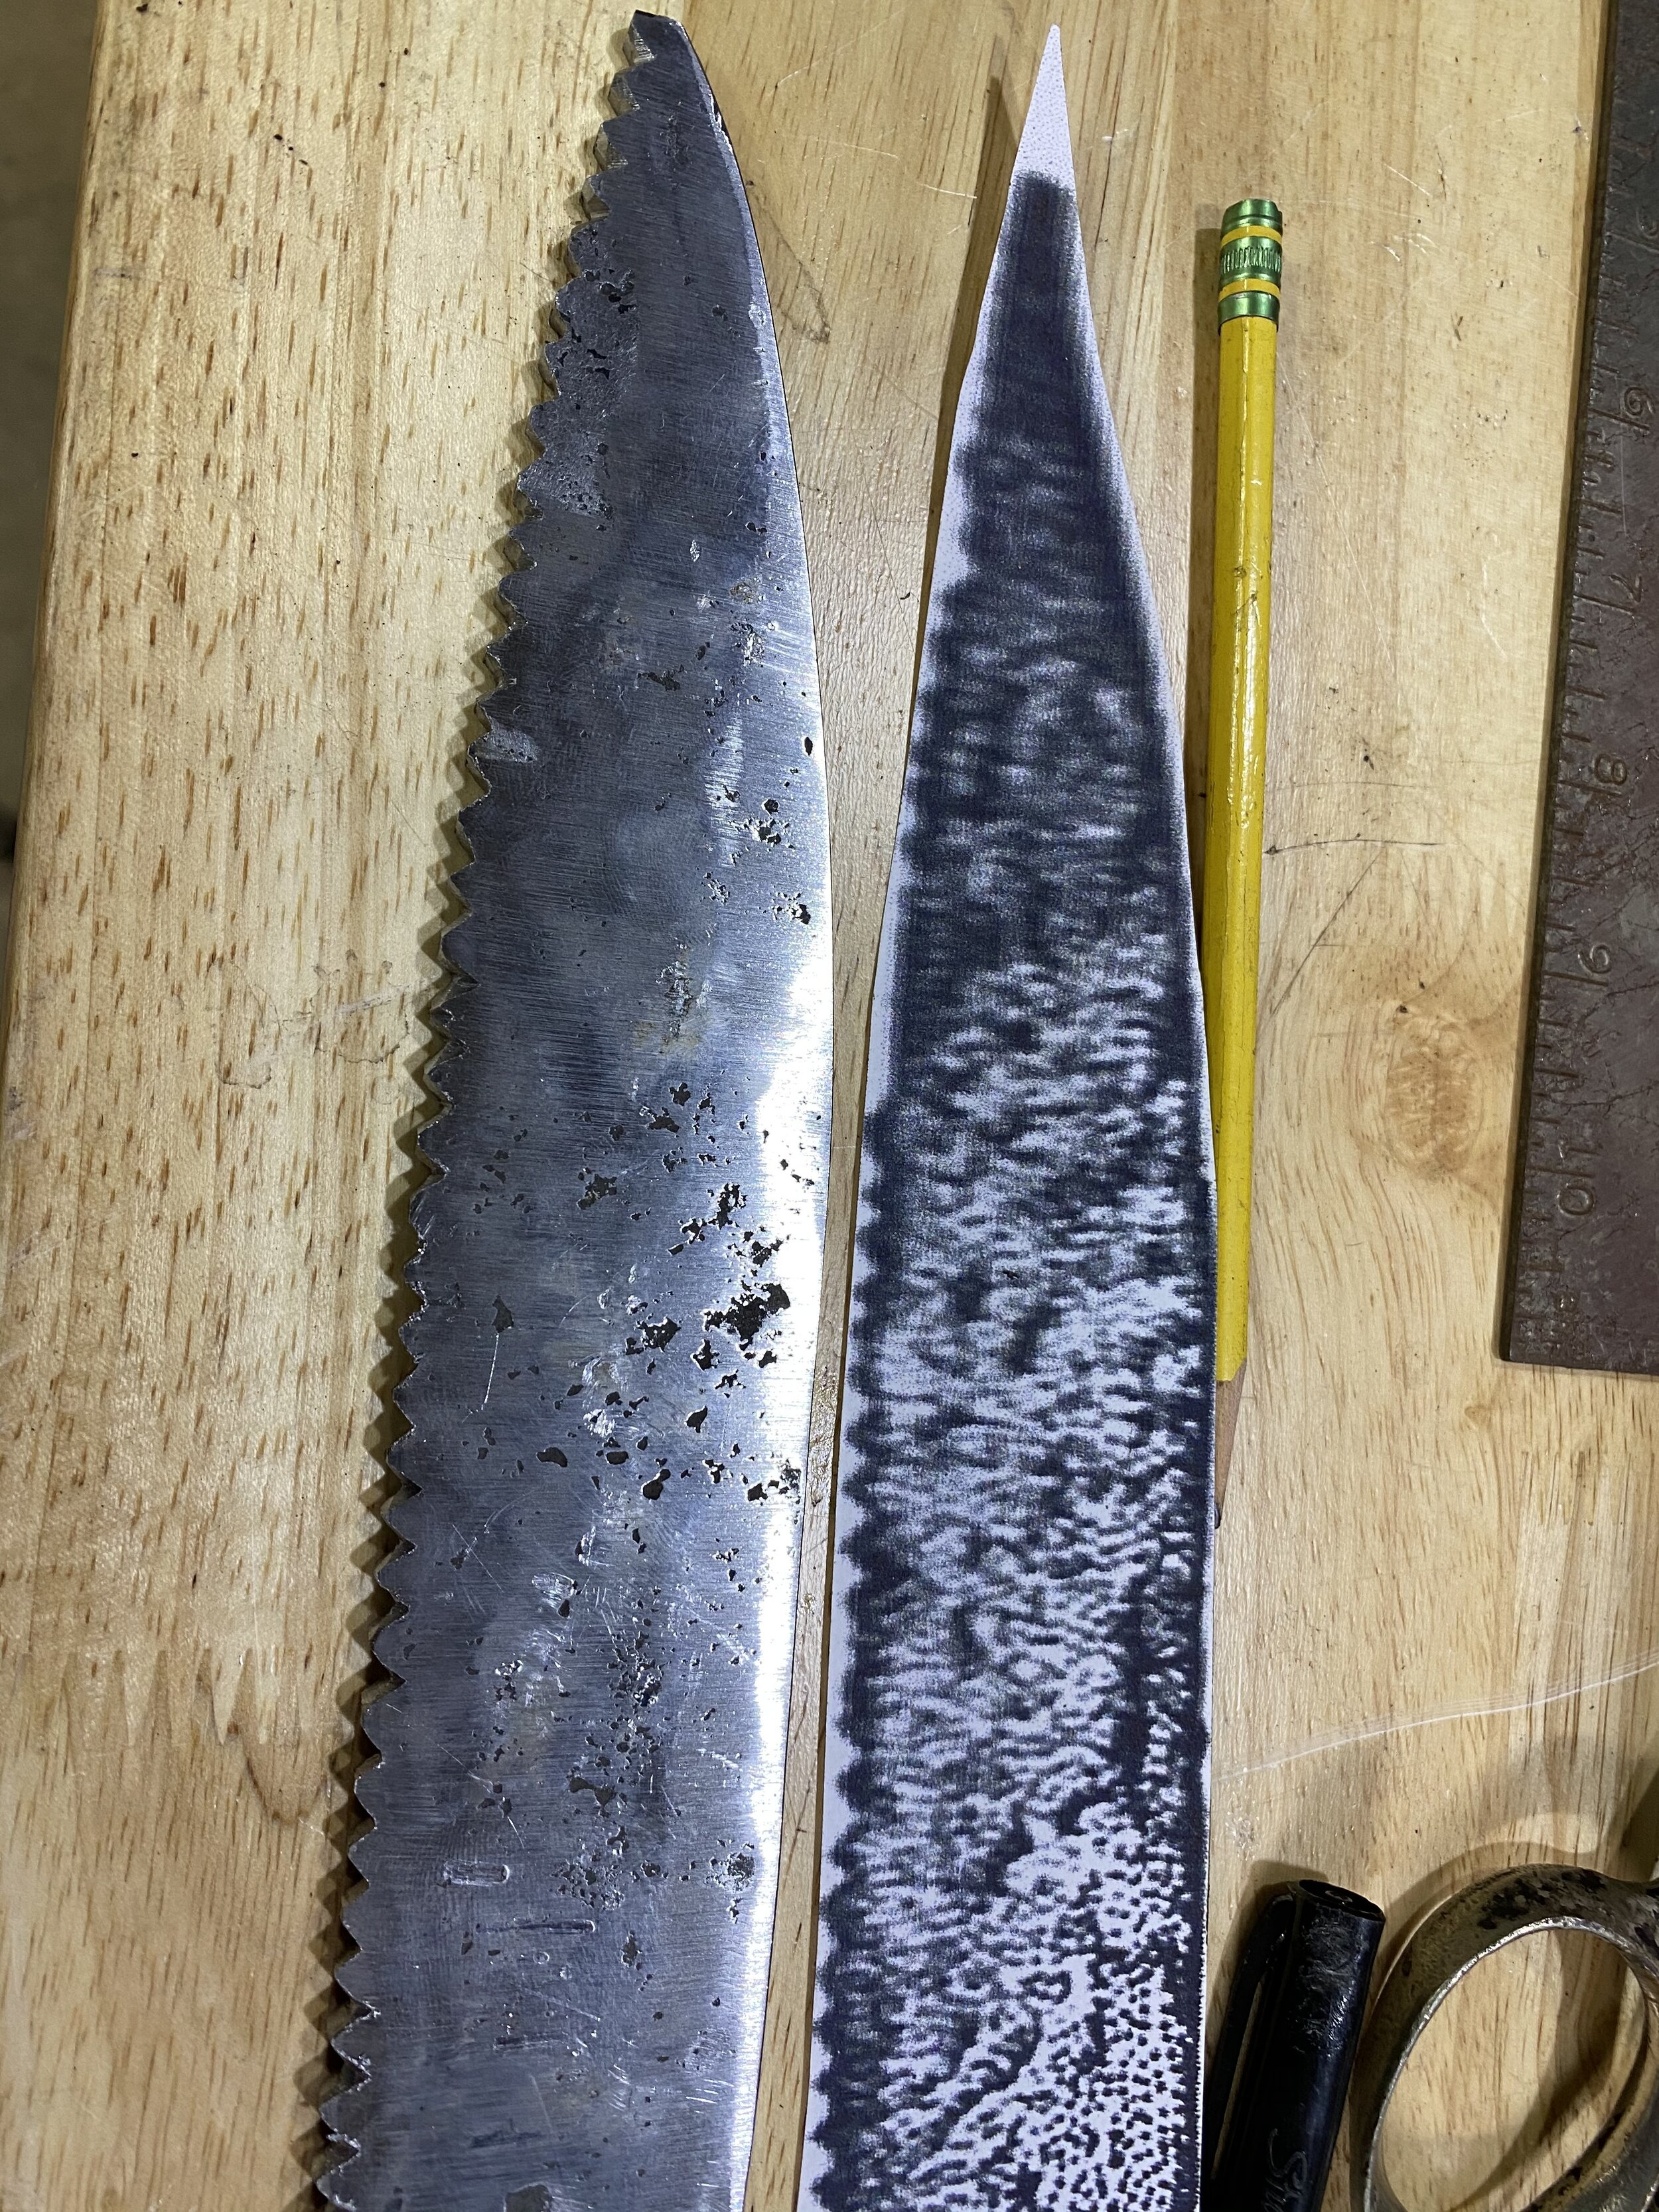
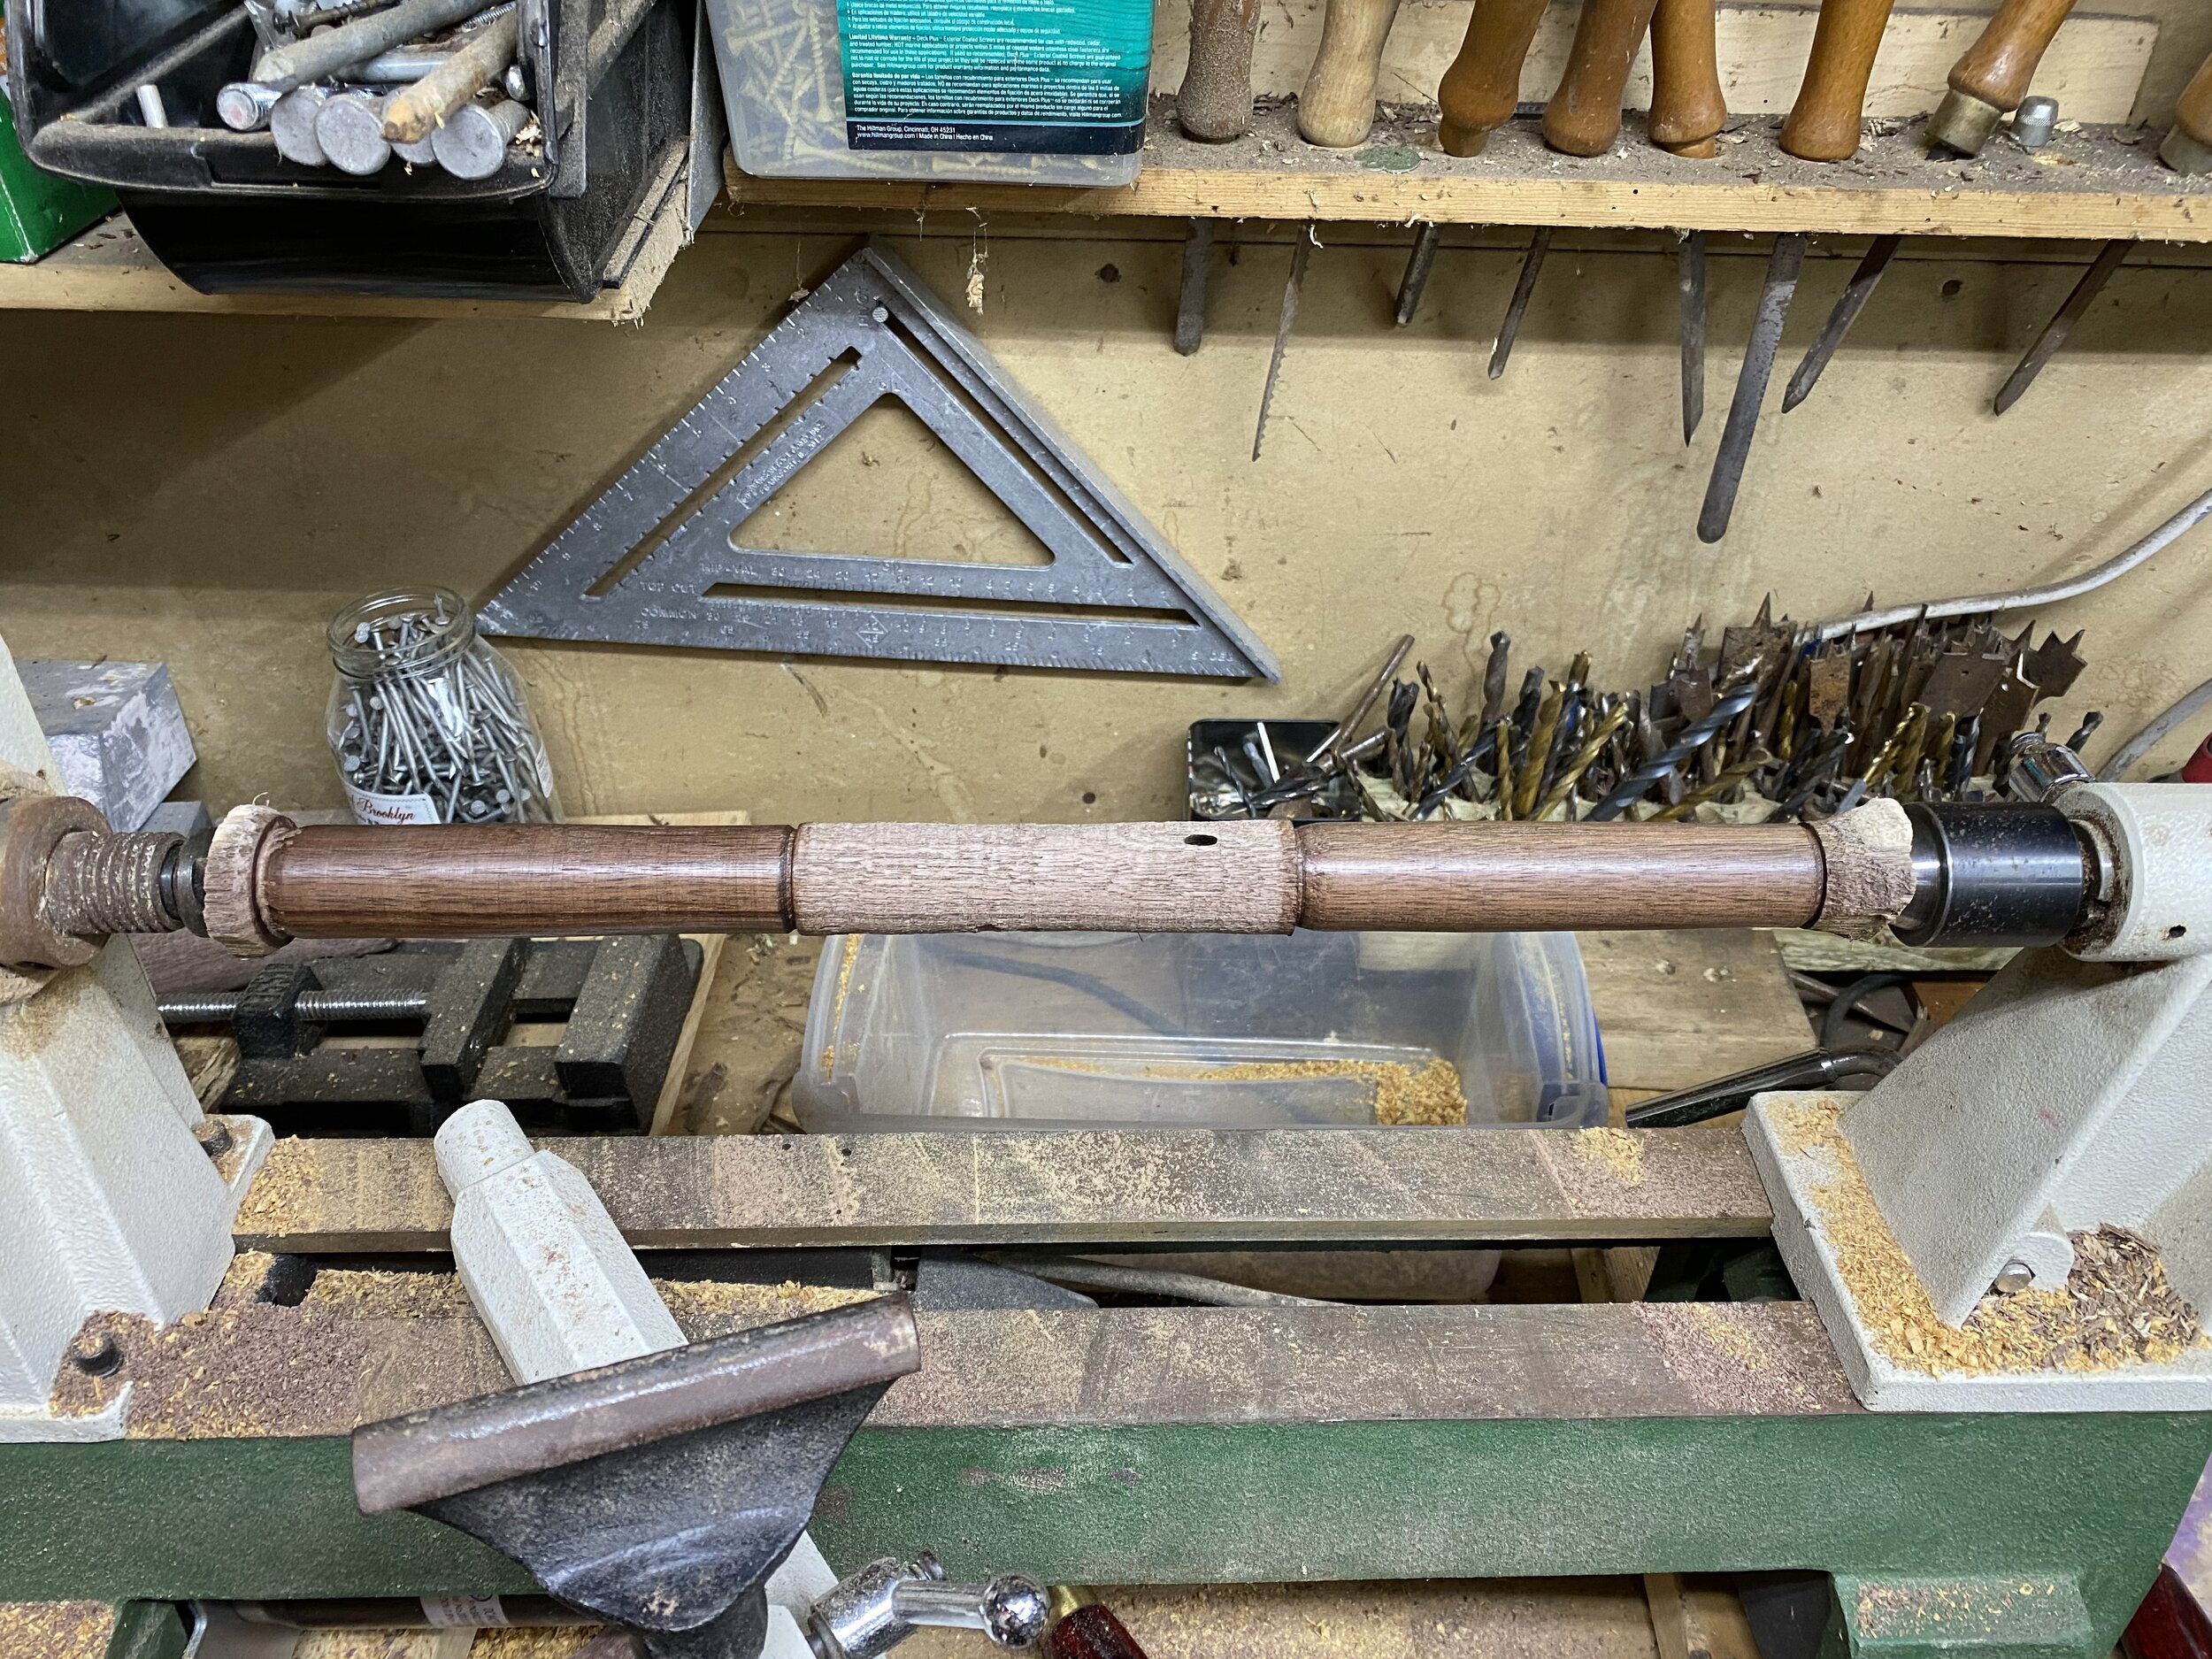
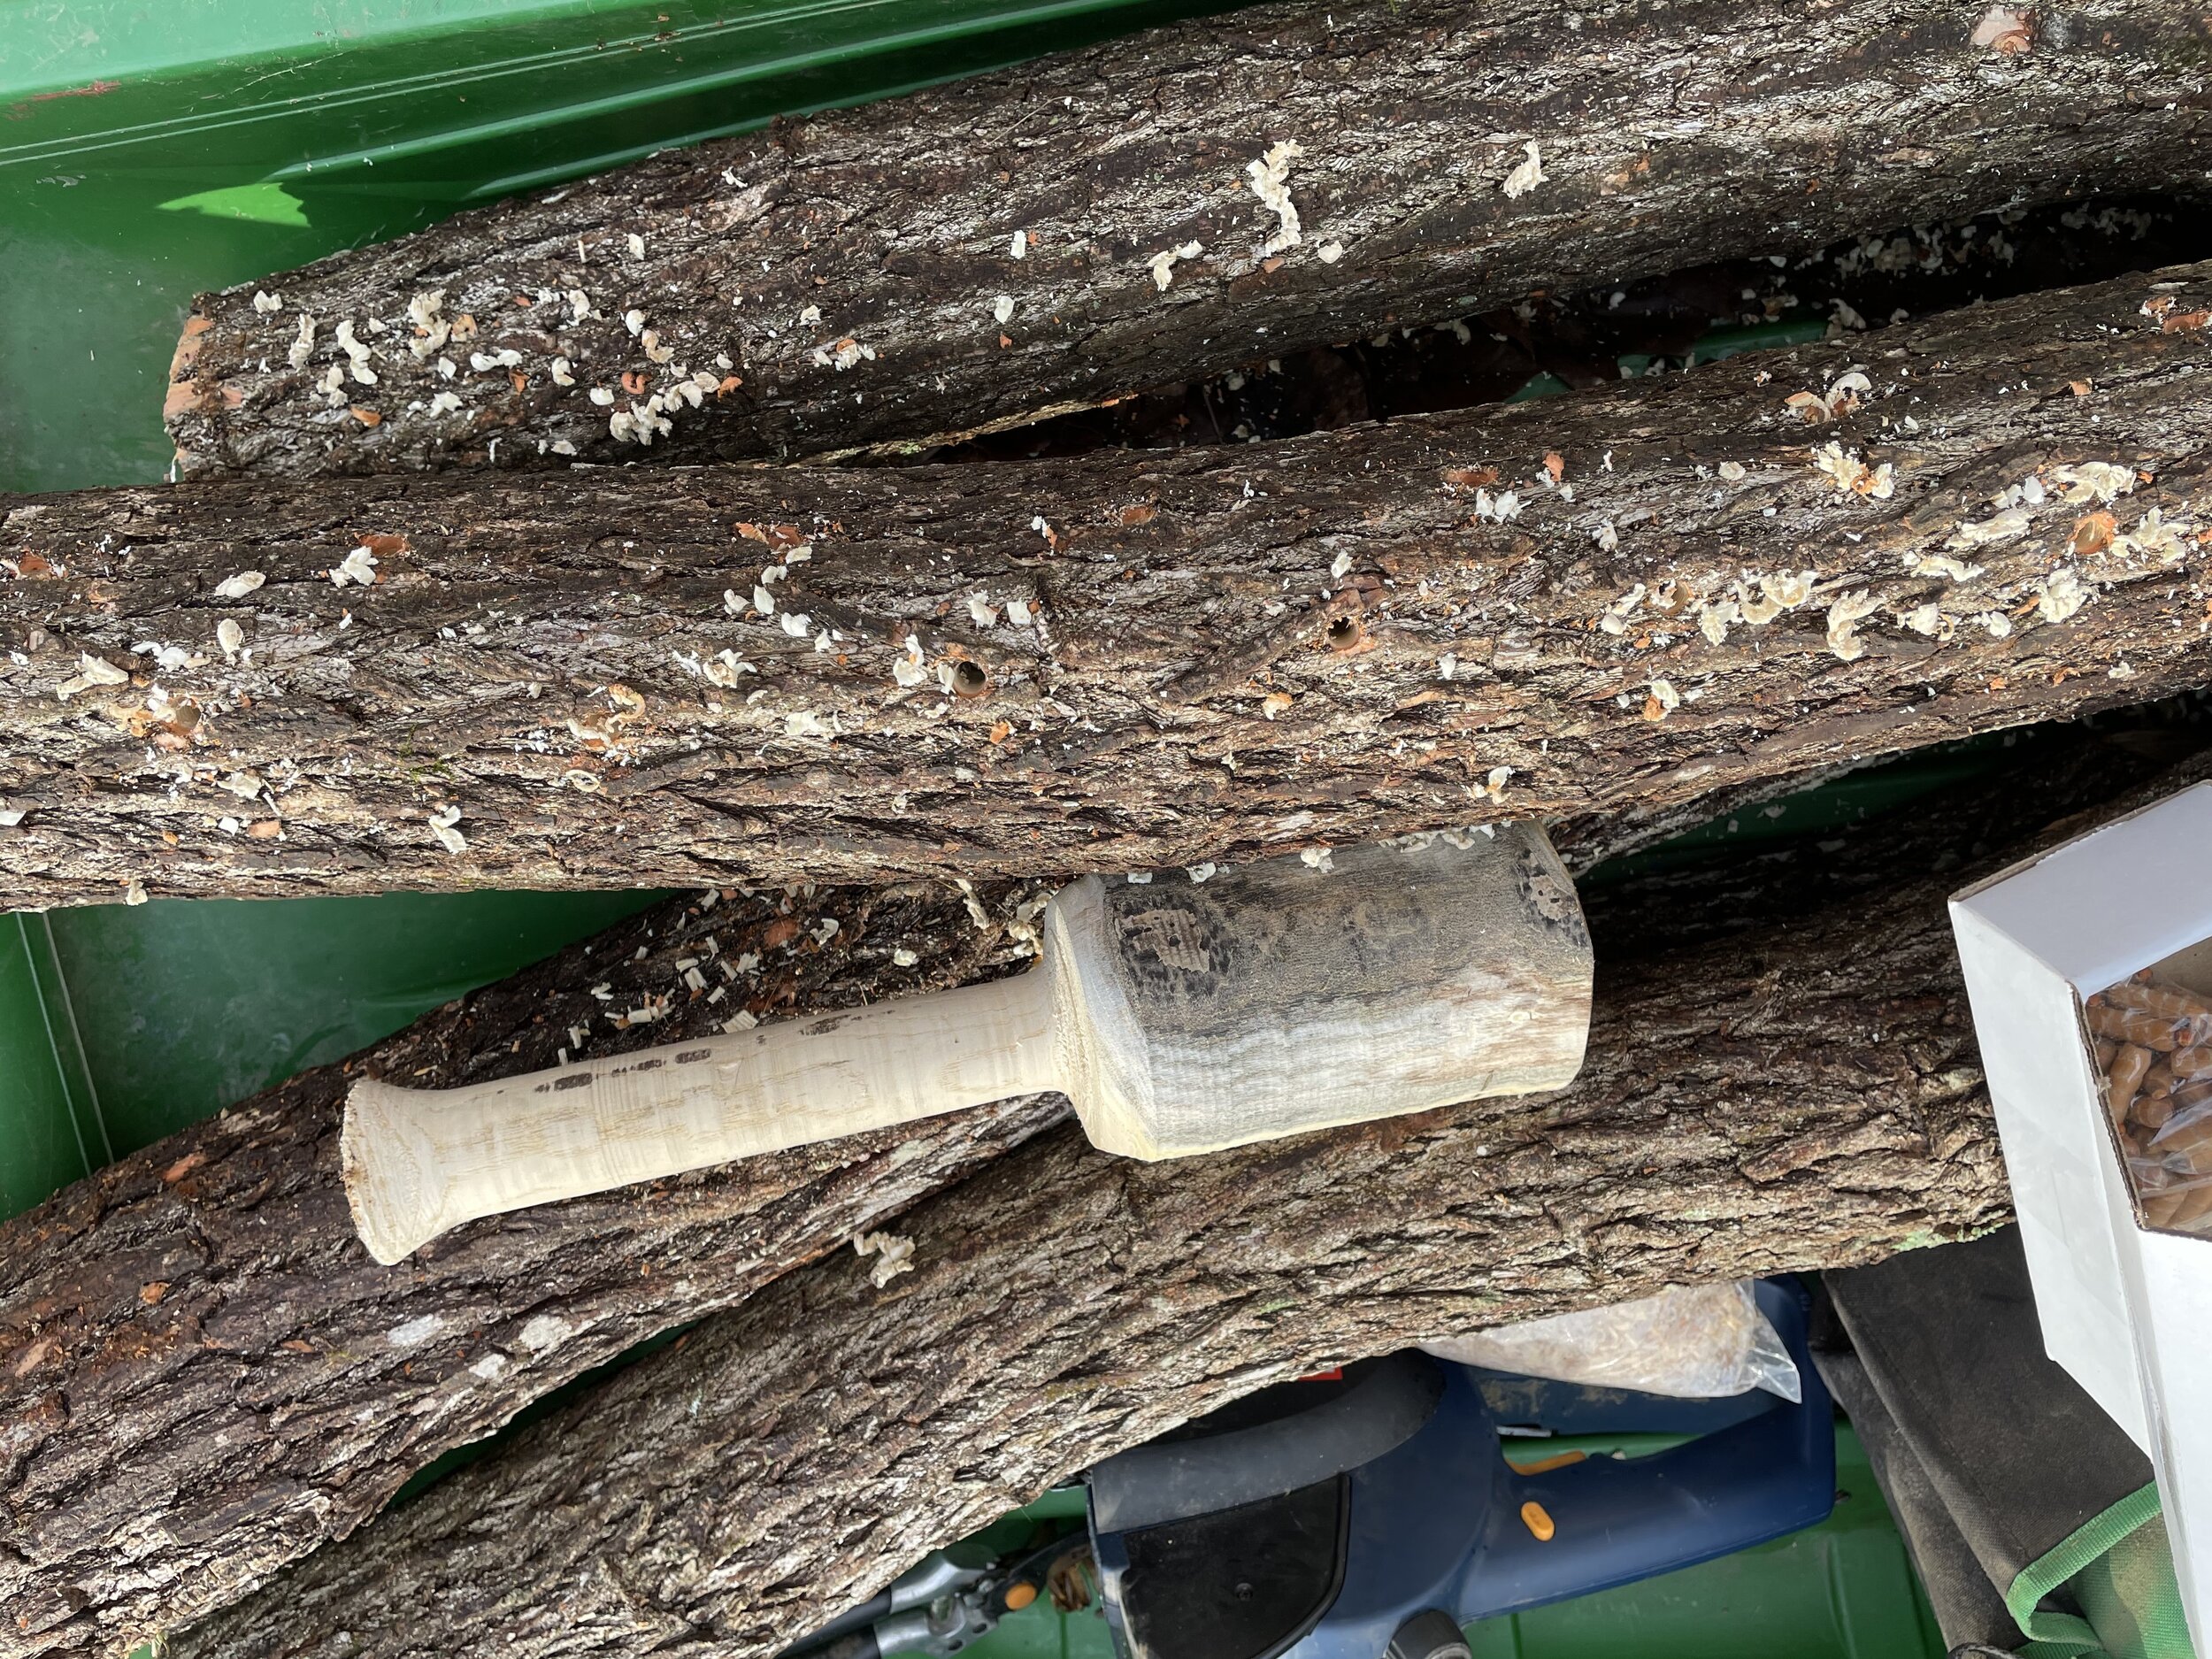
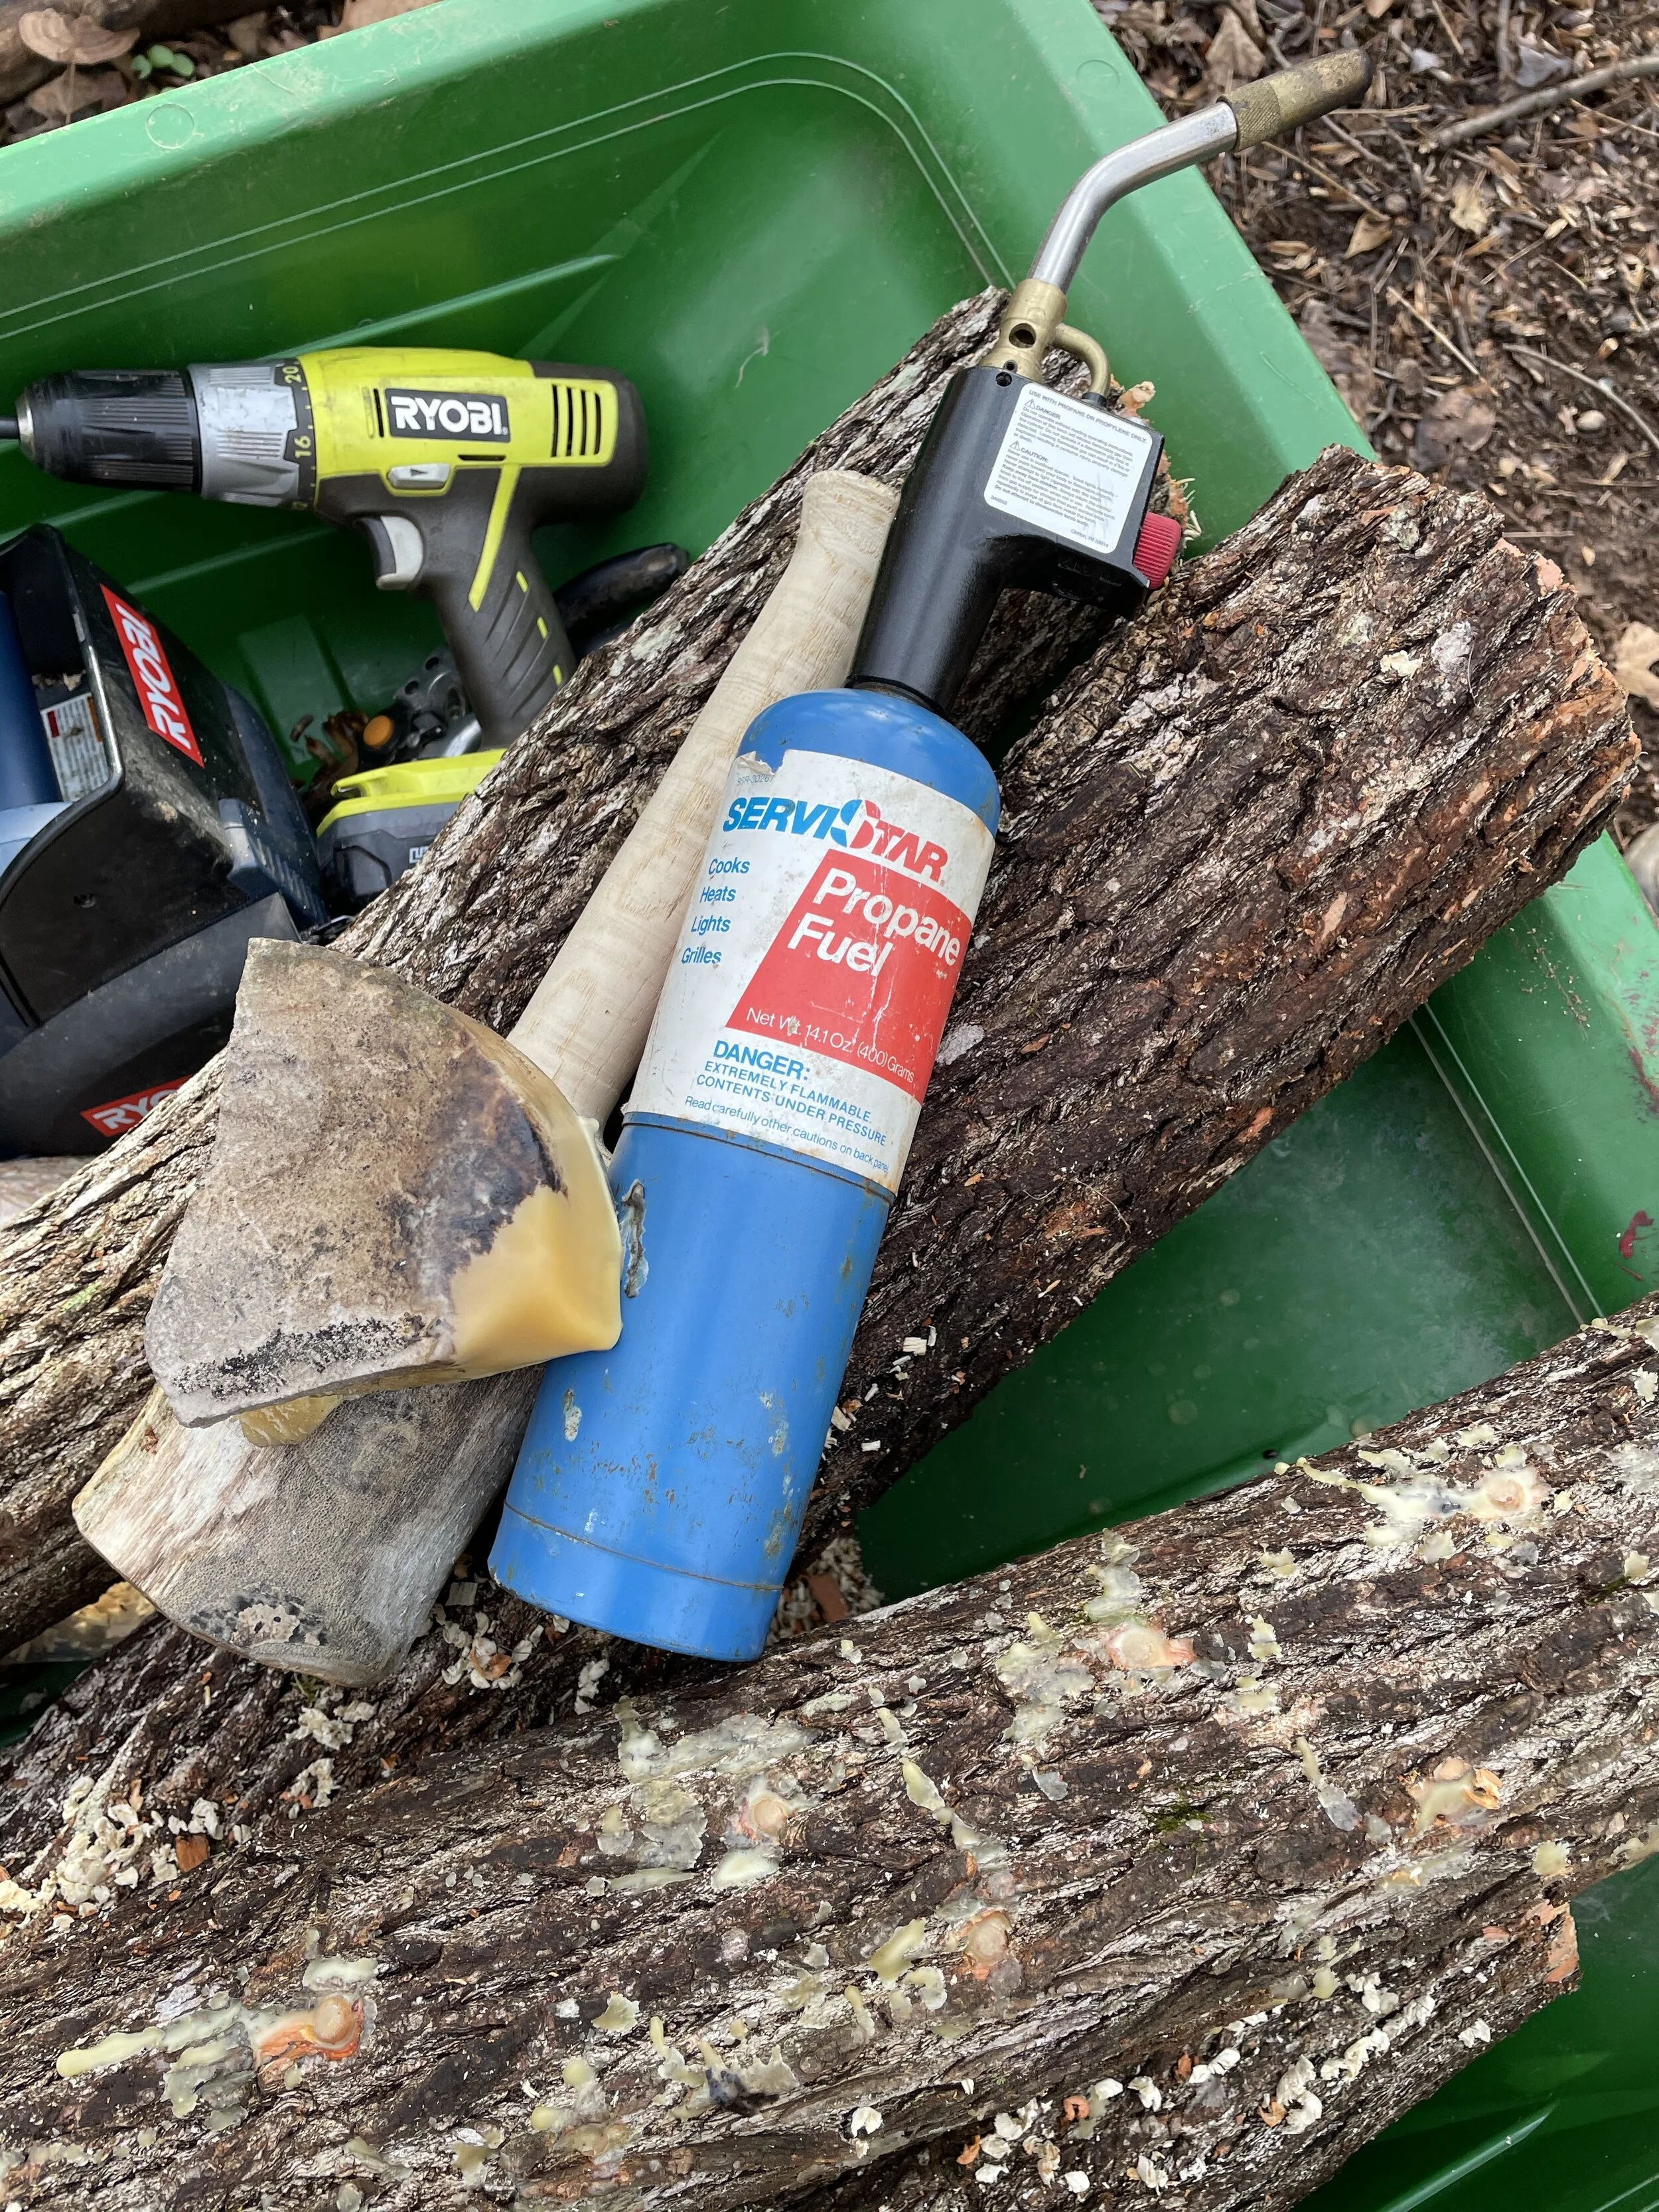
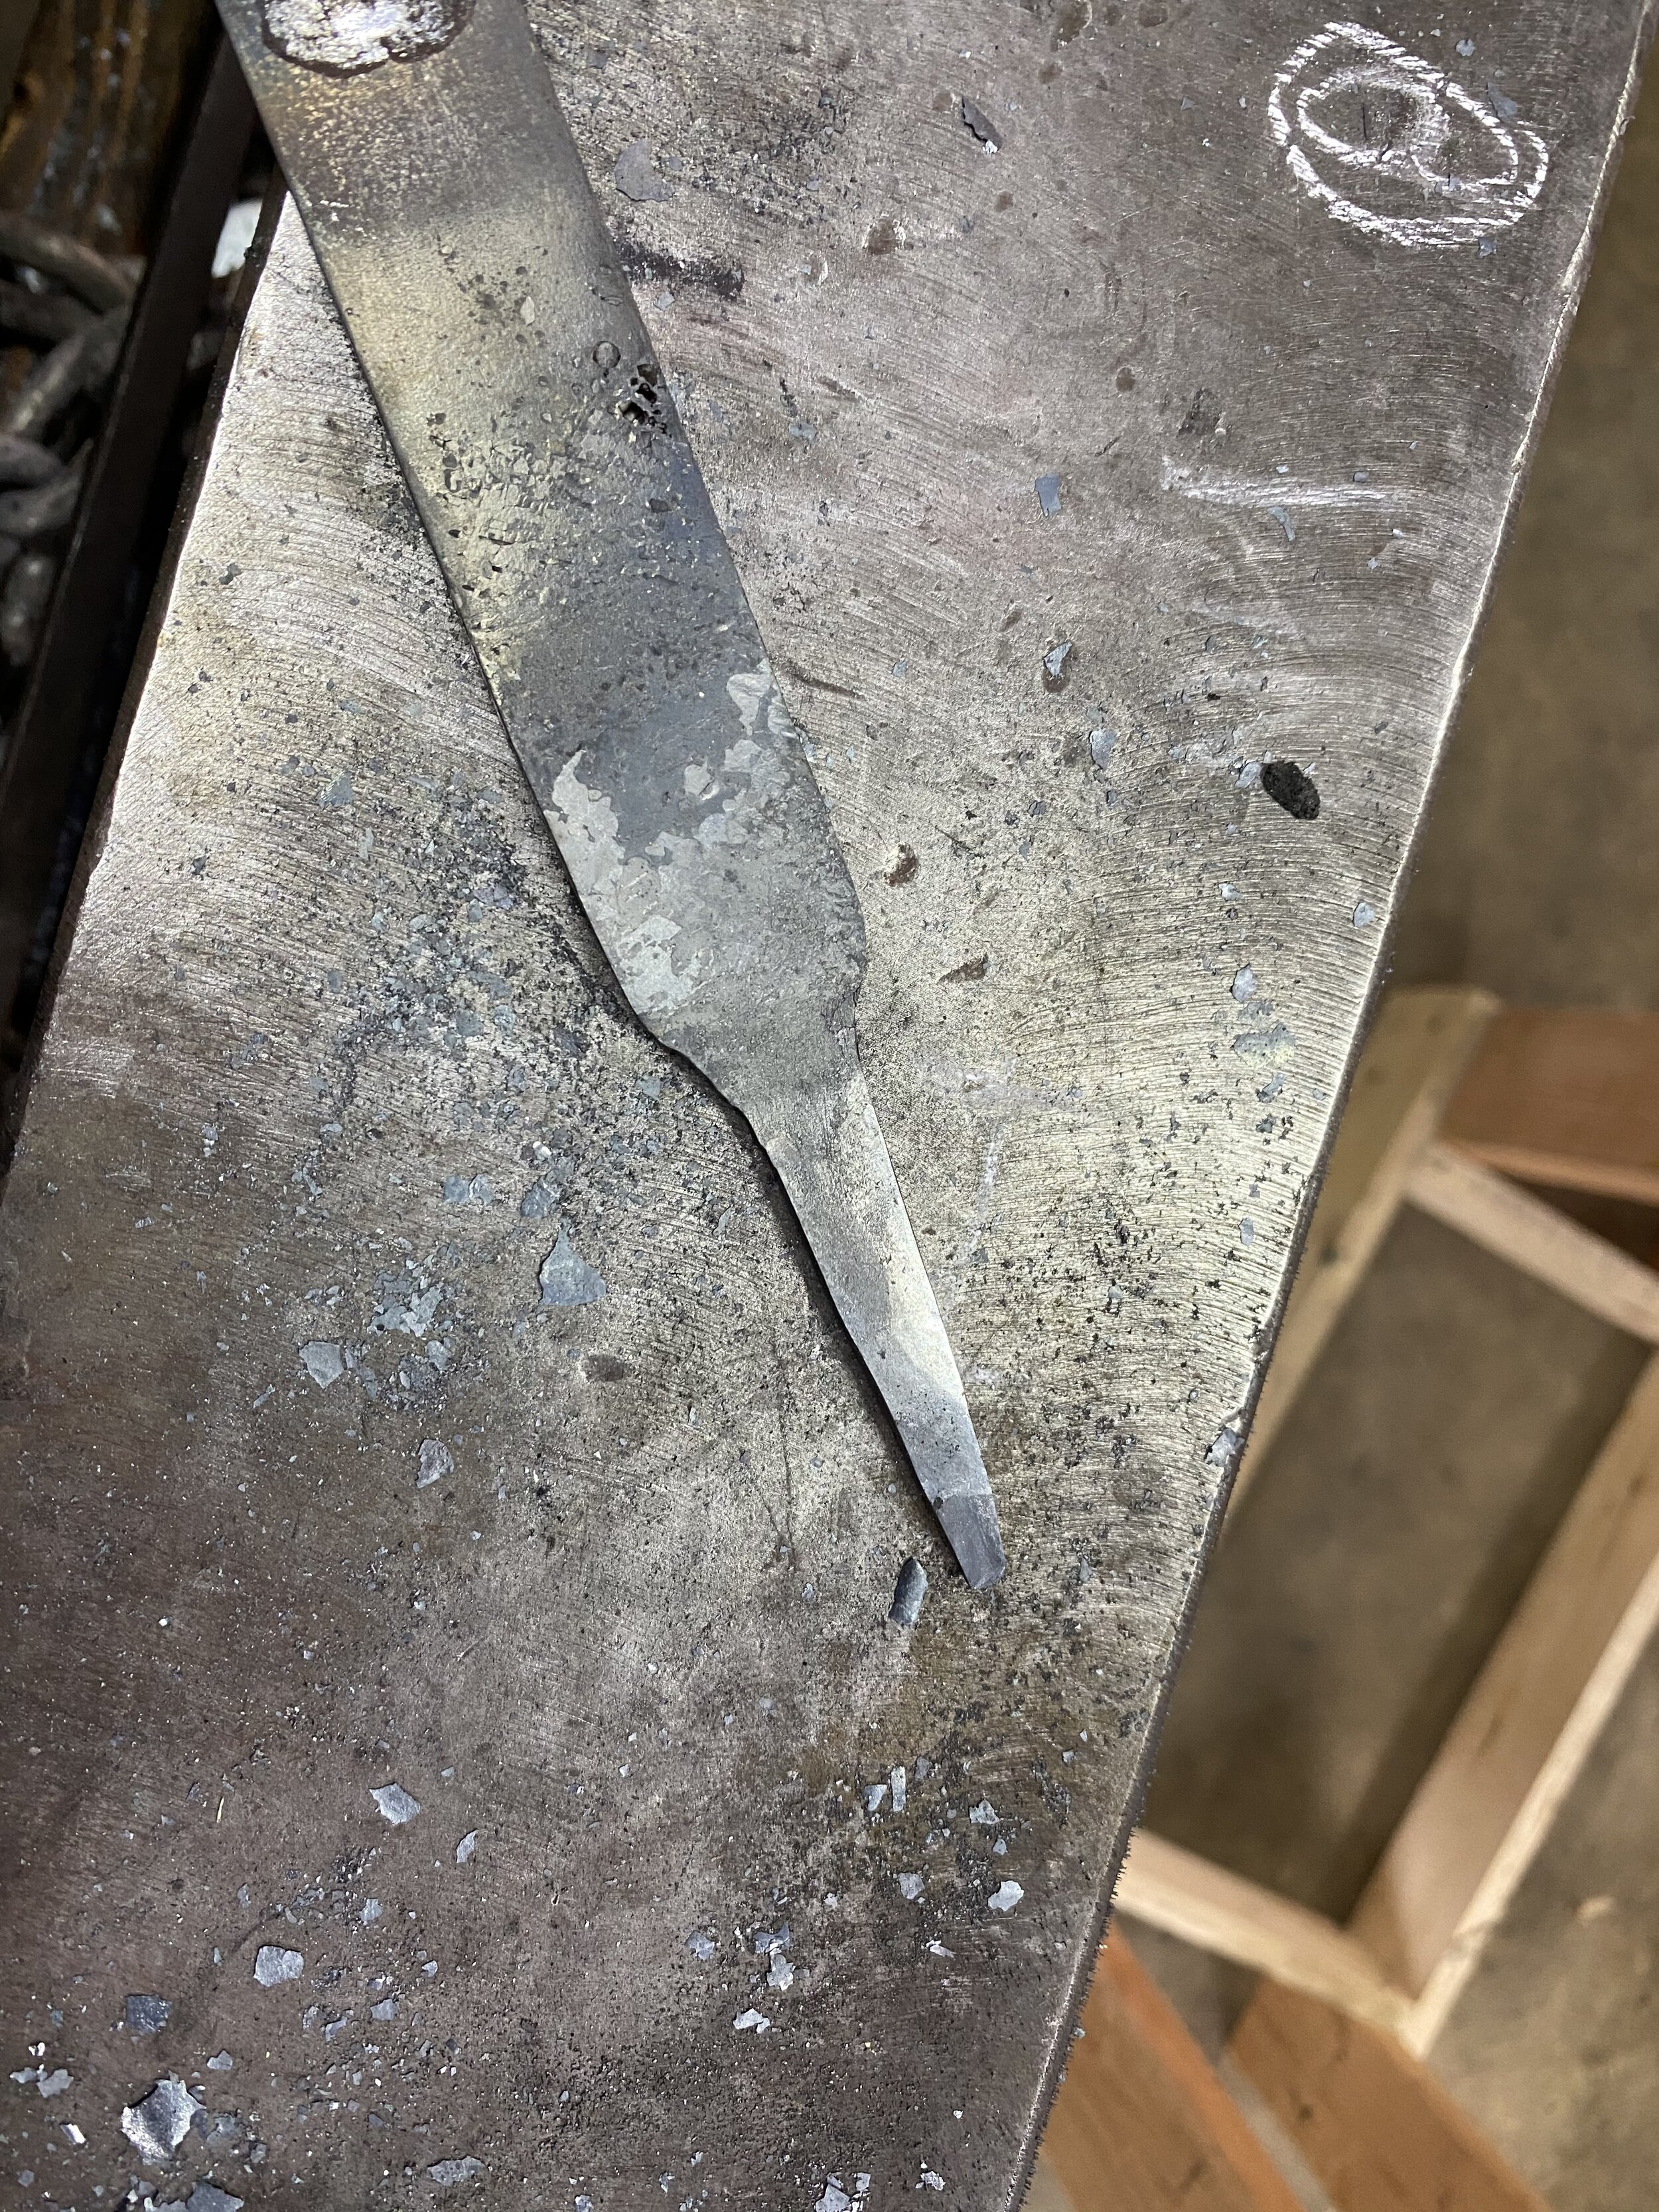
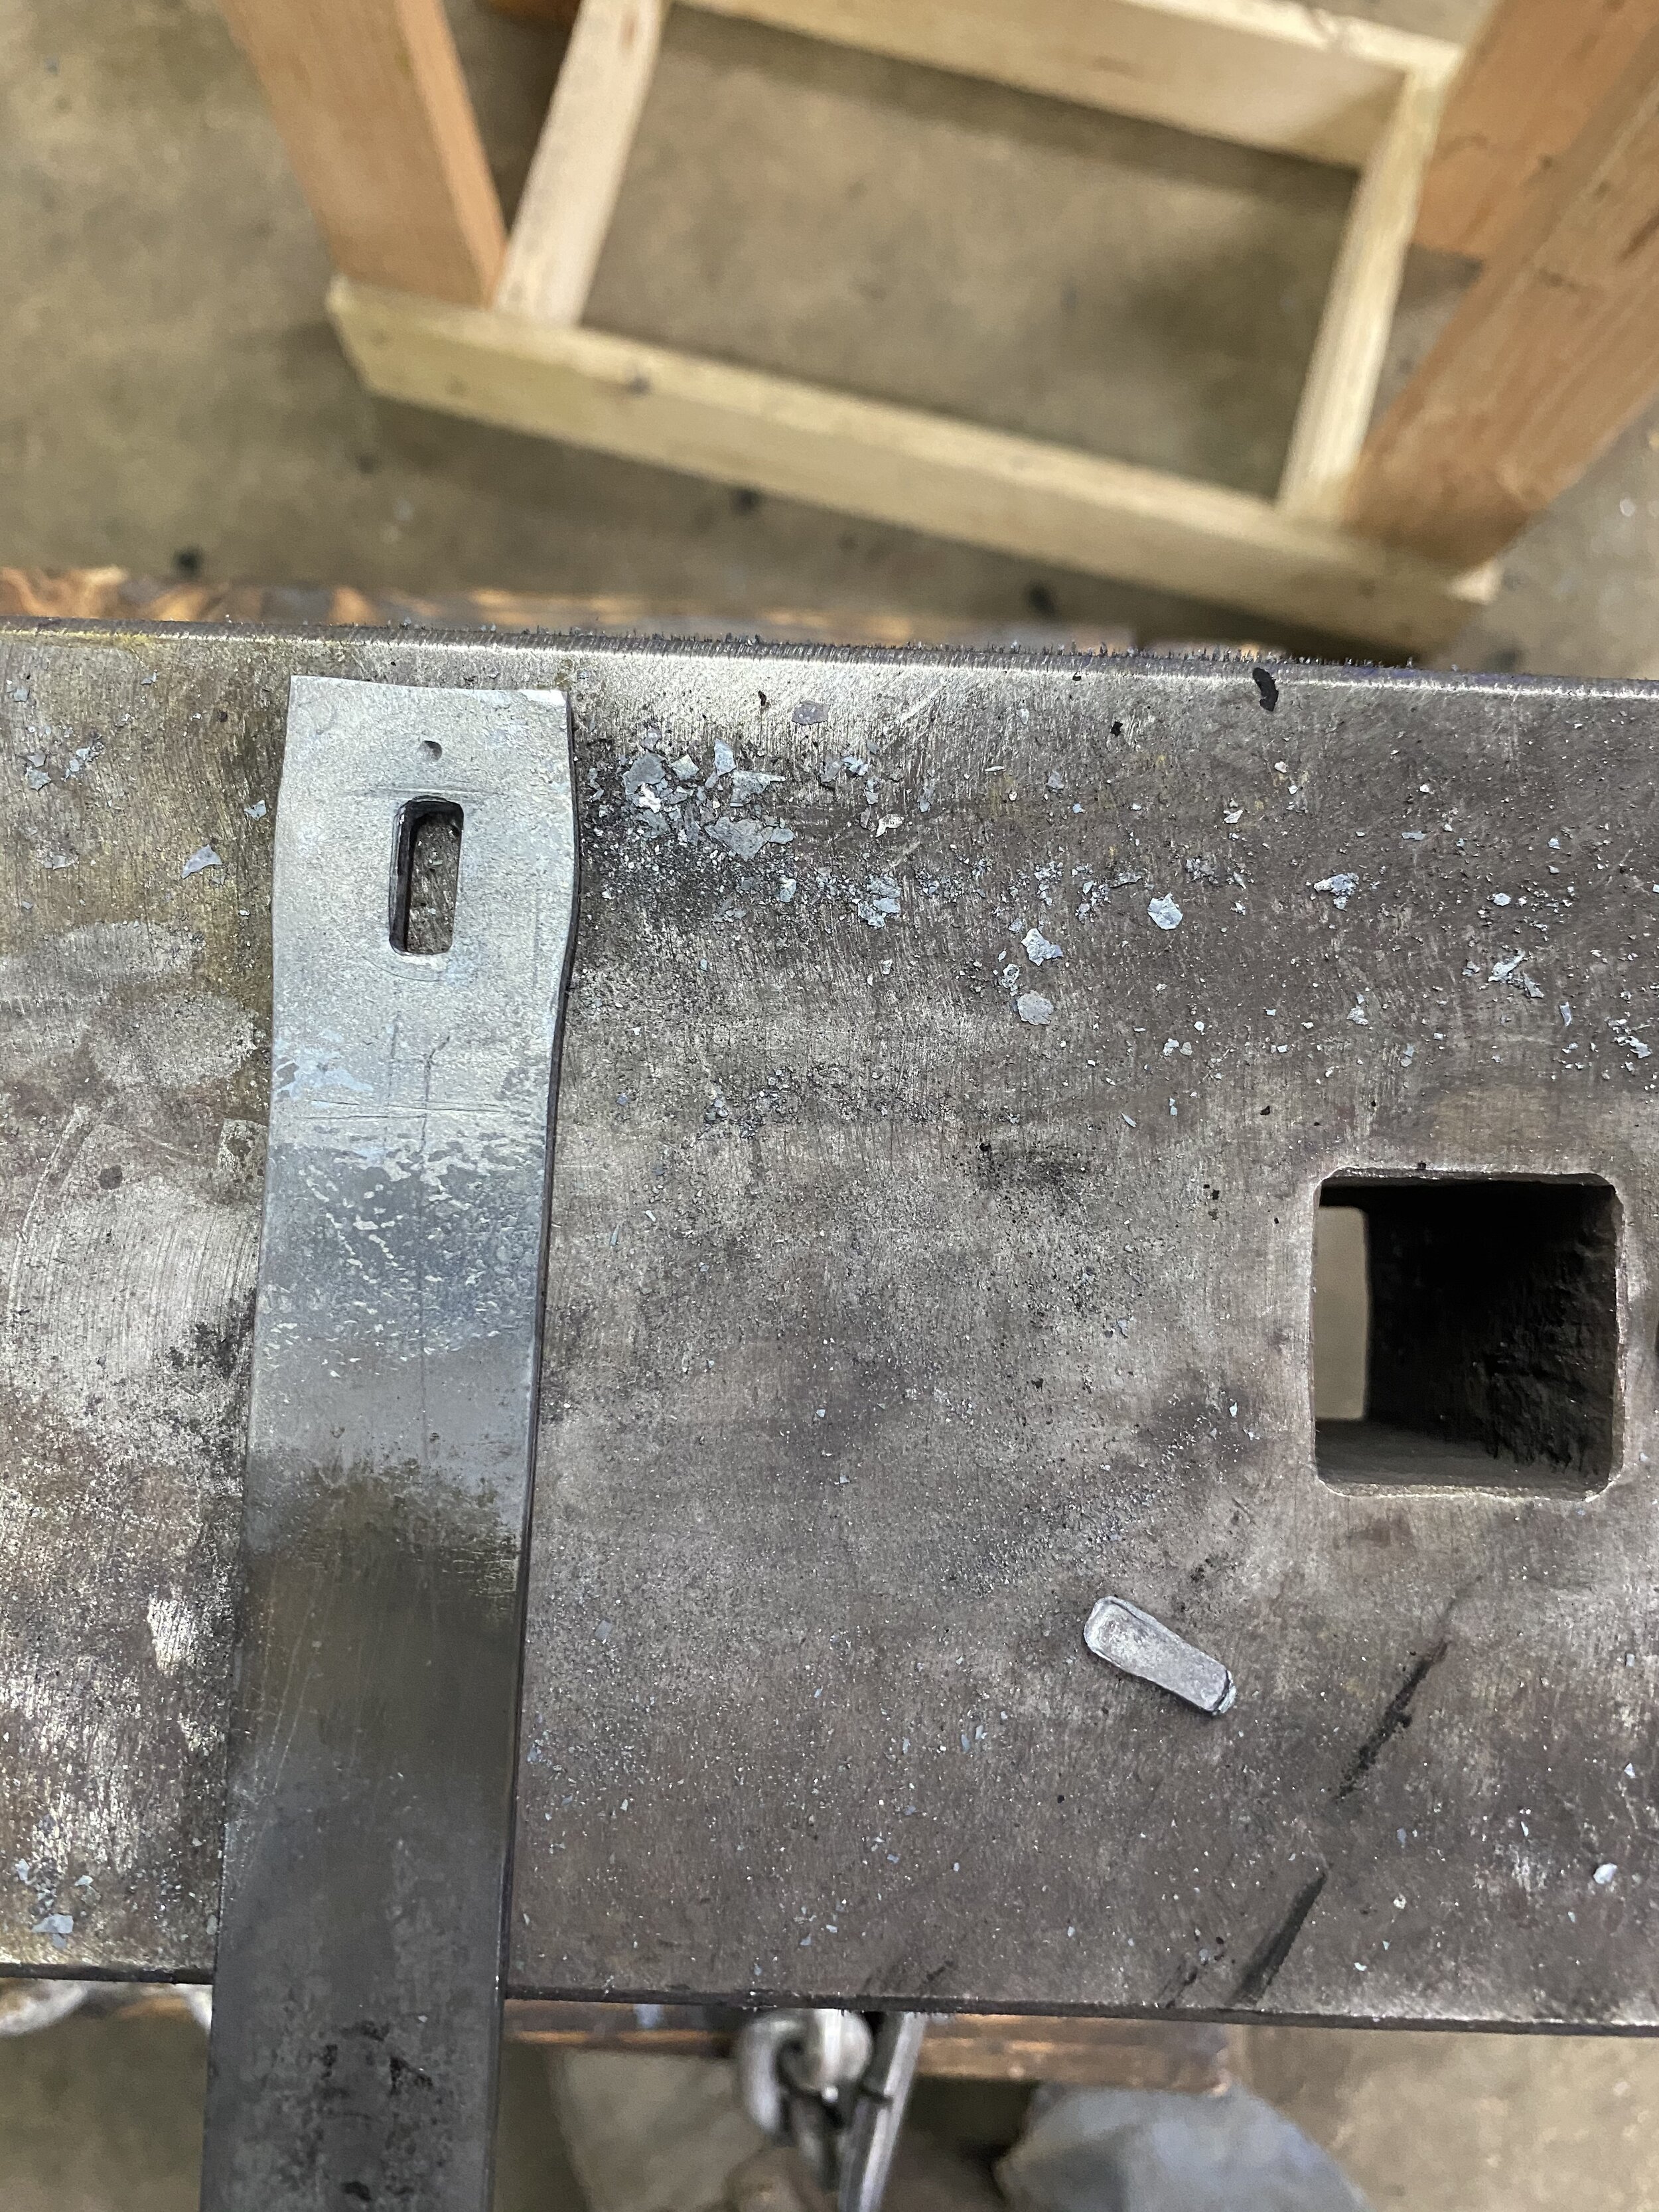
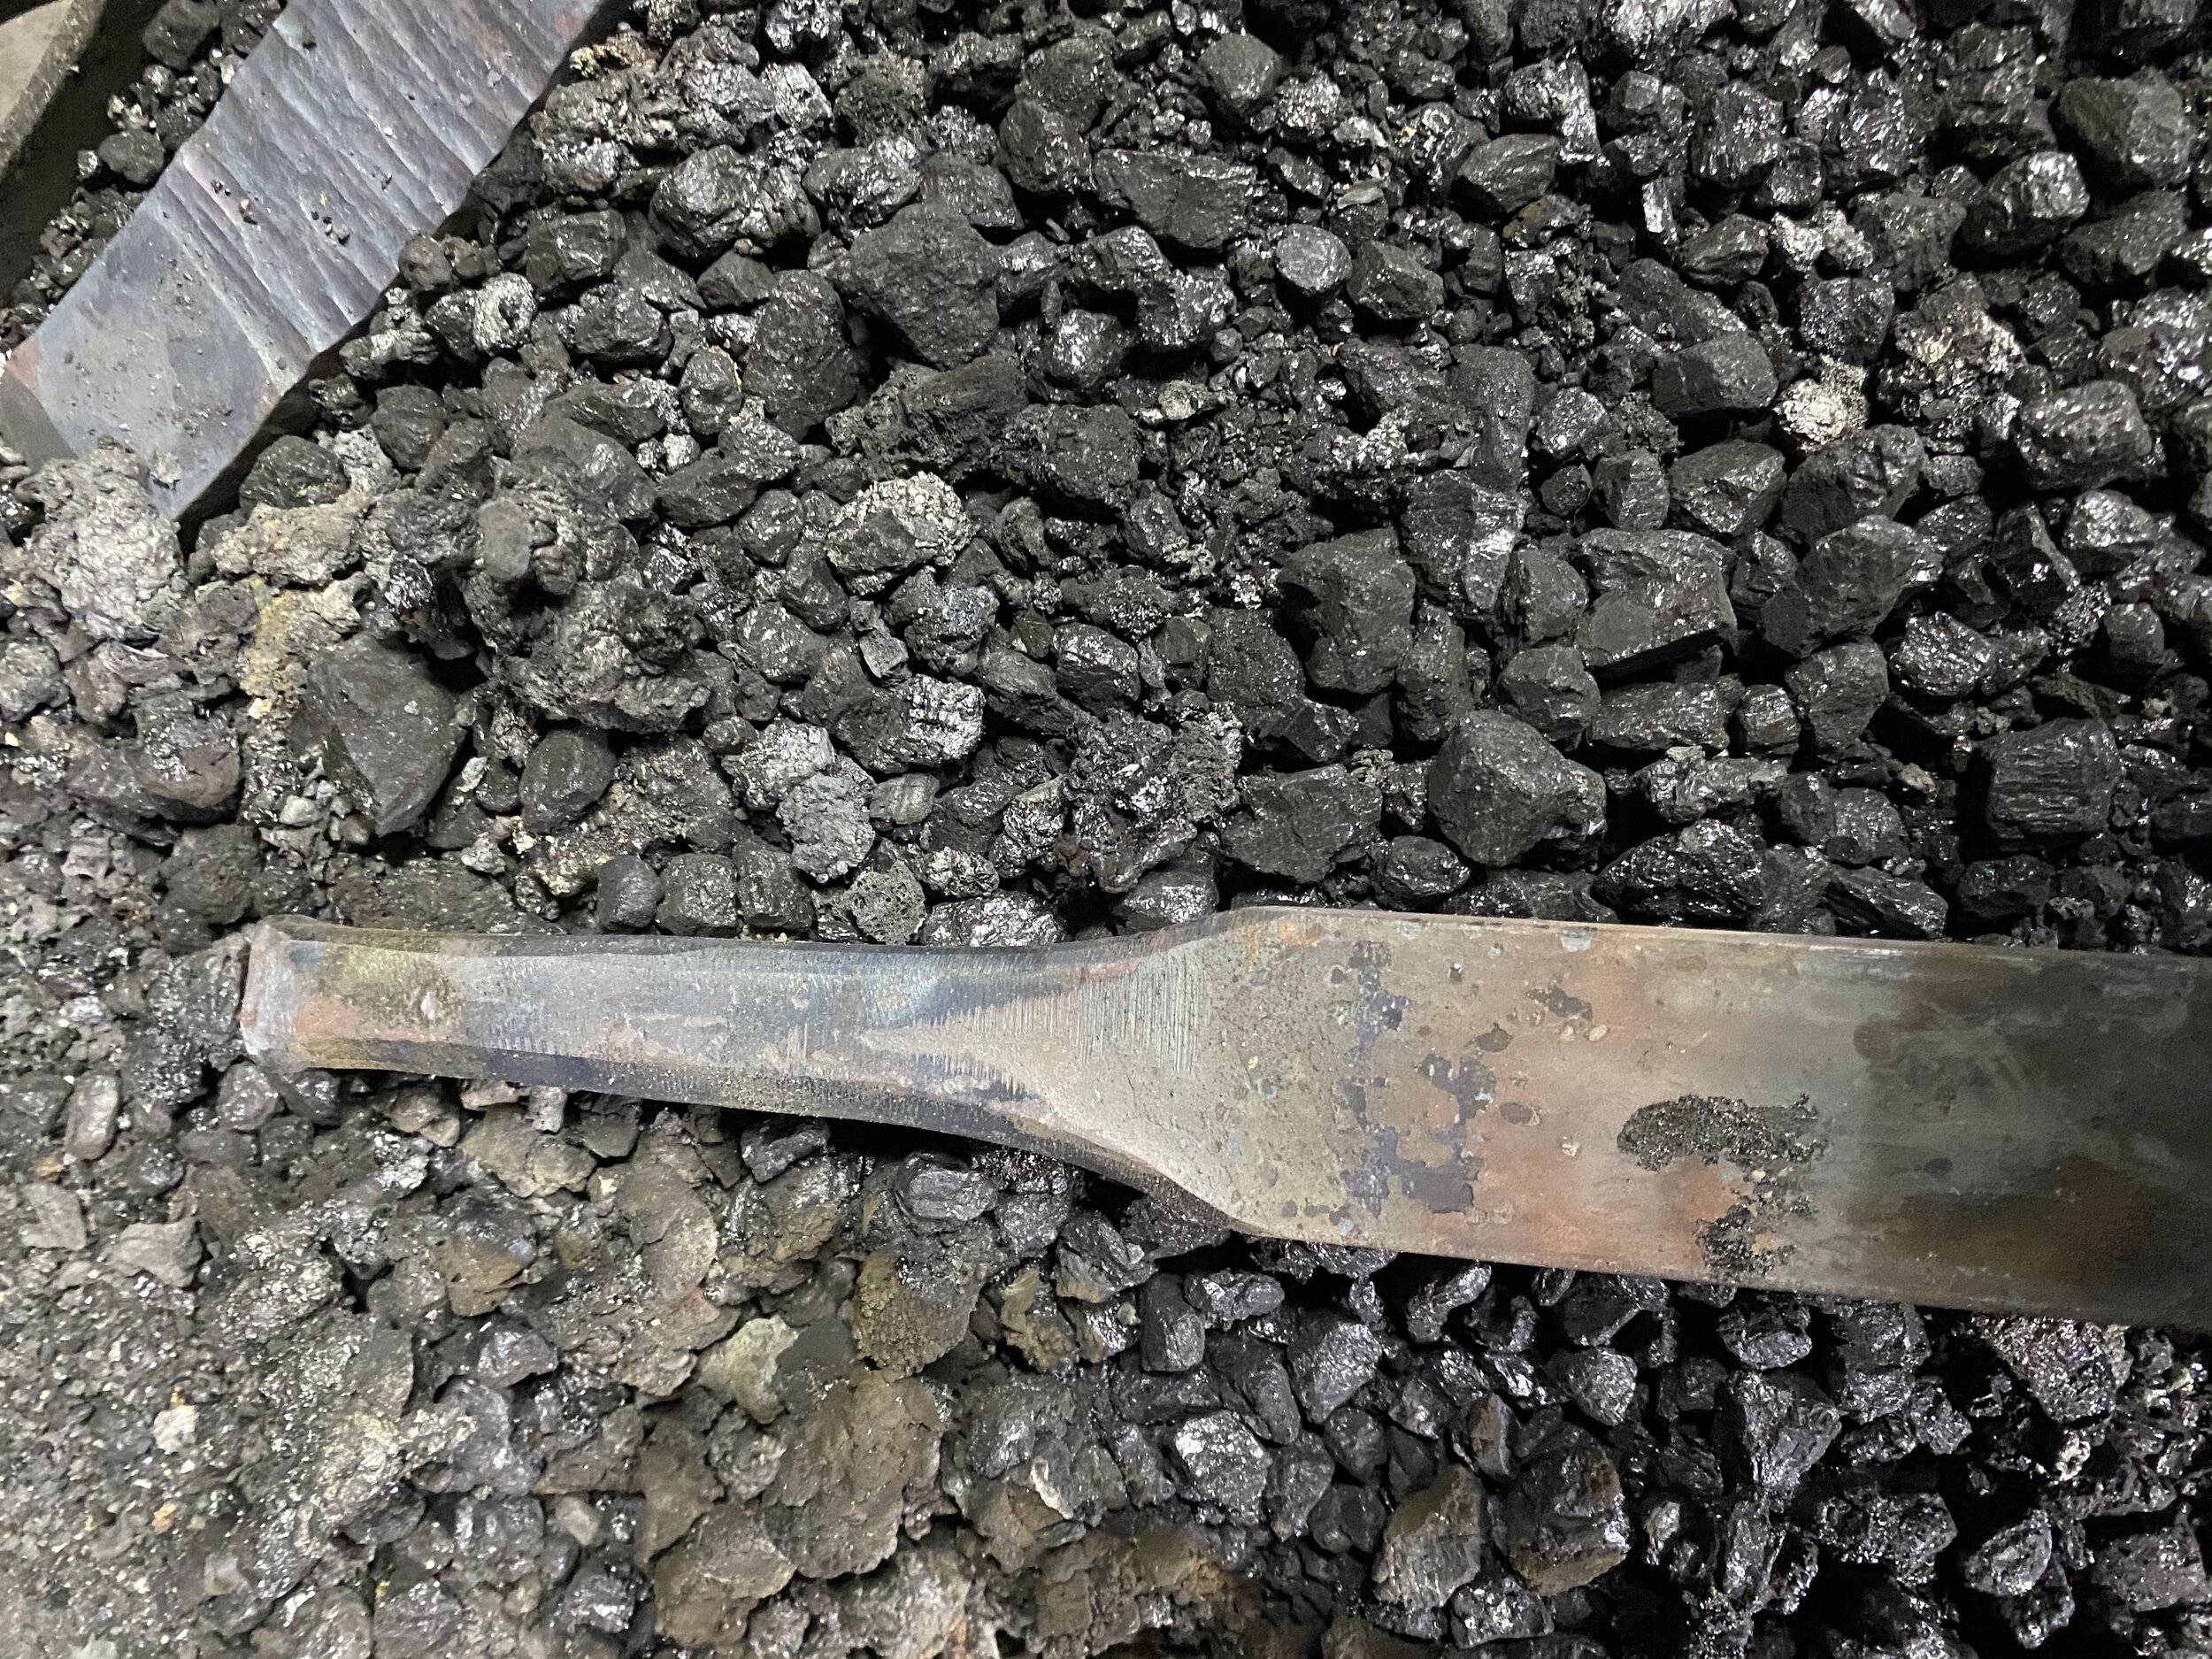
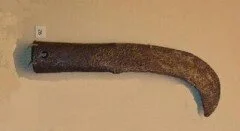
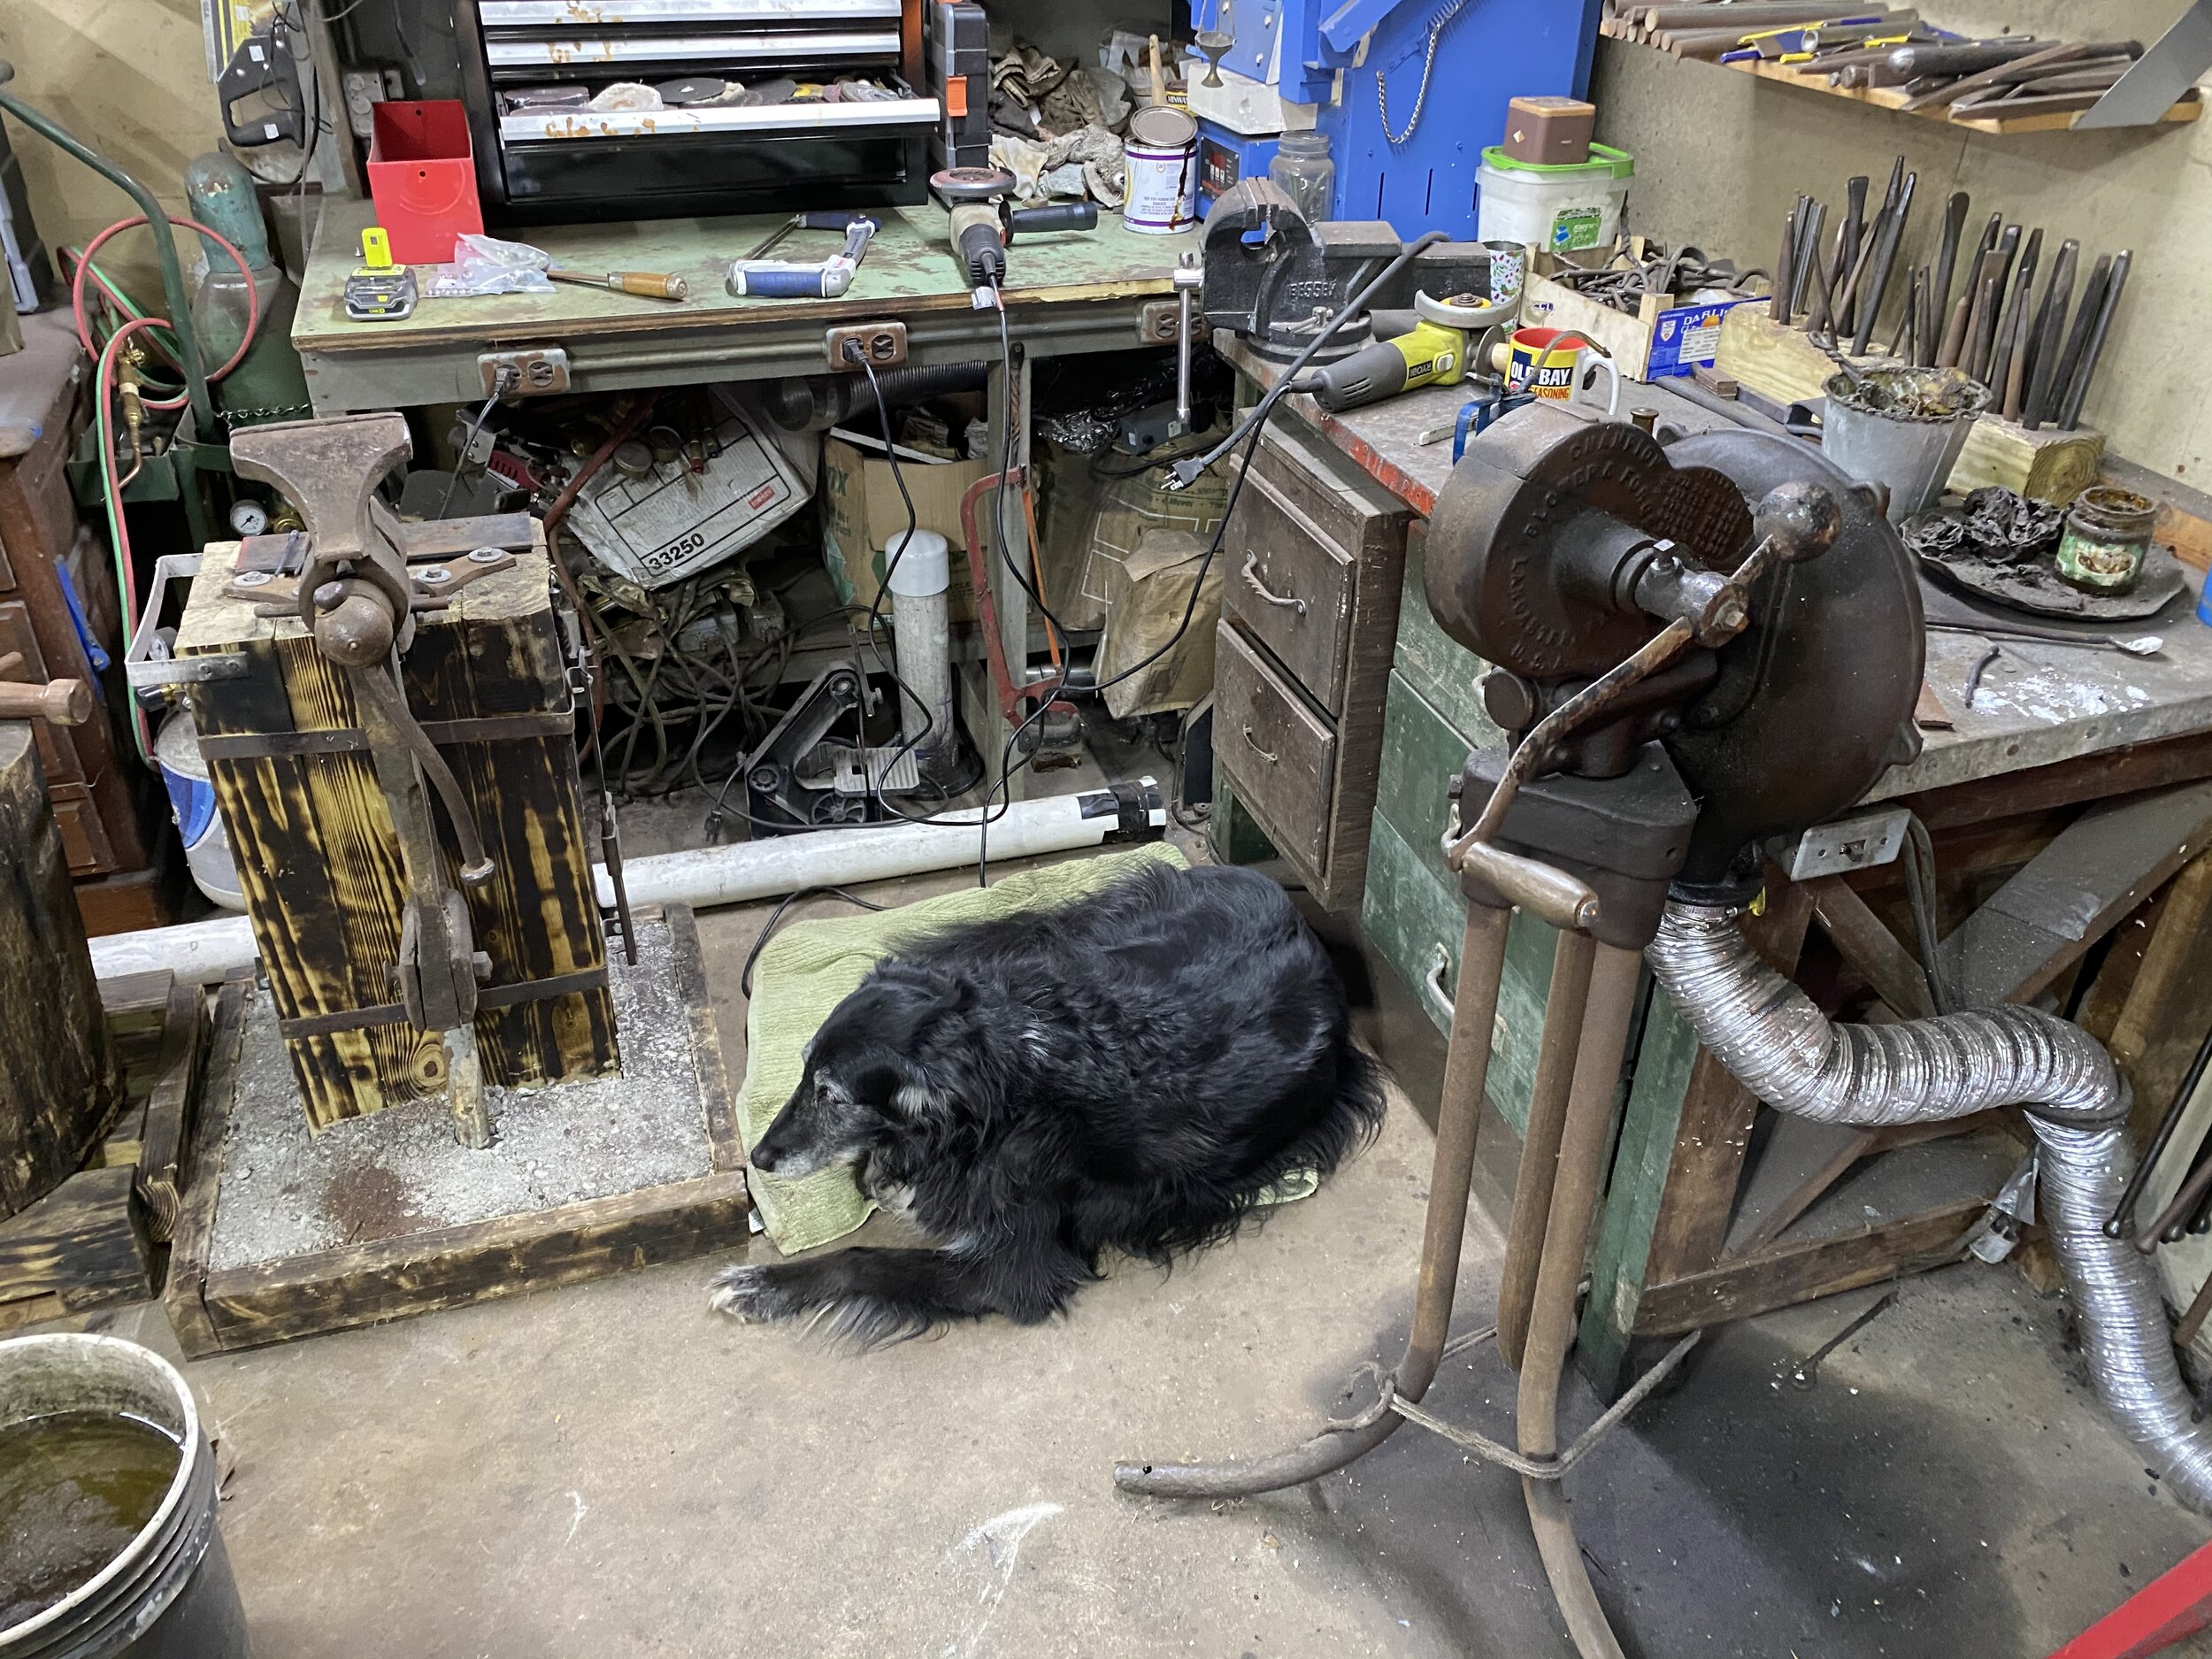
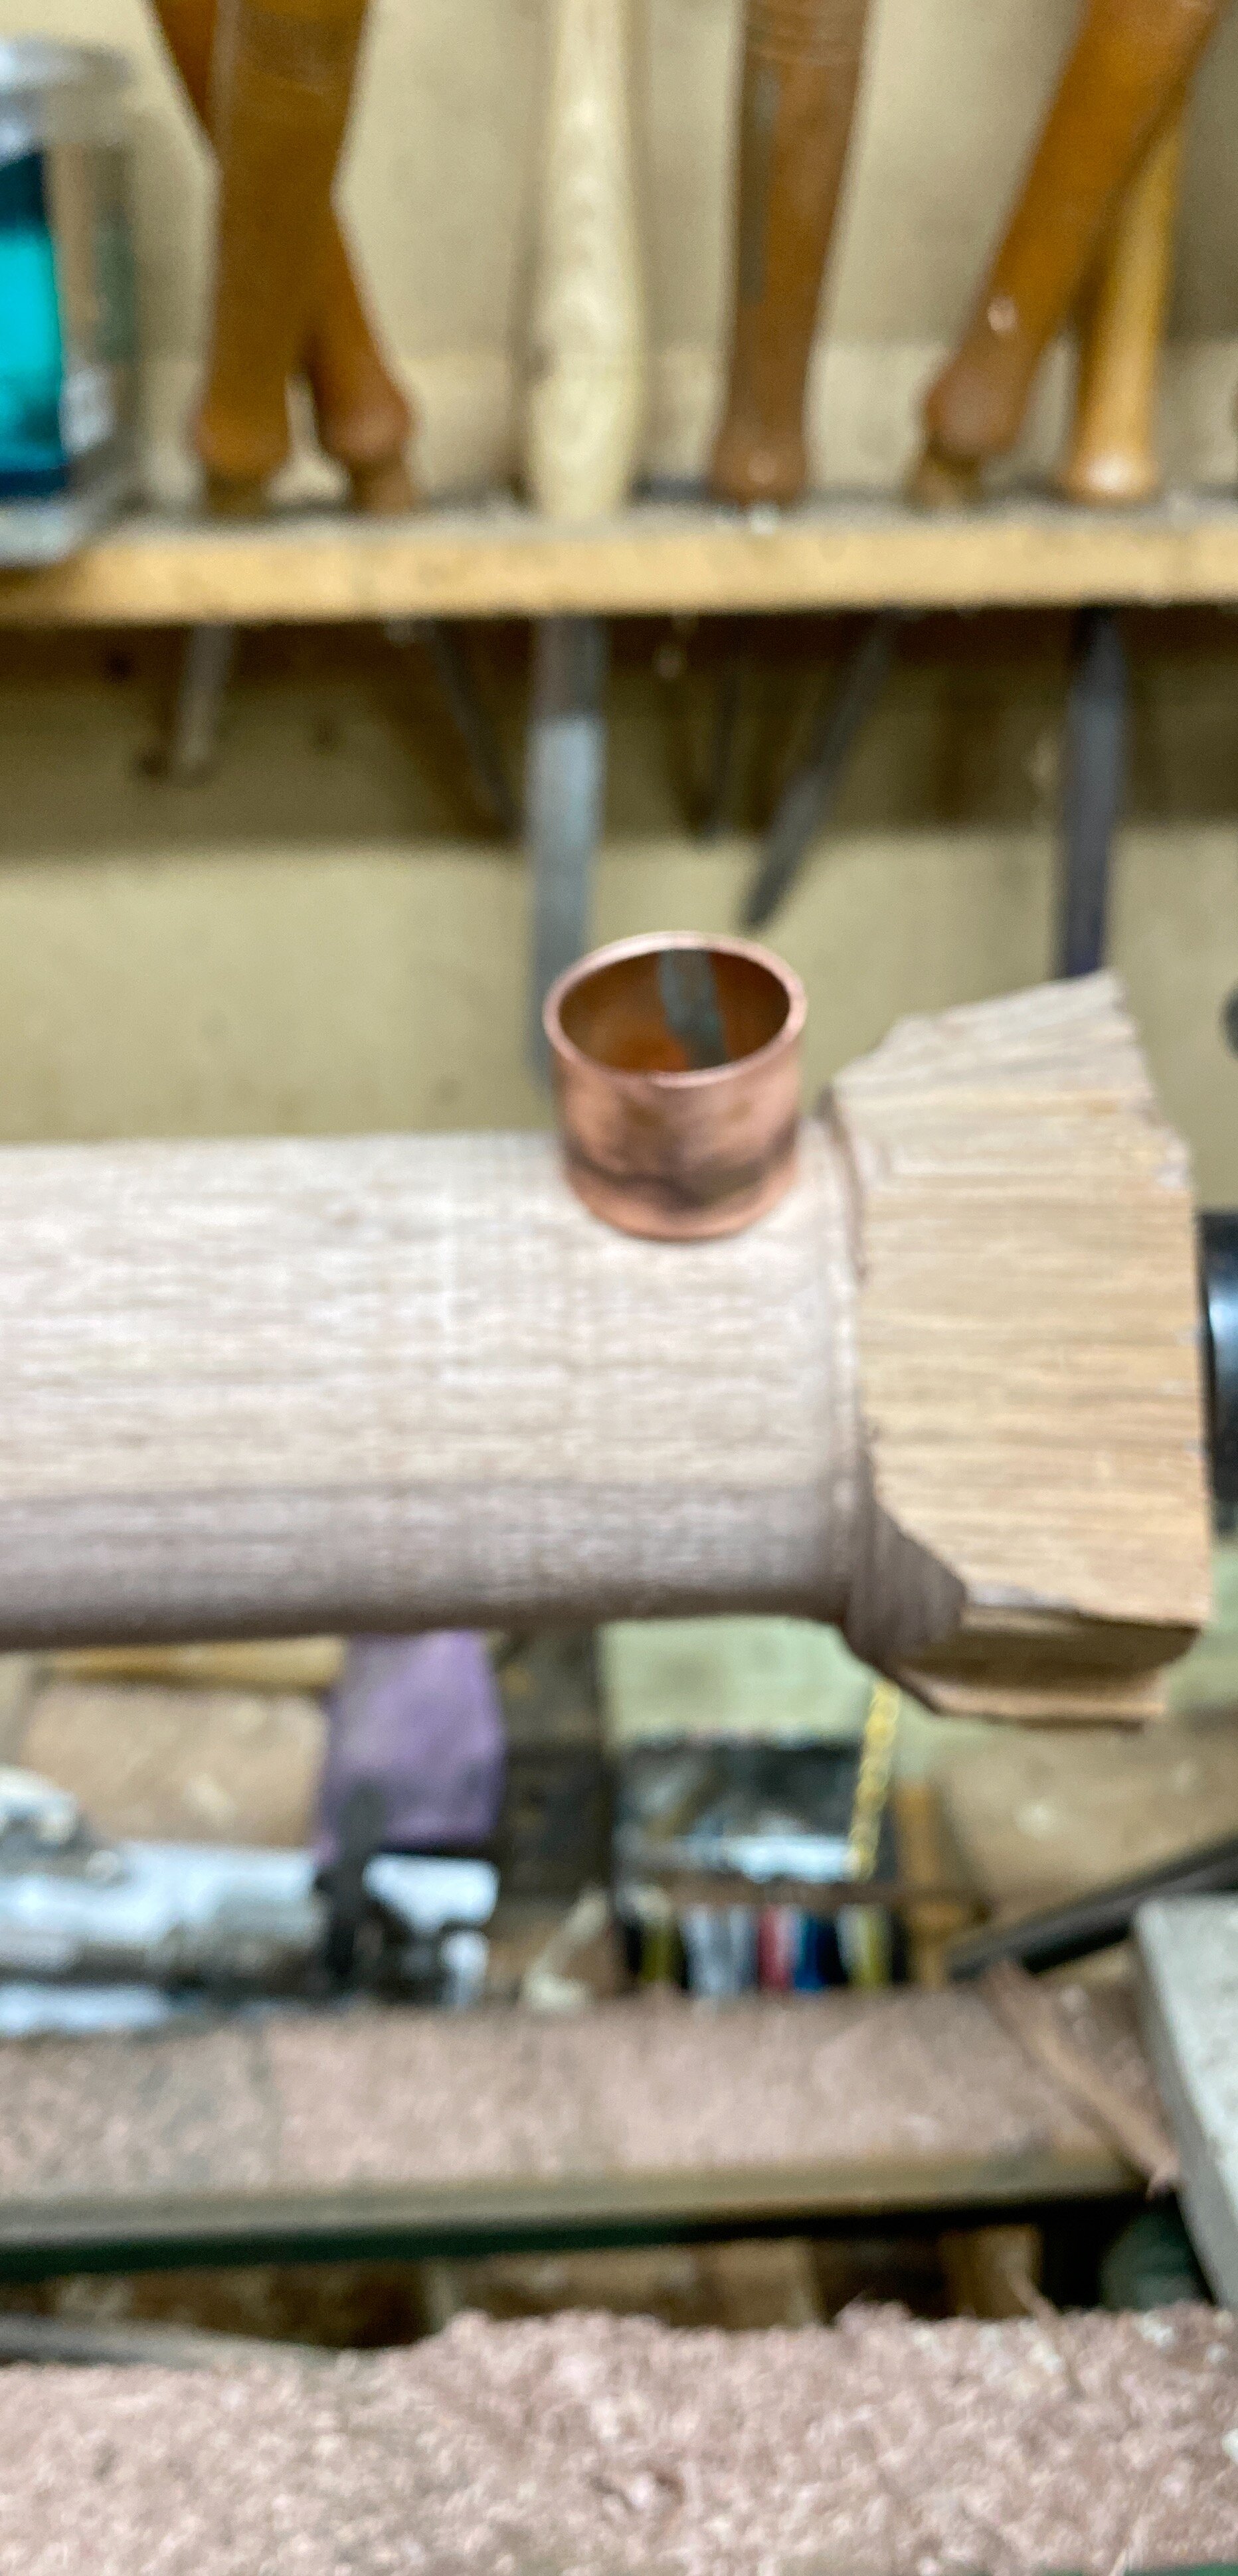
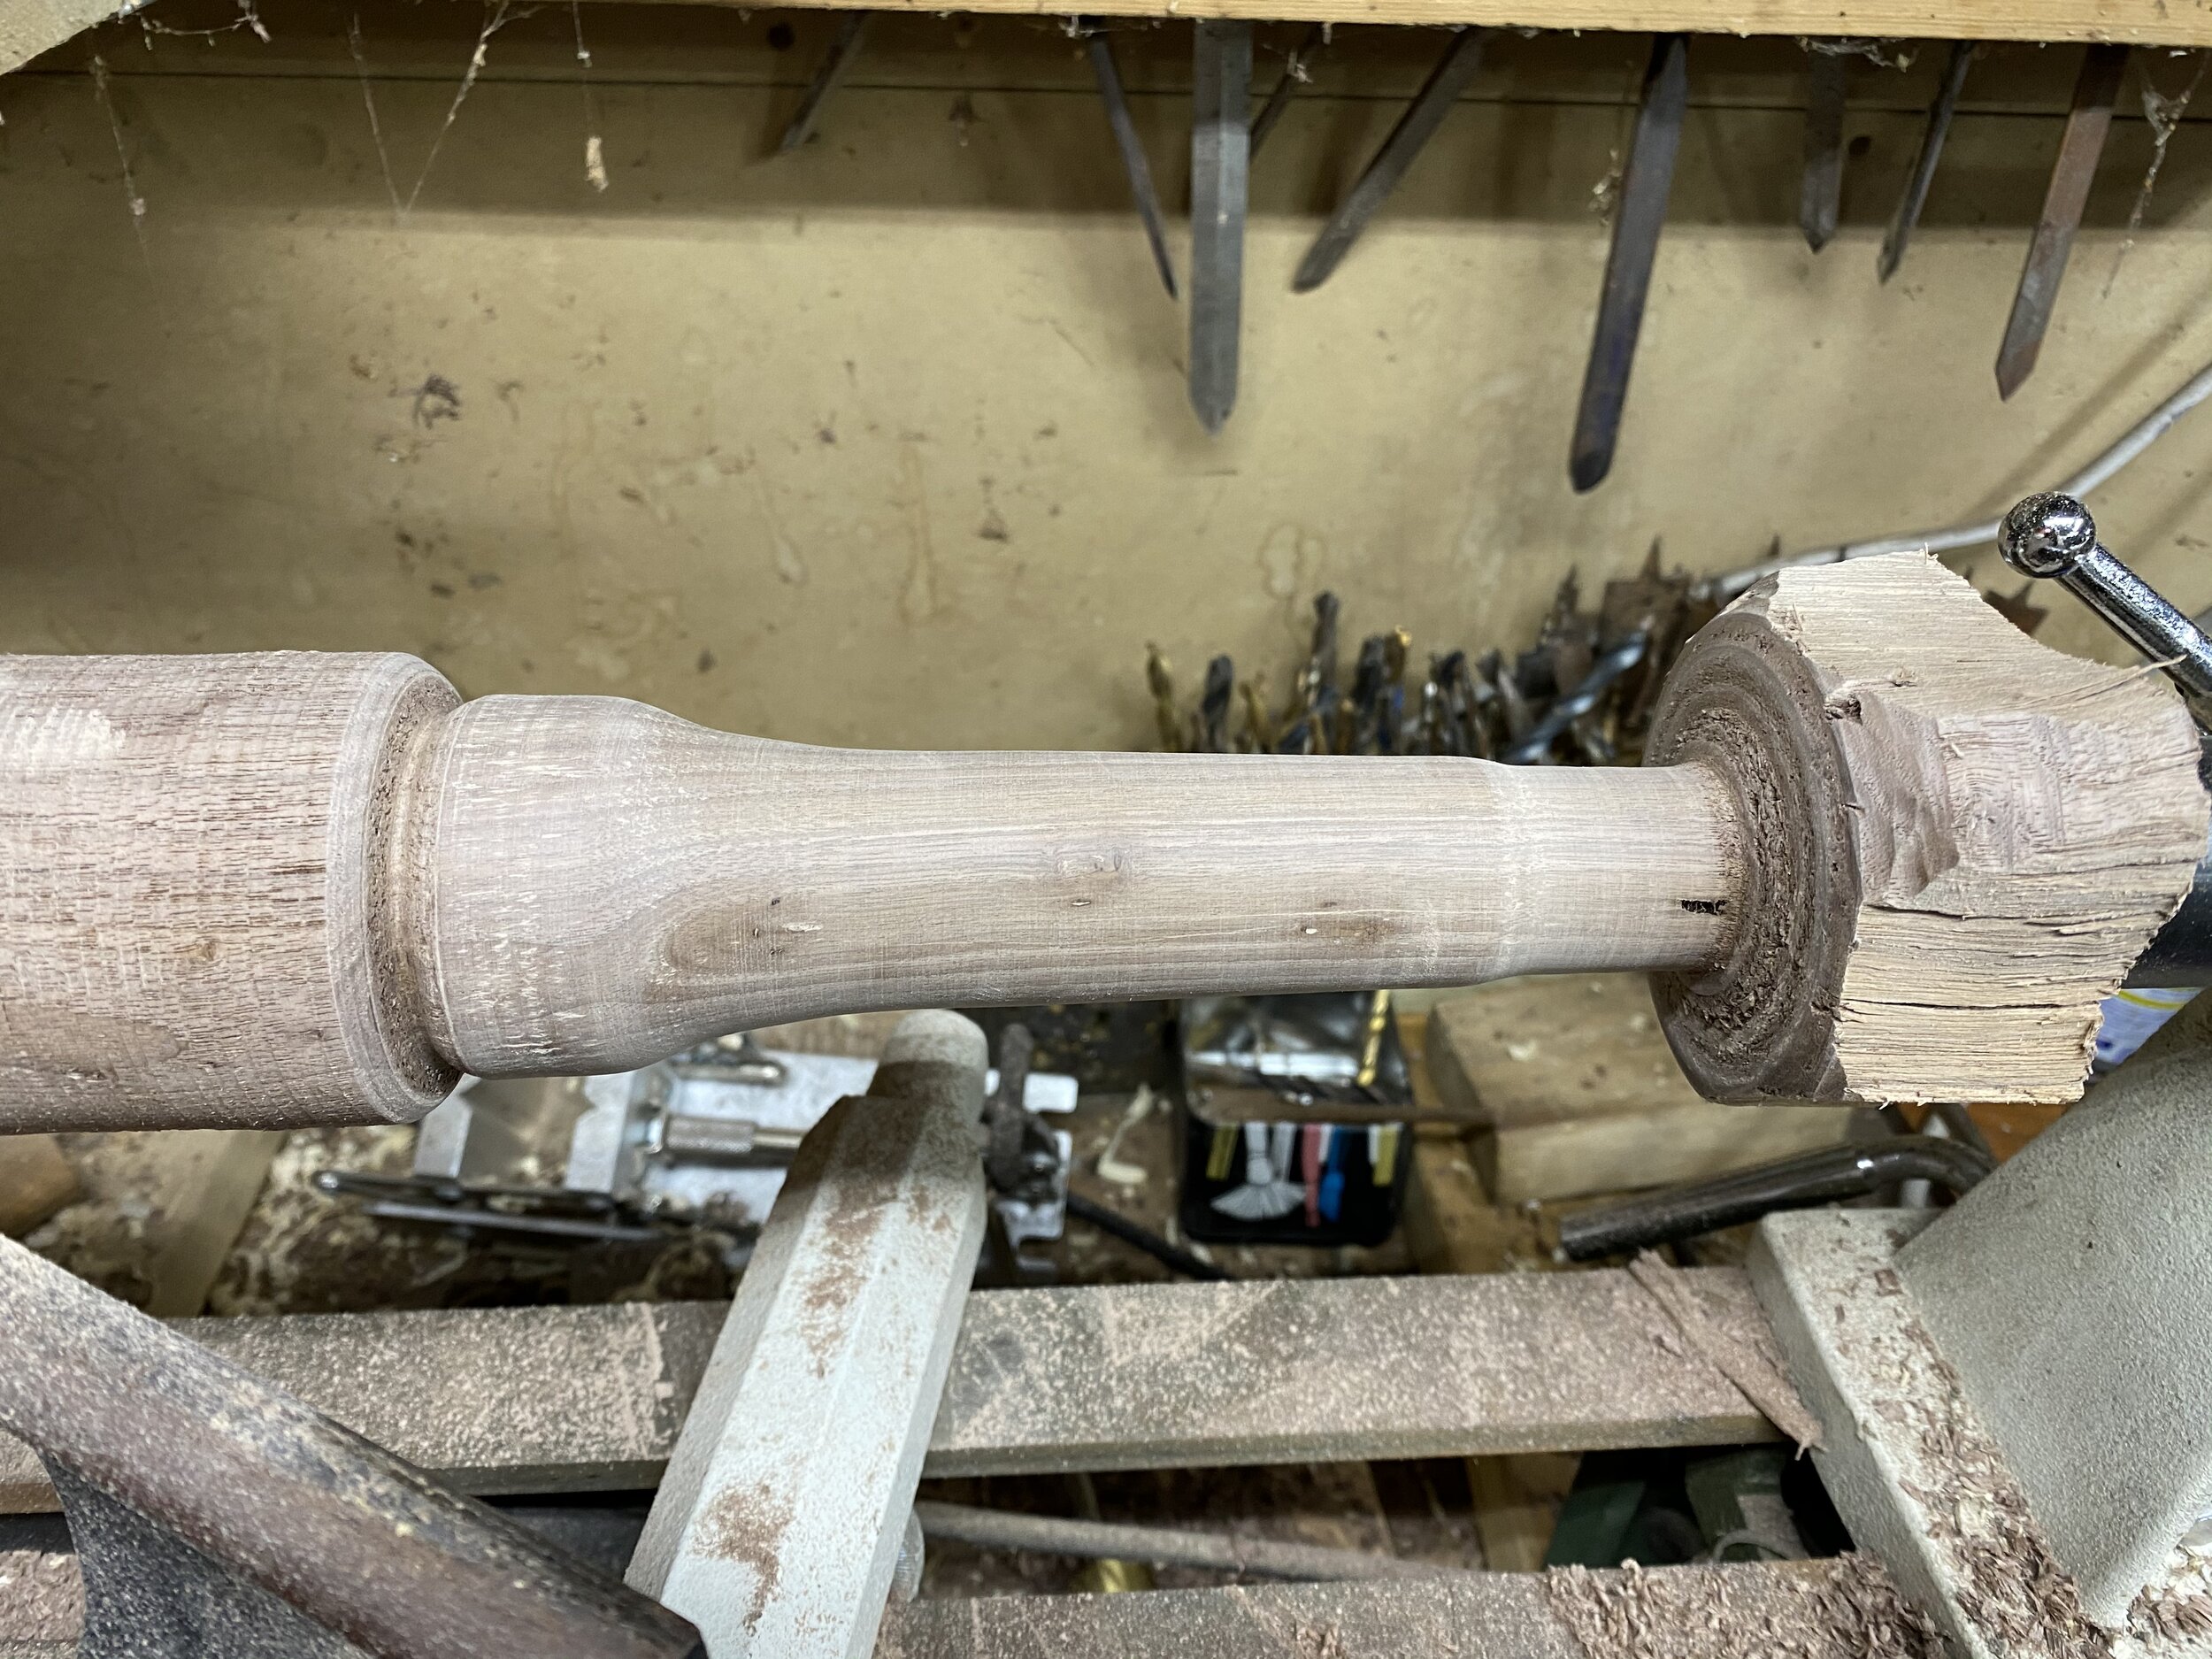
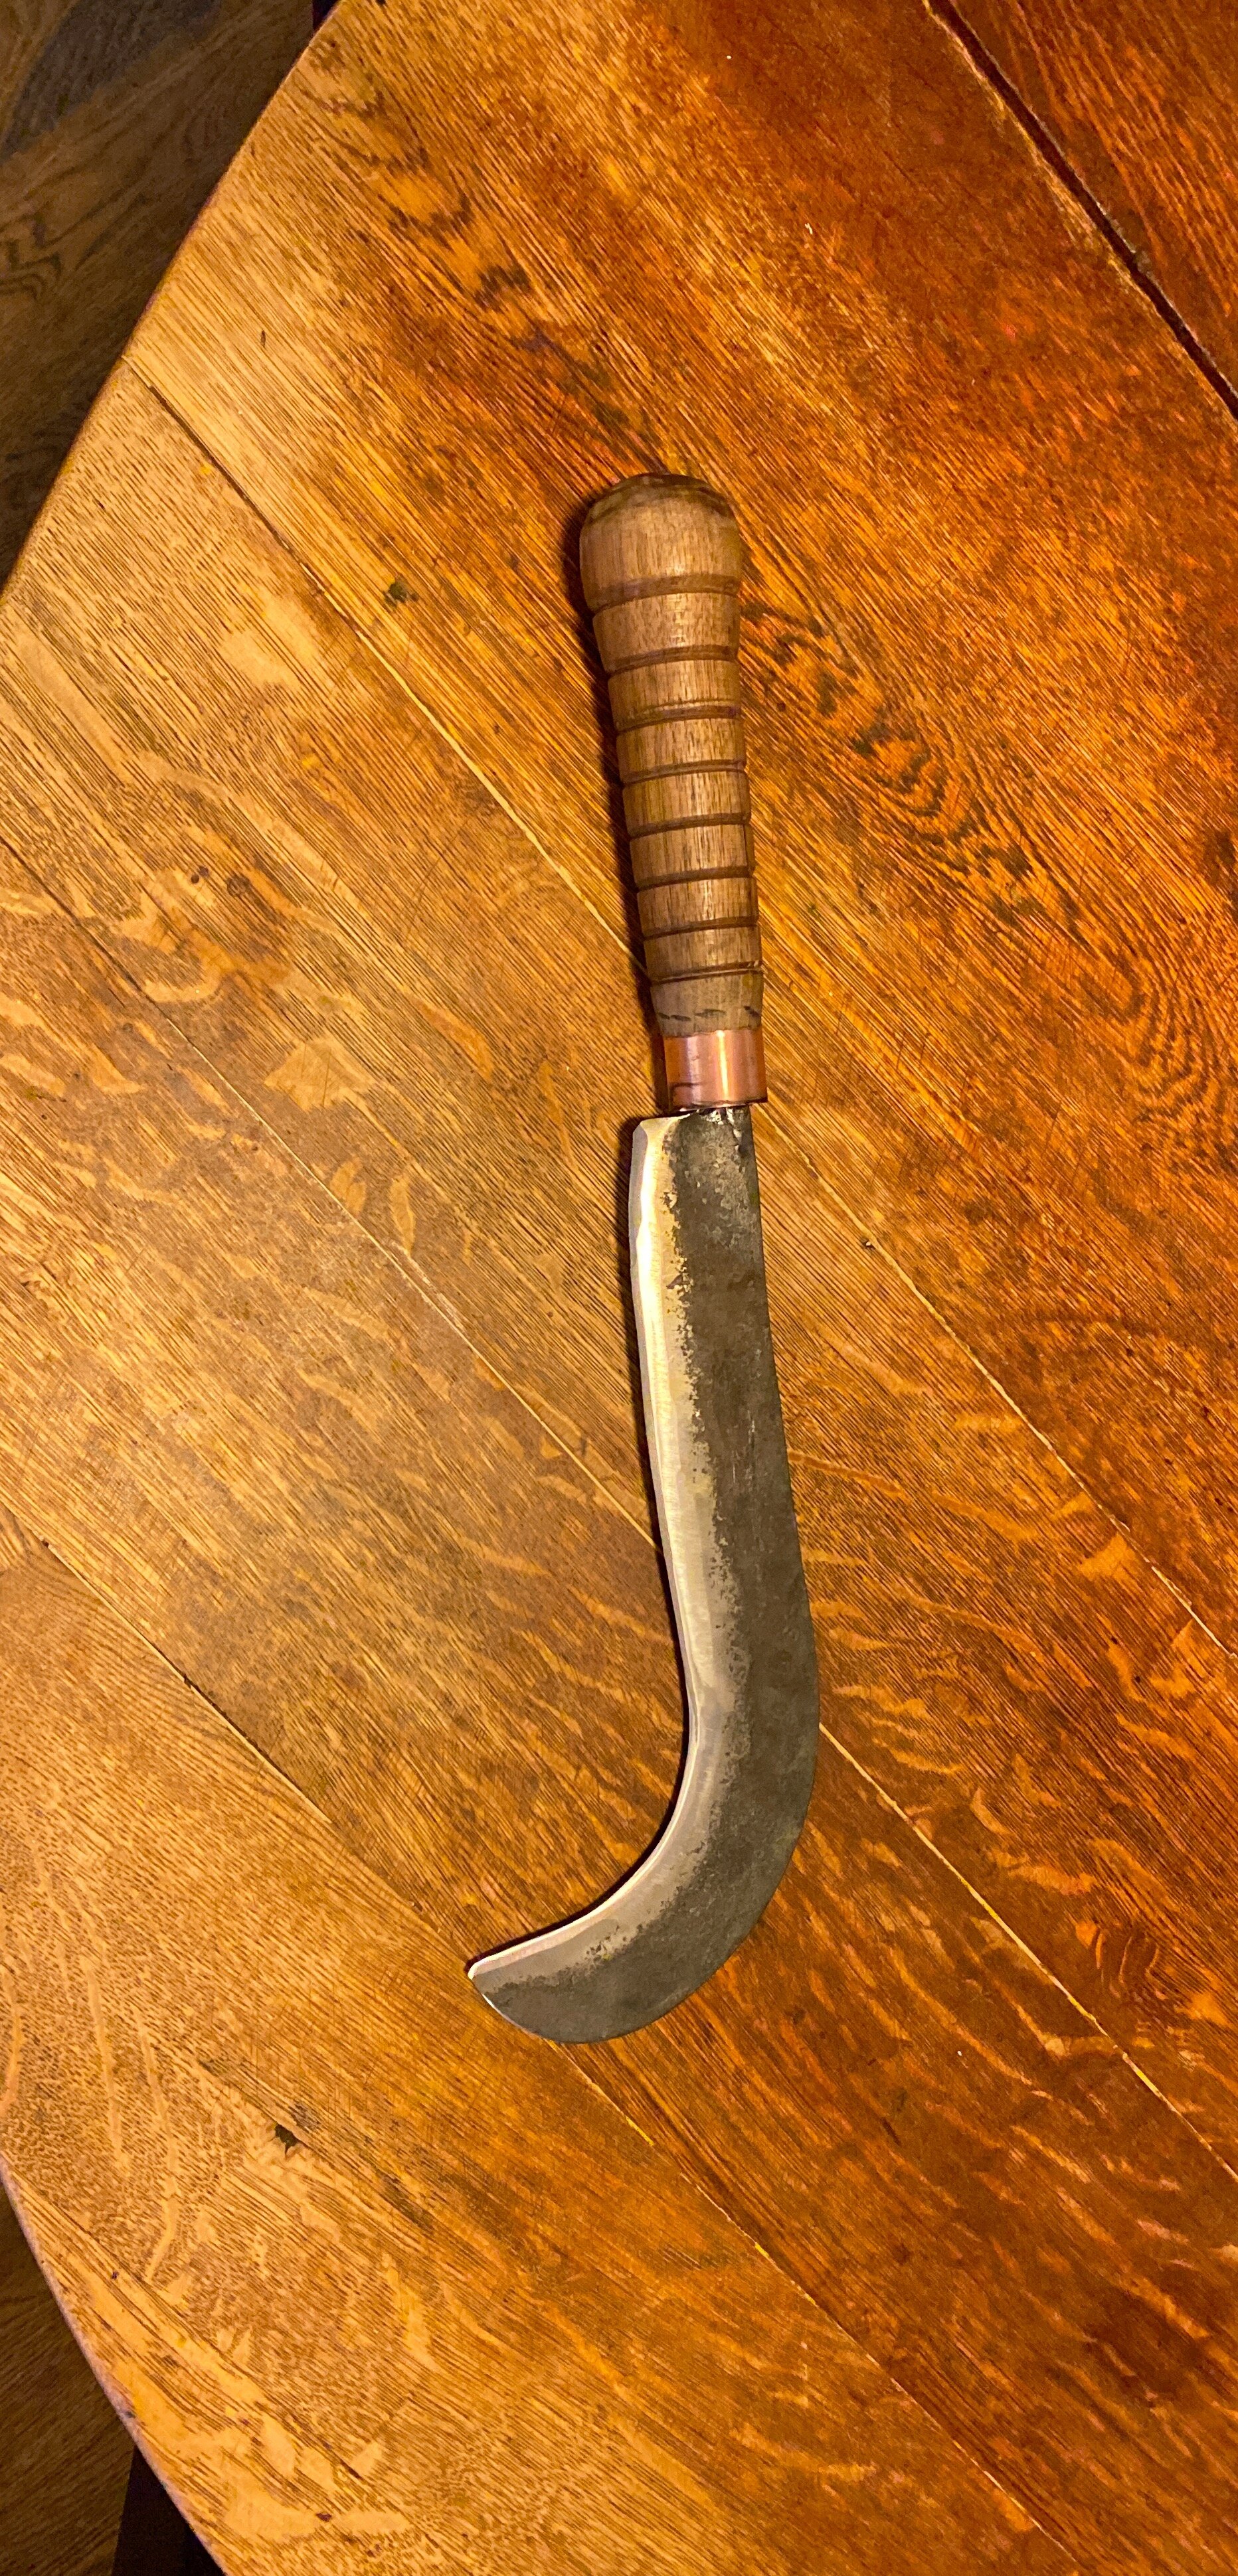
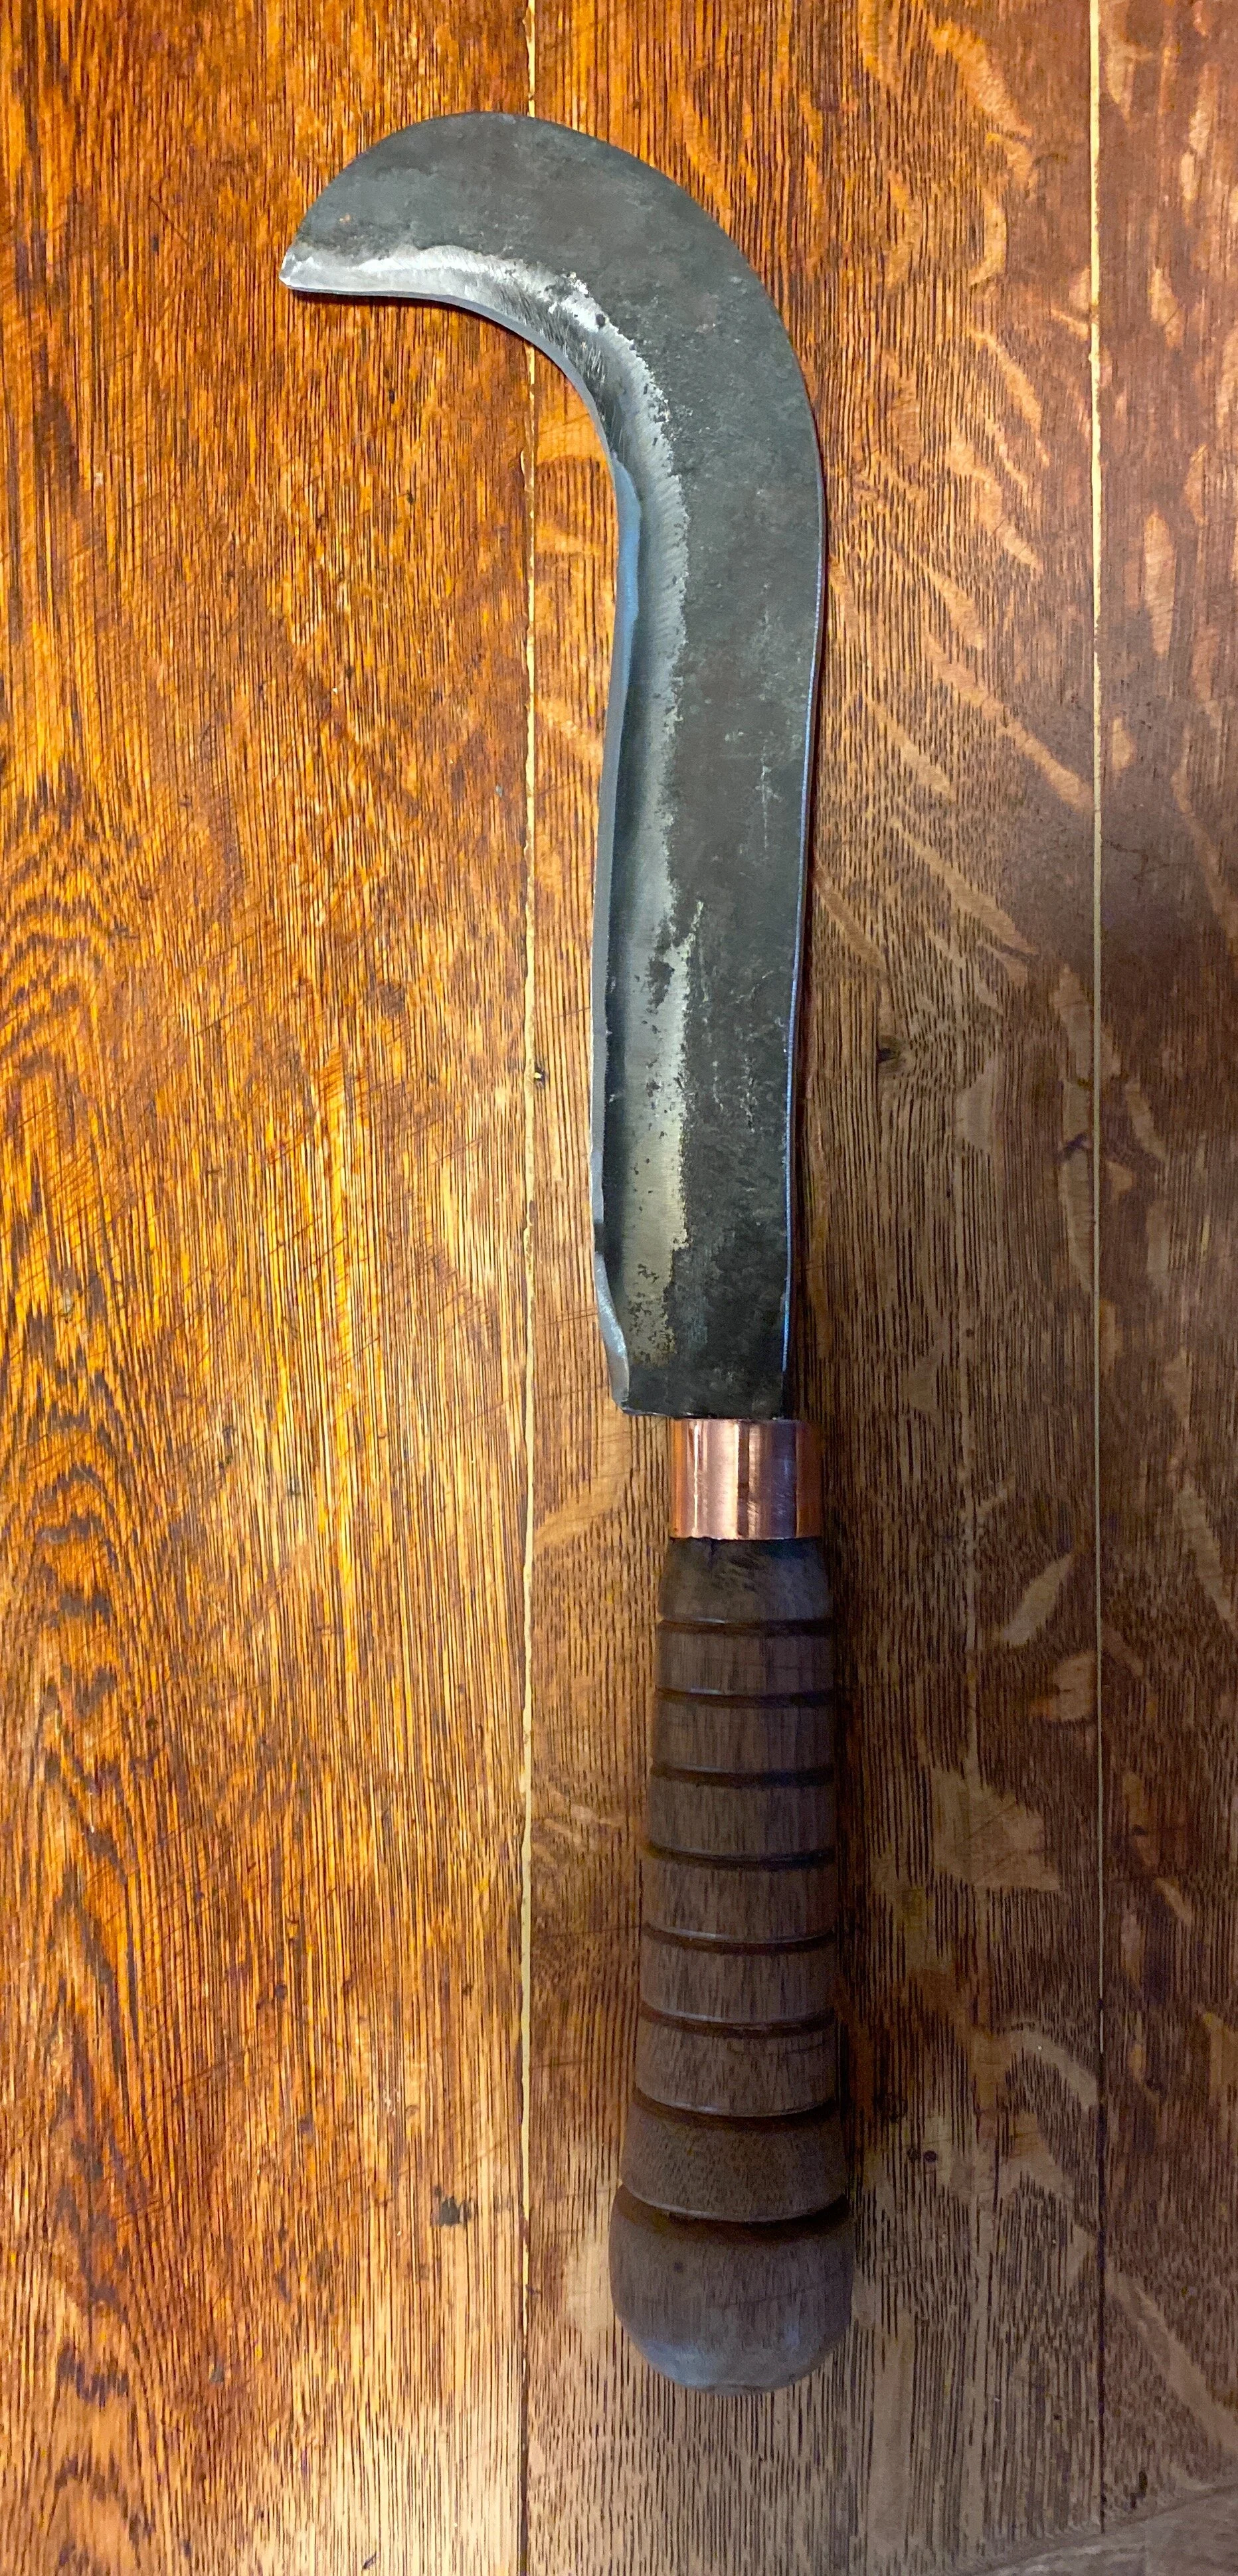
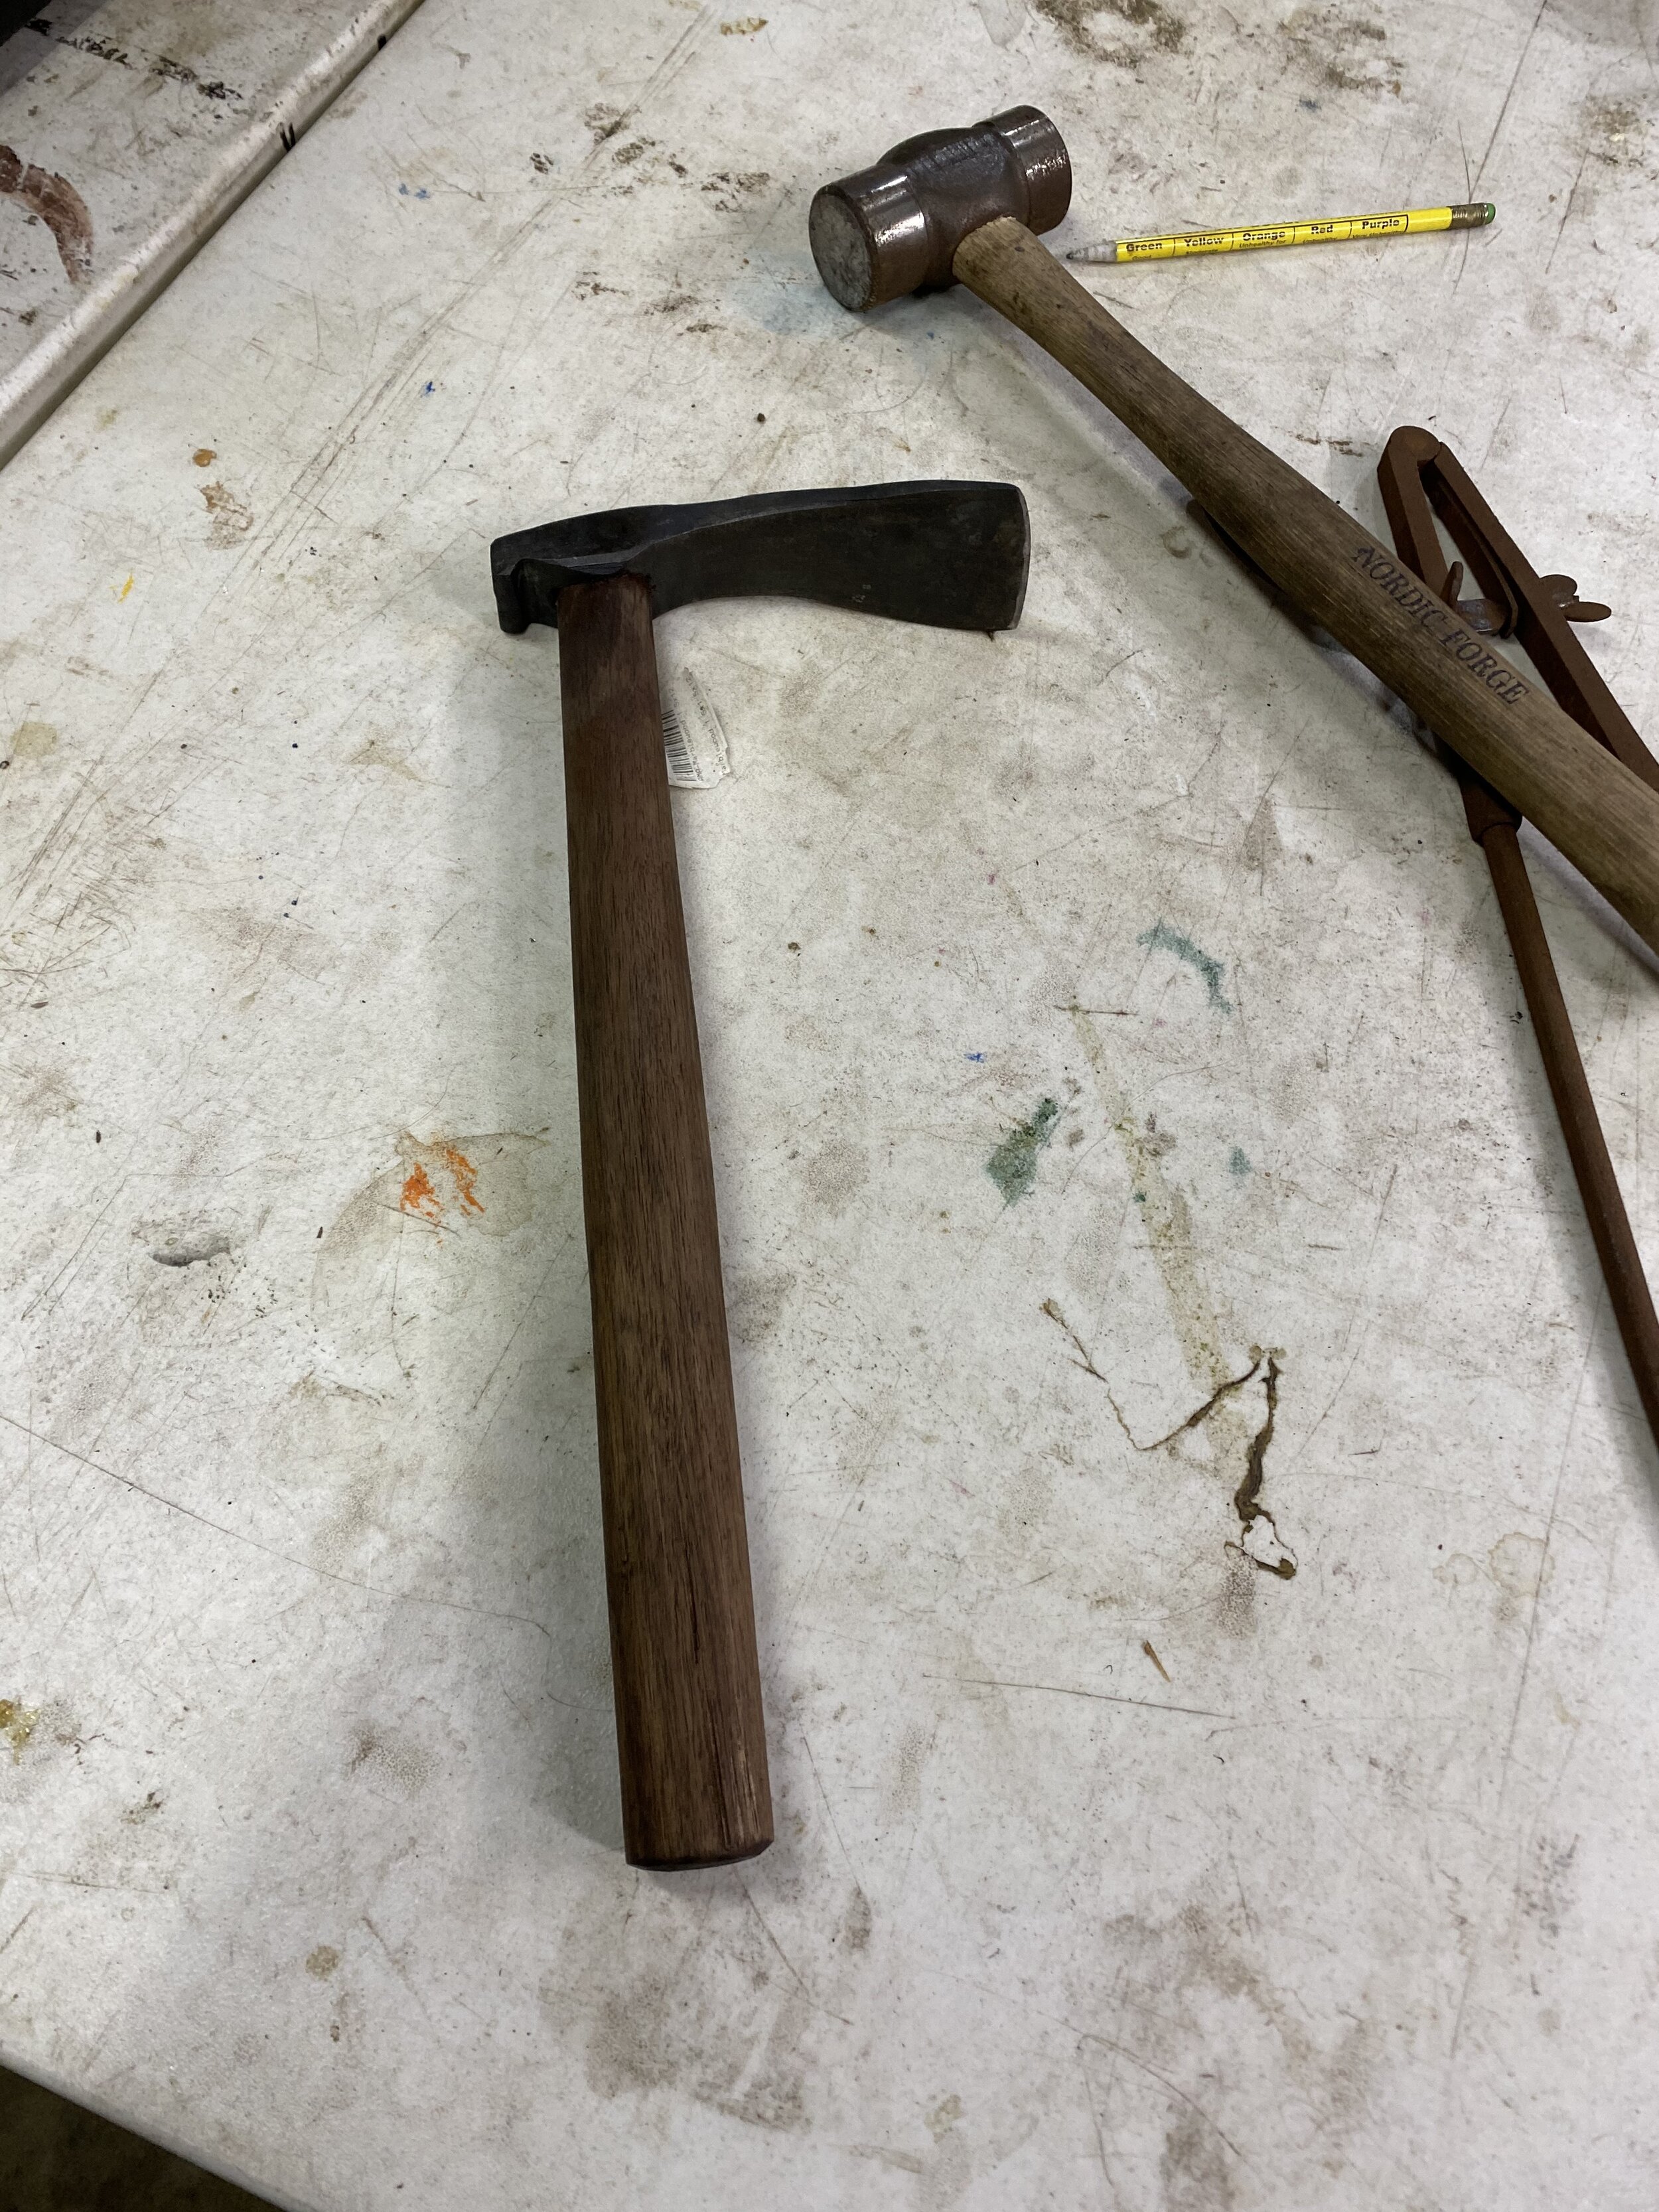
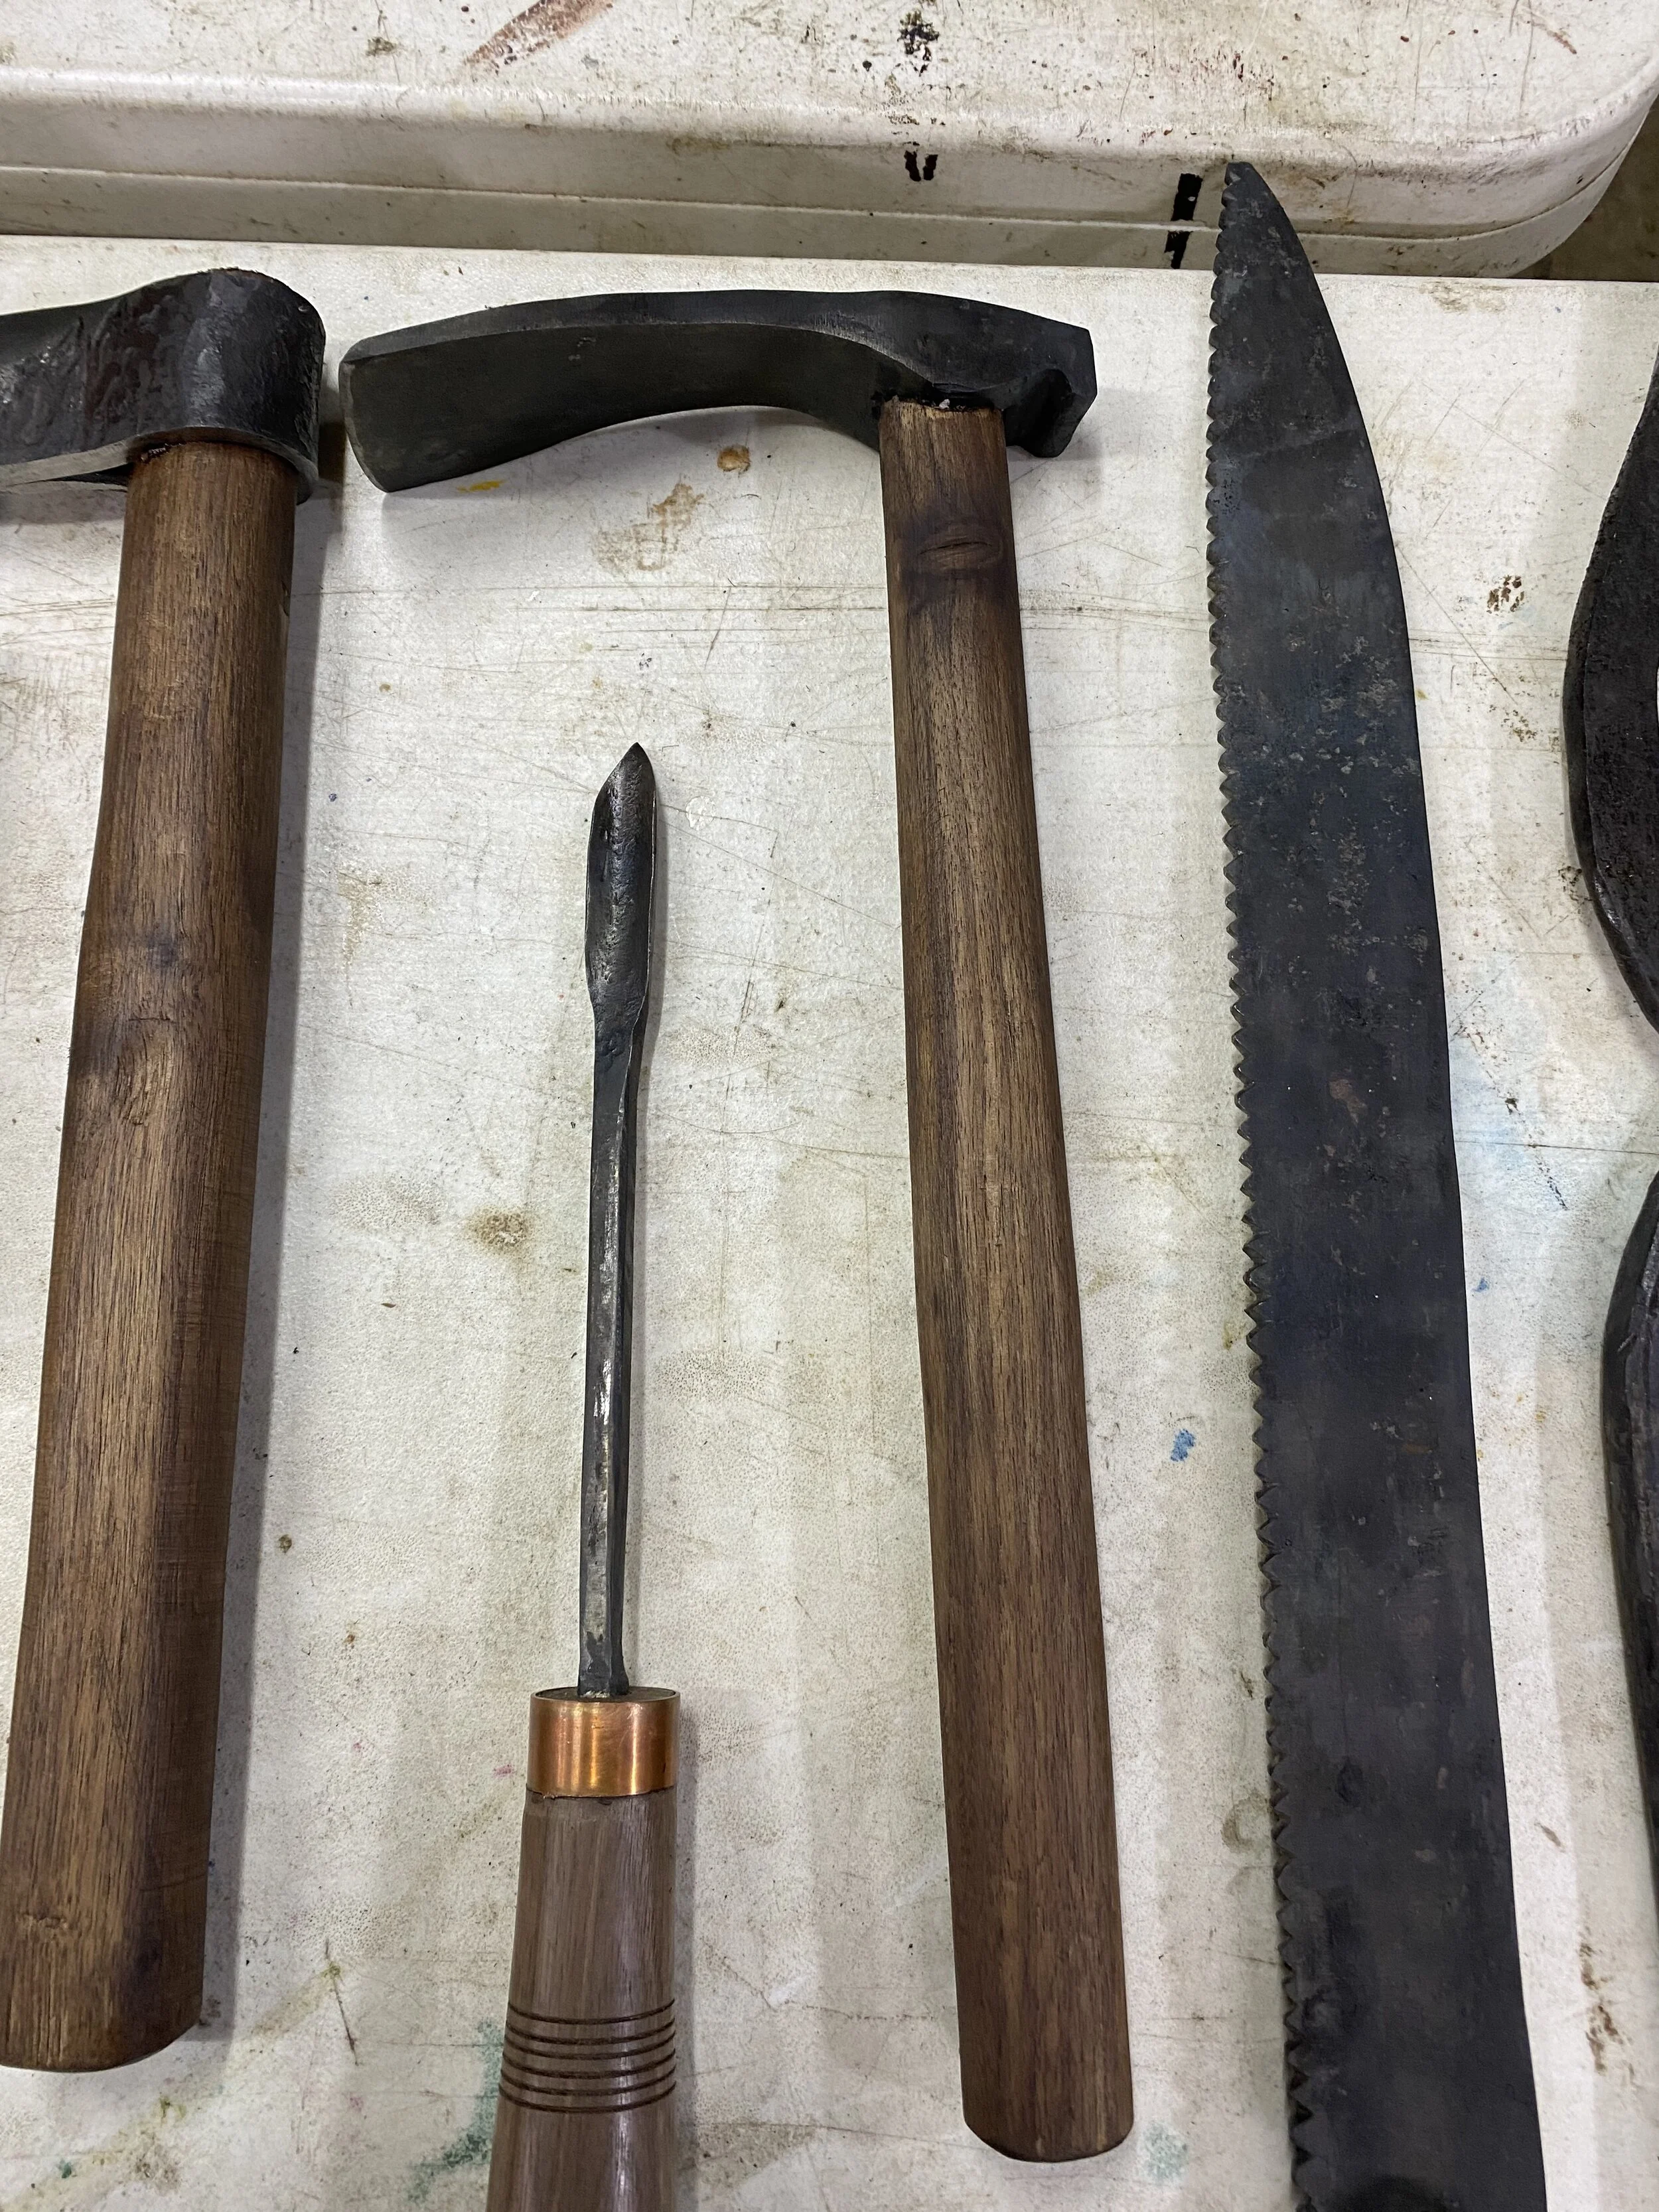
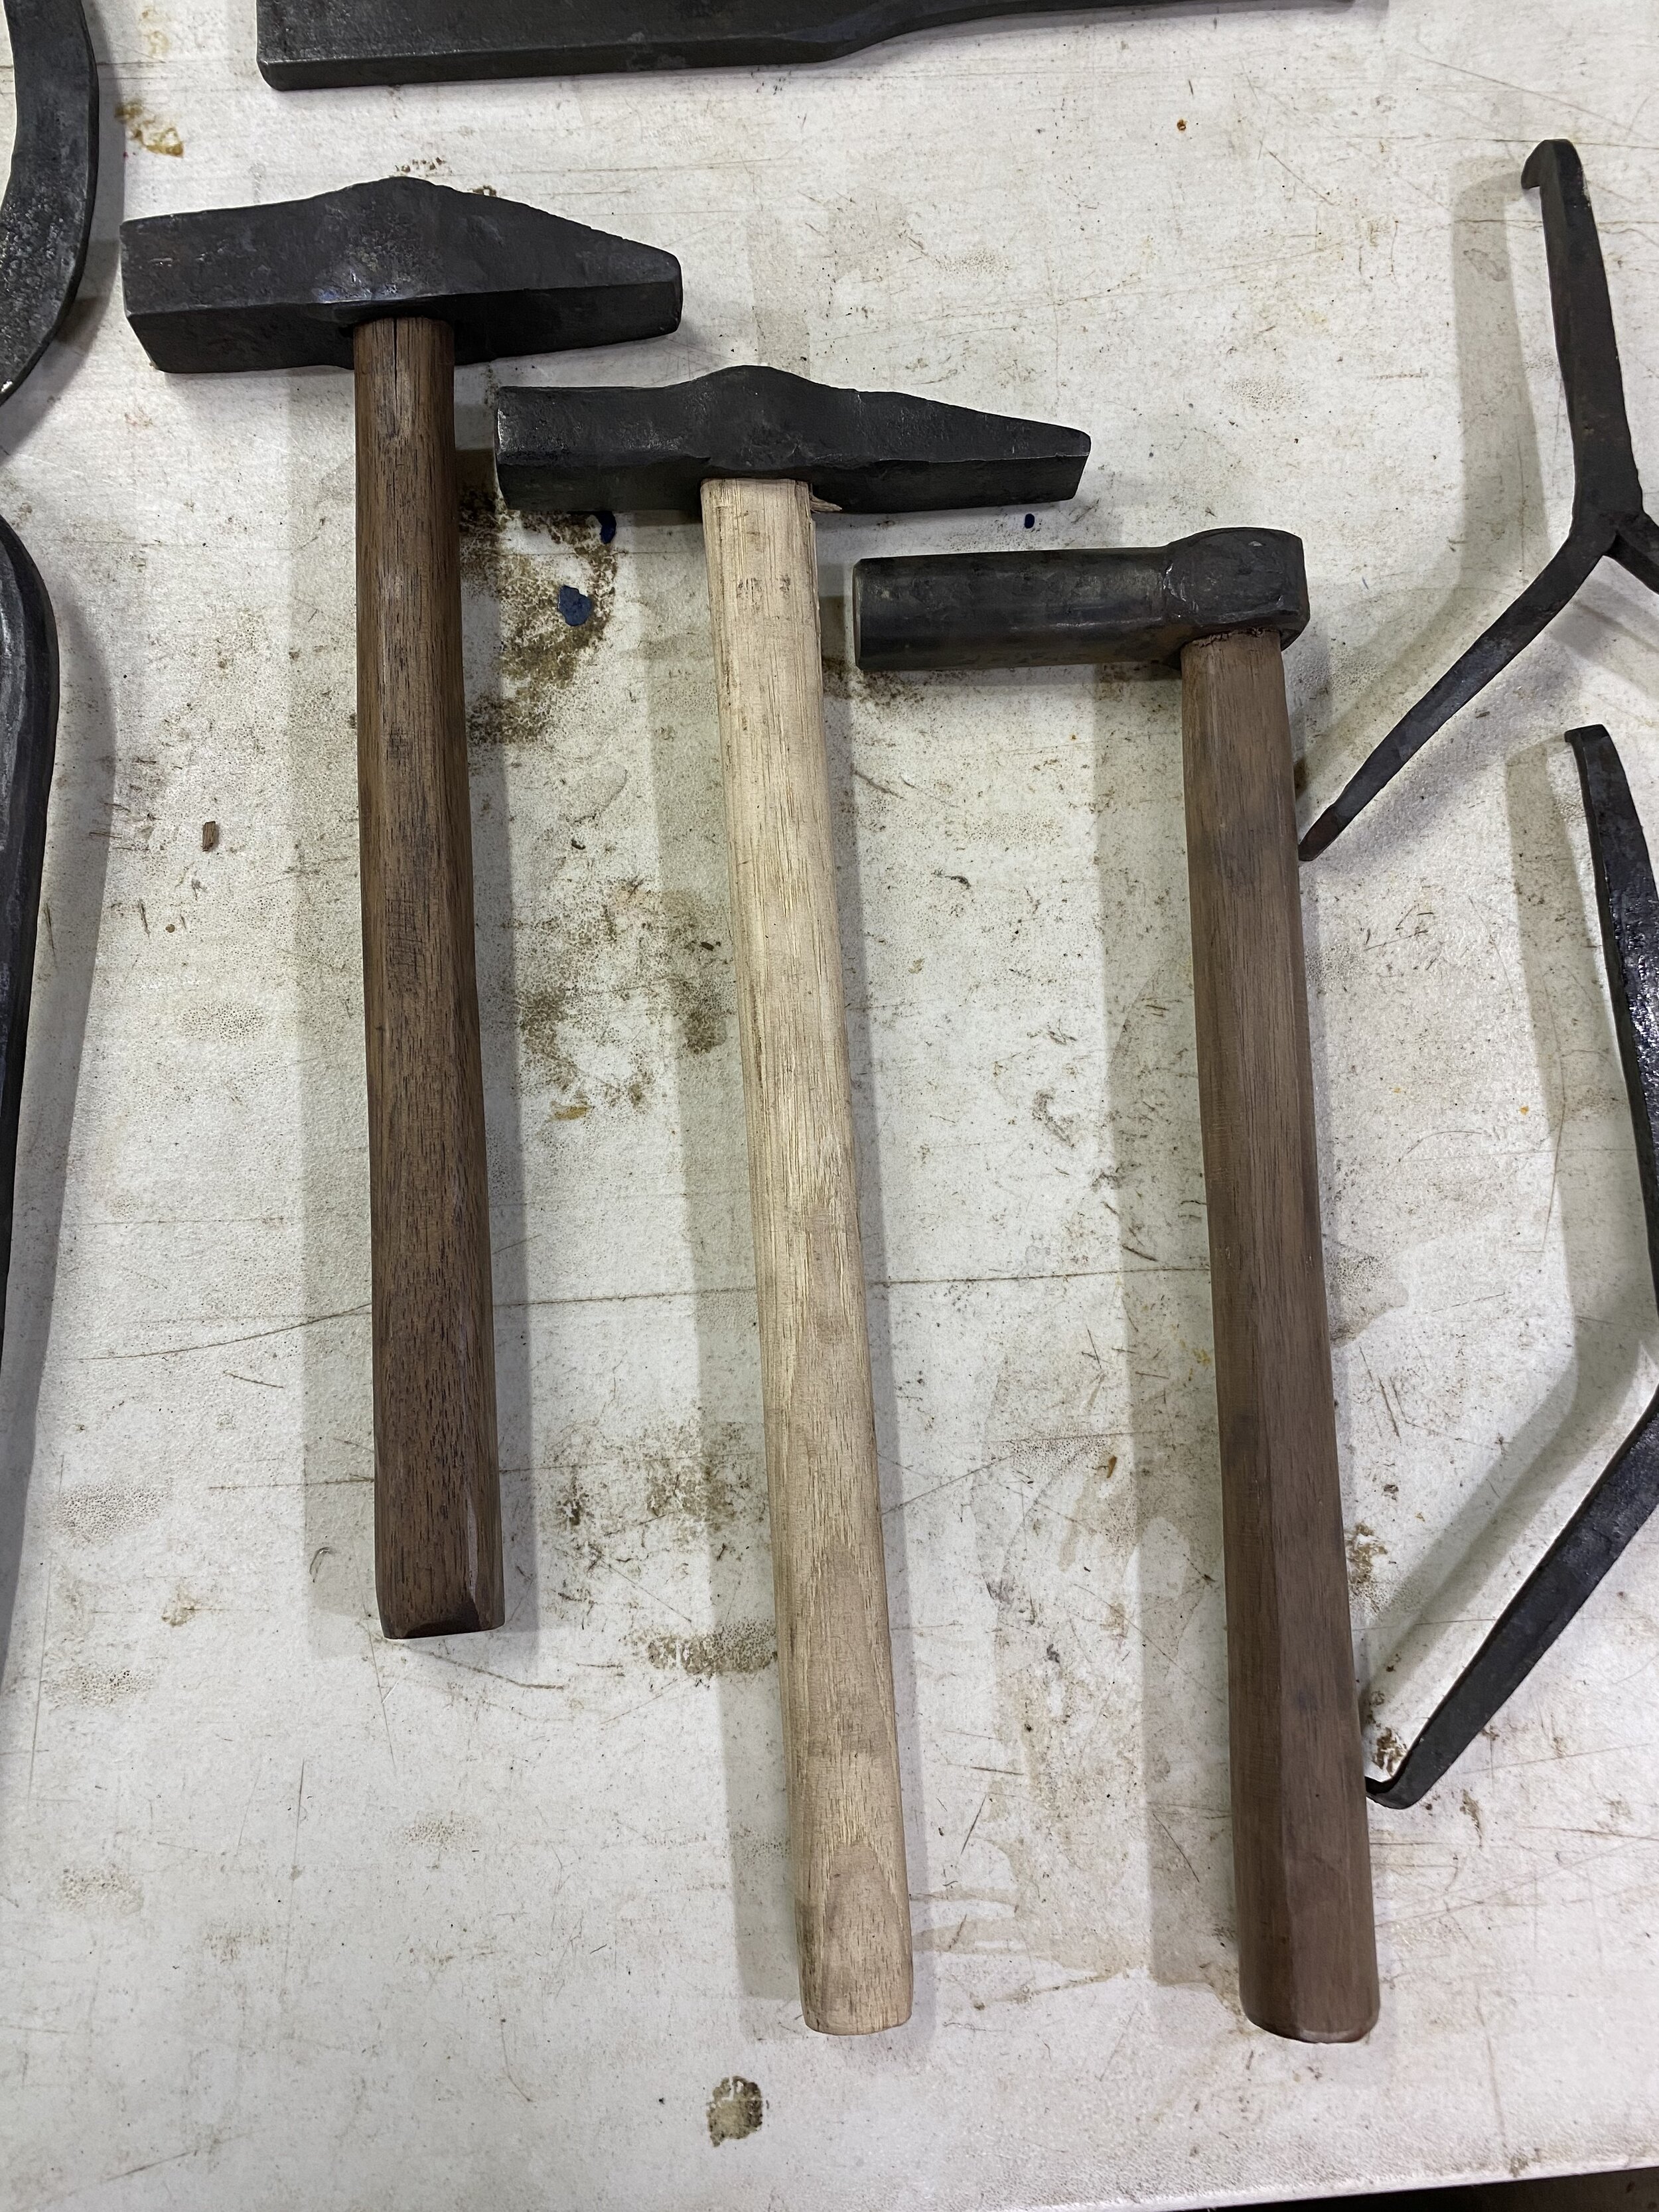
Photos of me using the drawknife I had been working on to create the handle for the Mastermyr Adze and the froe. Both of which have been ongoing projects that are now done. Plus some pics of my recent work:

The next will be a photo dump from the winingas:


Another project that I have started, but I’m not sure if or when I will finish is towel bars and shelves for my bathroom. Out of habit I documented the process, same as everything else.

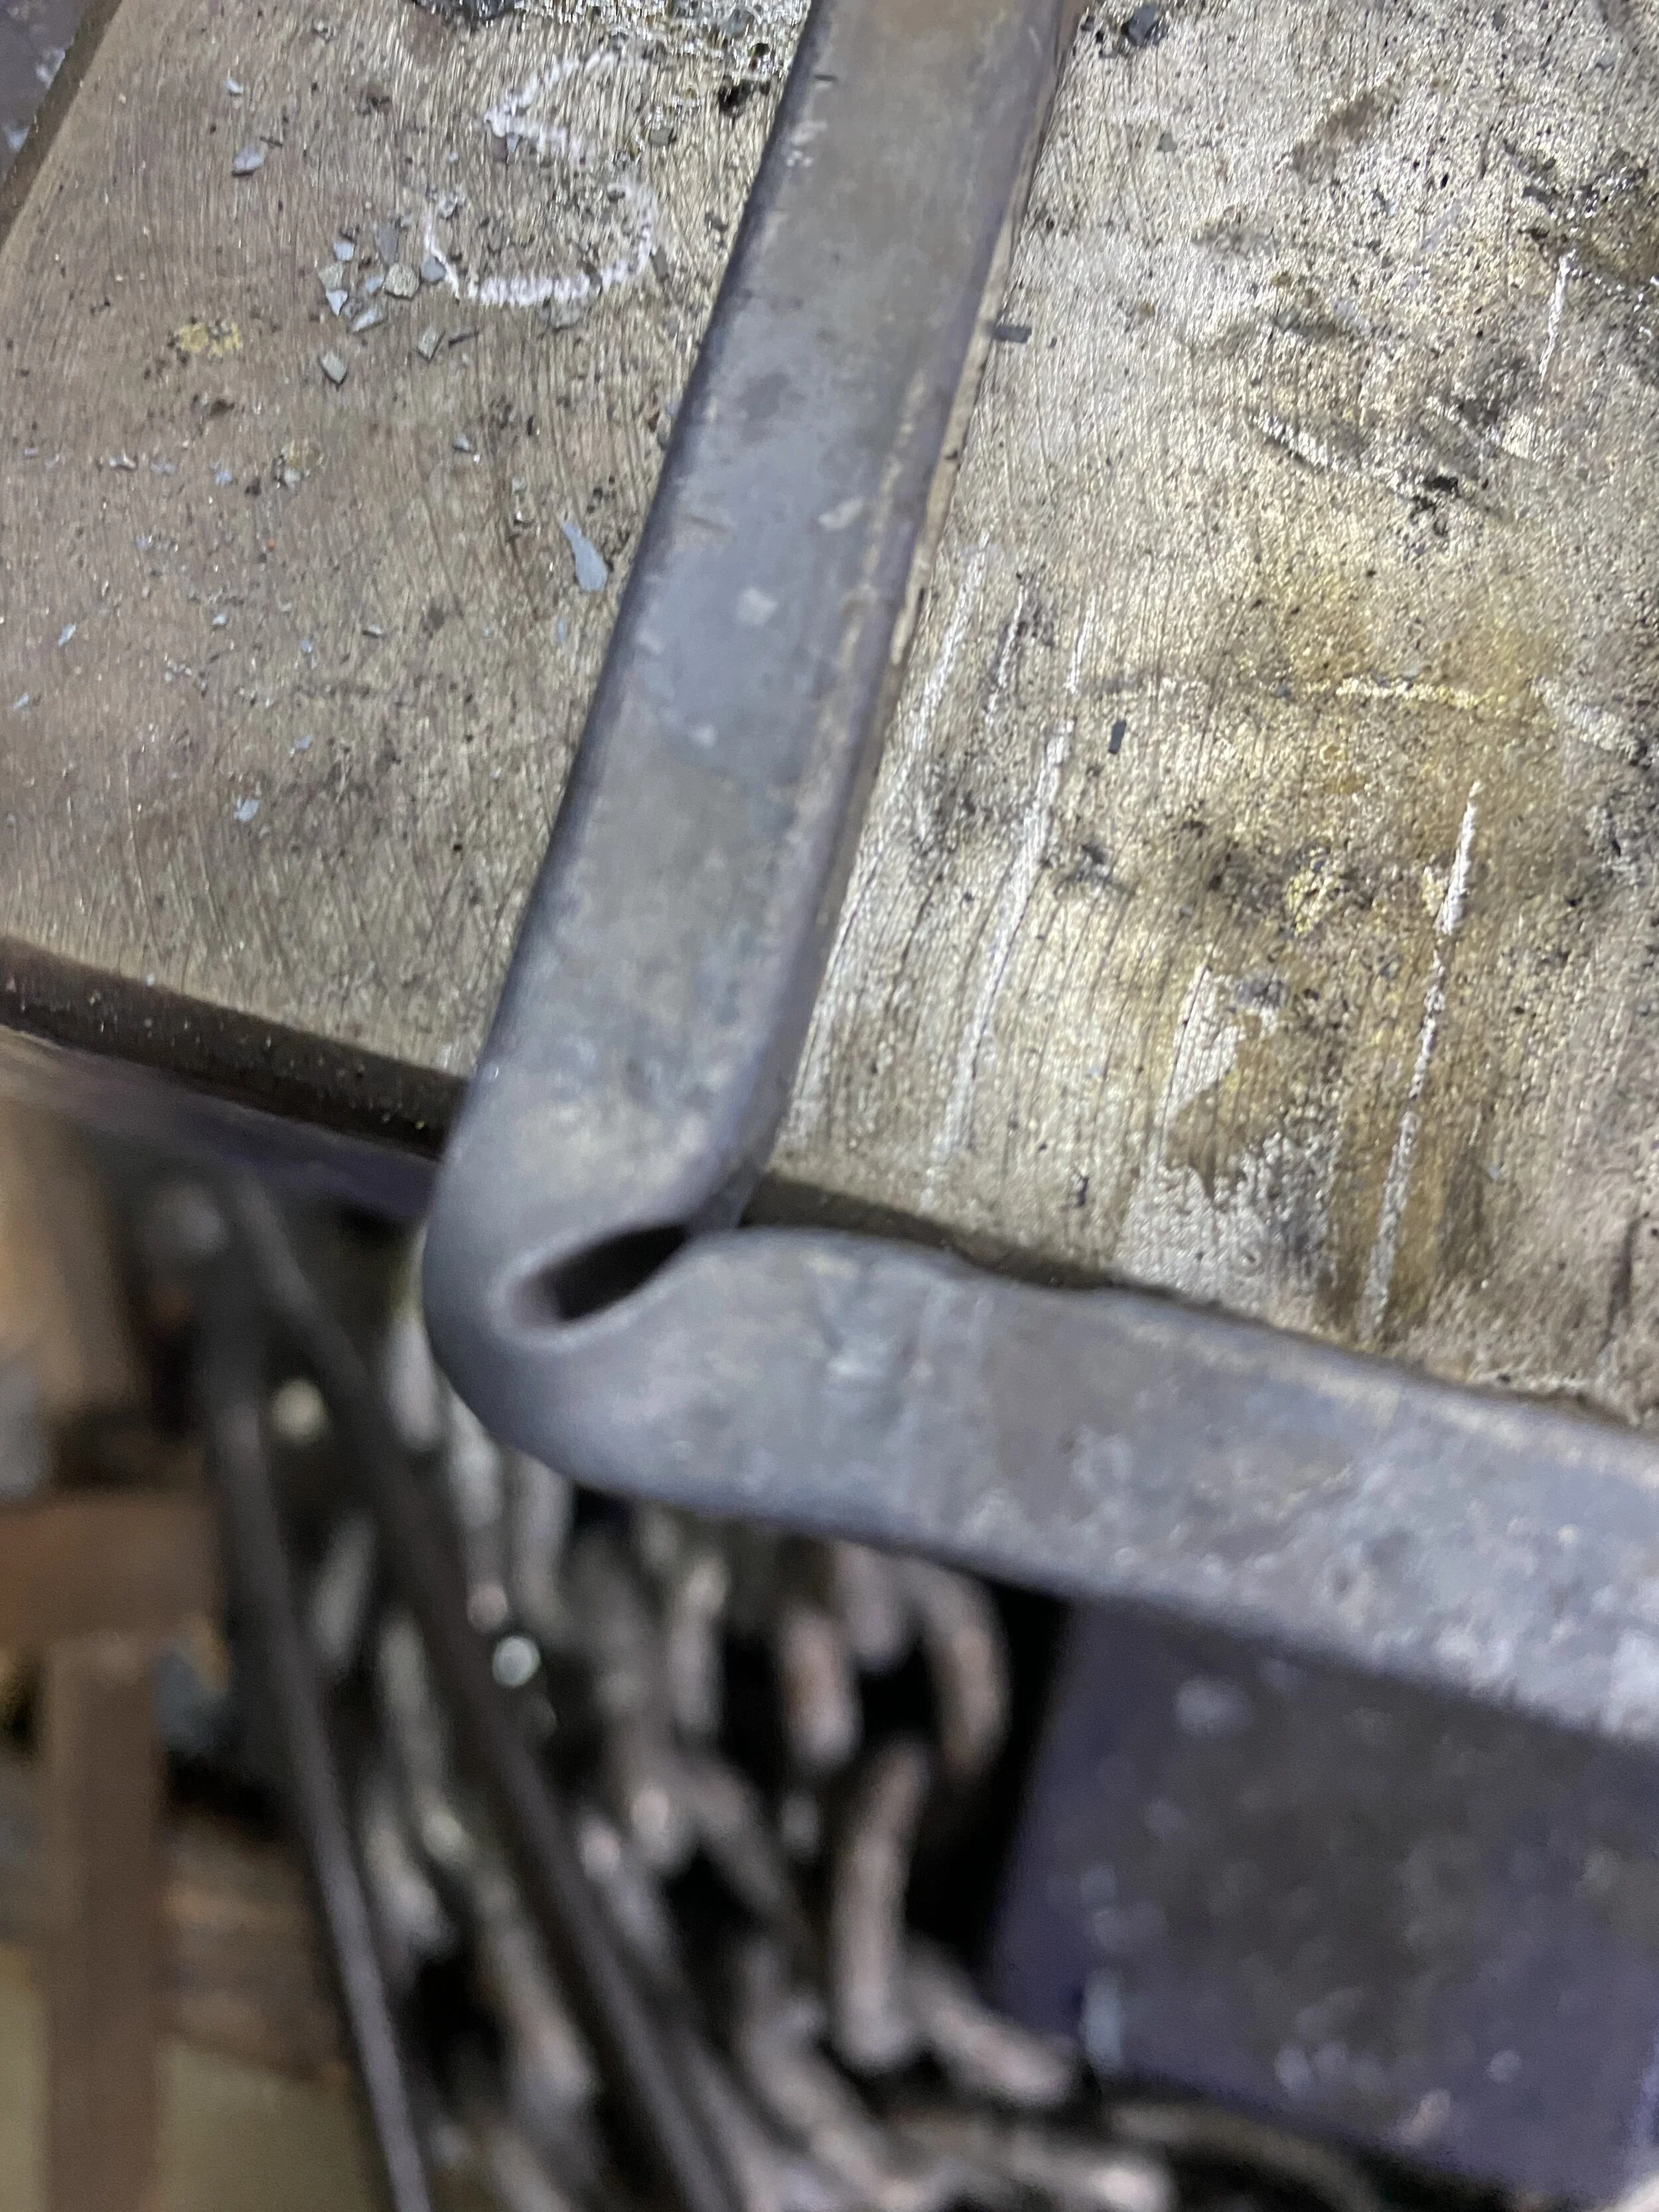
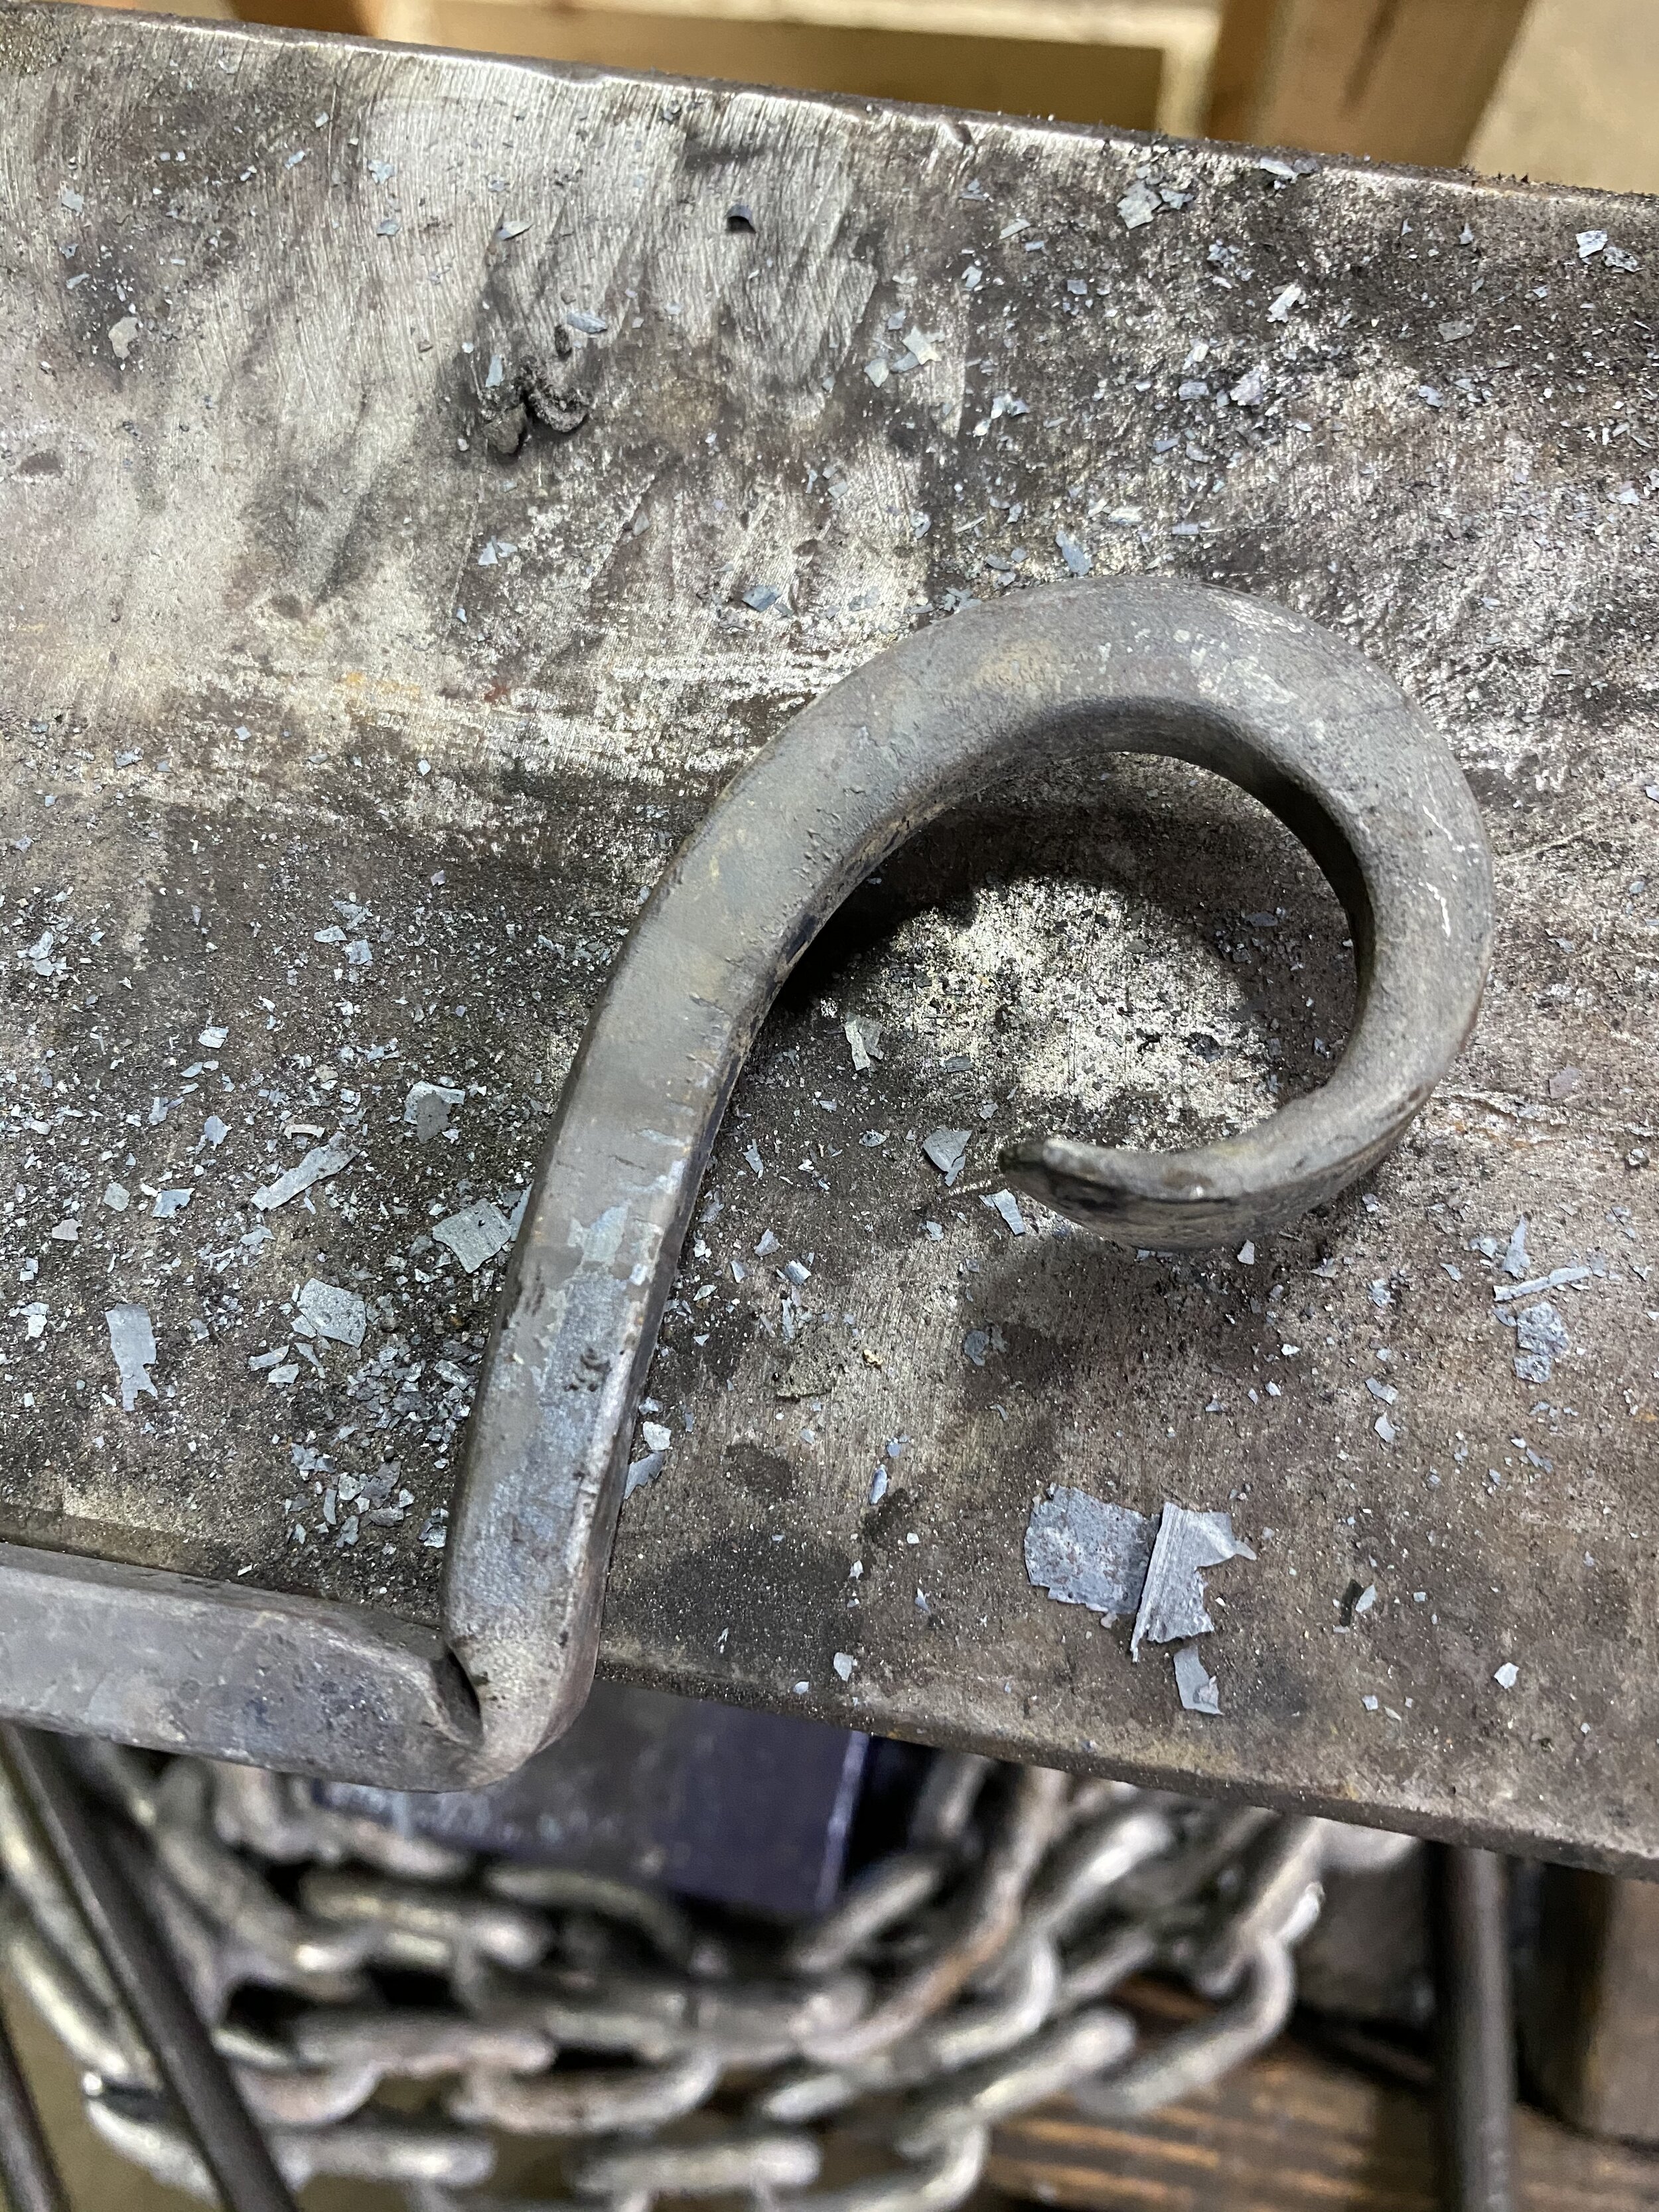
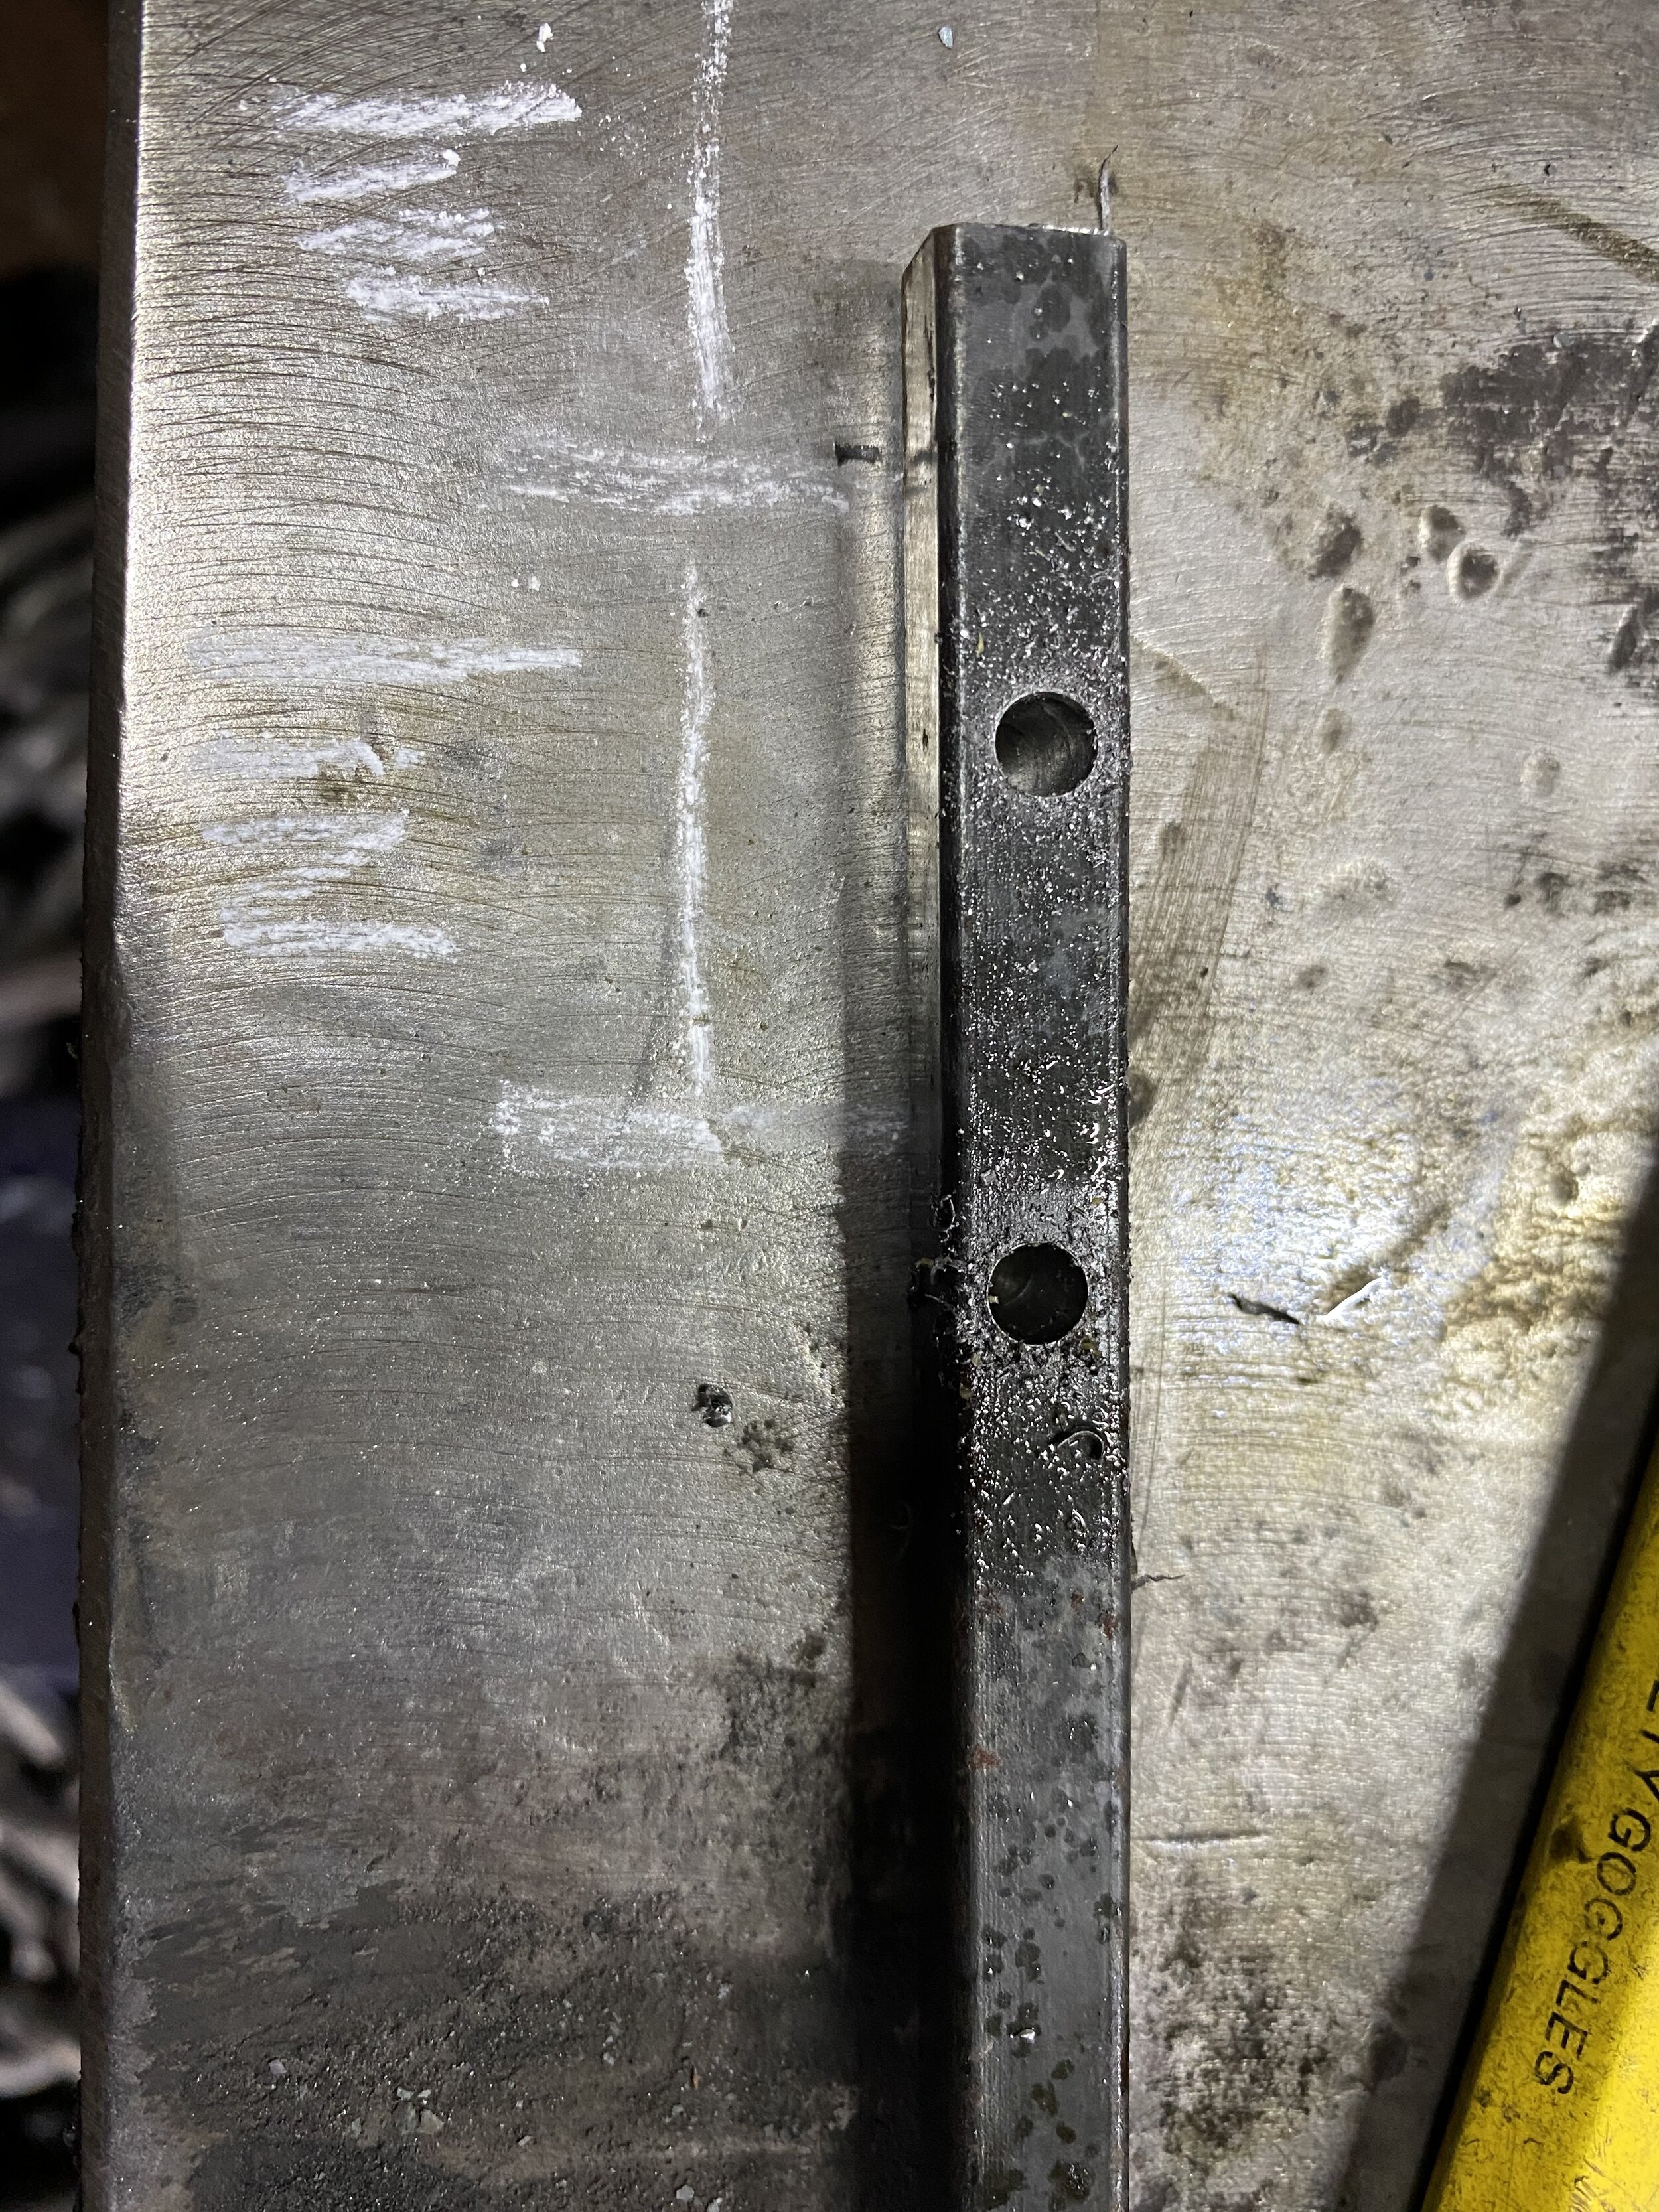
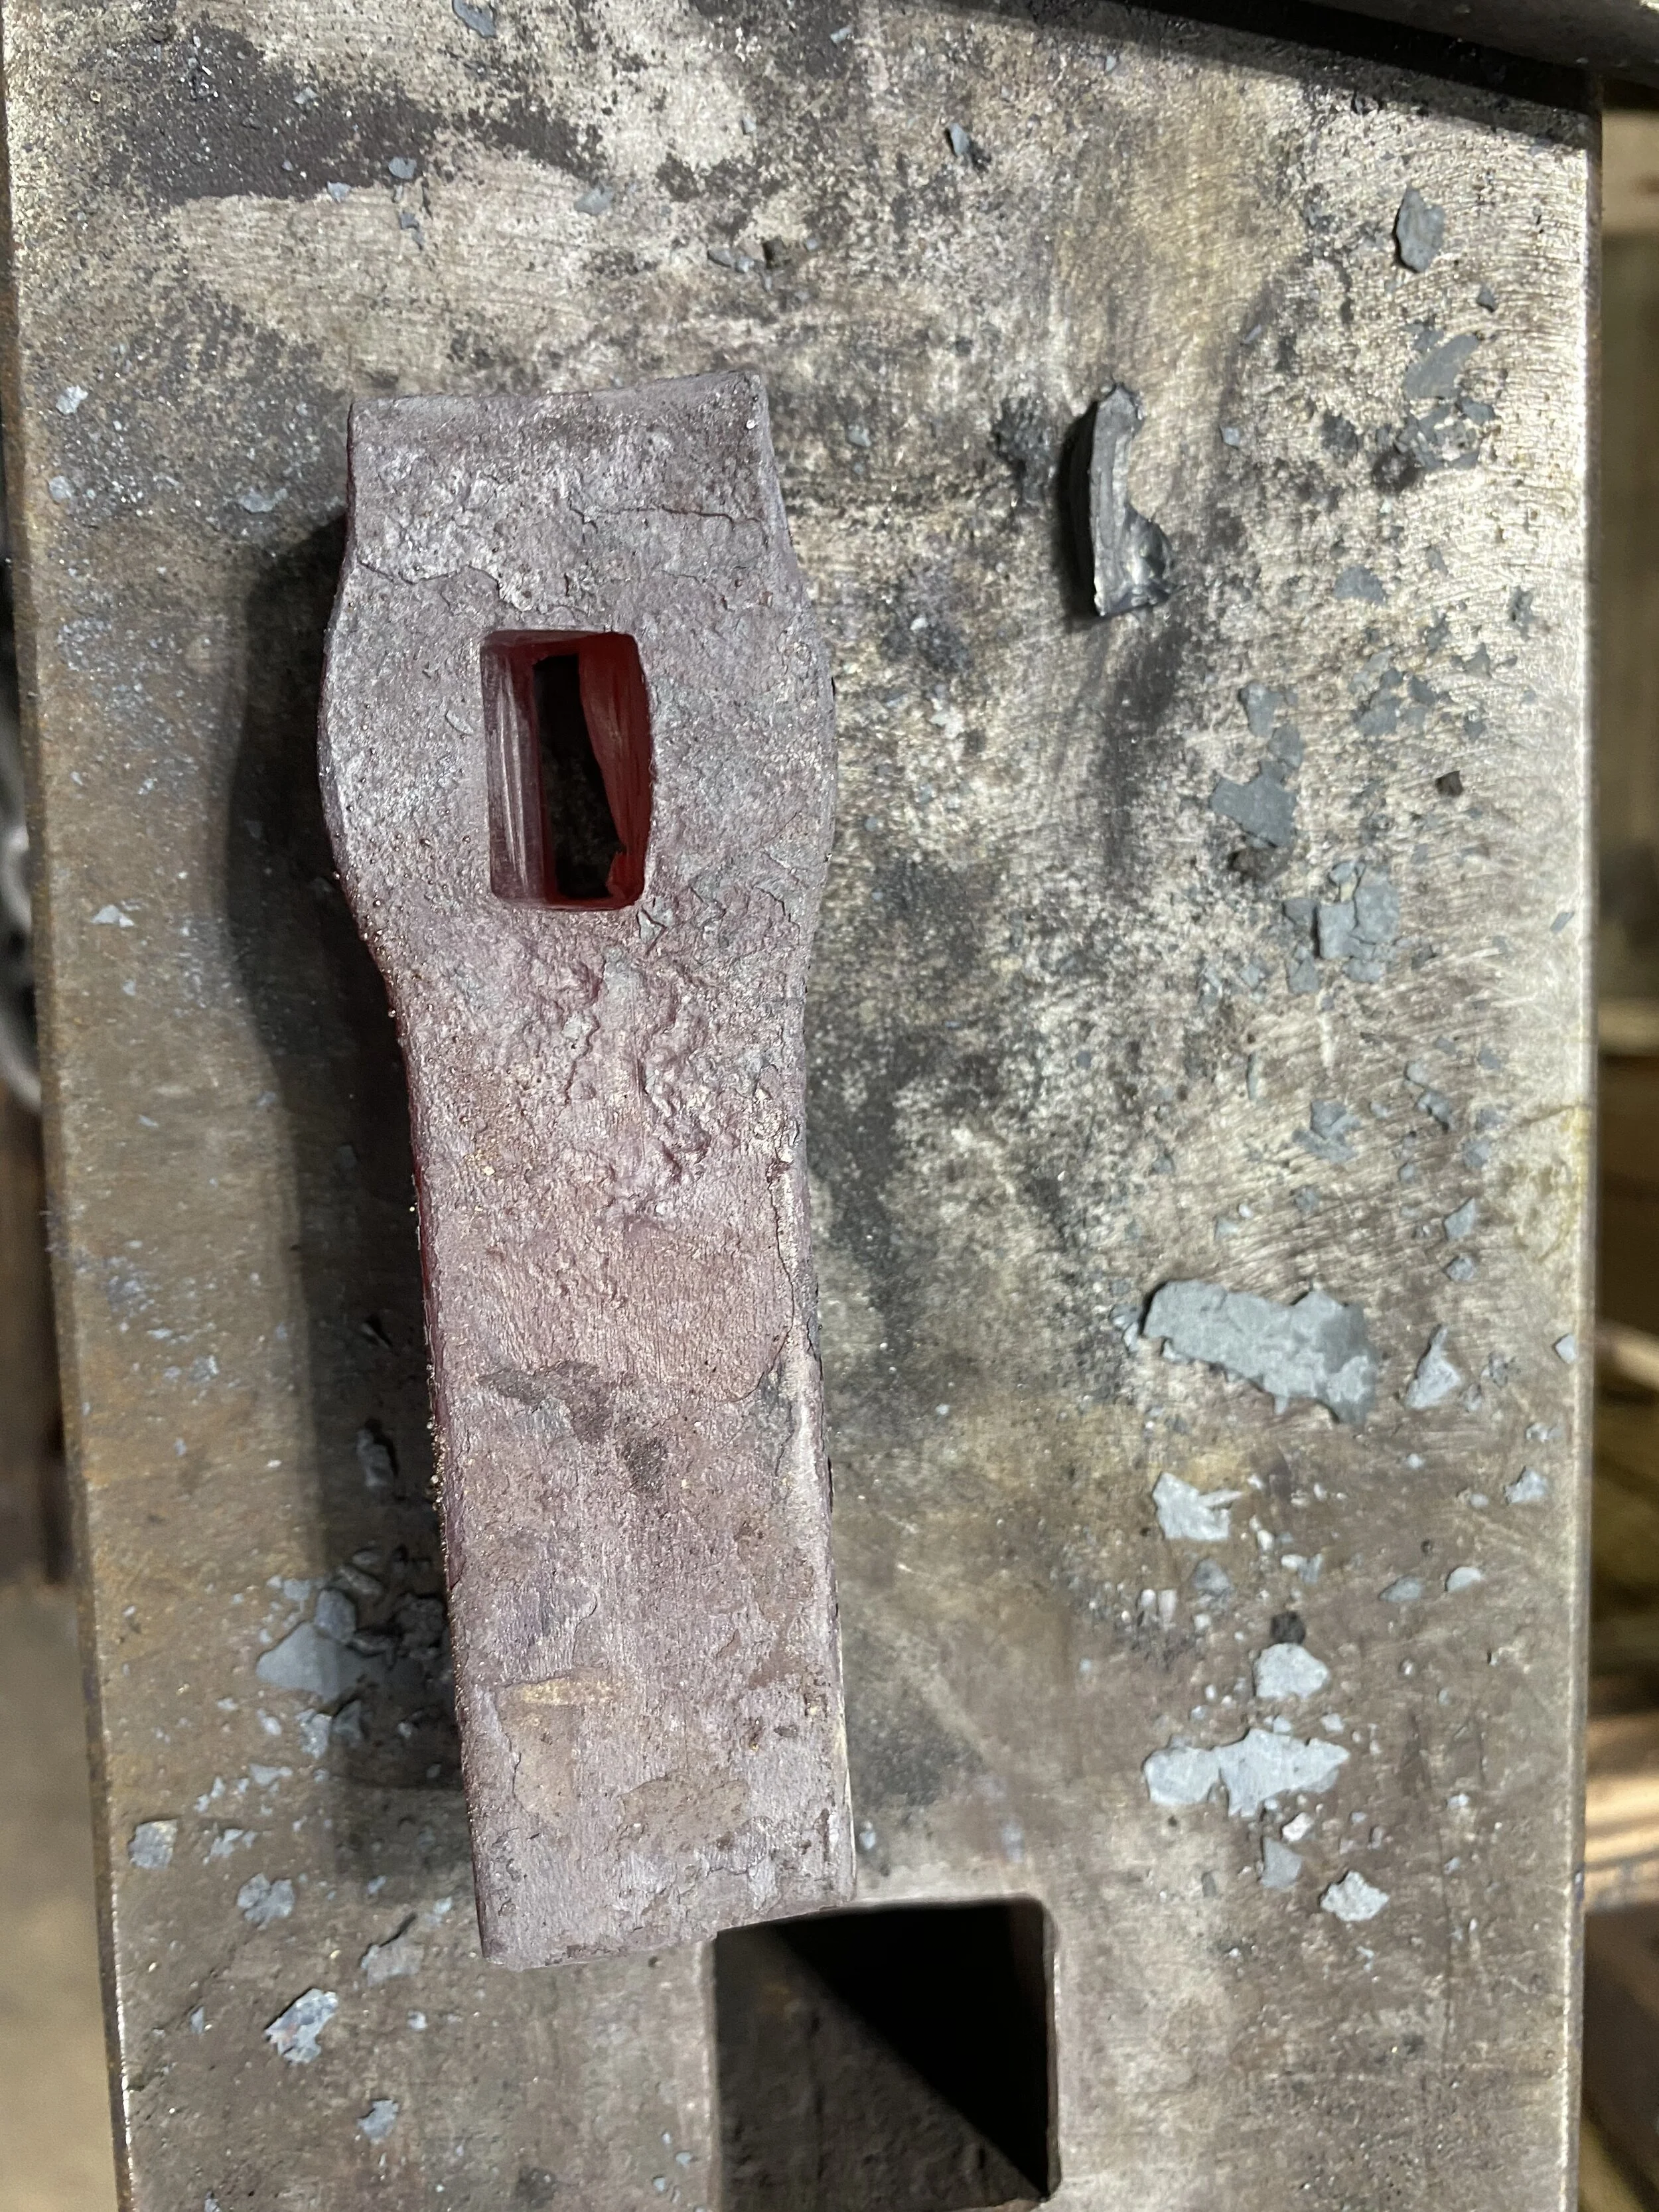
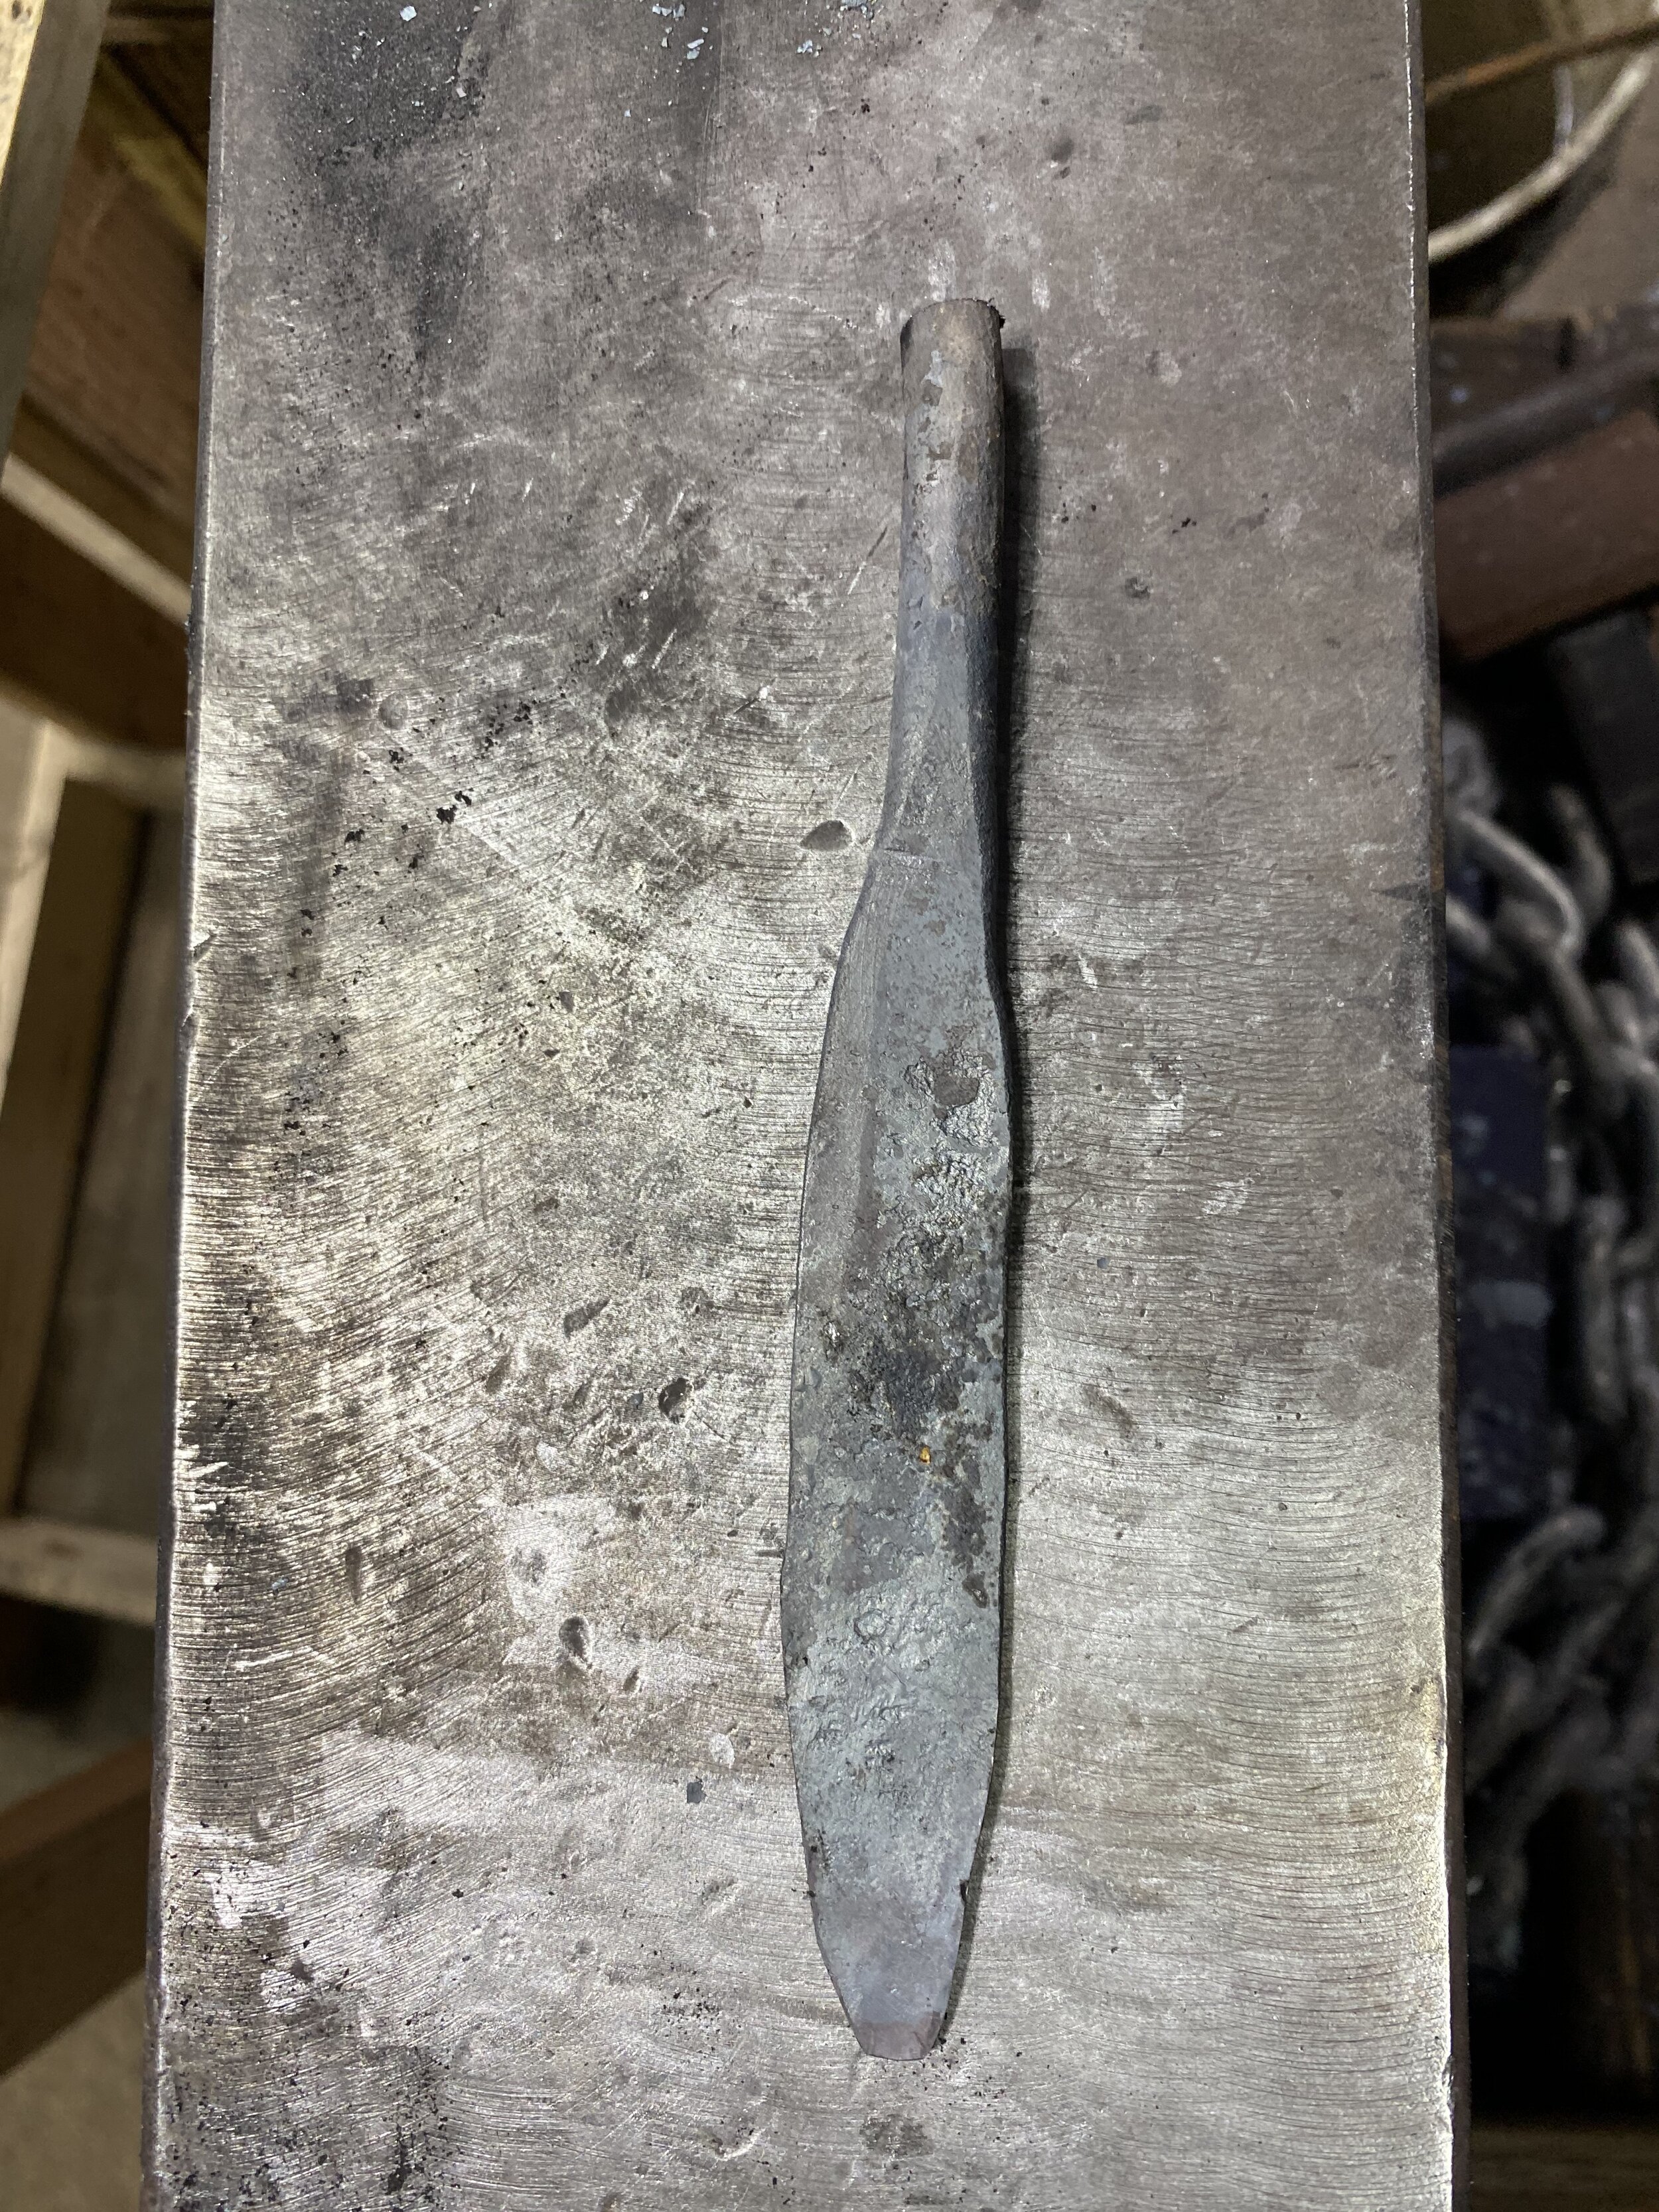
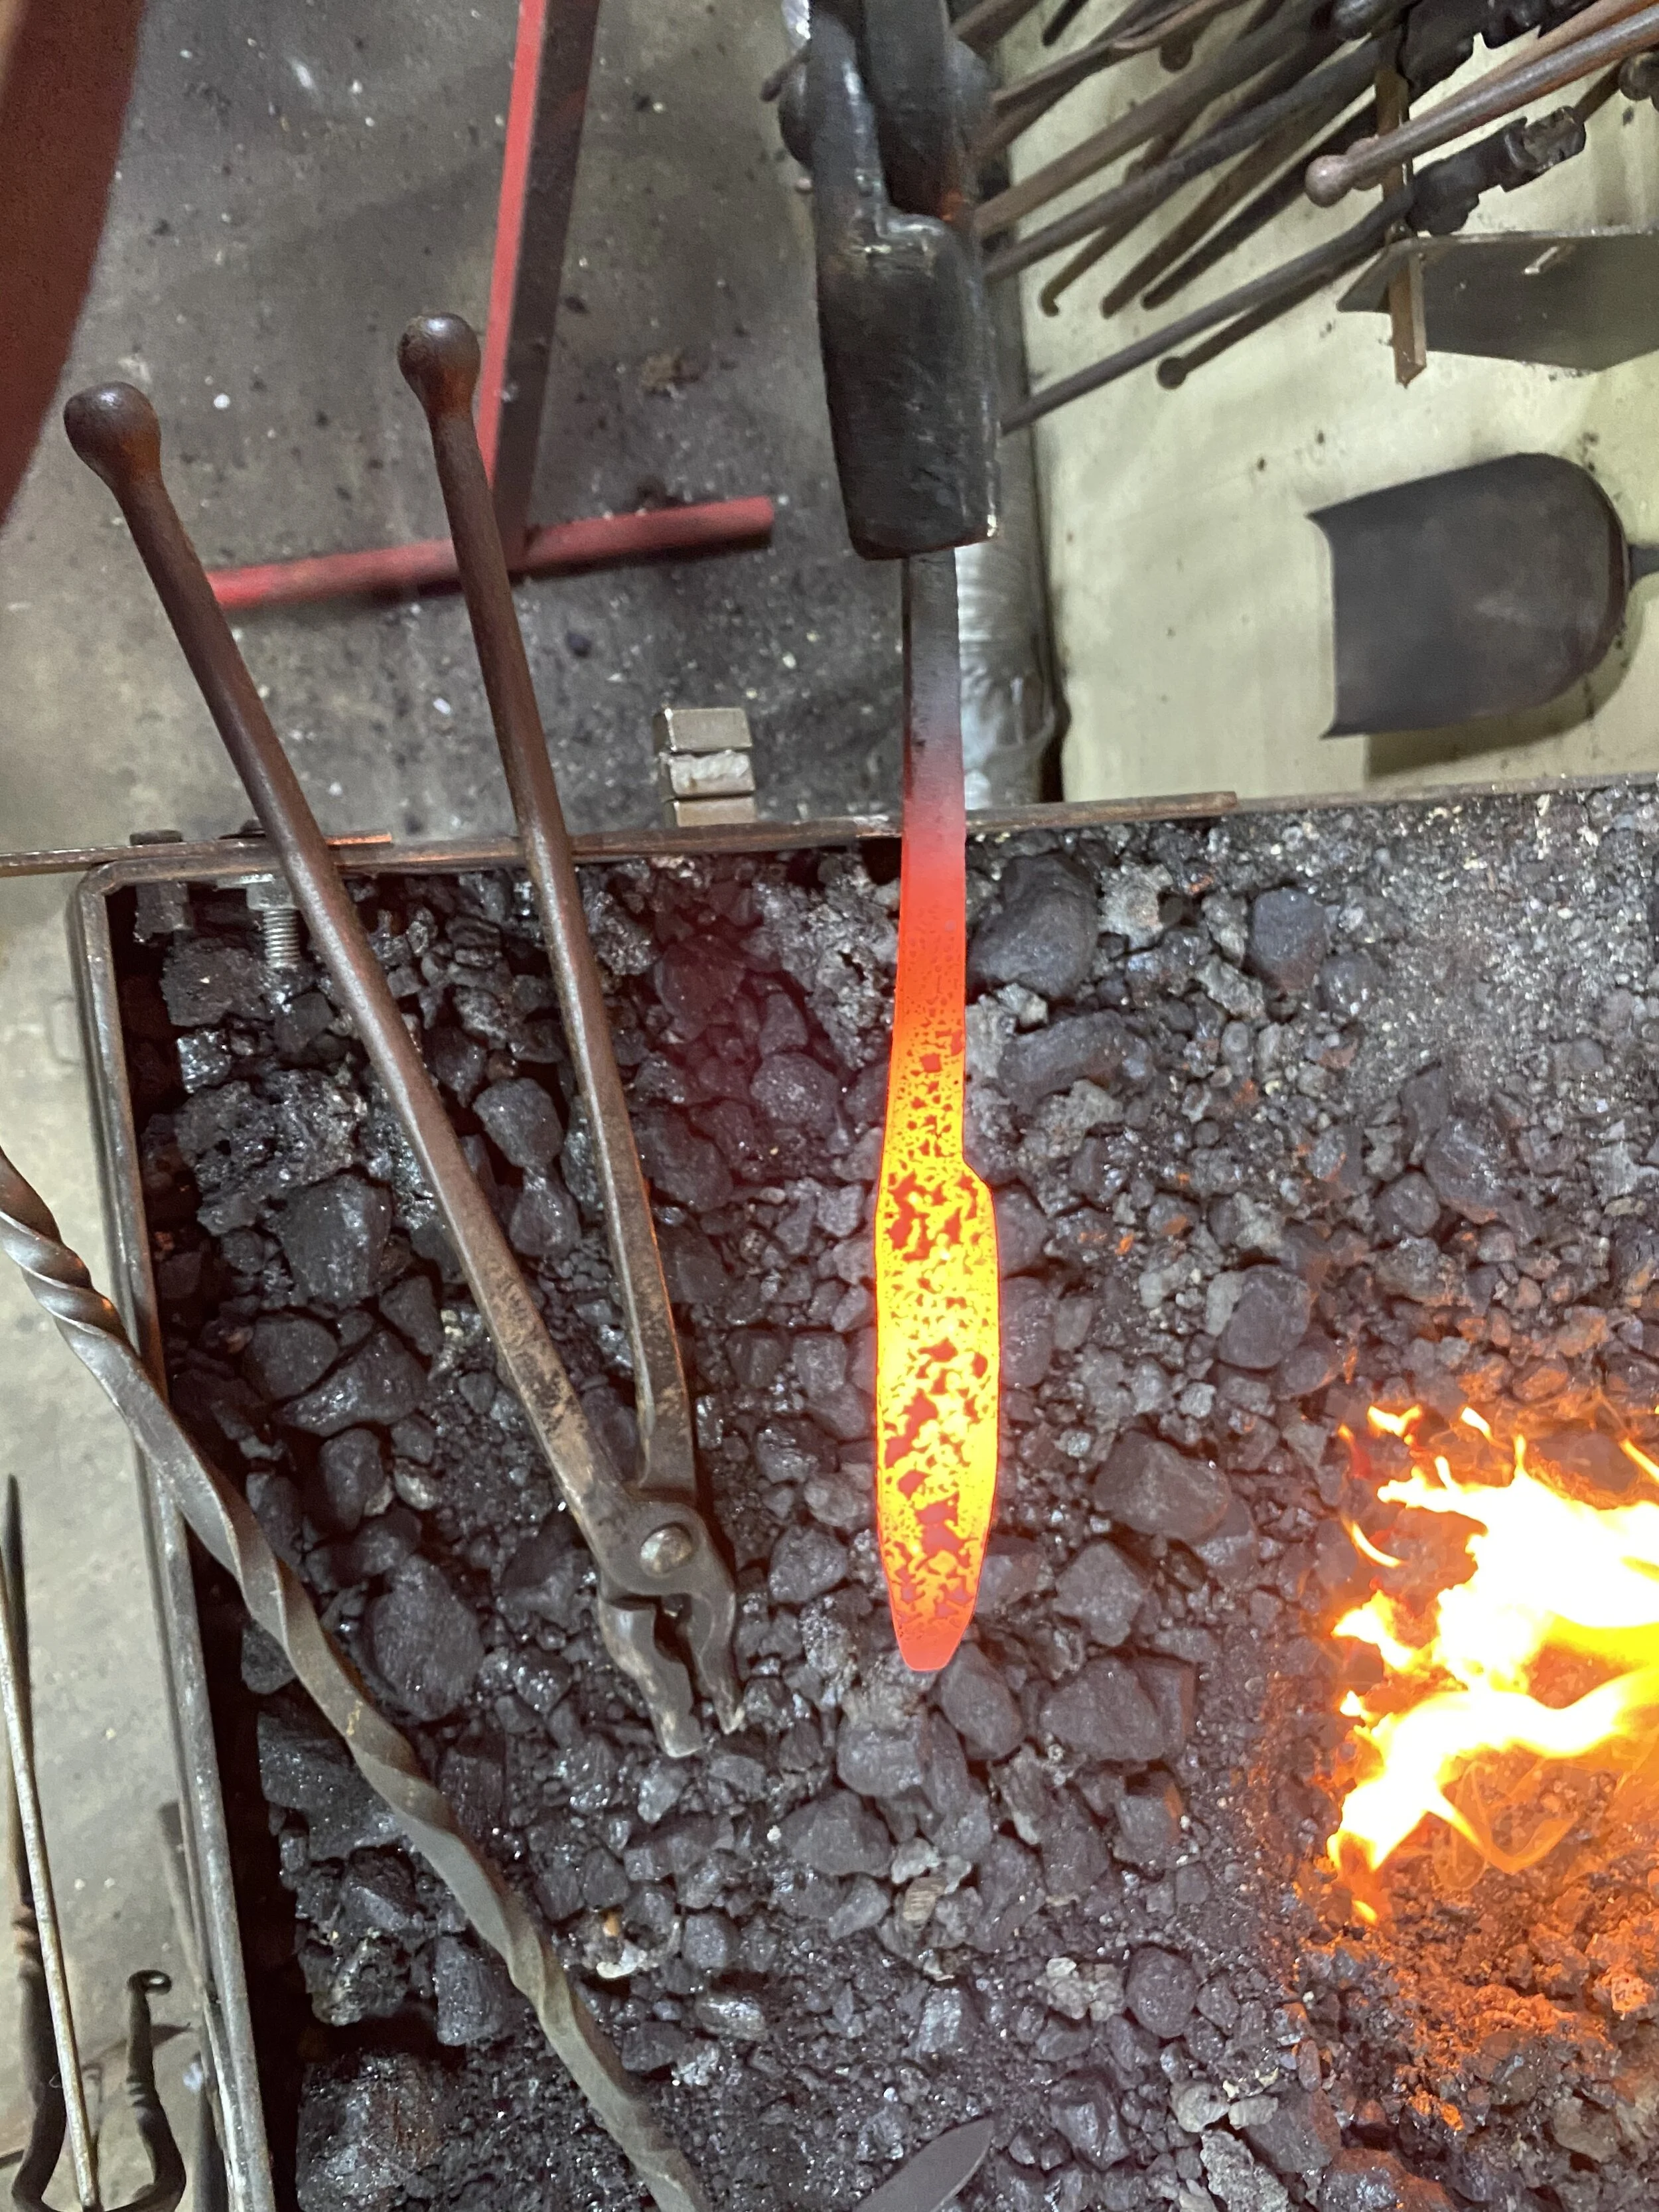
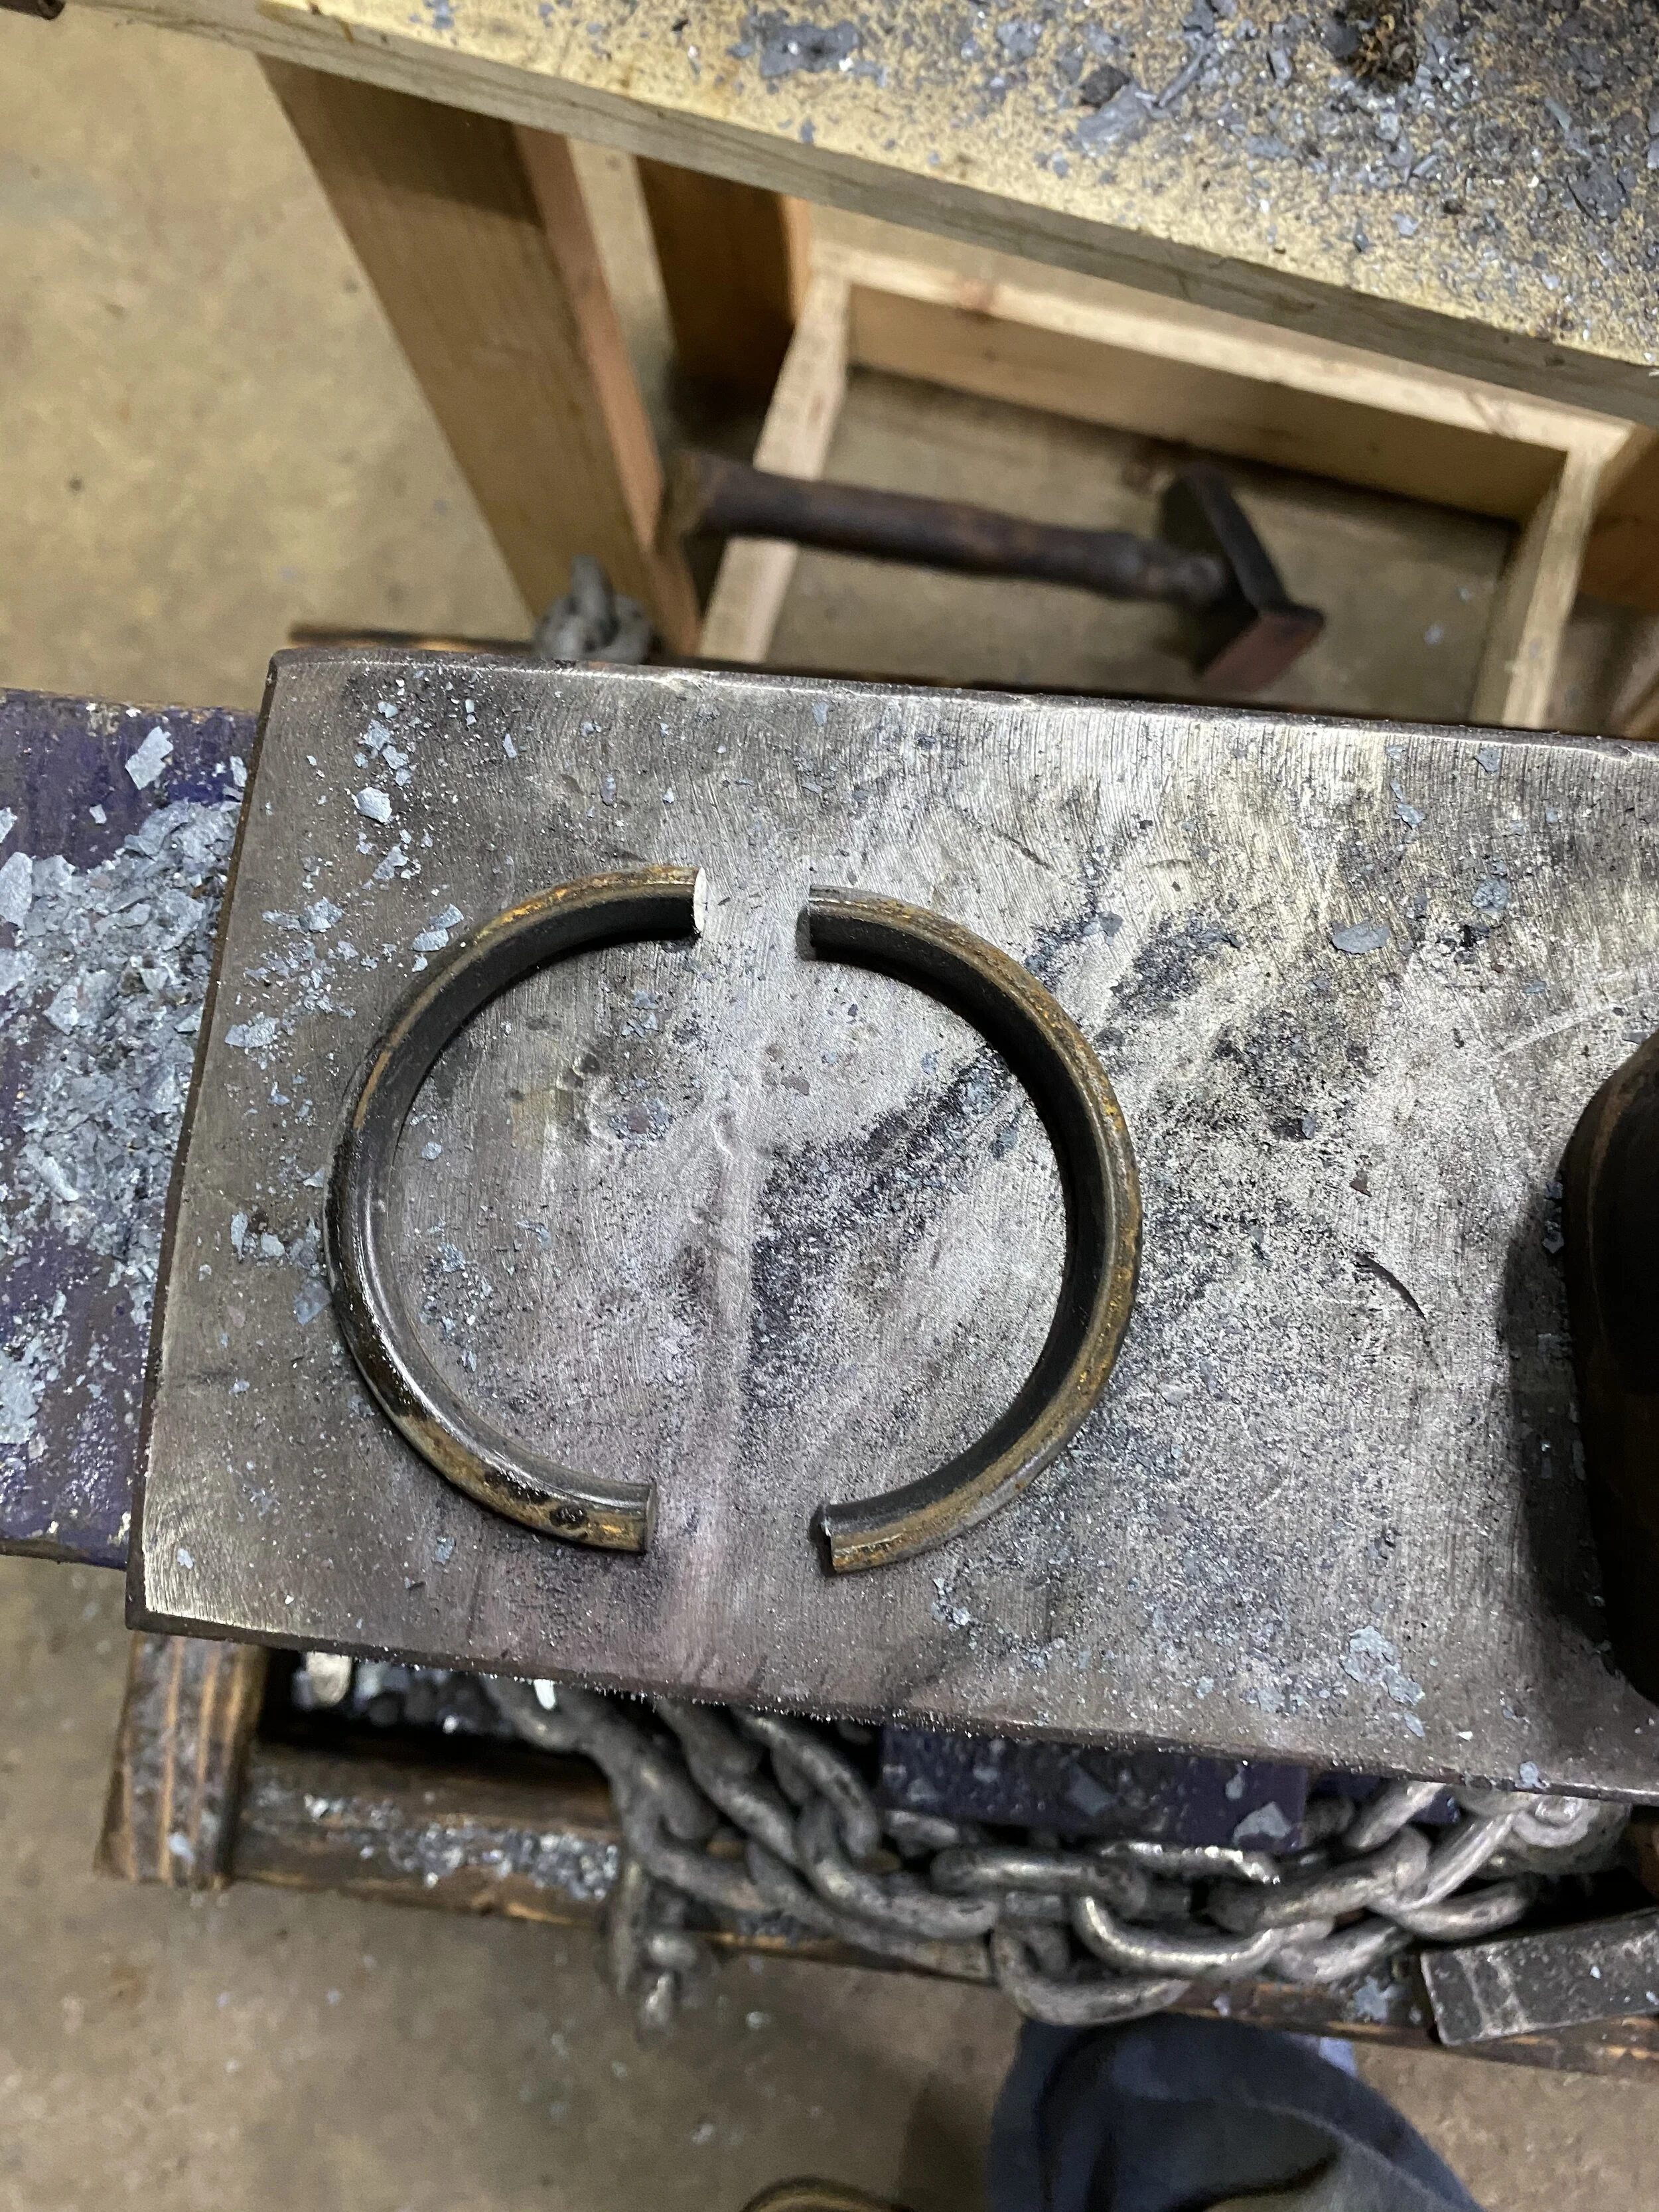
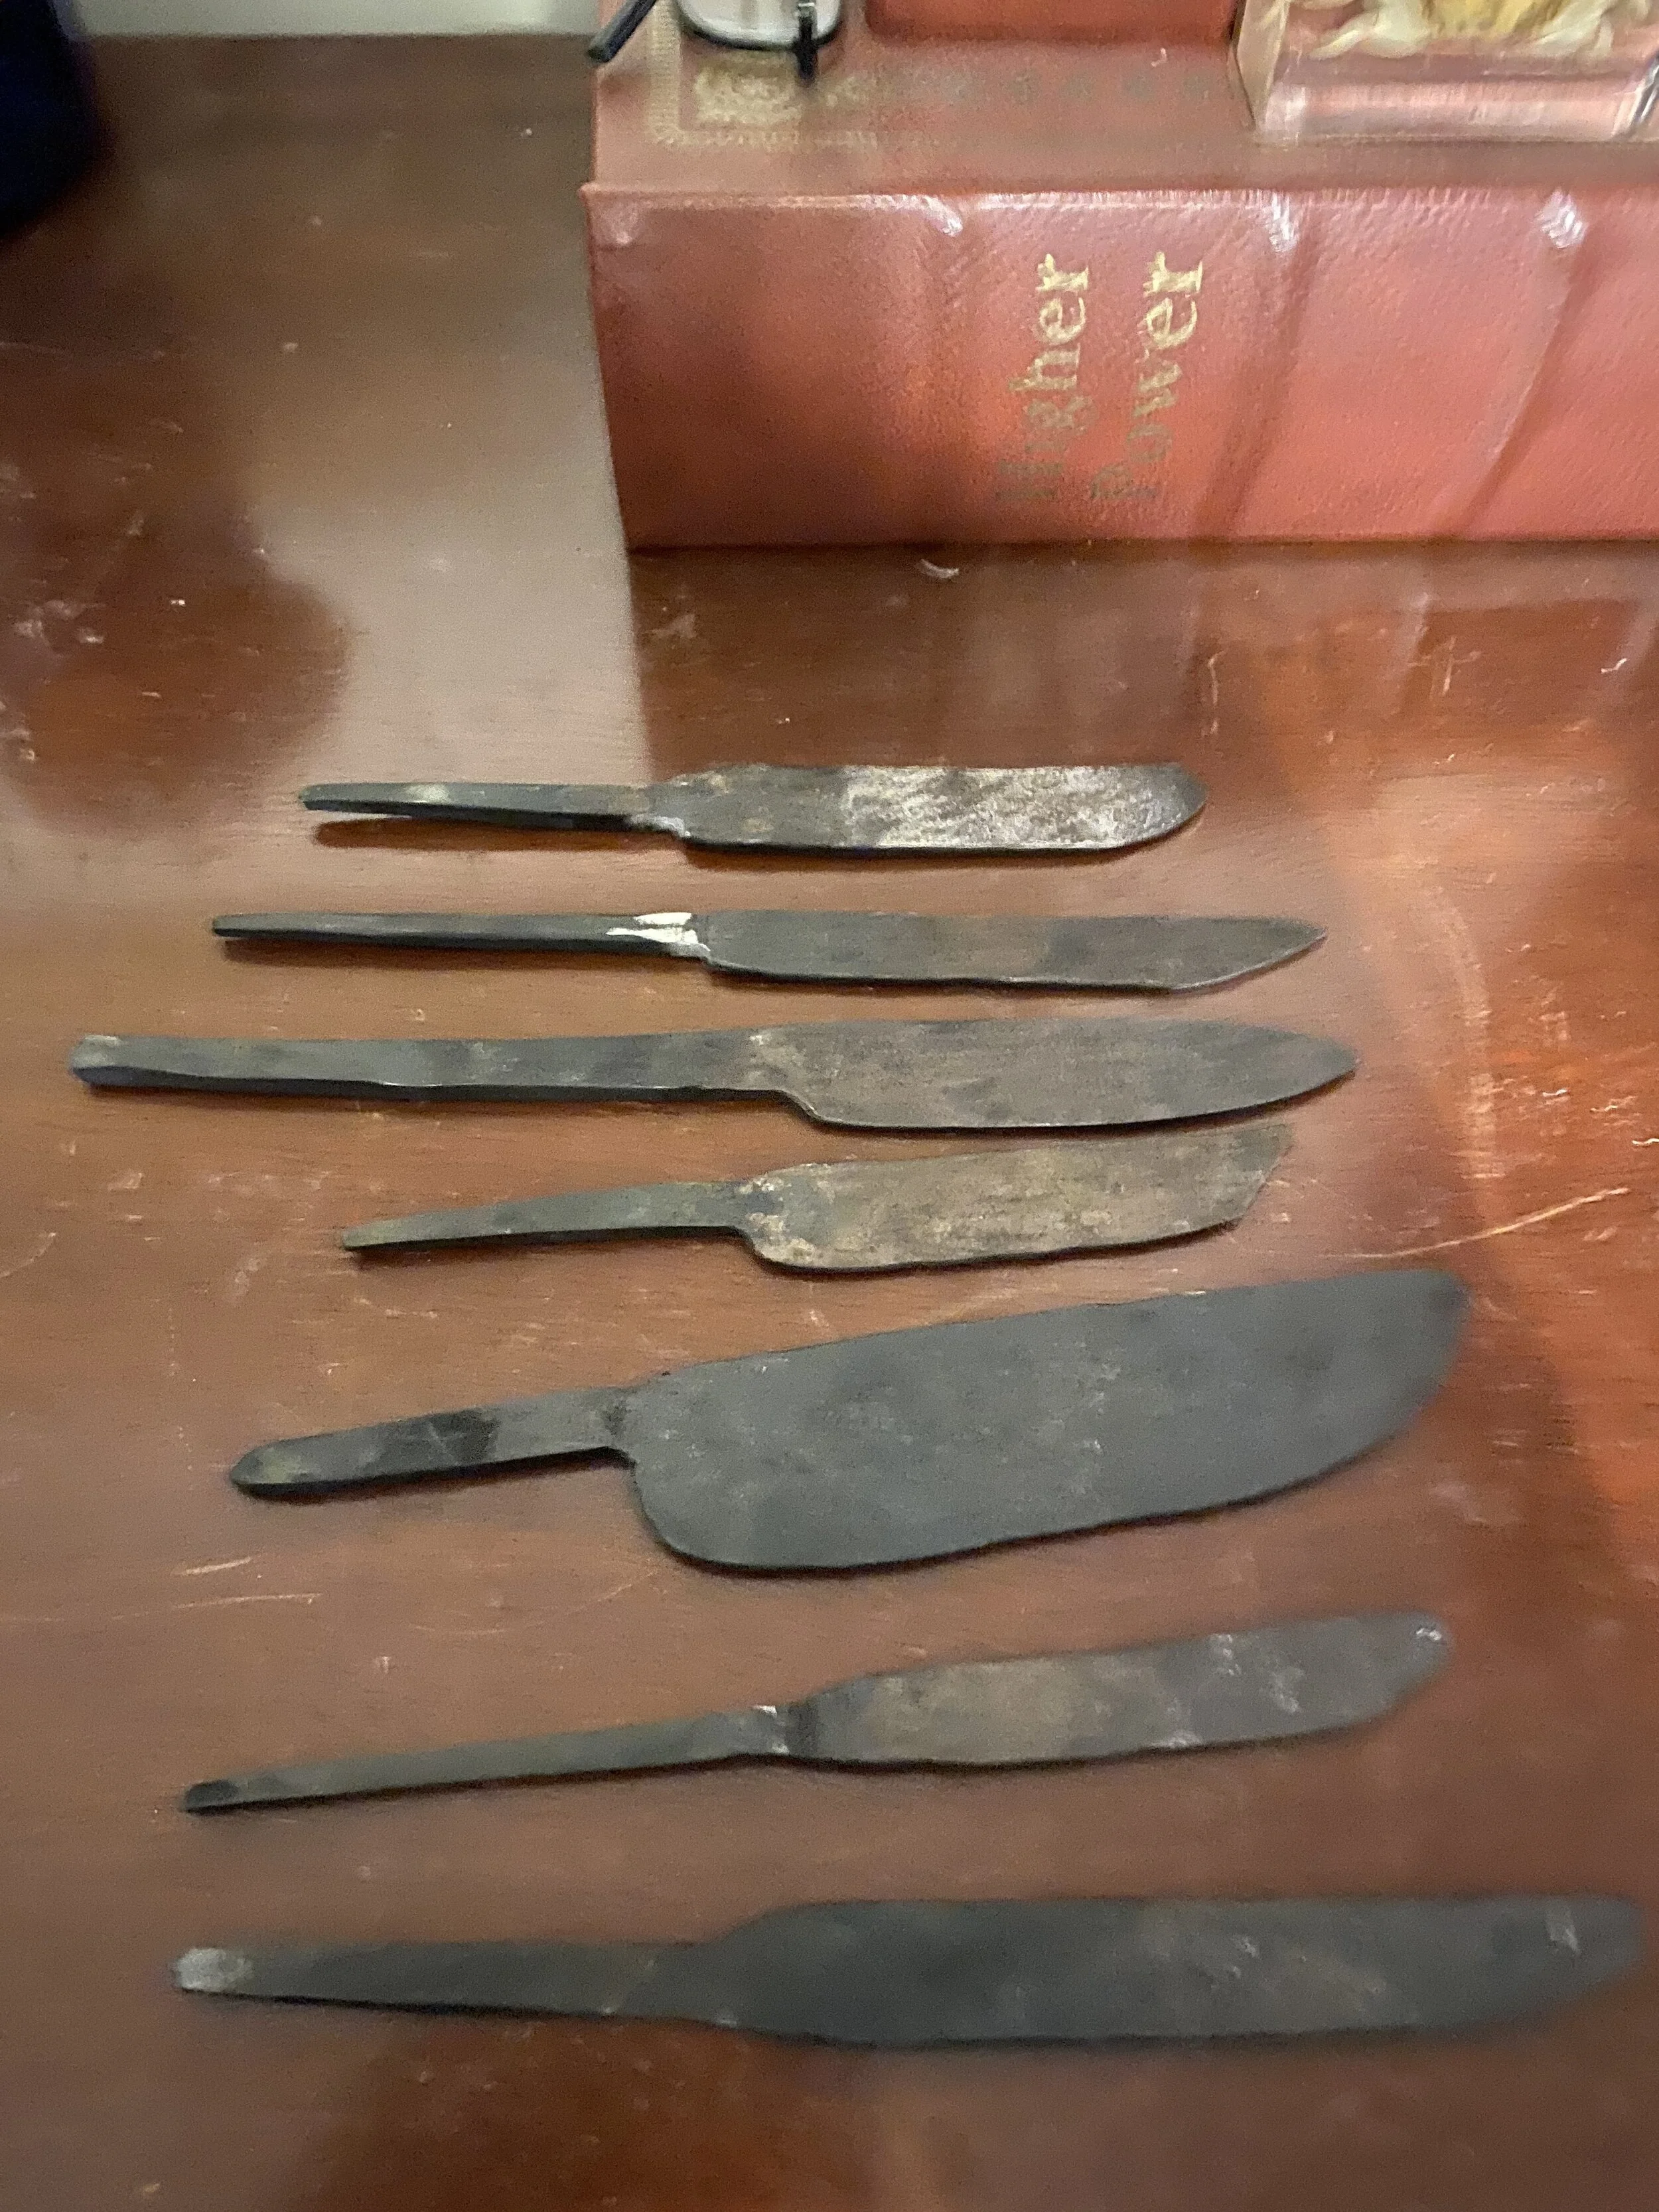
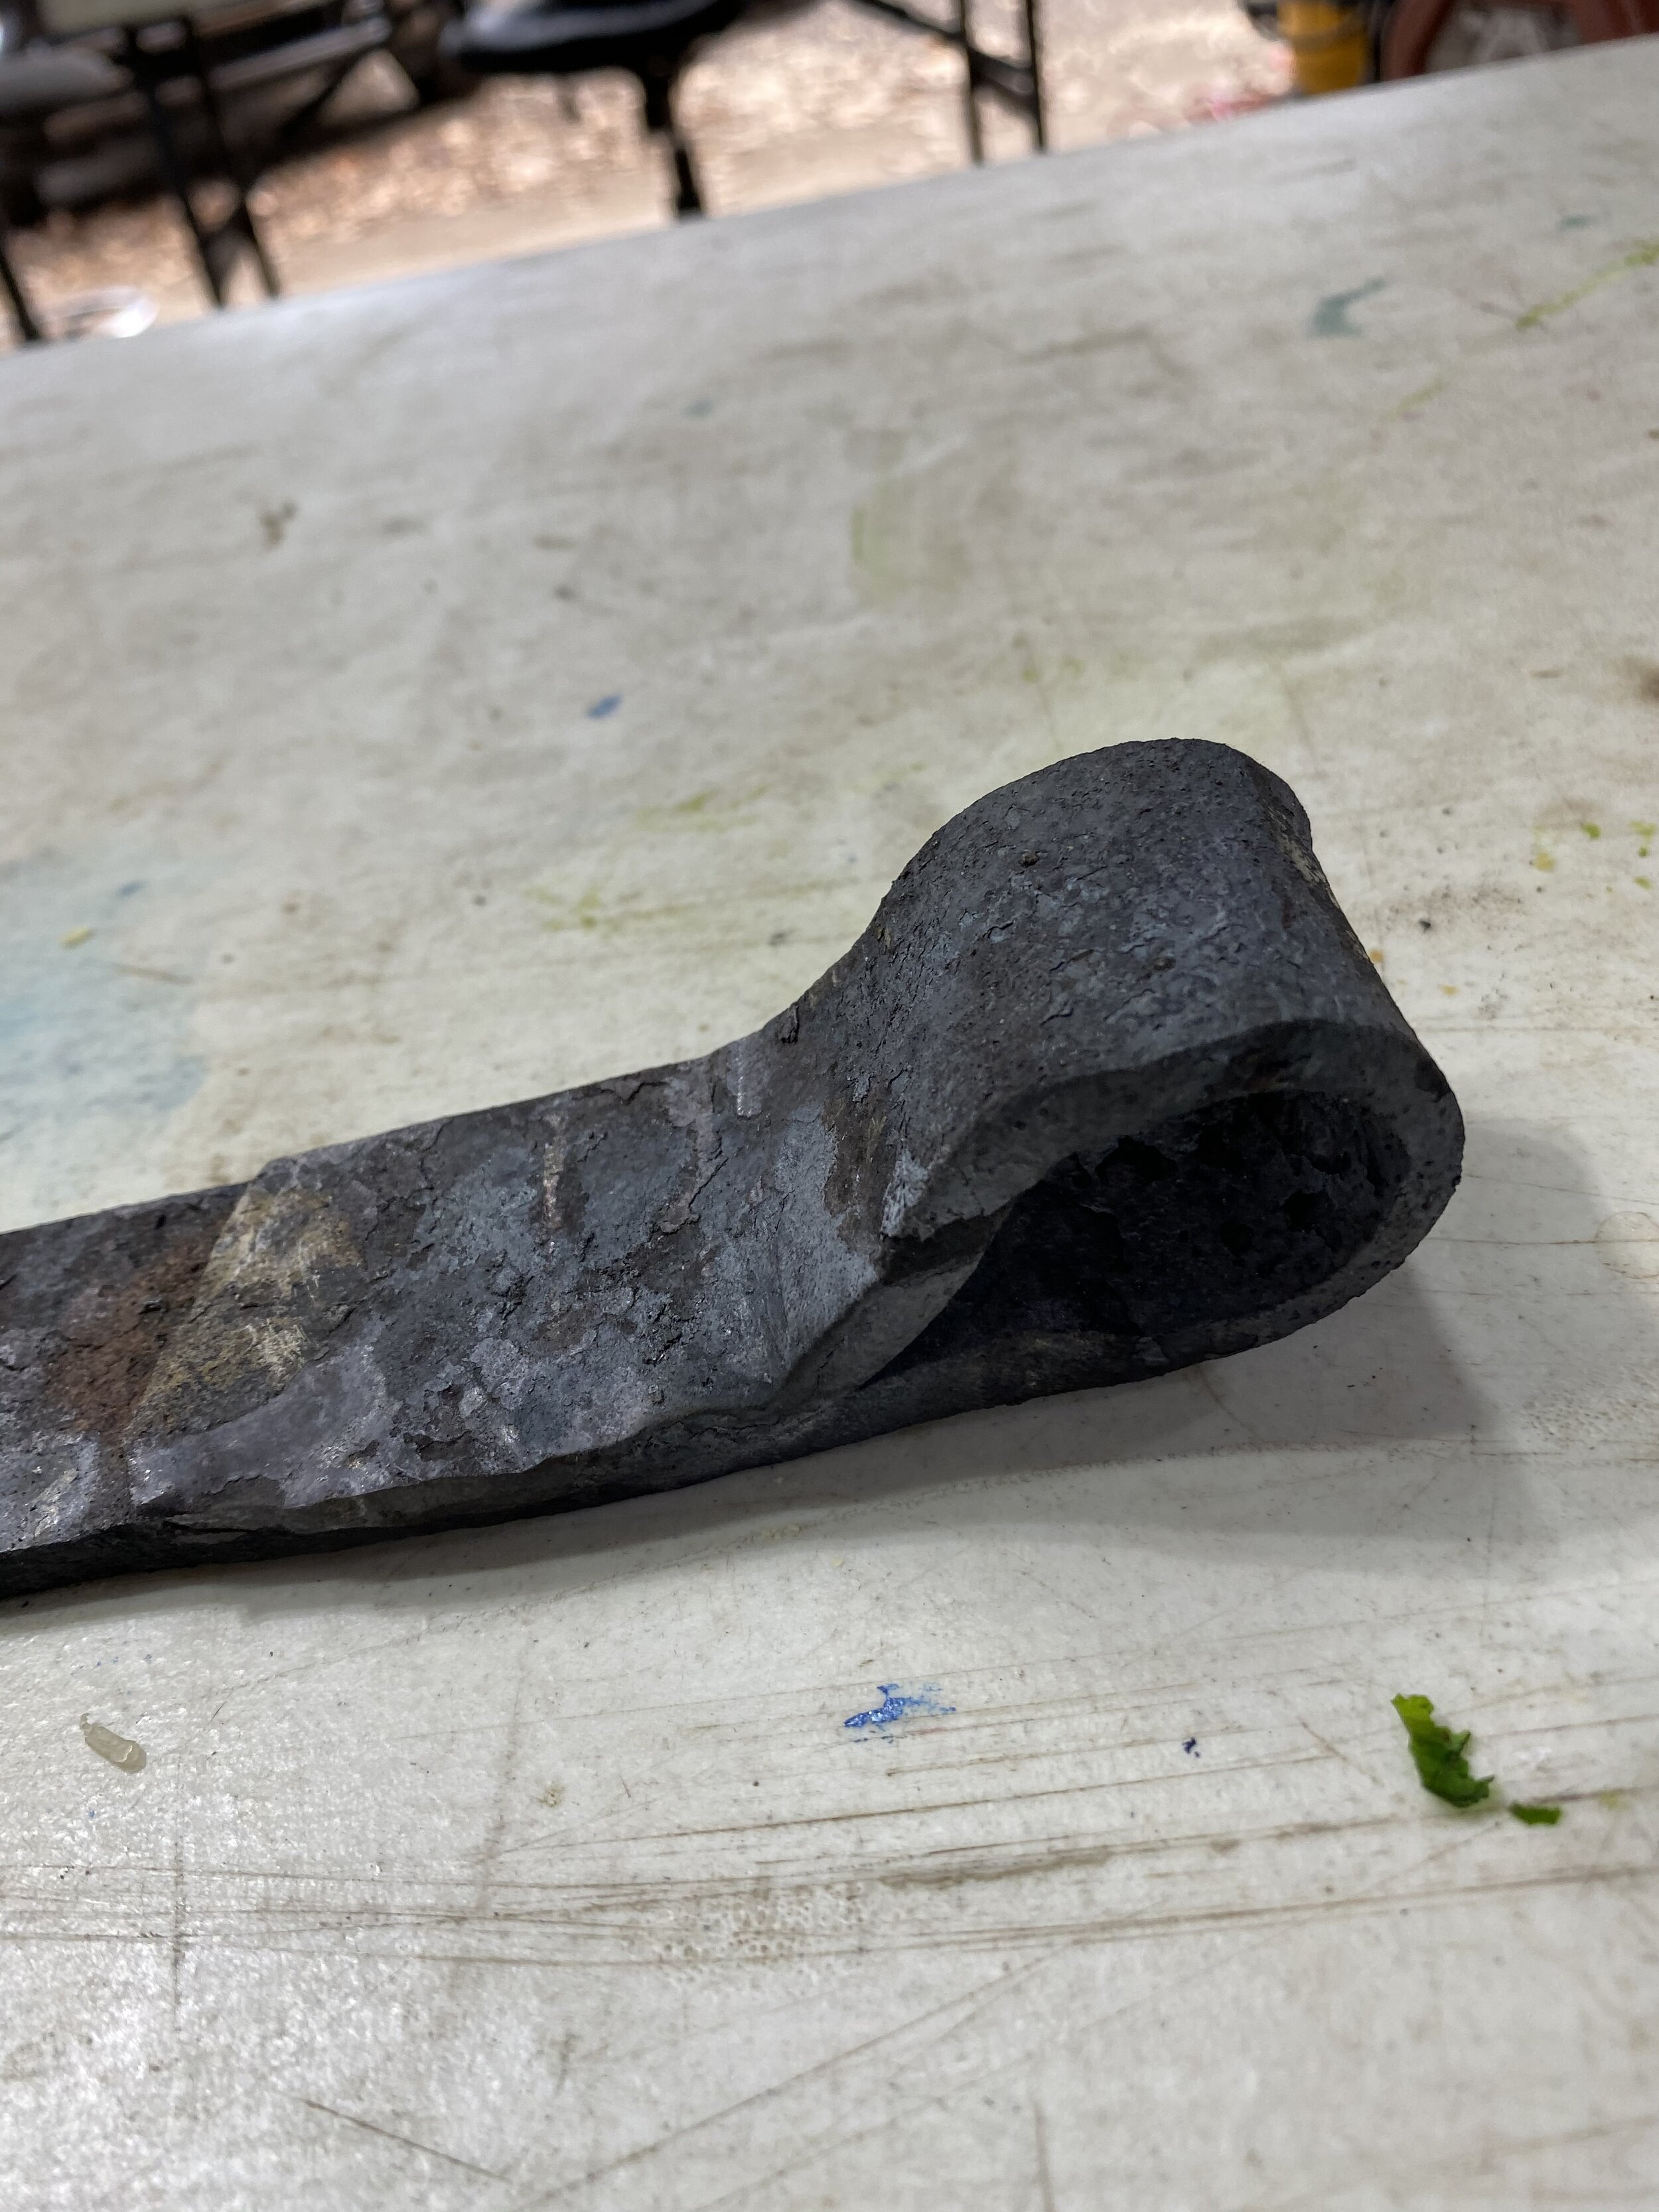
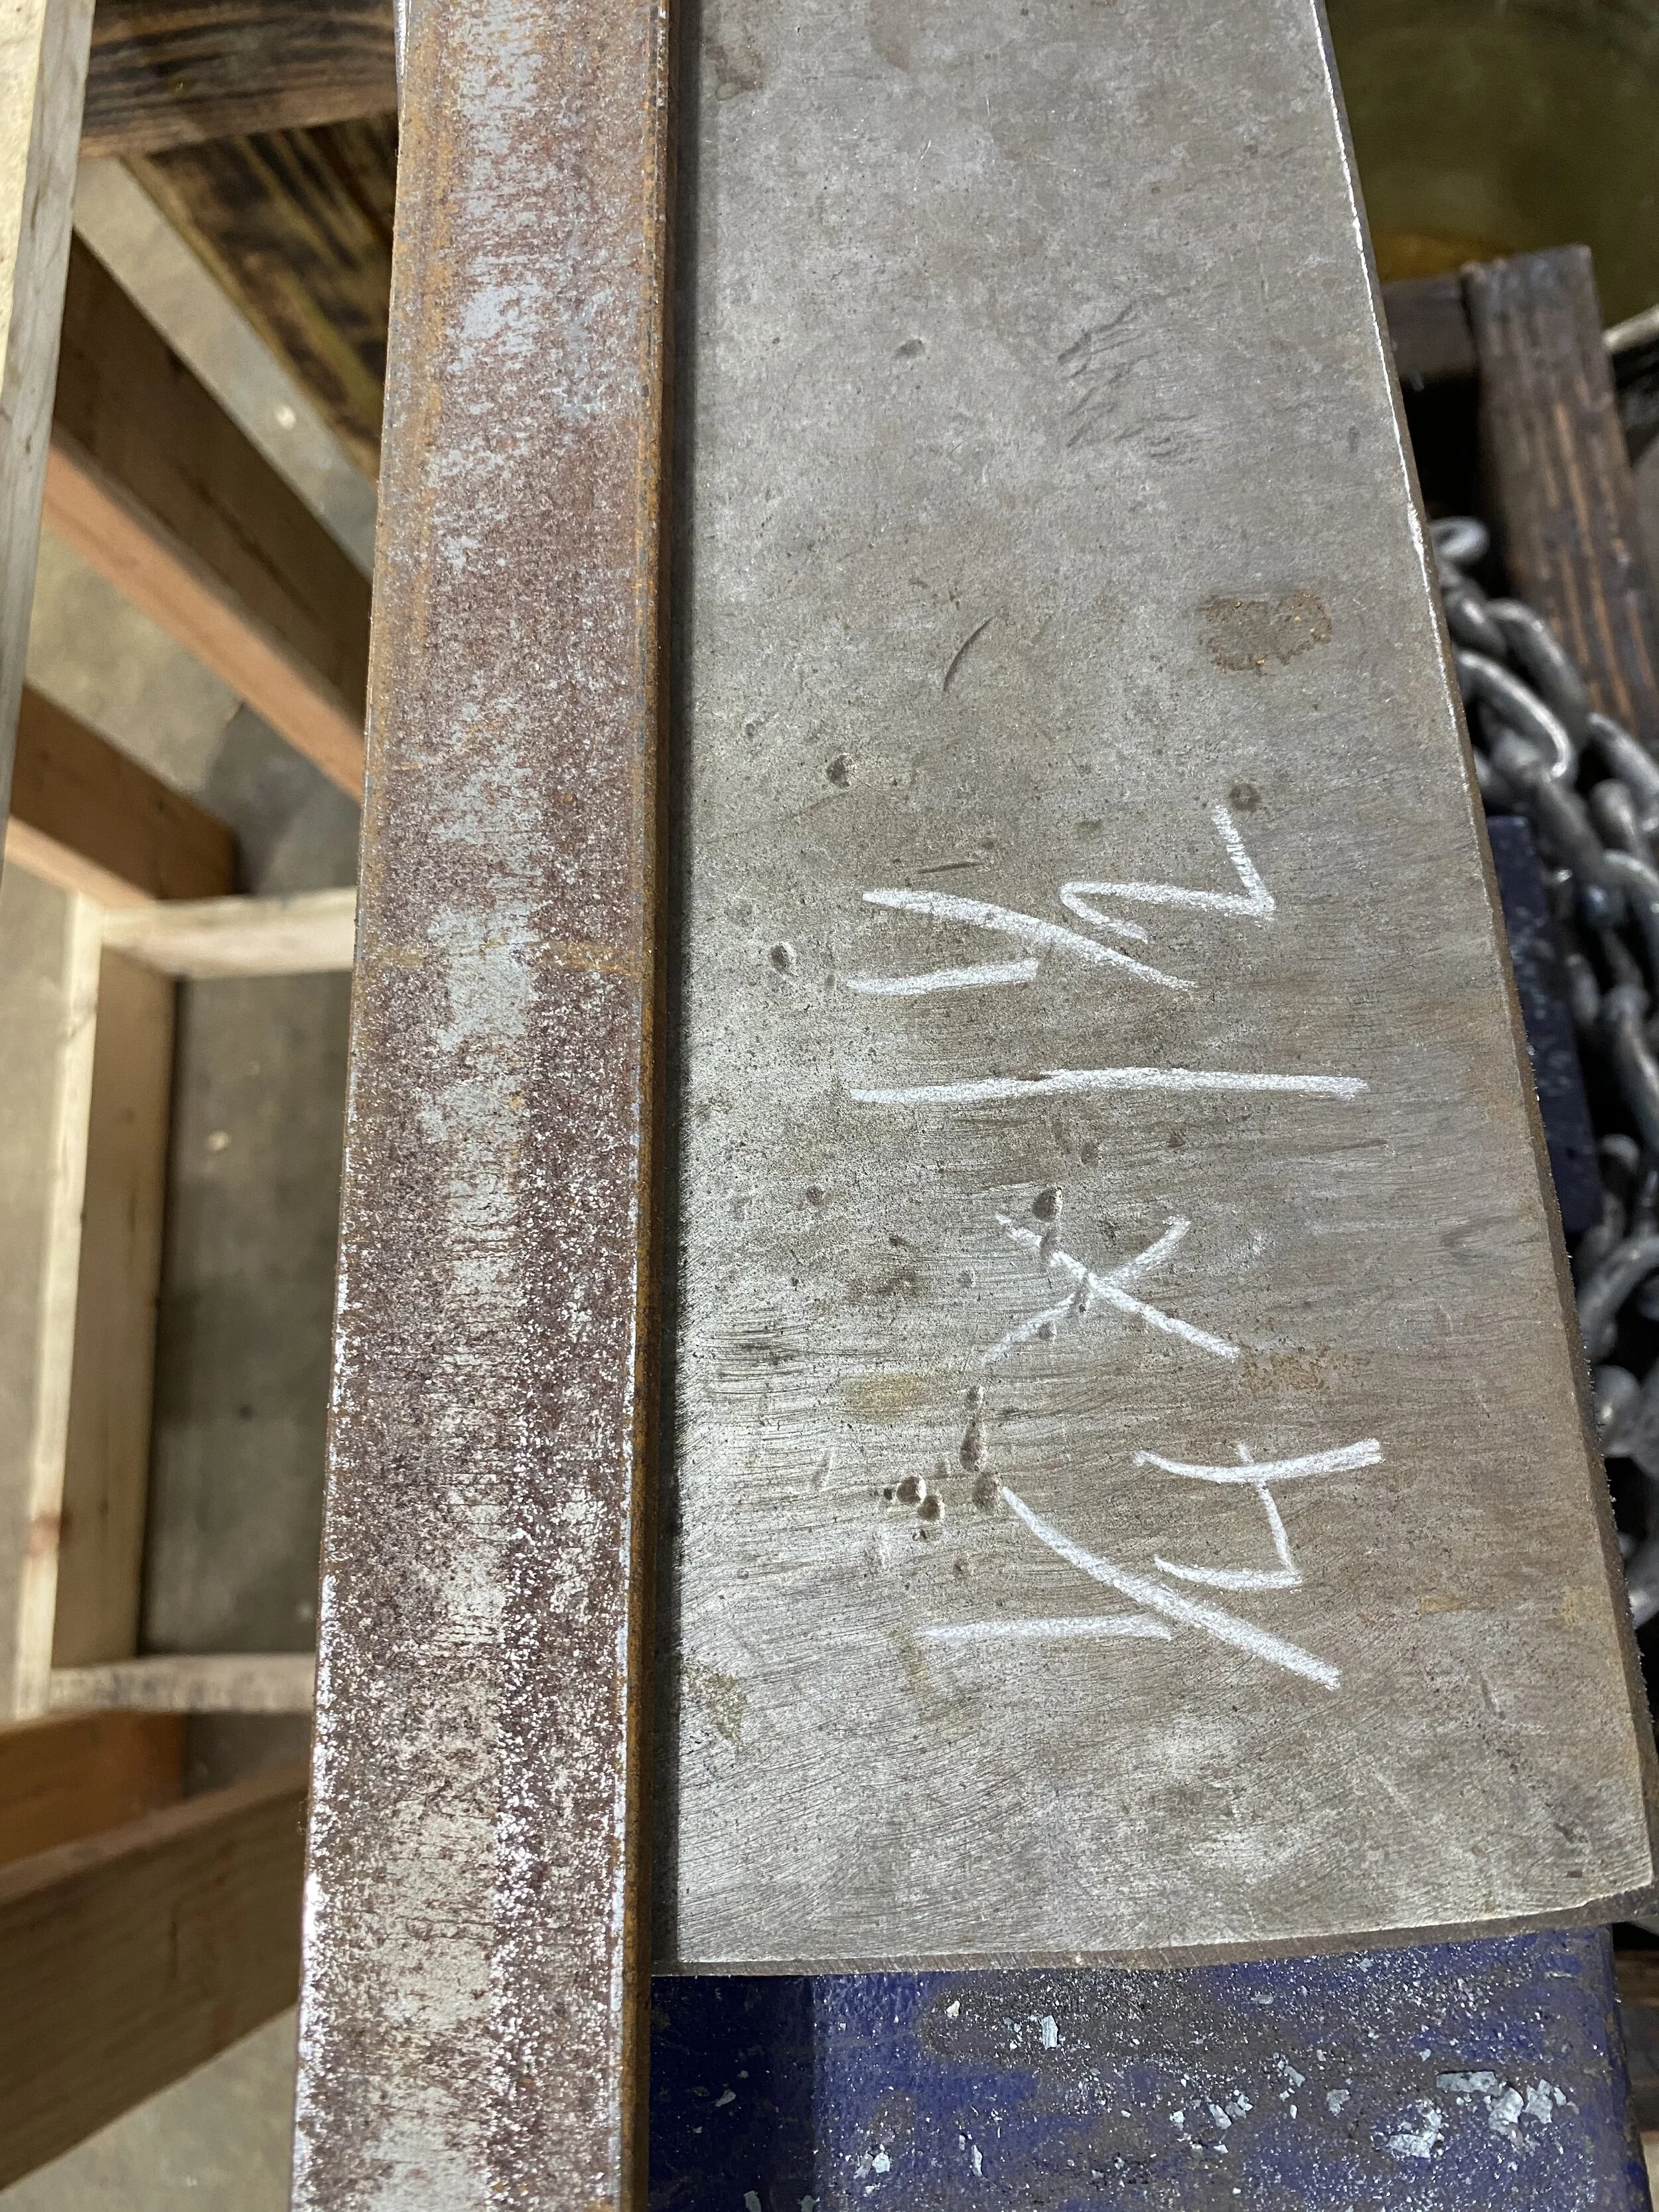
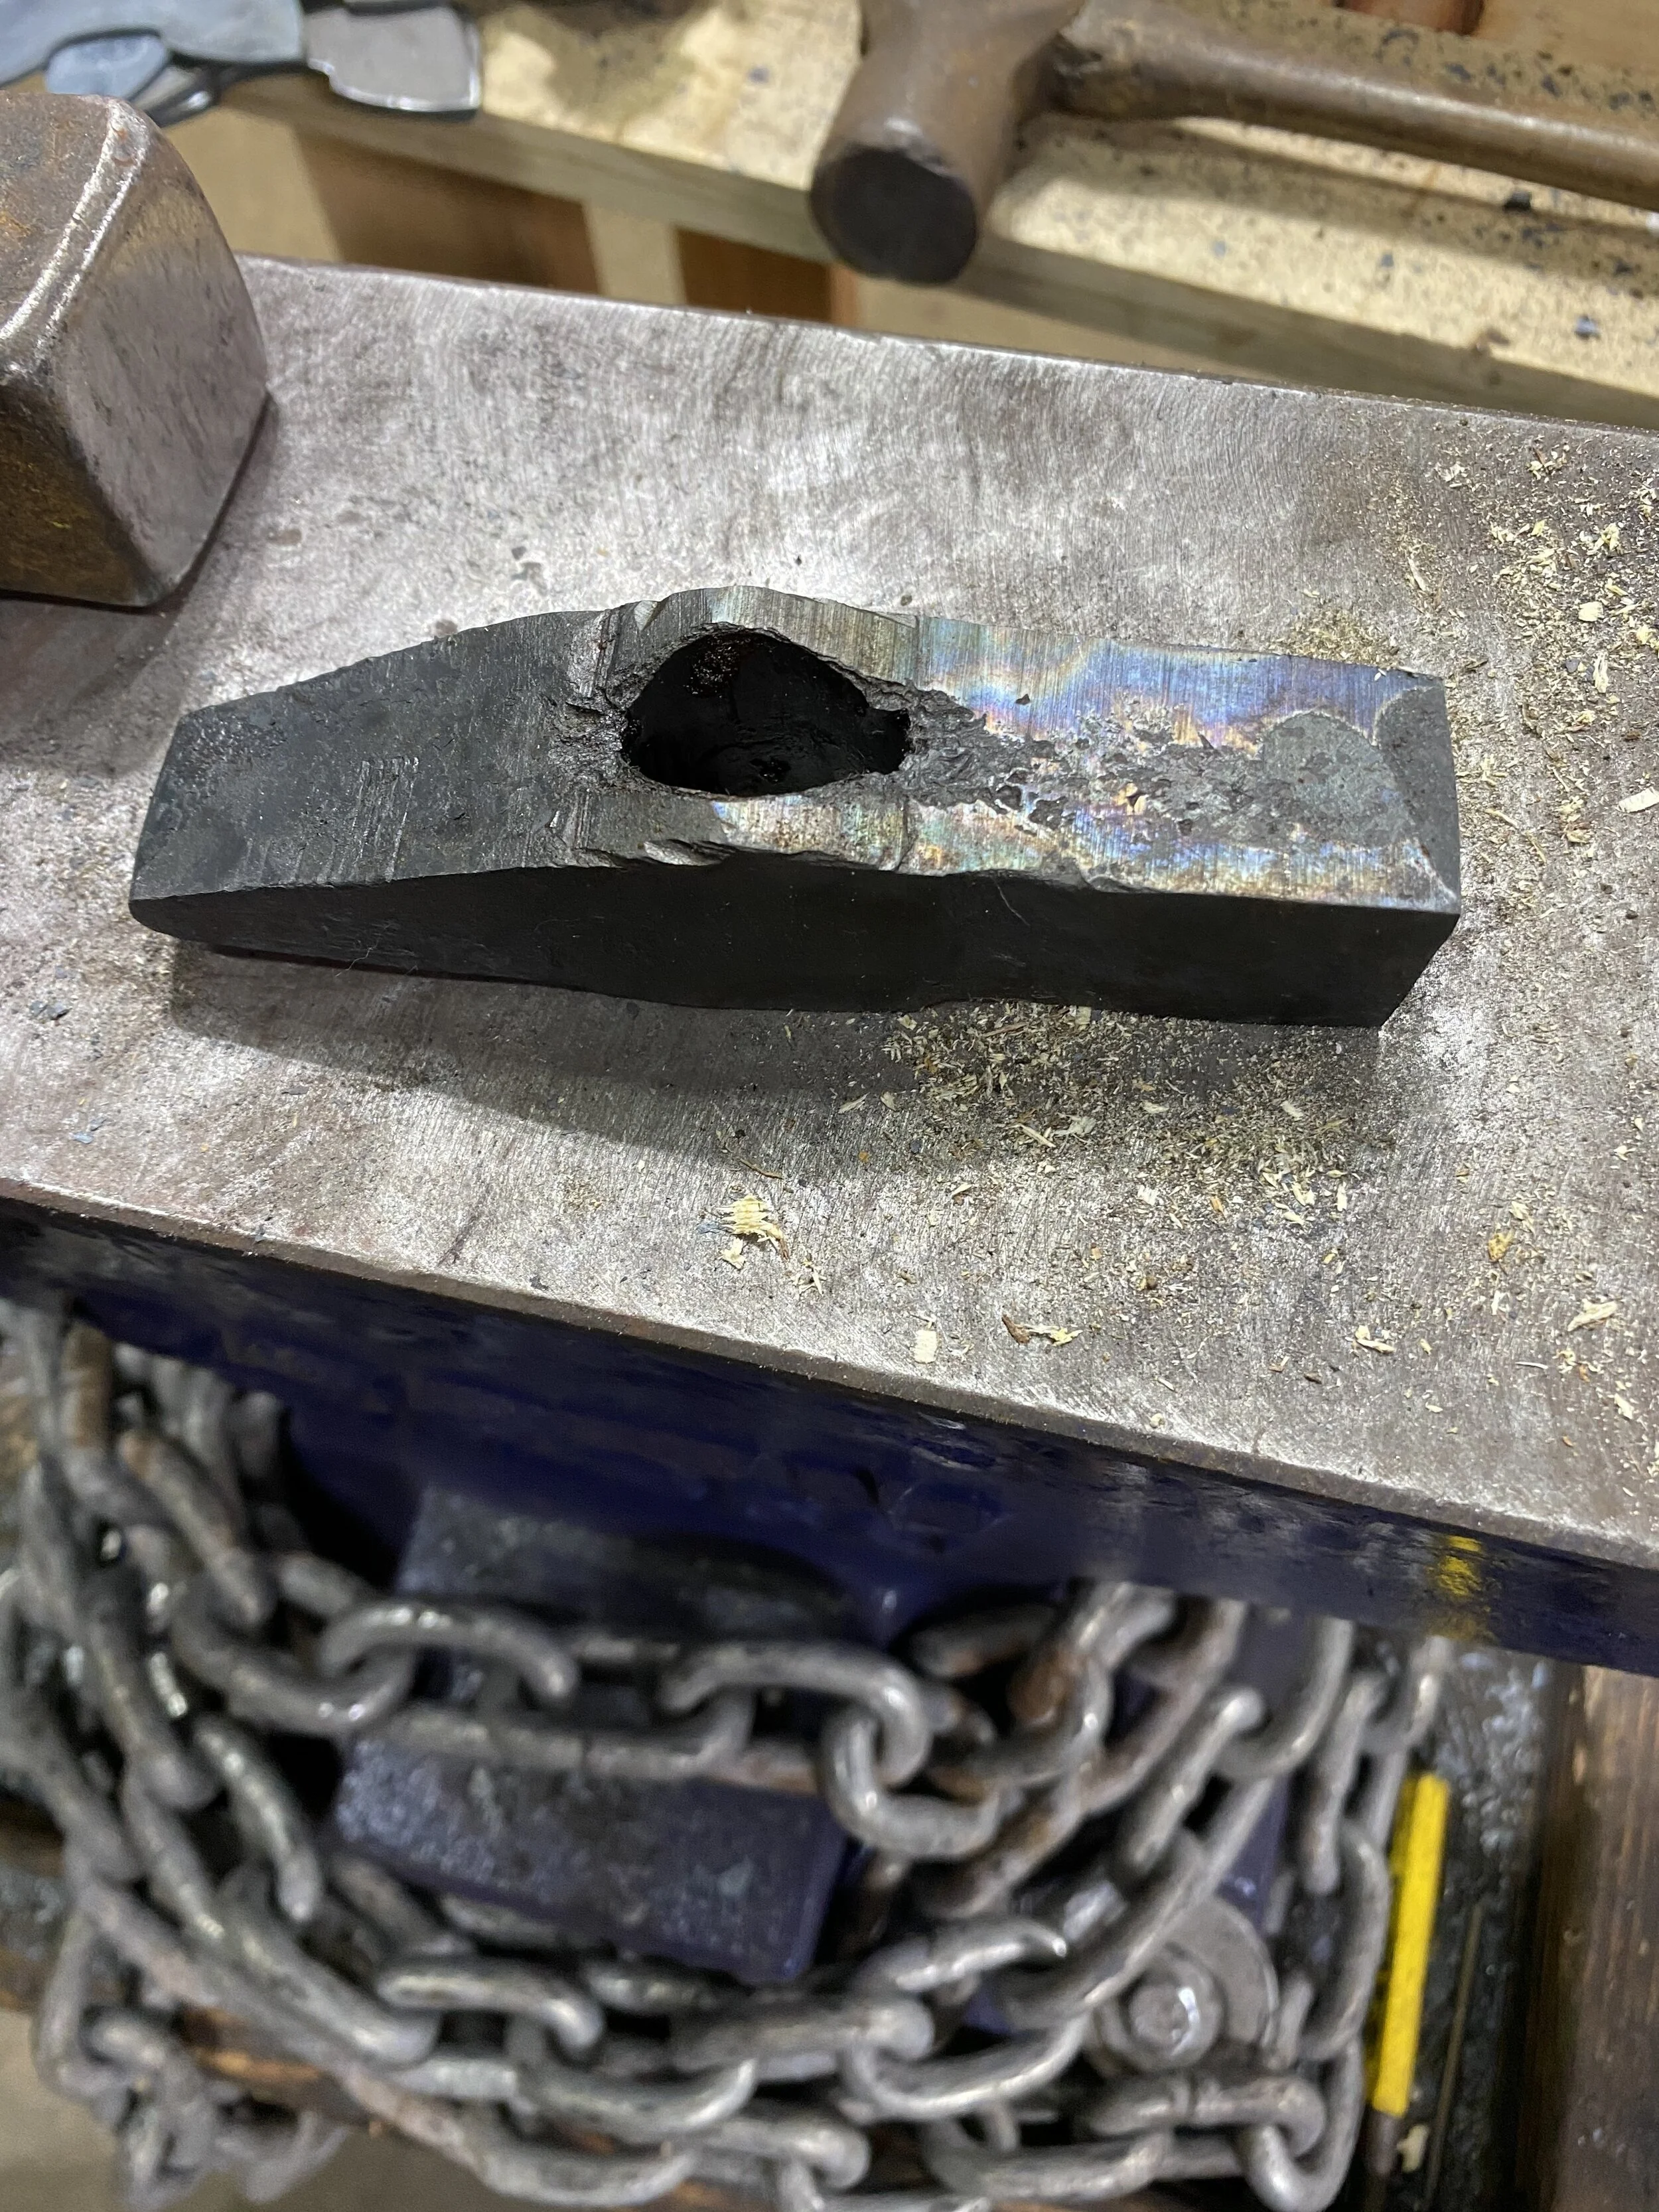
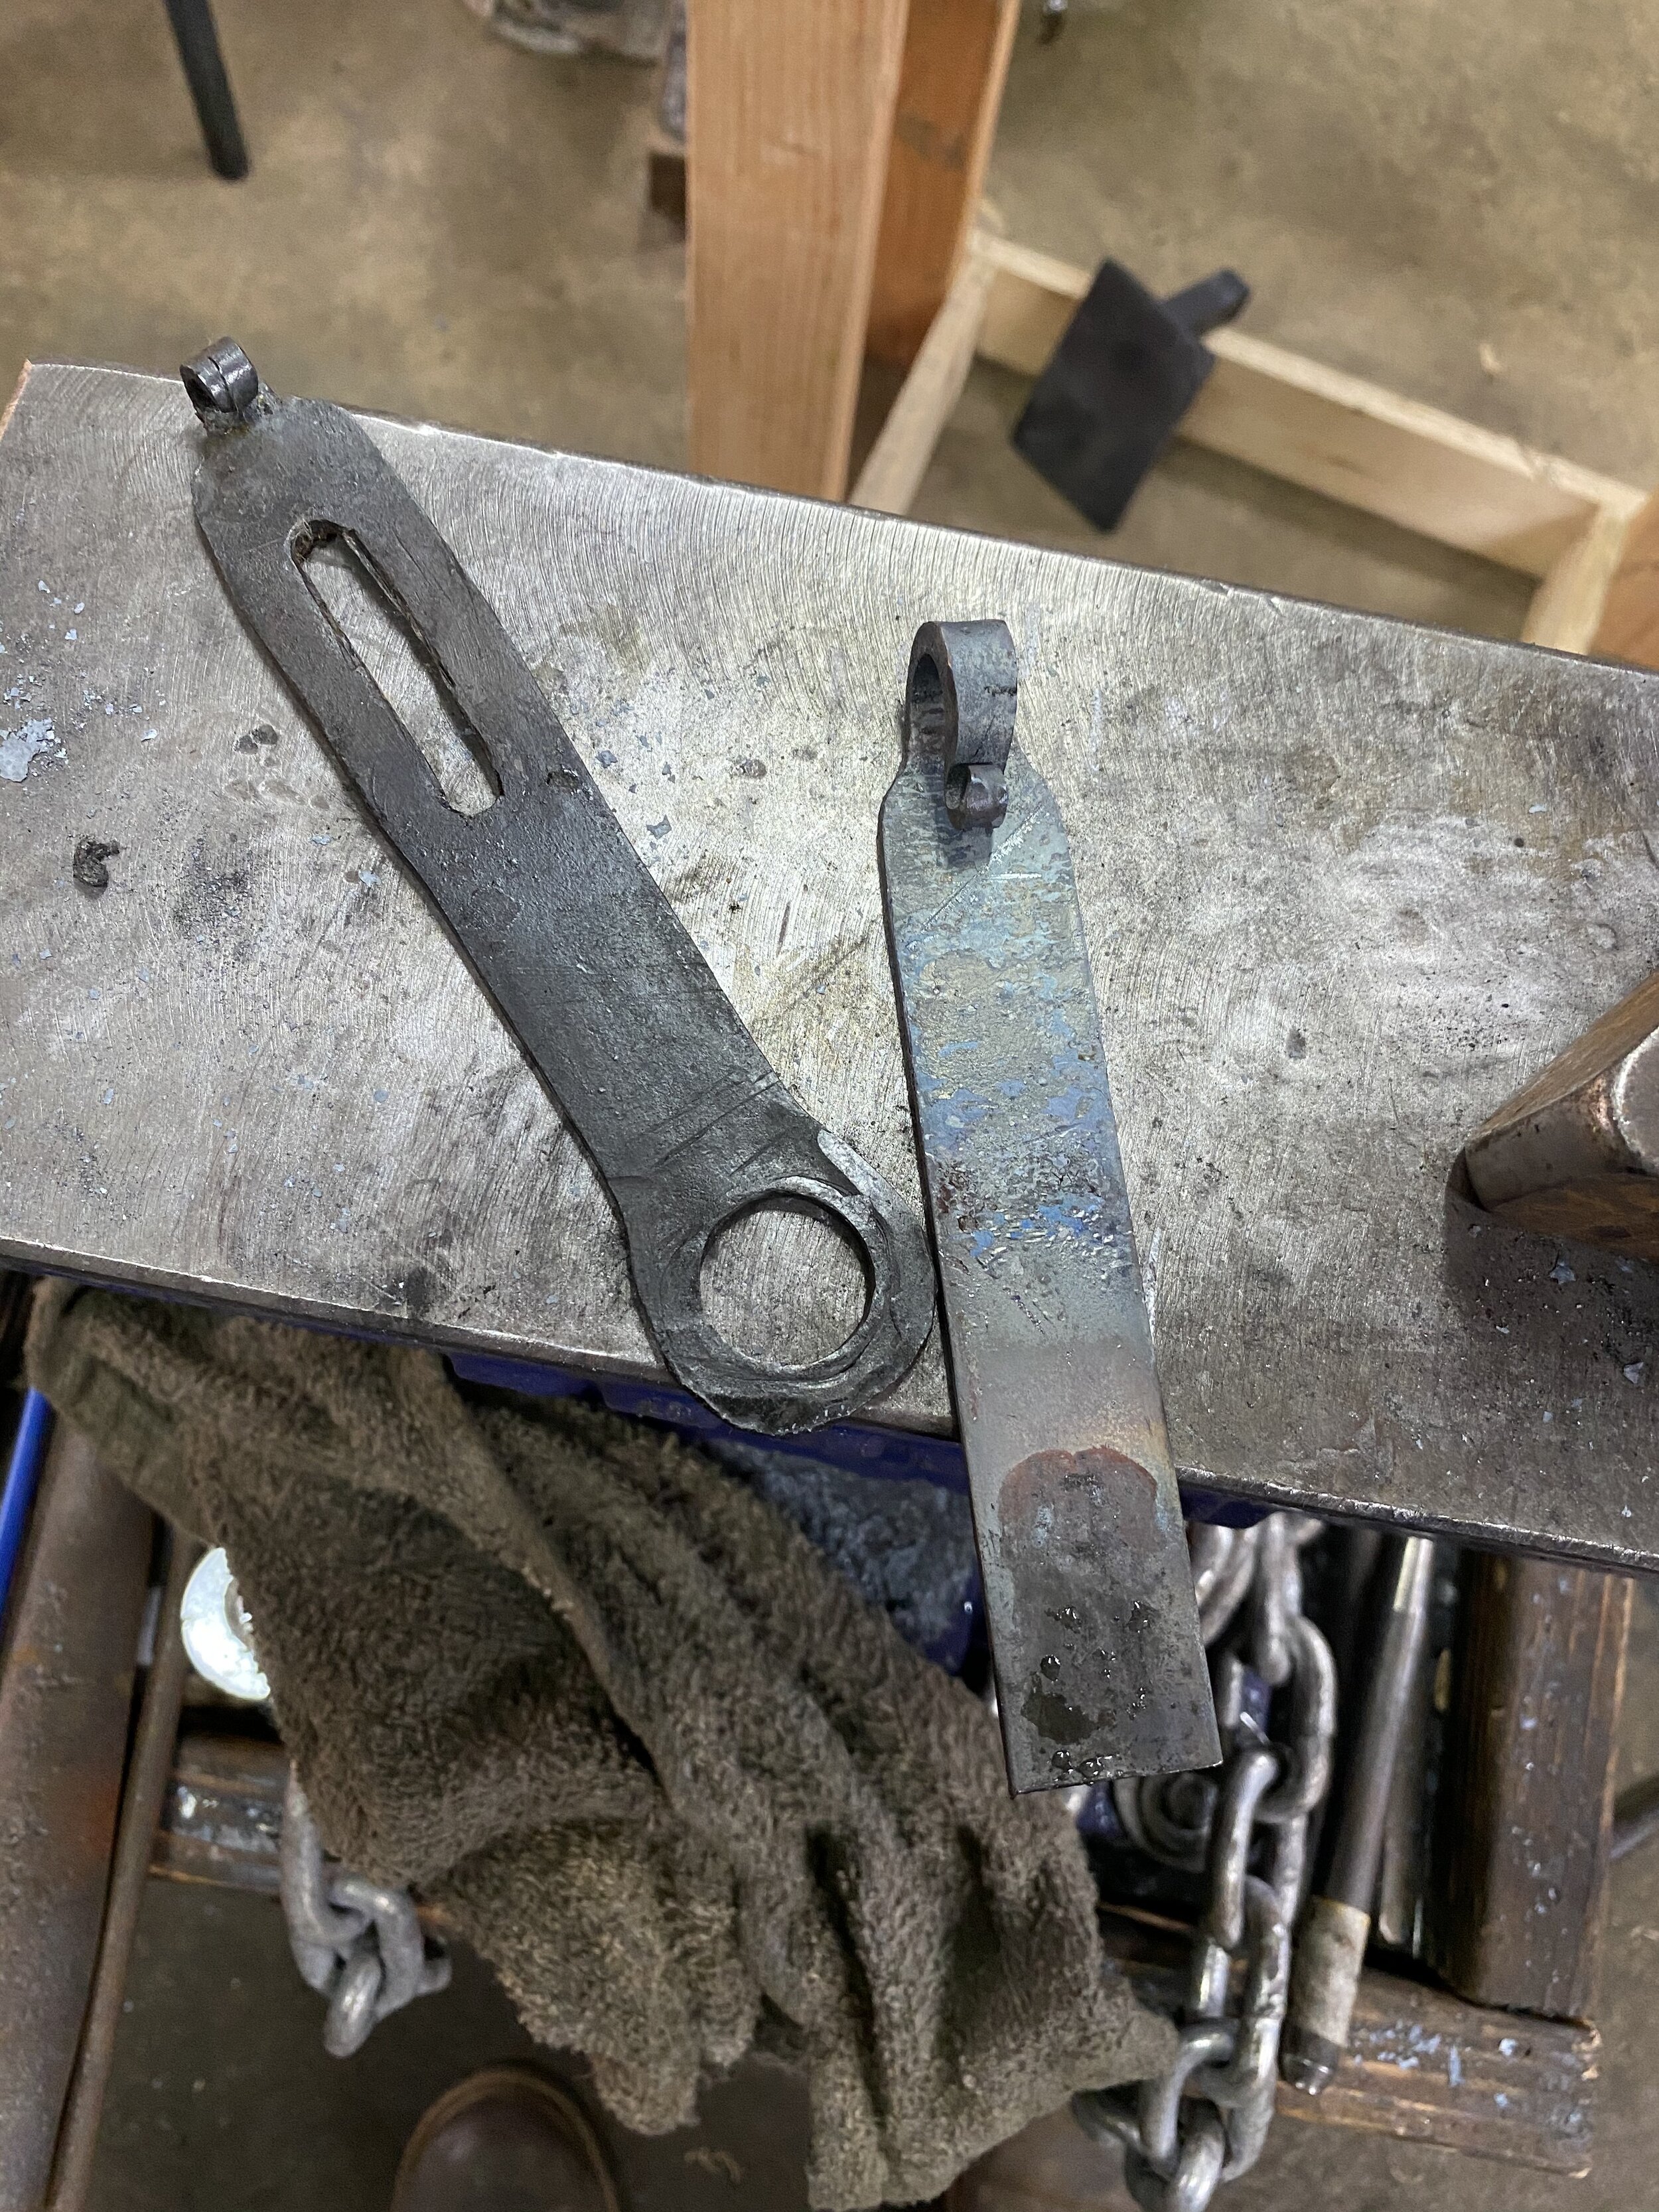
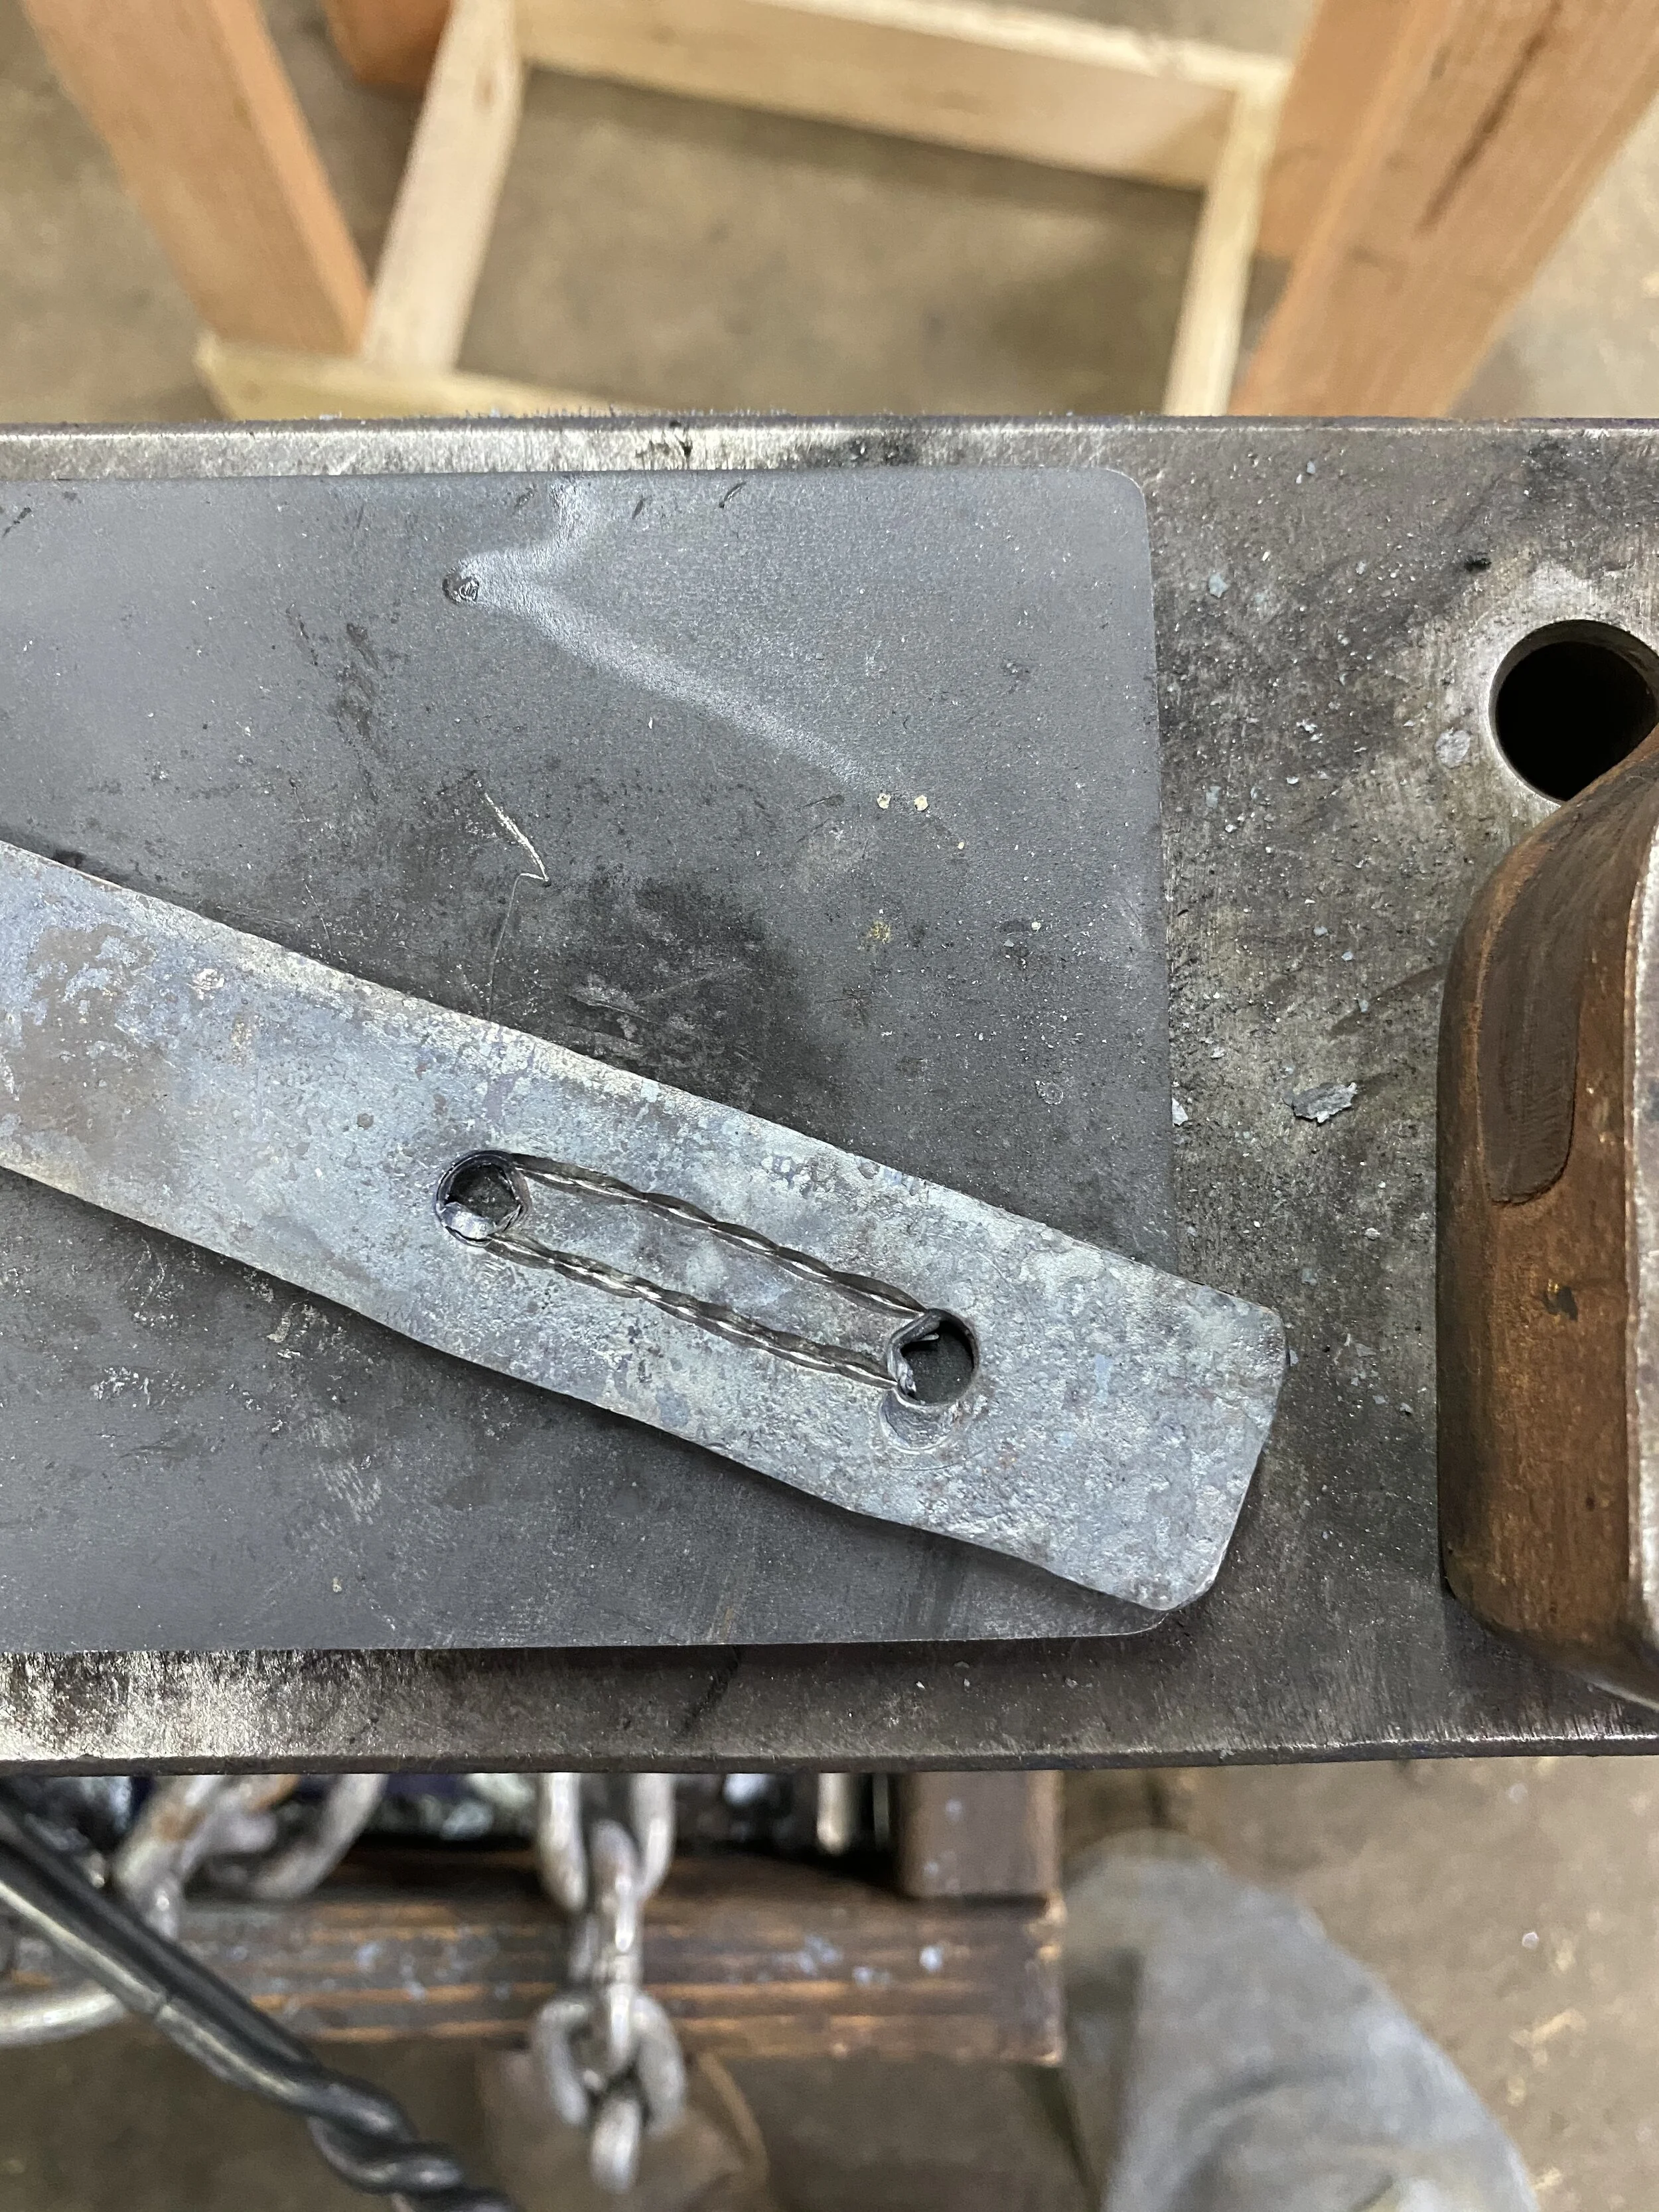
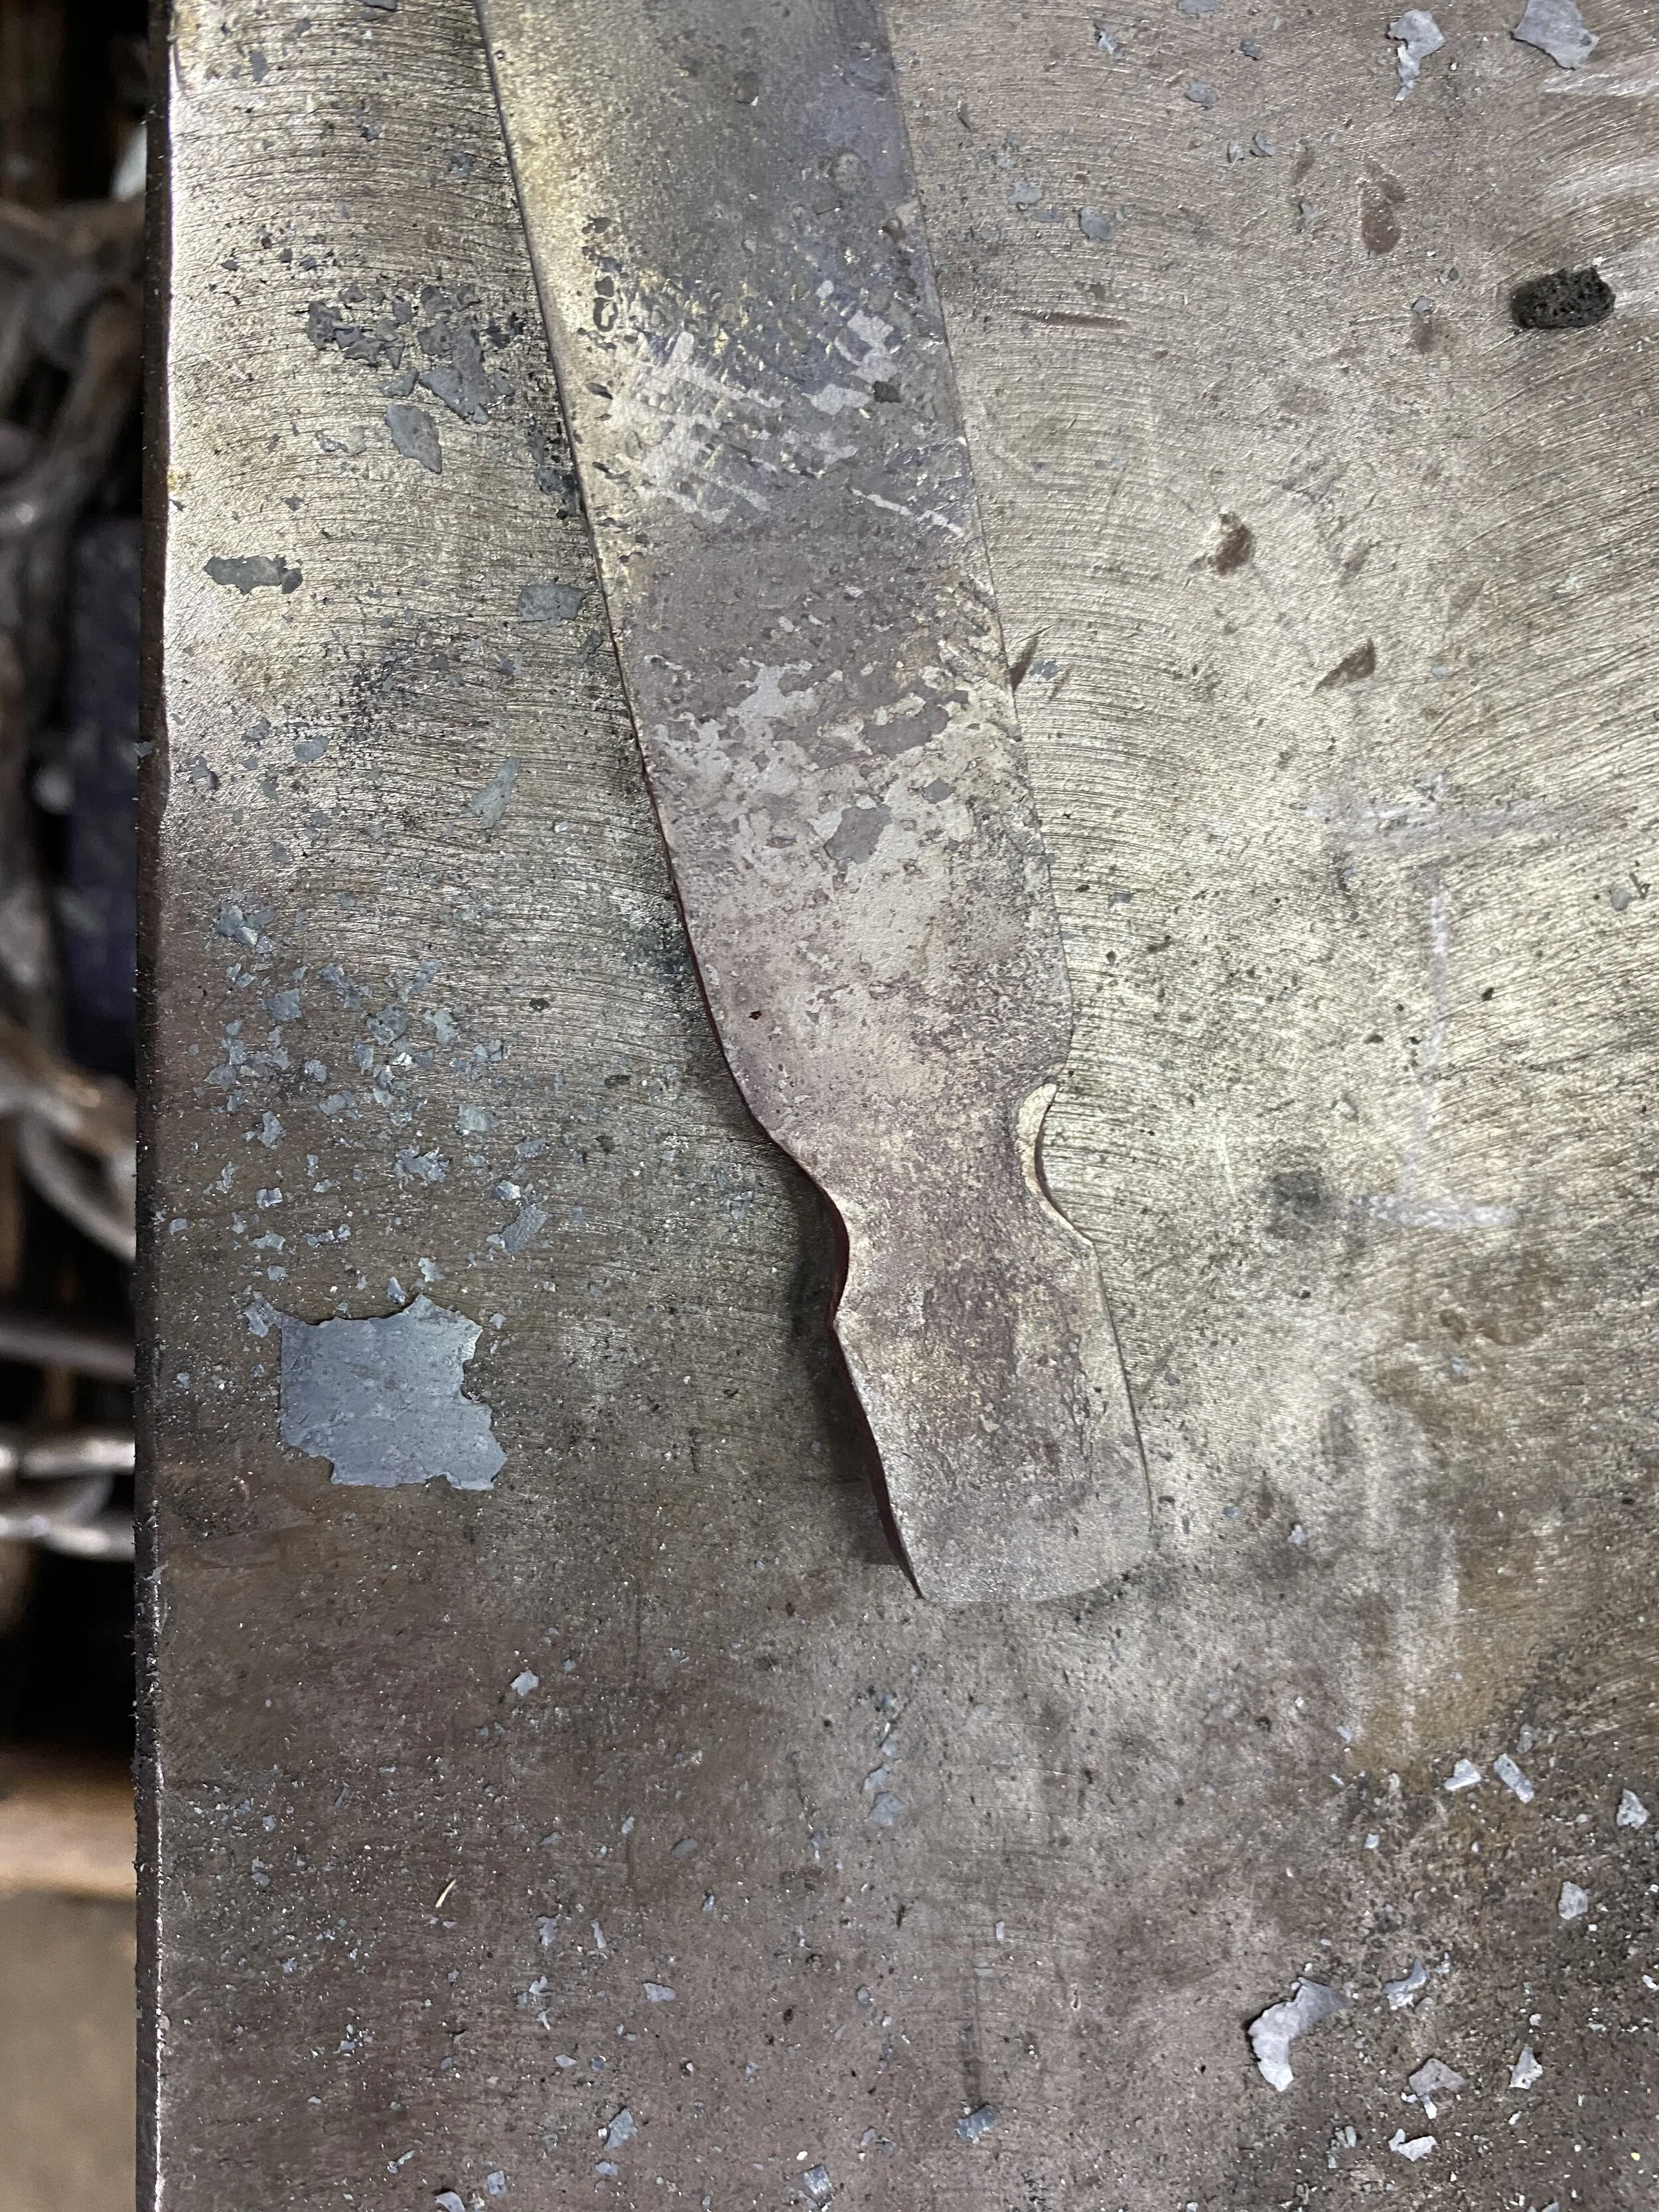
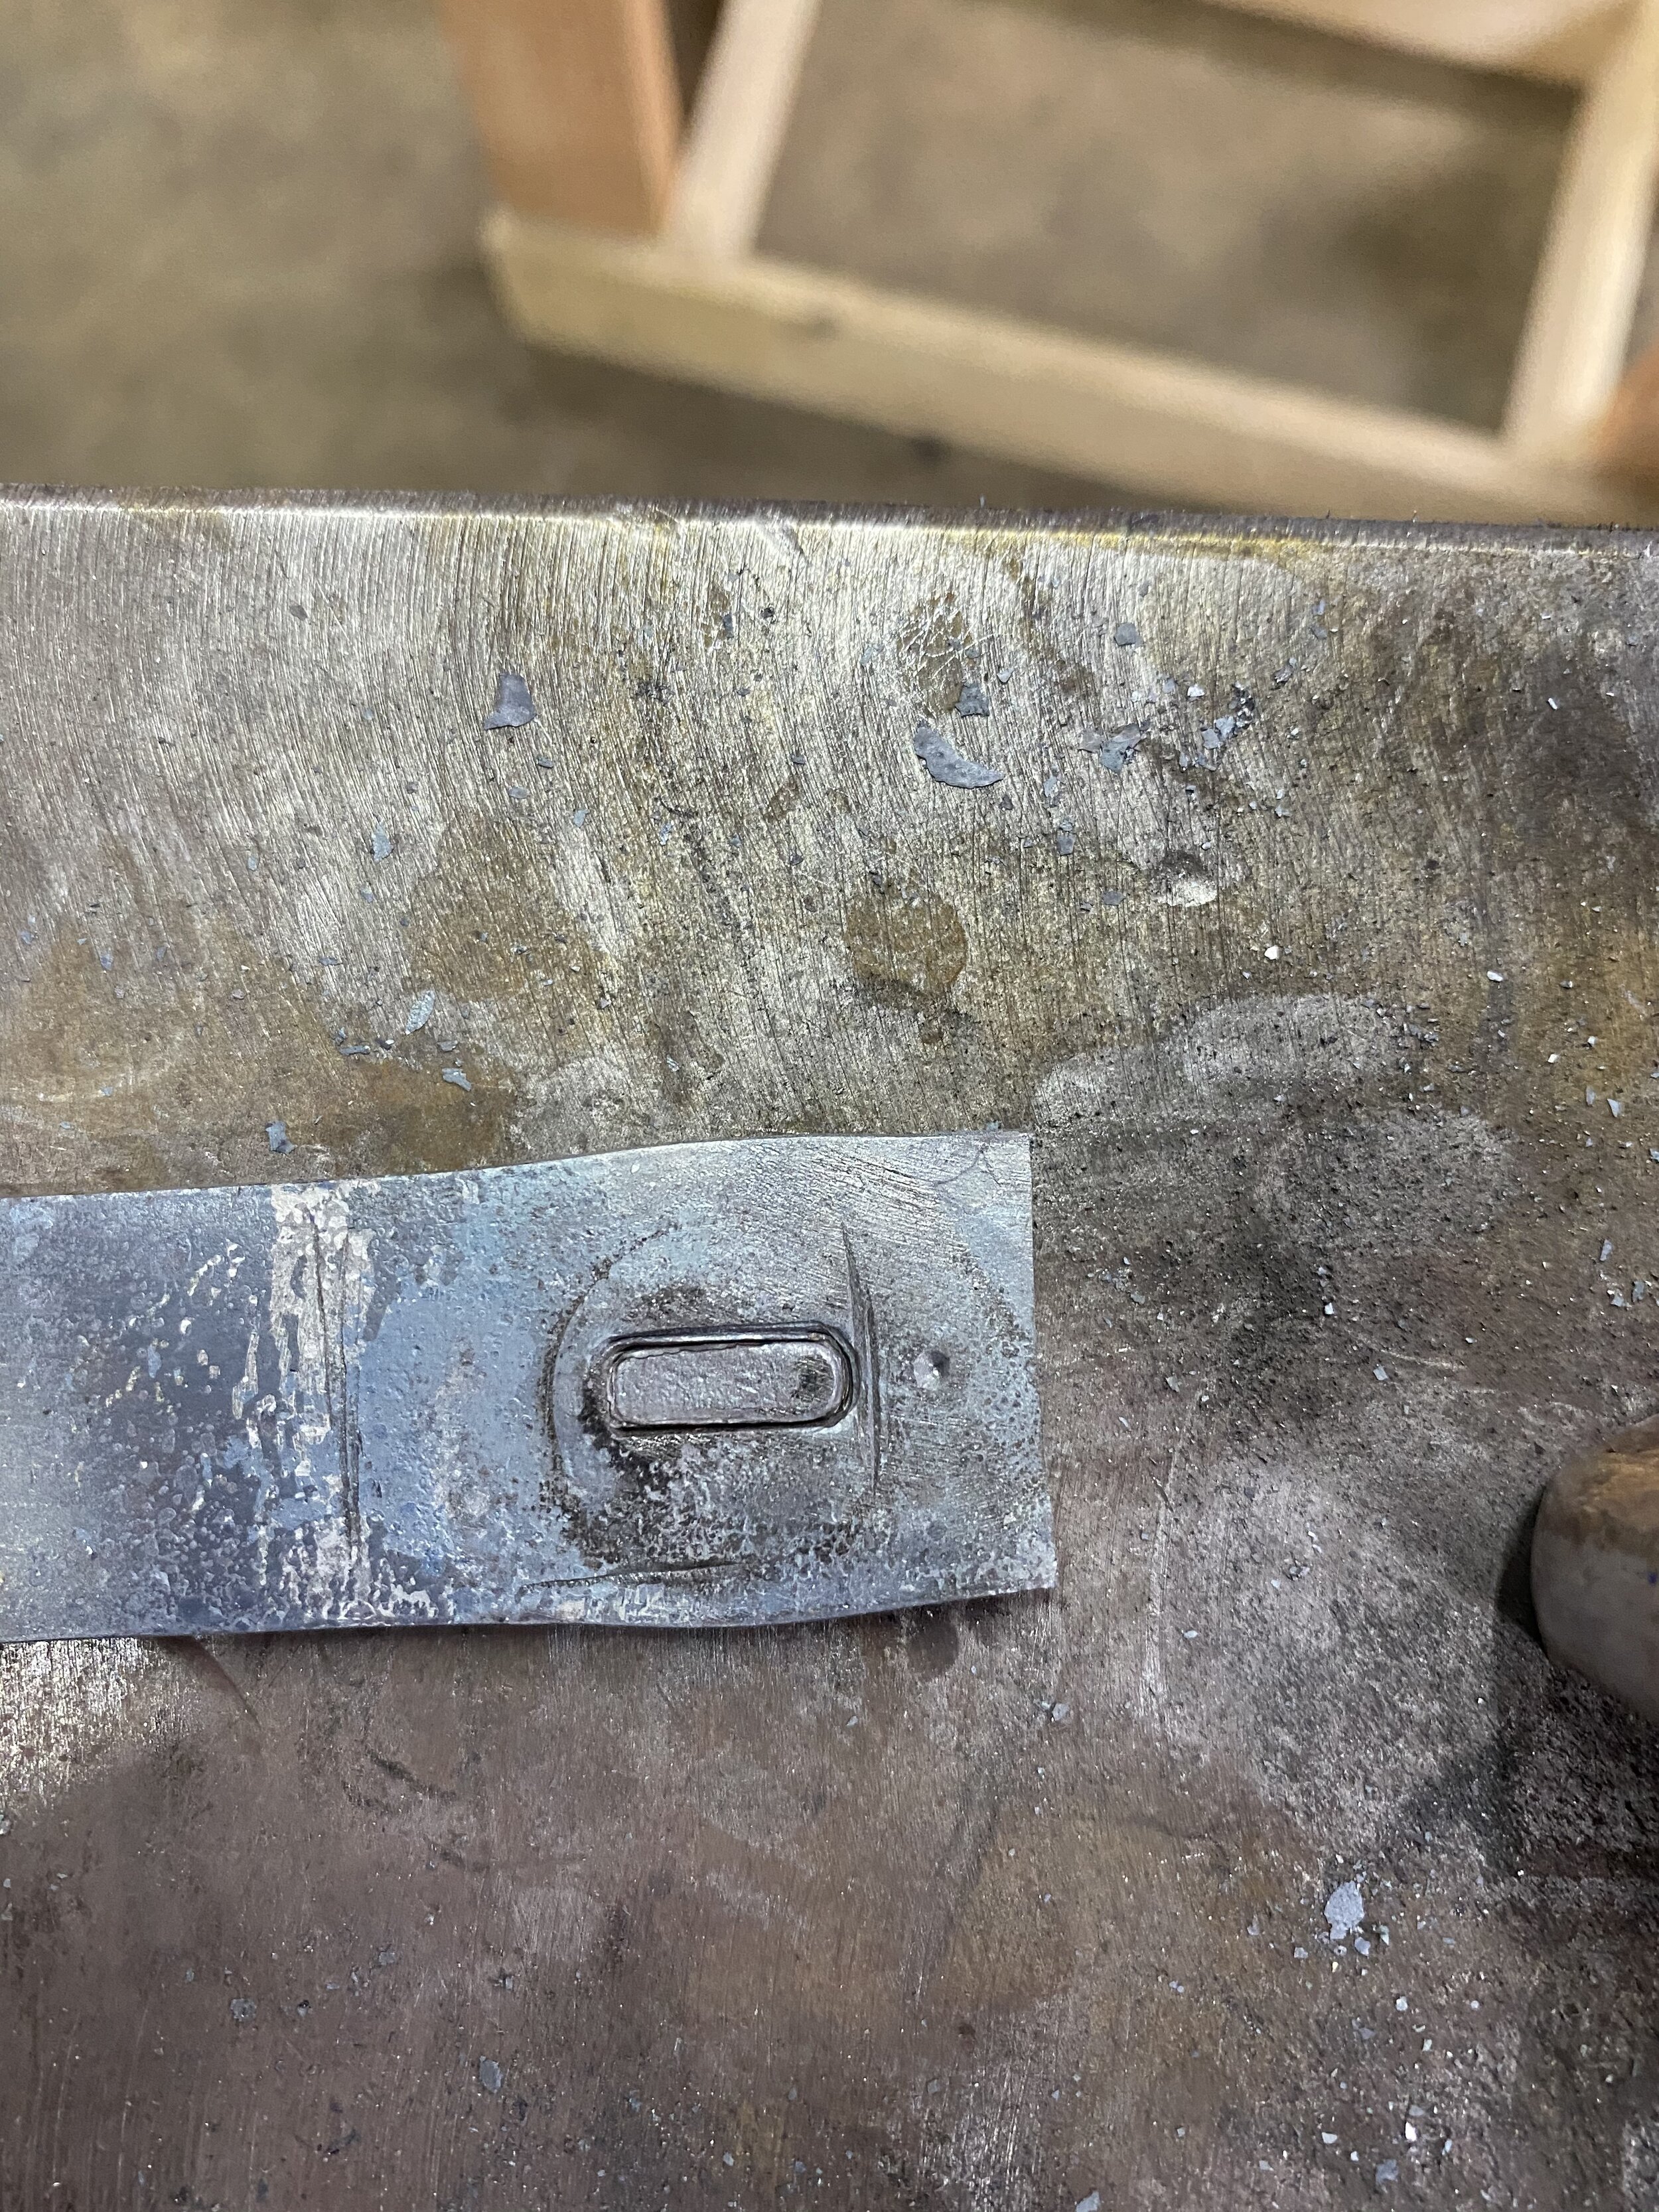
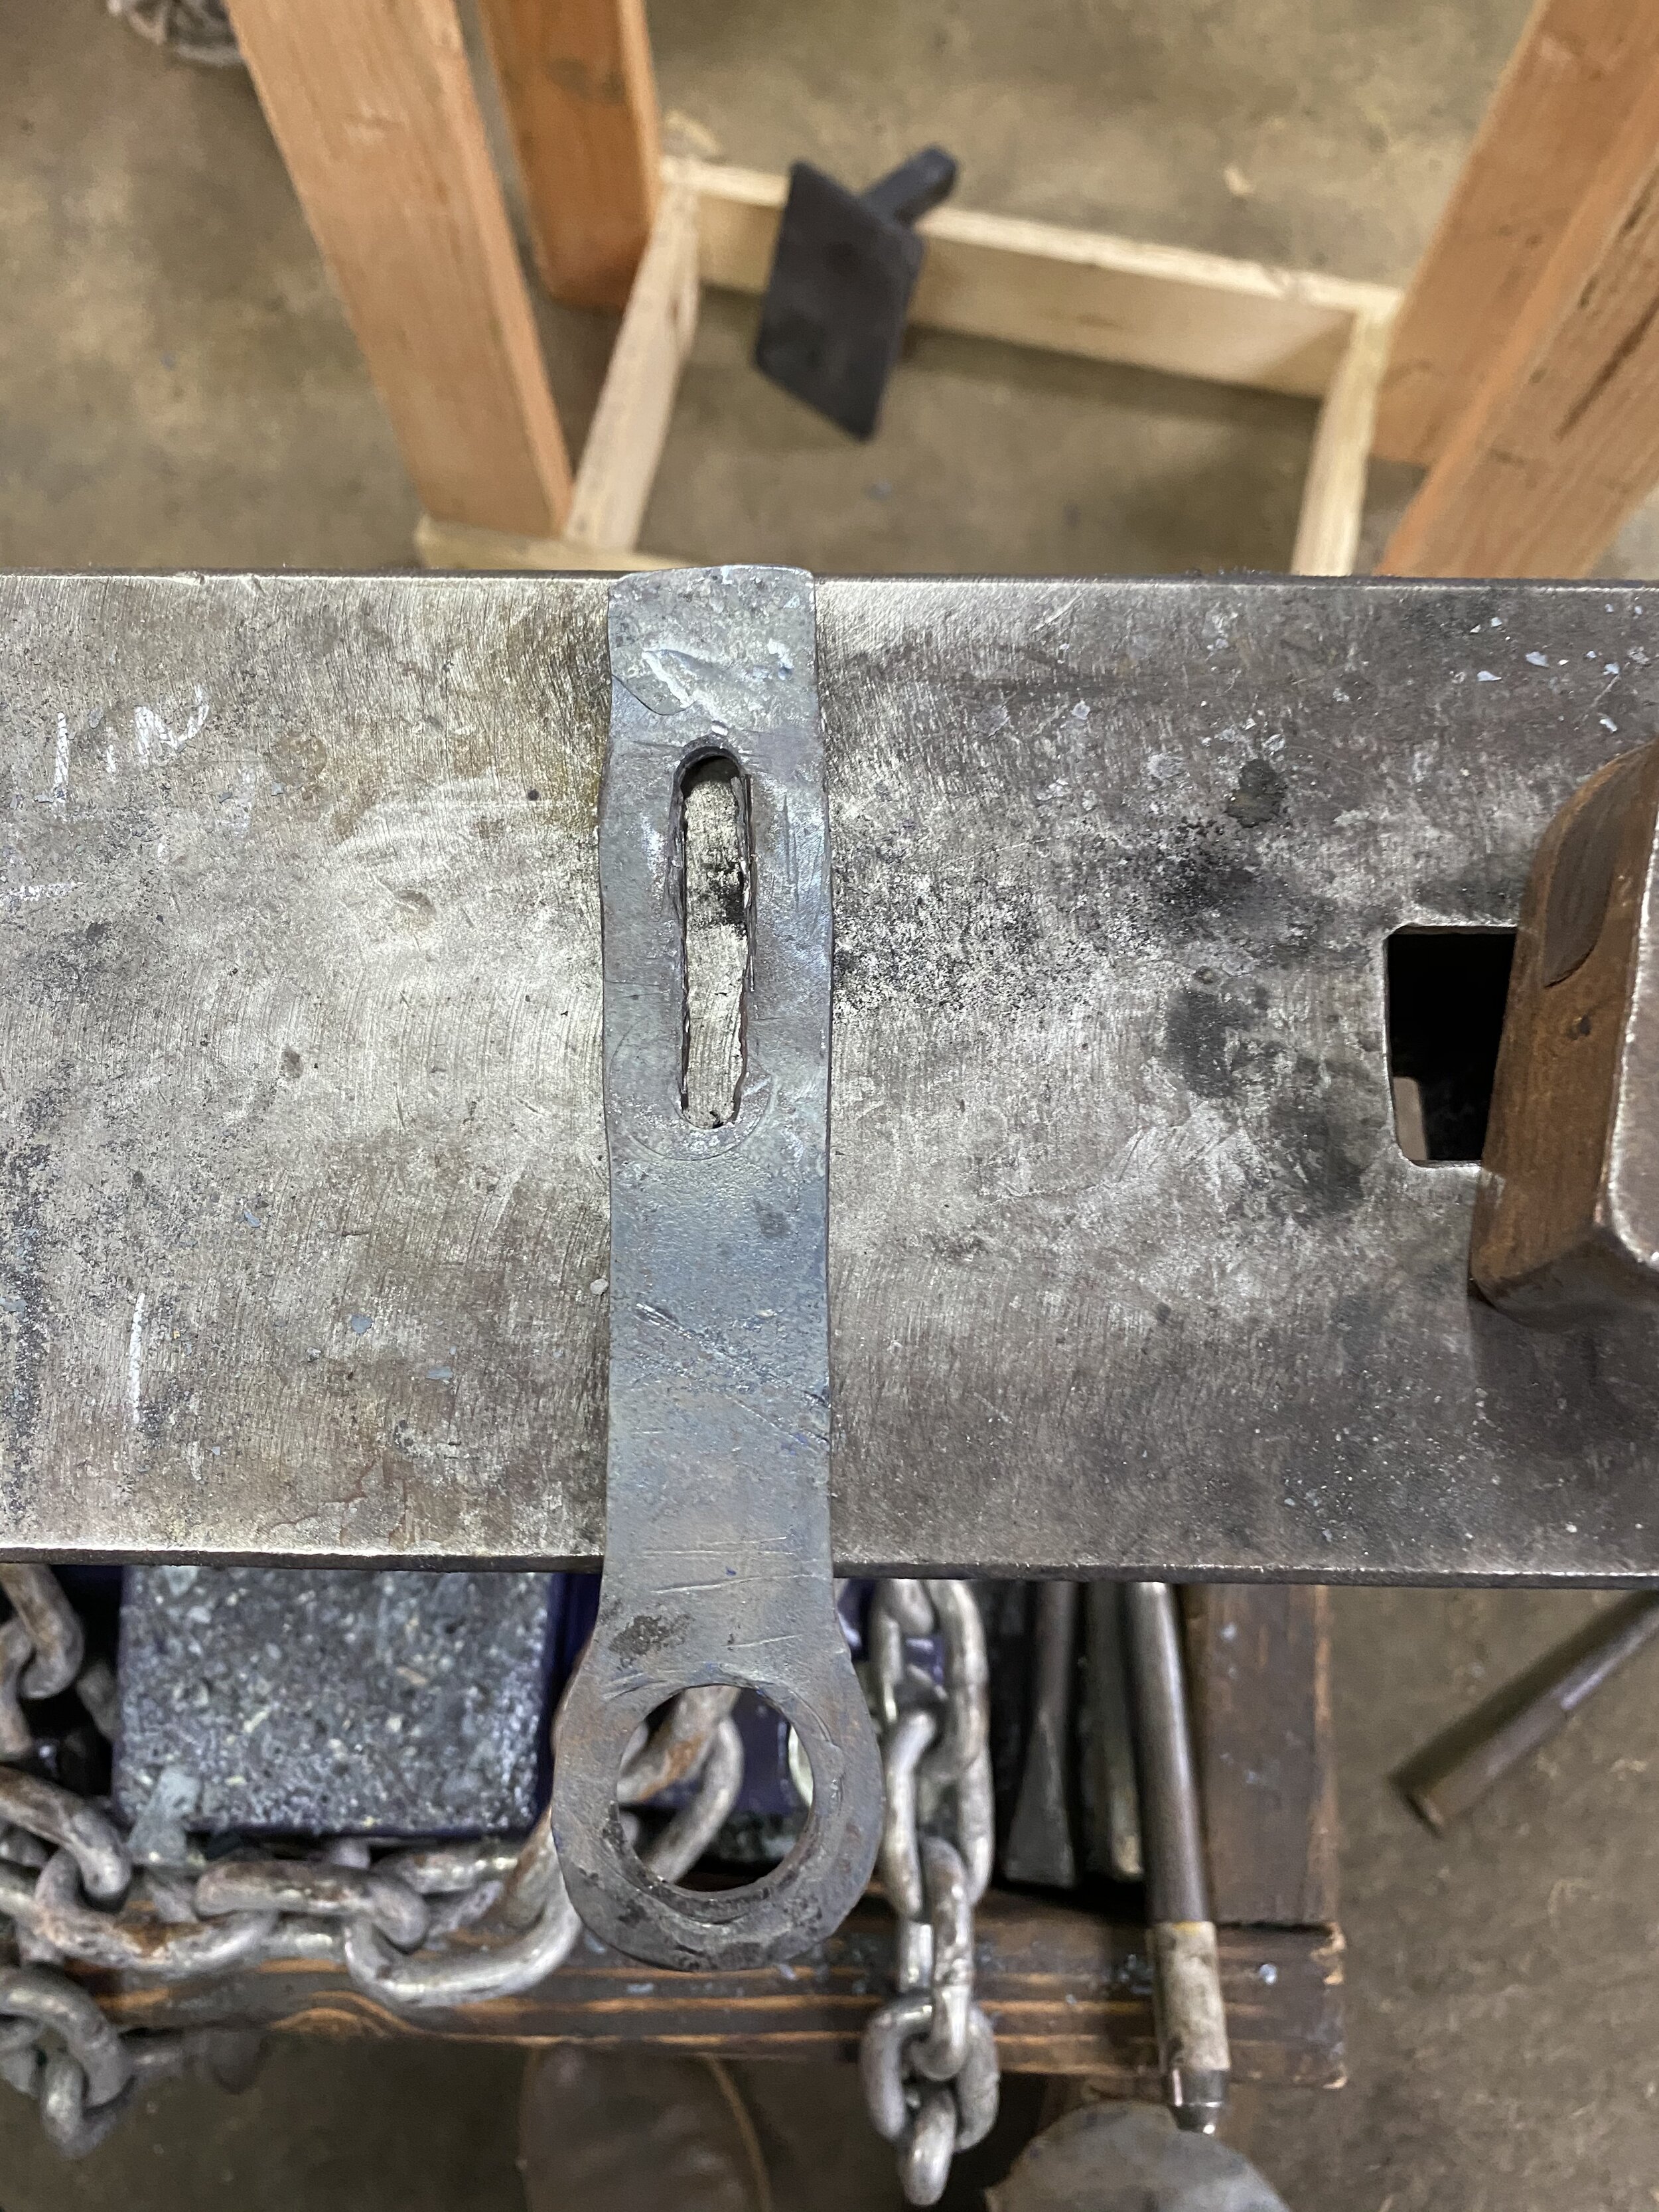
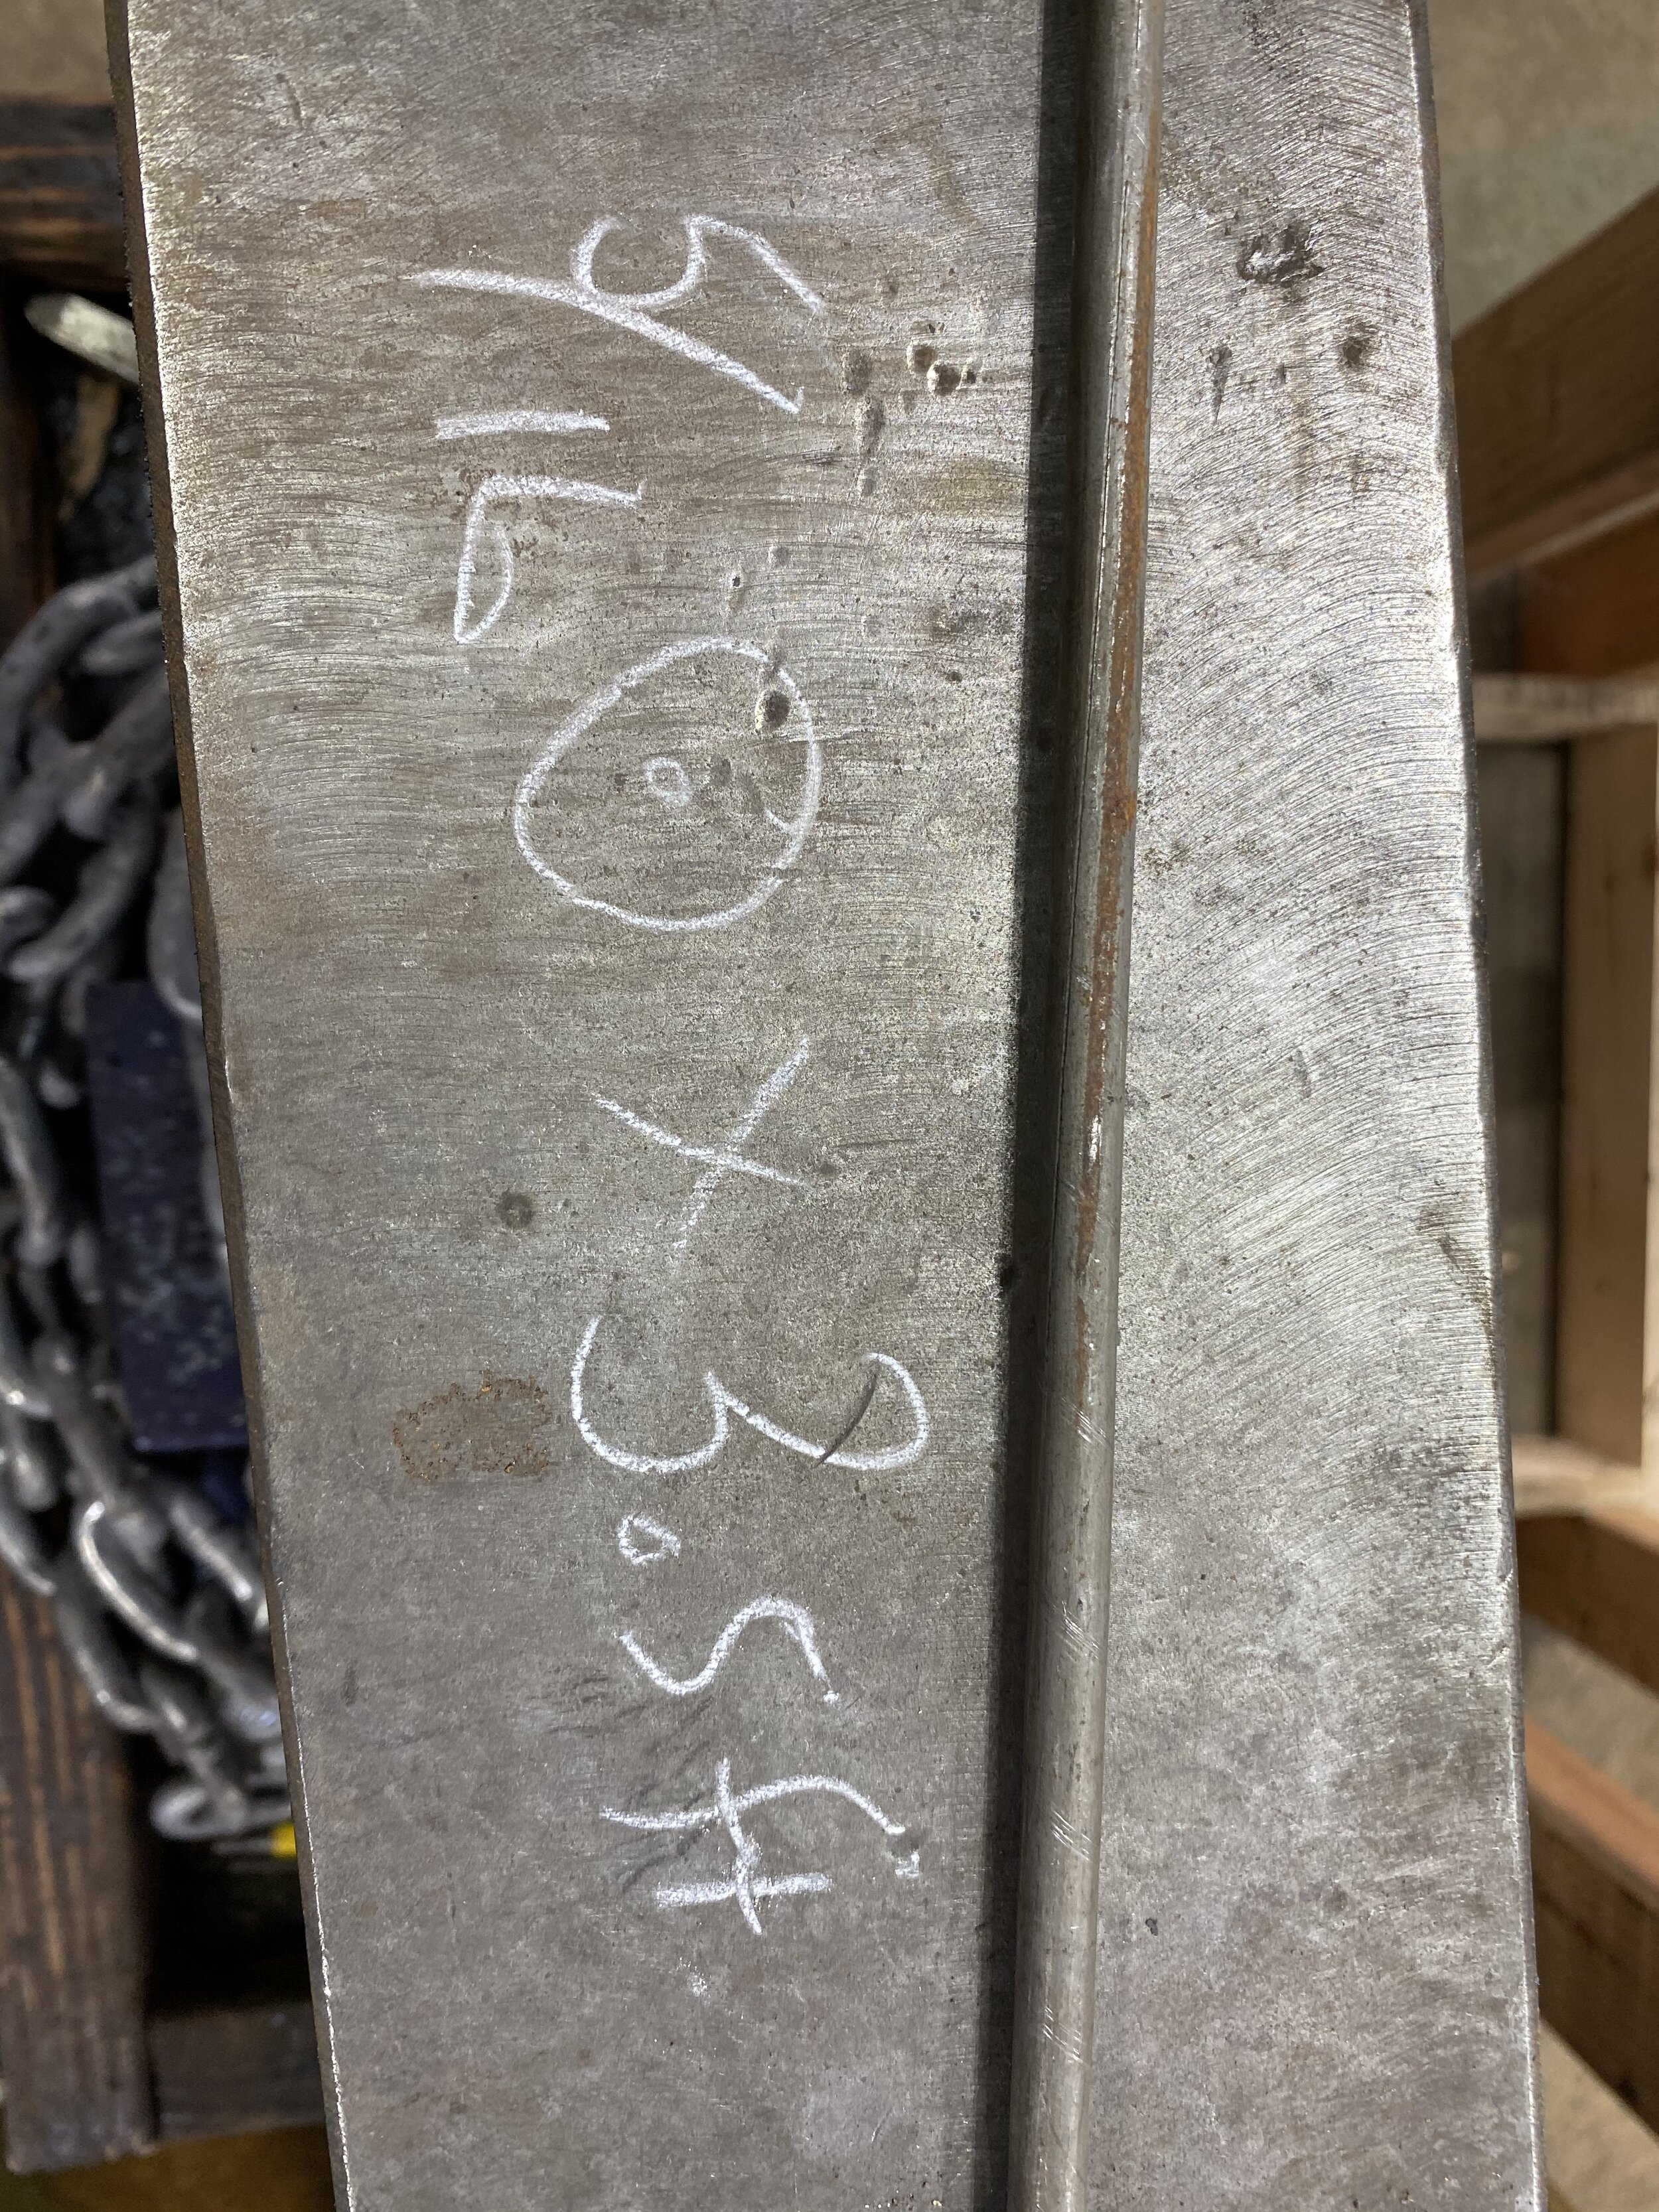
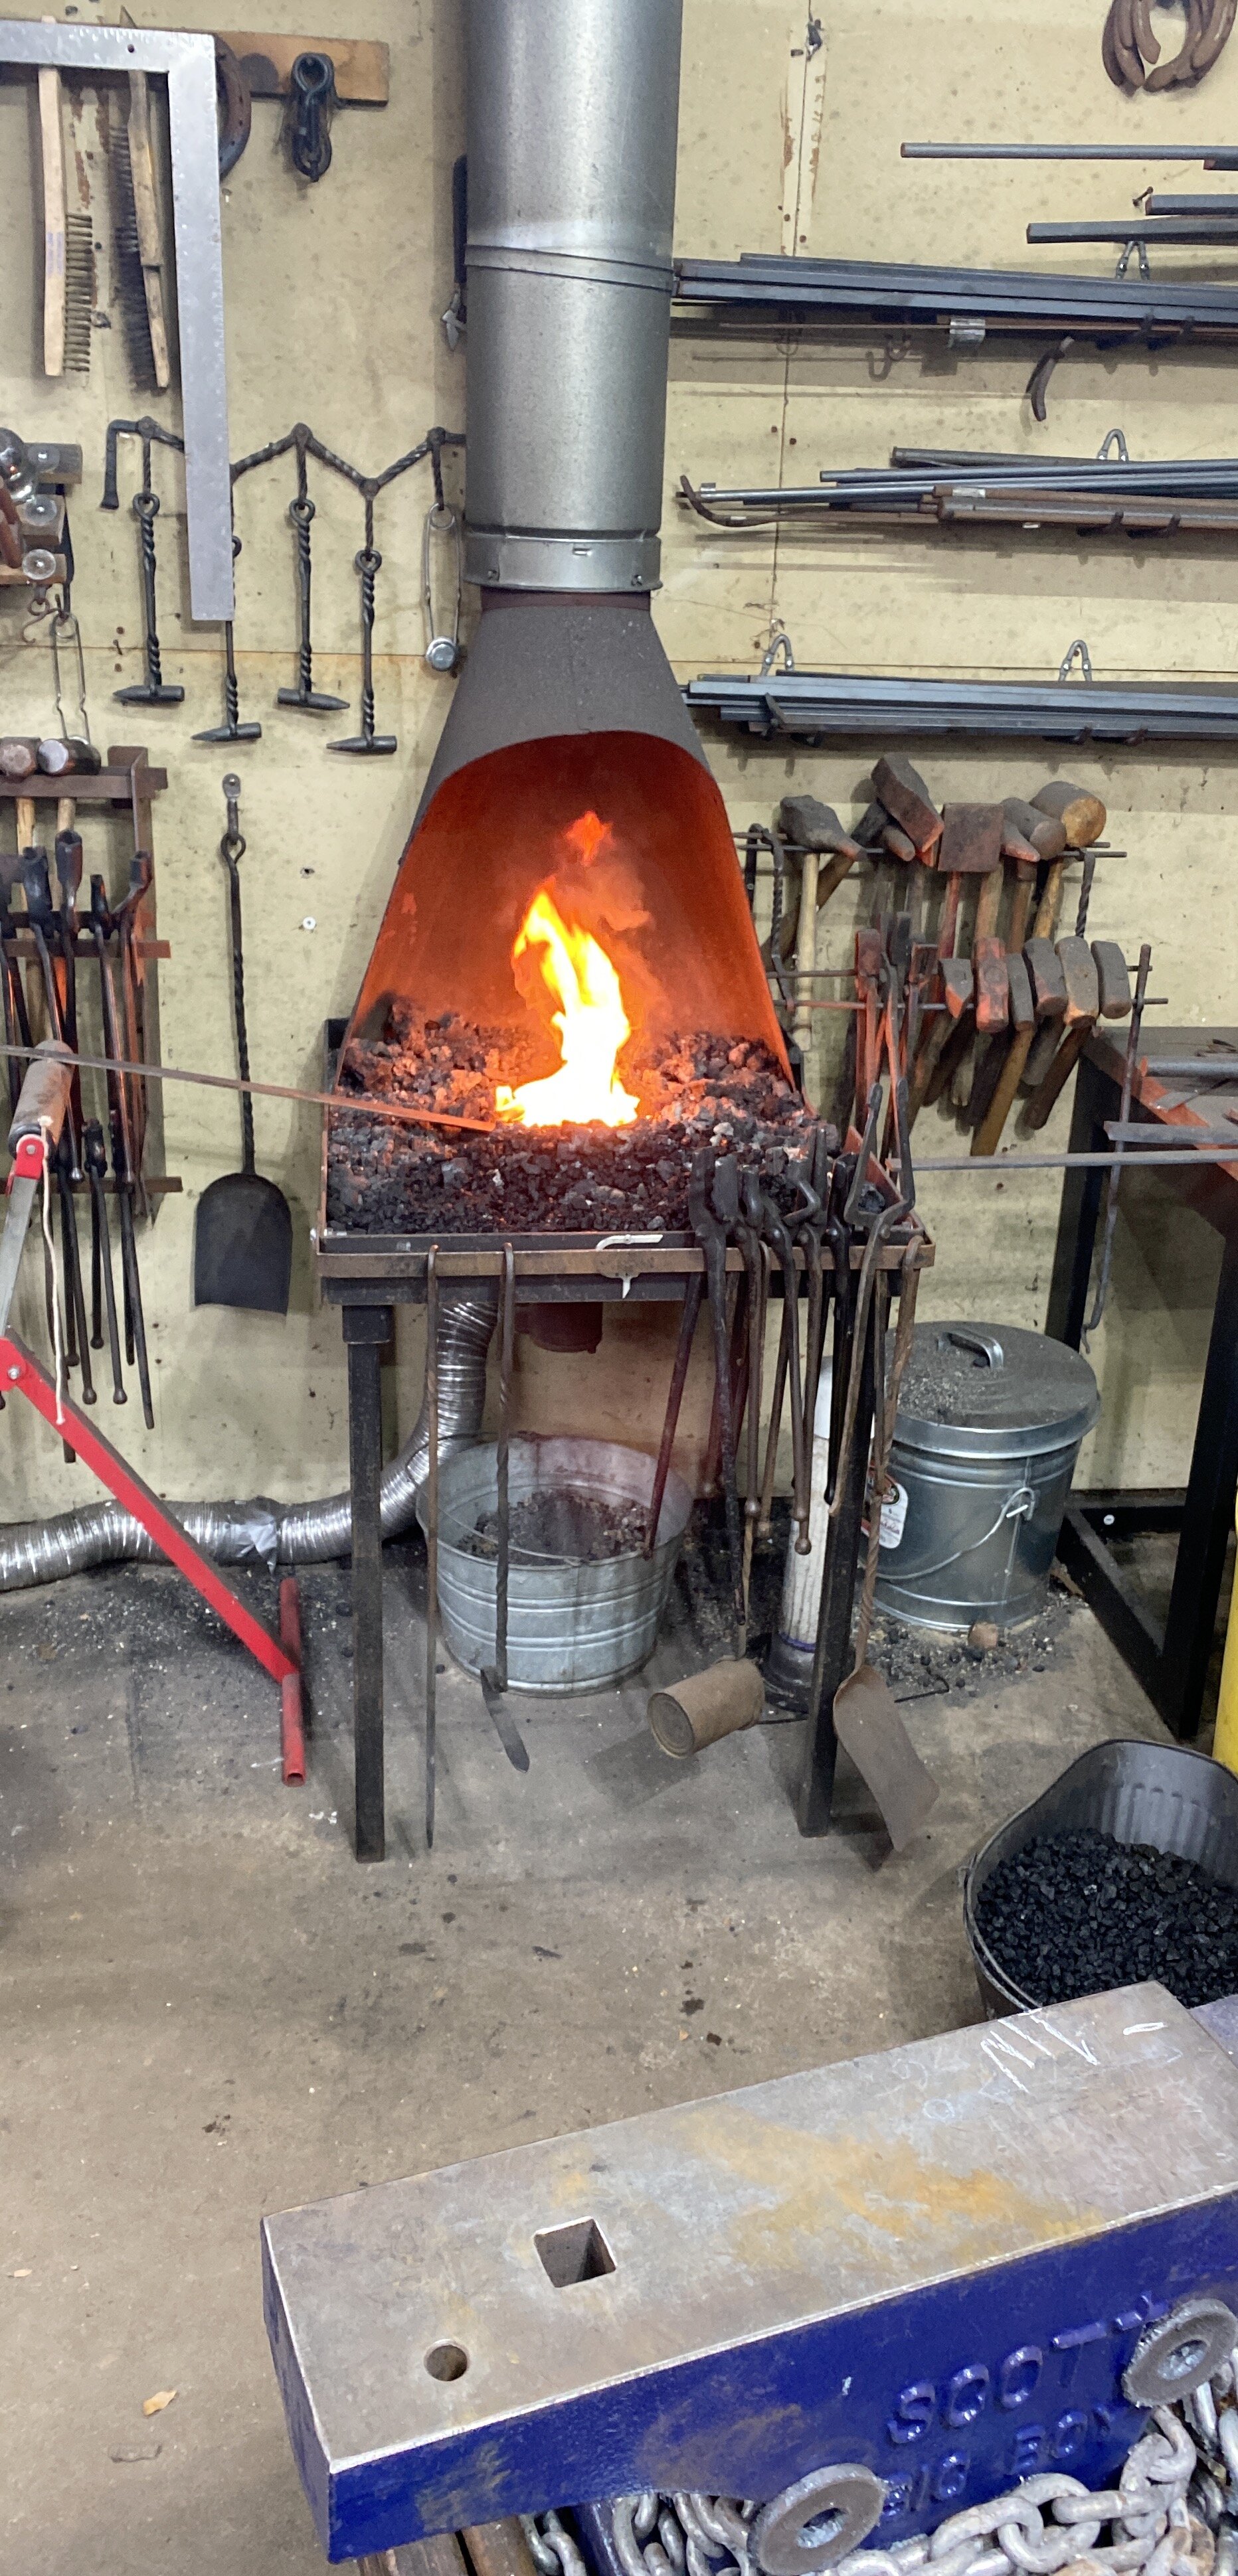
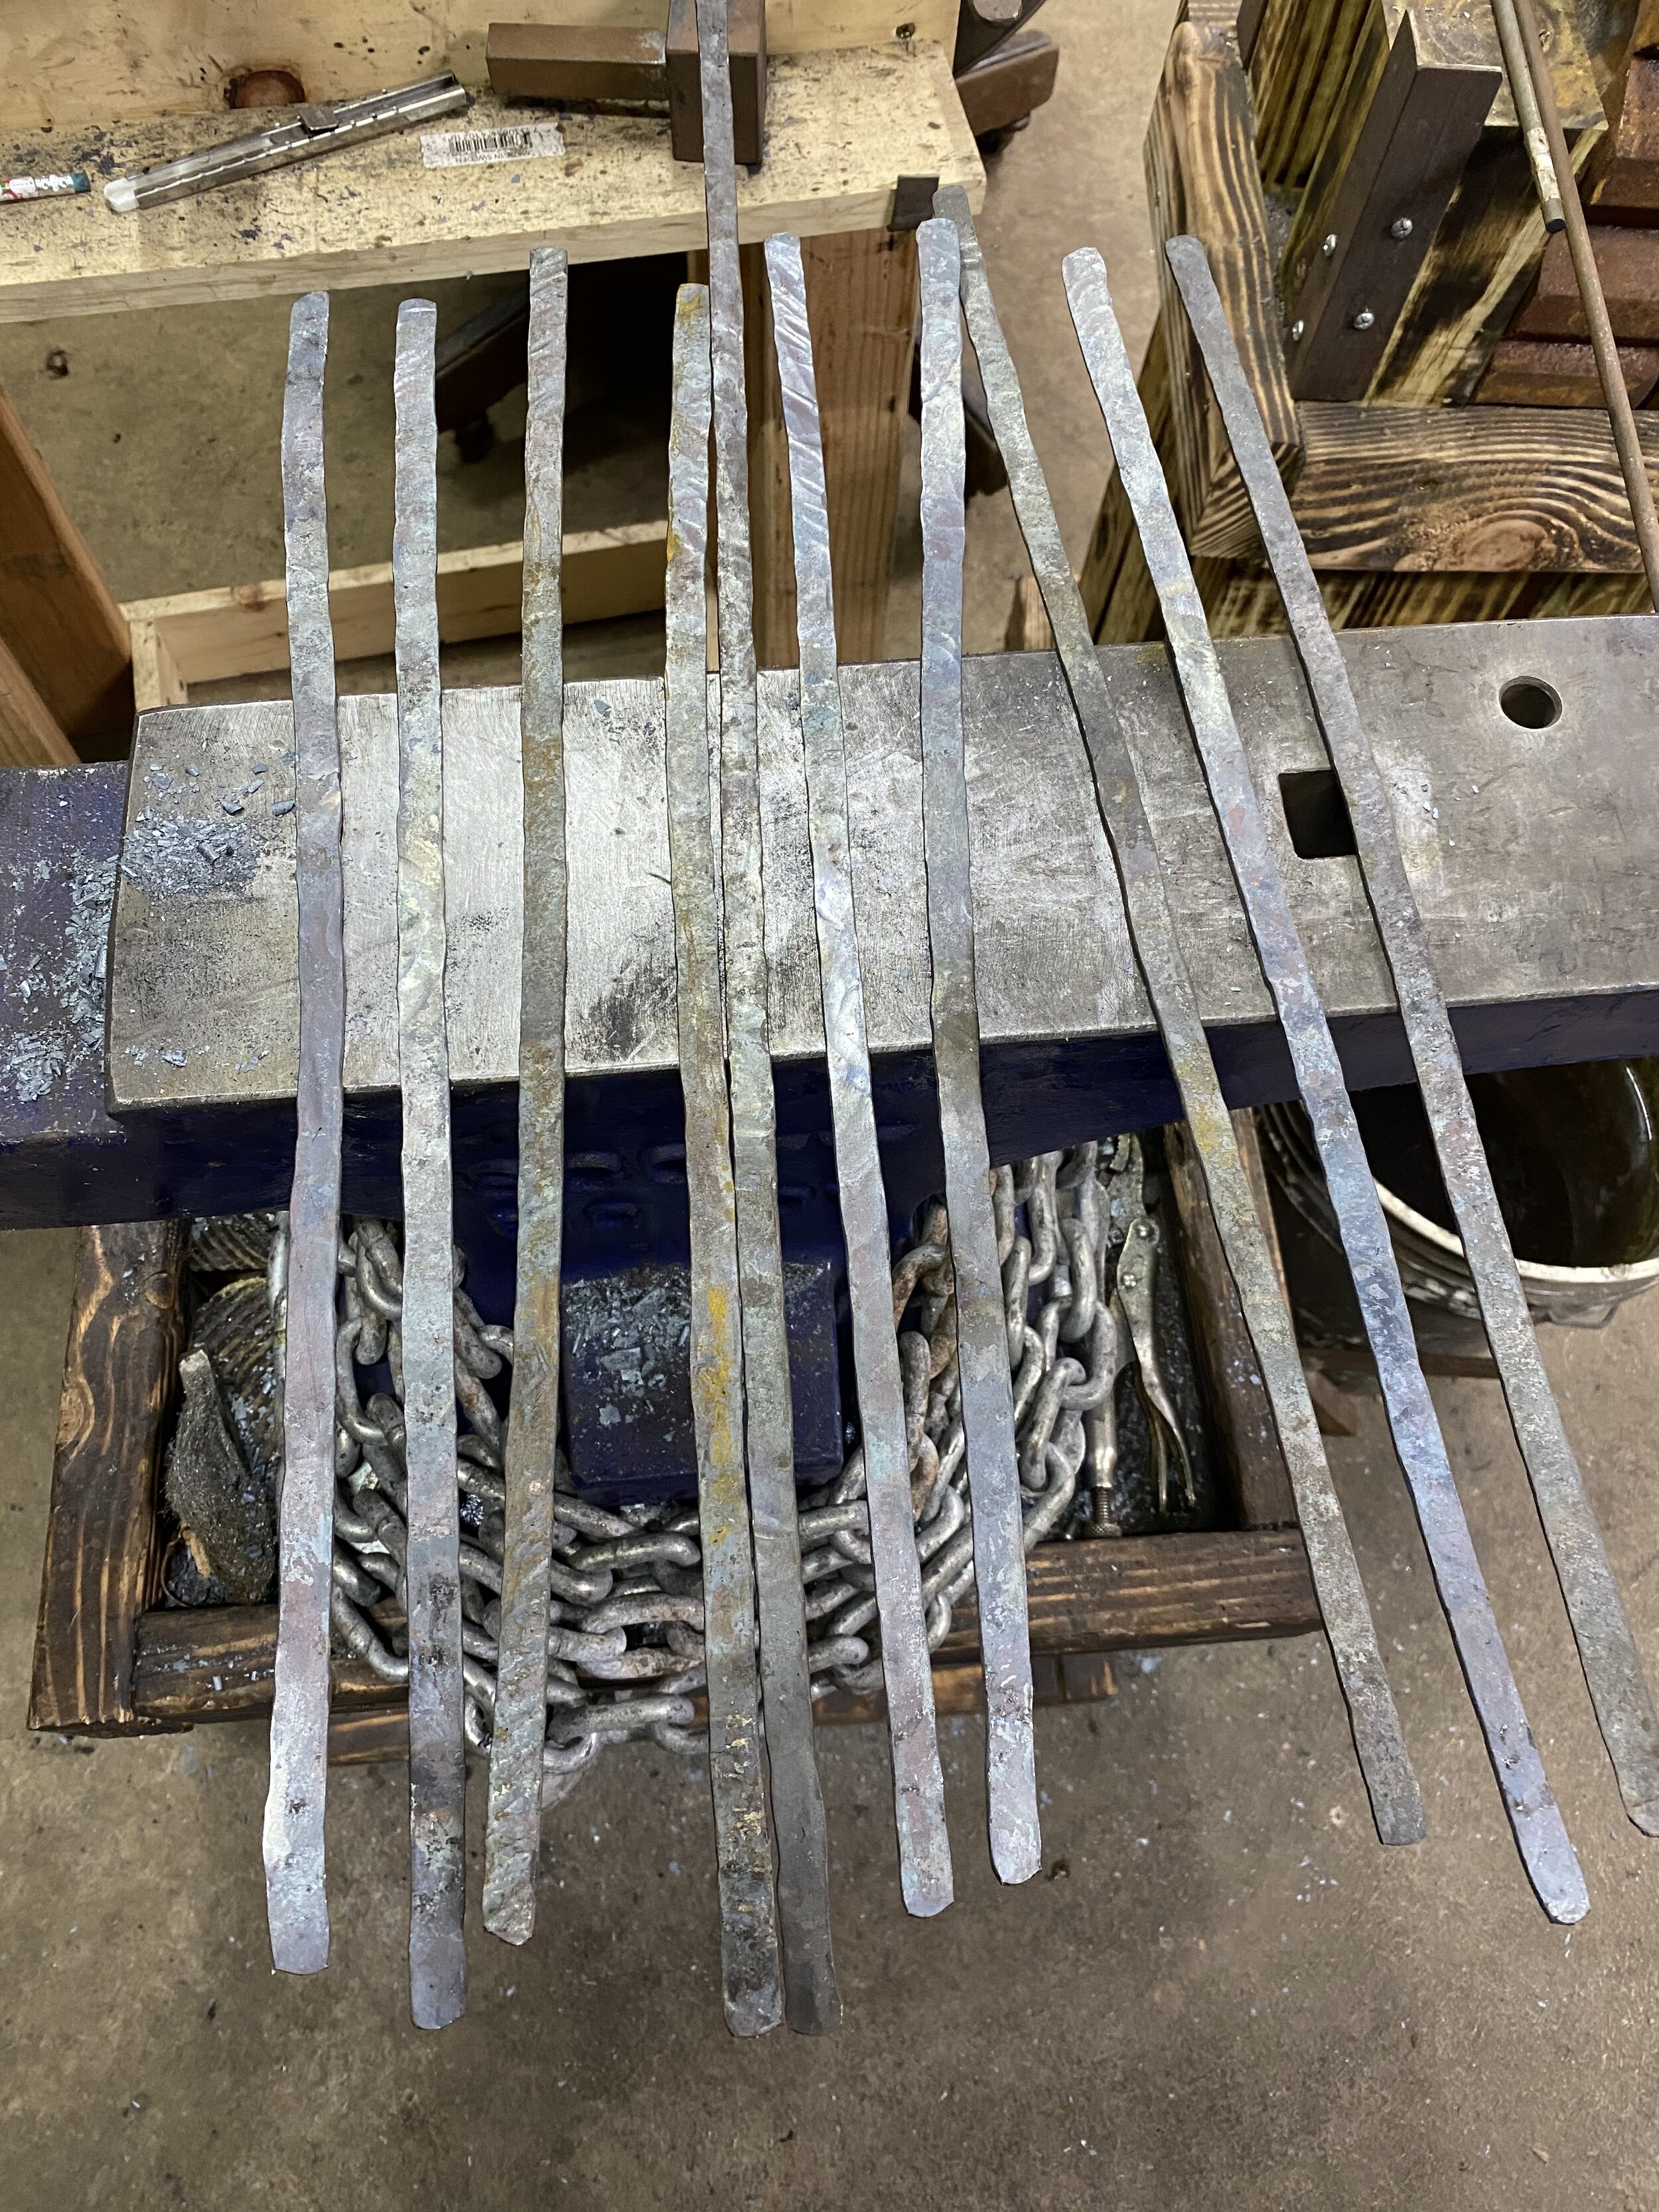
I have also started a few more tools for the Mastermyr chest as well as starting on the Fire Grate from the find. Here is a gallery of that work:

And now the photo dump for the casting of the hooks:

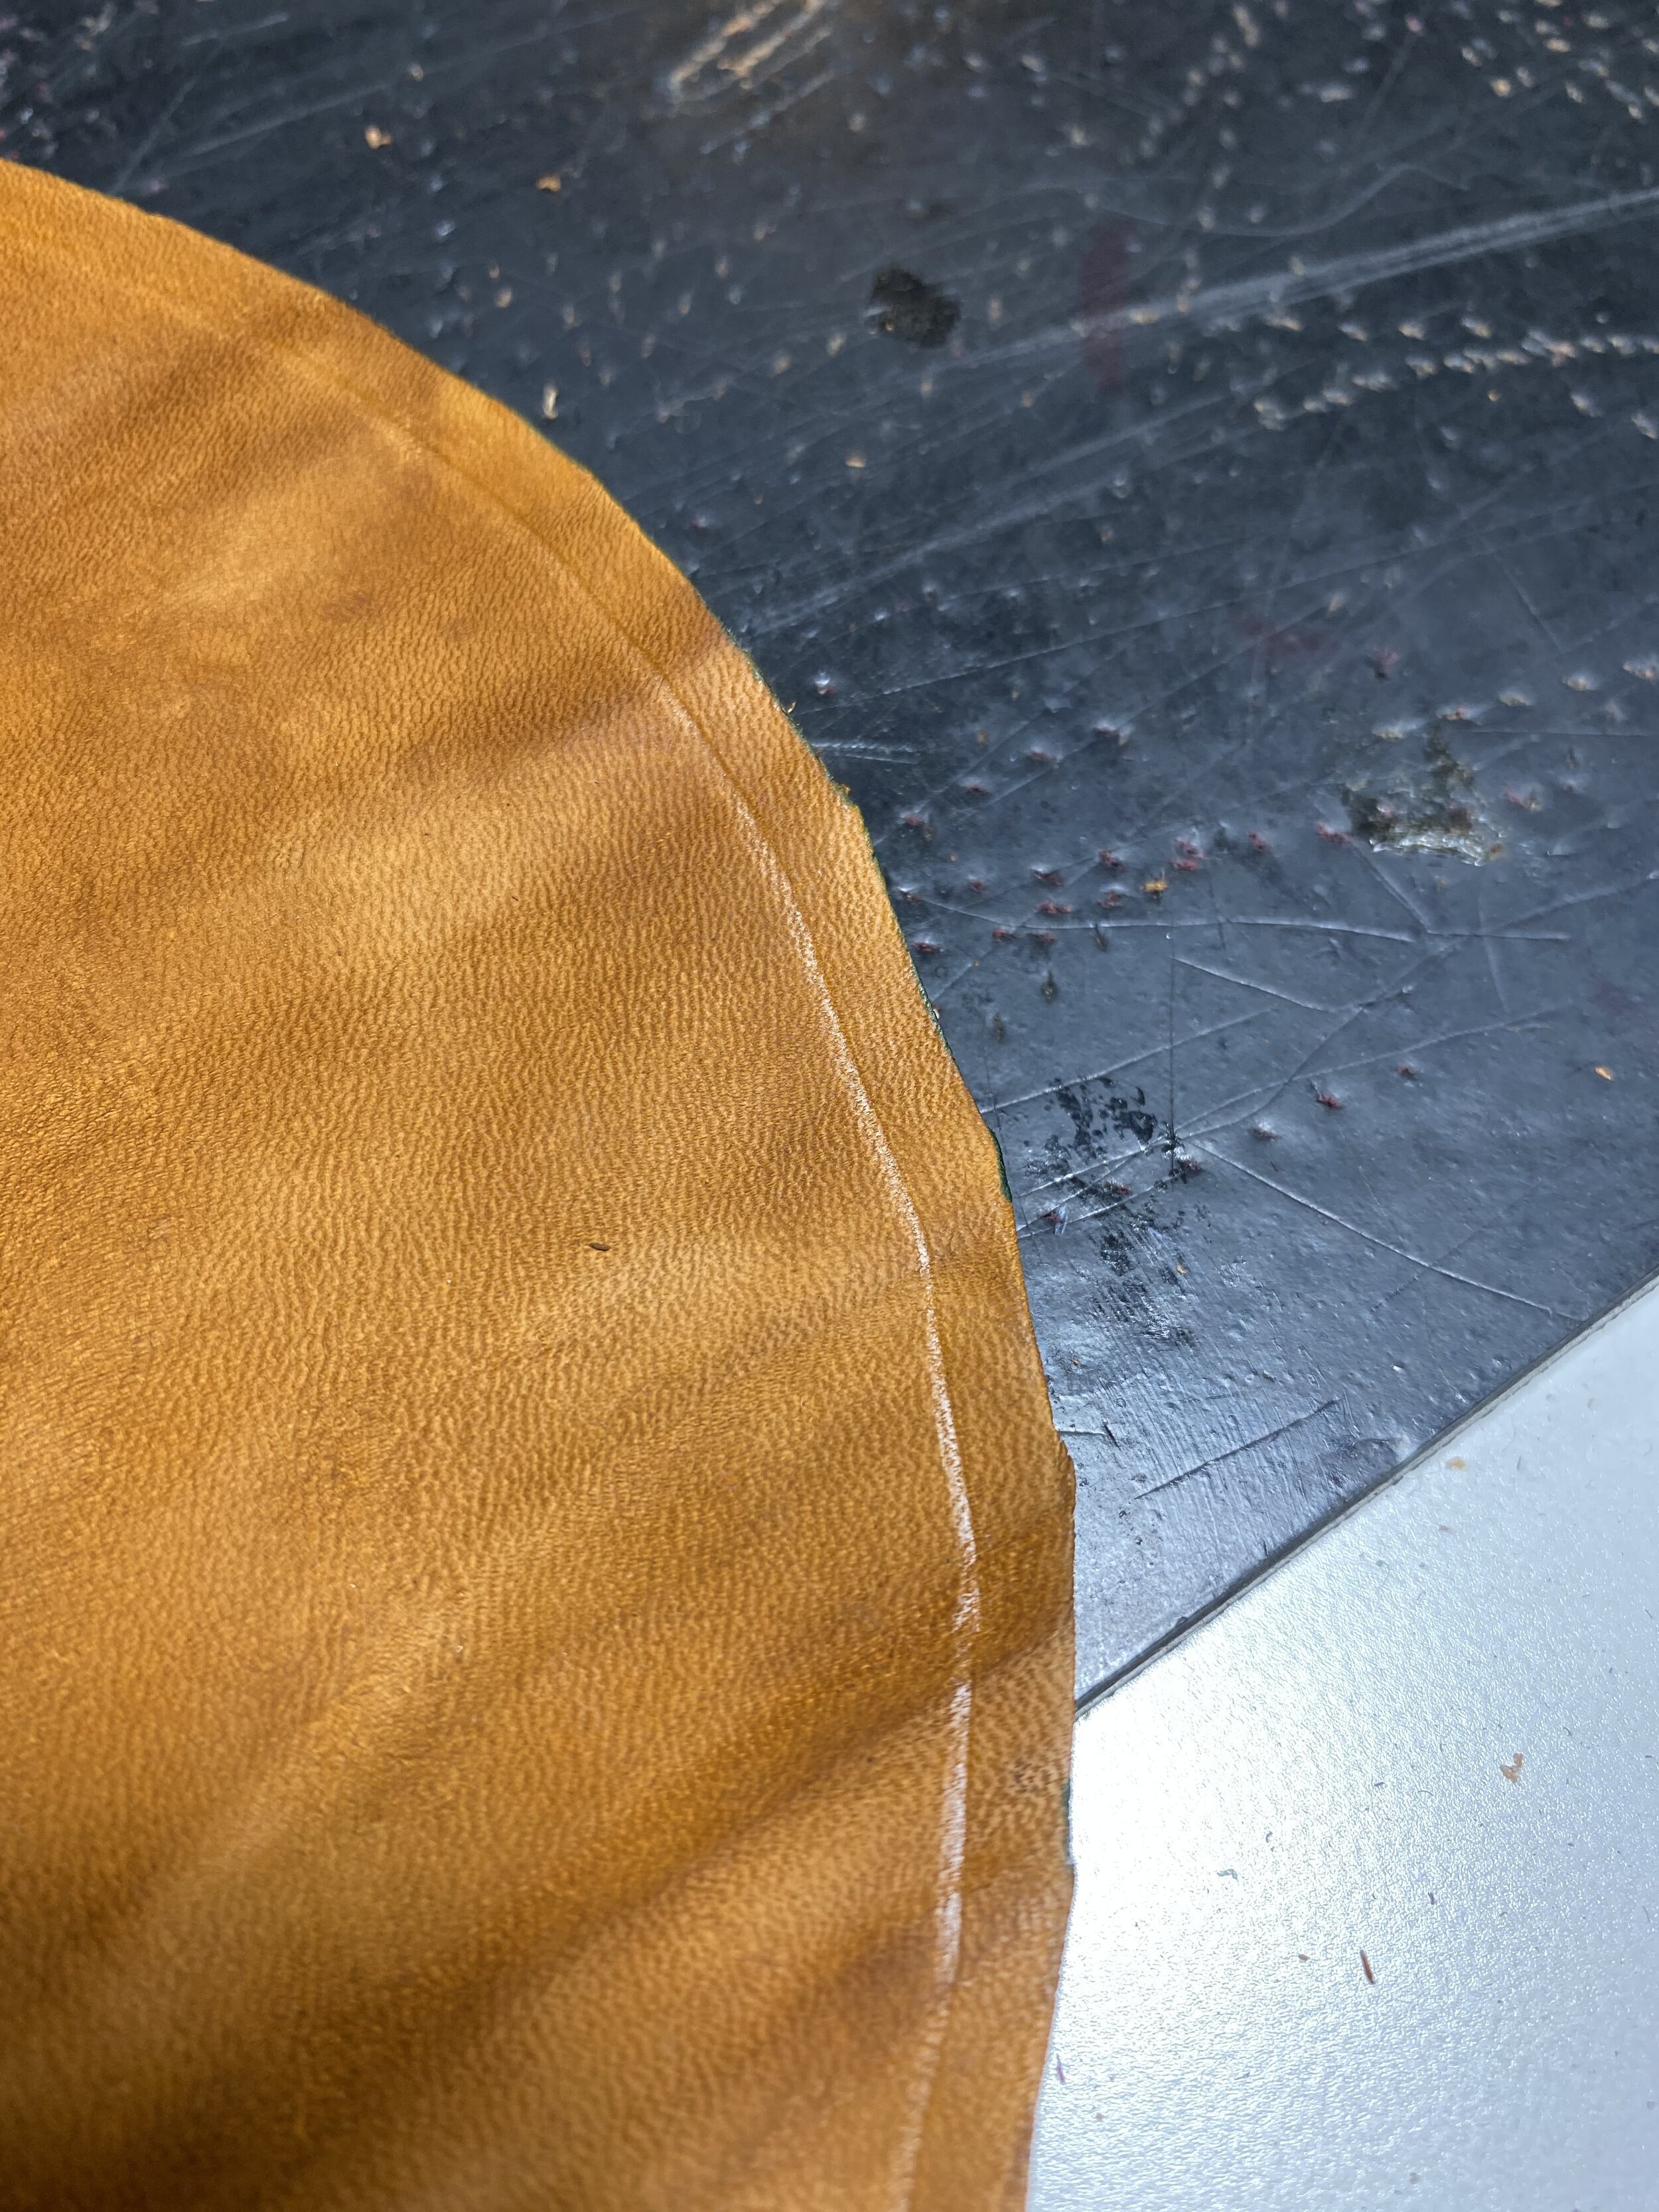
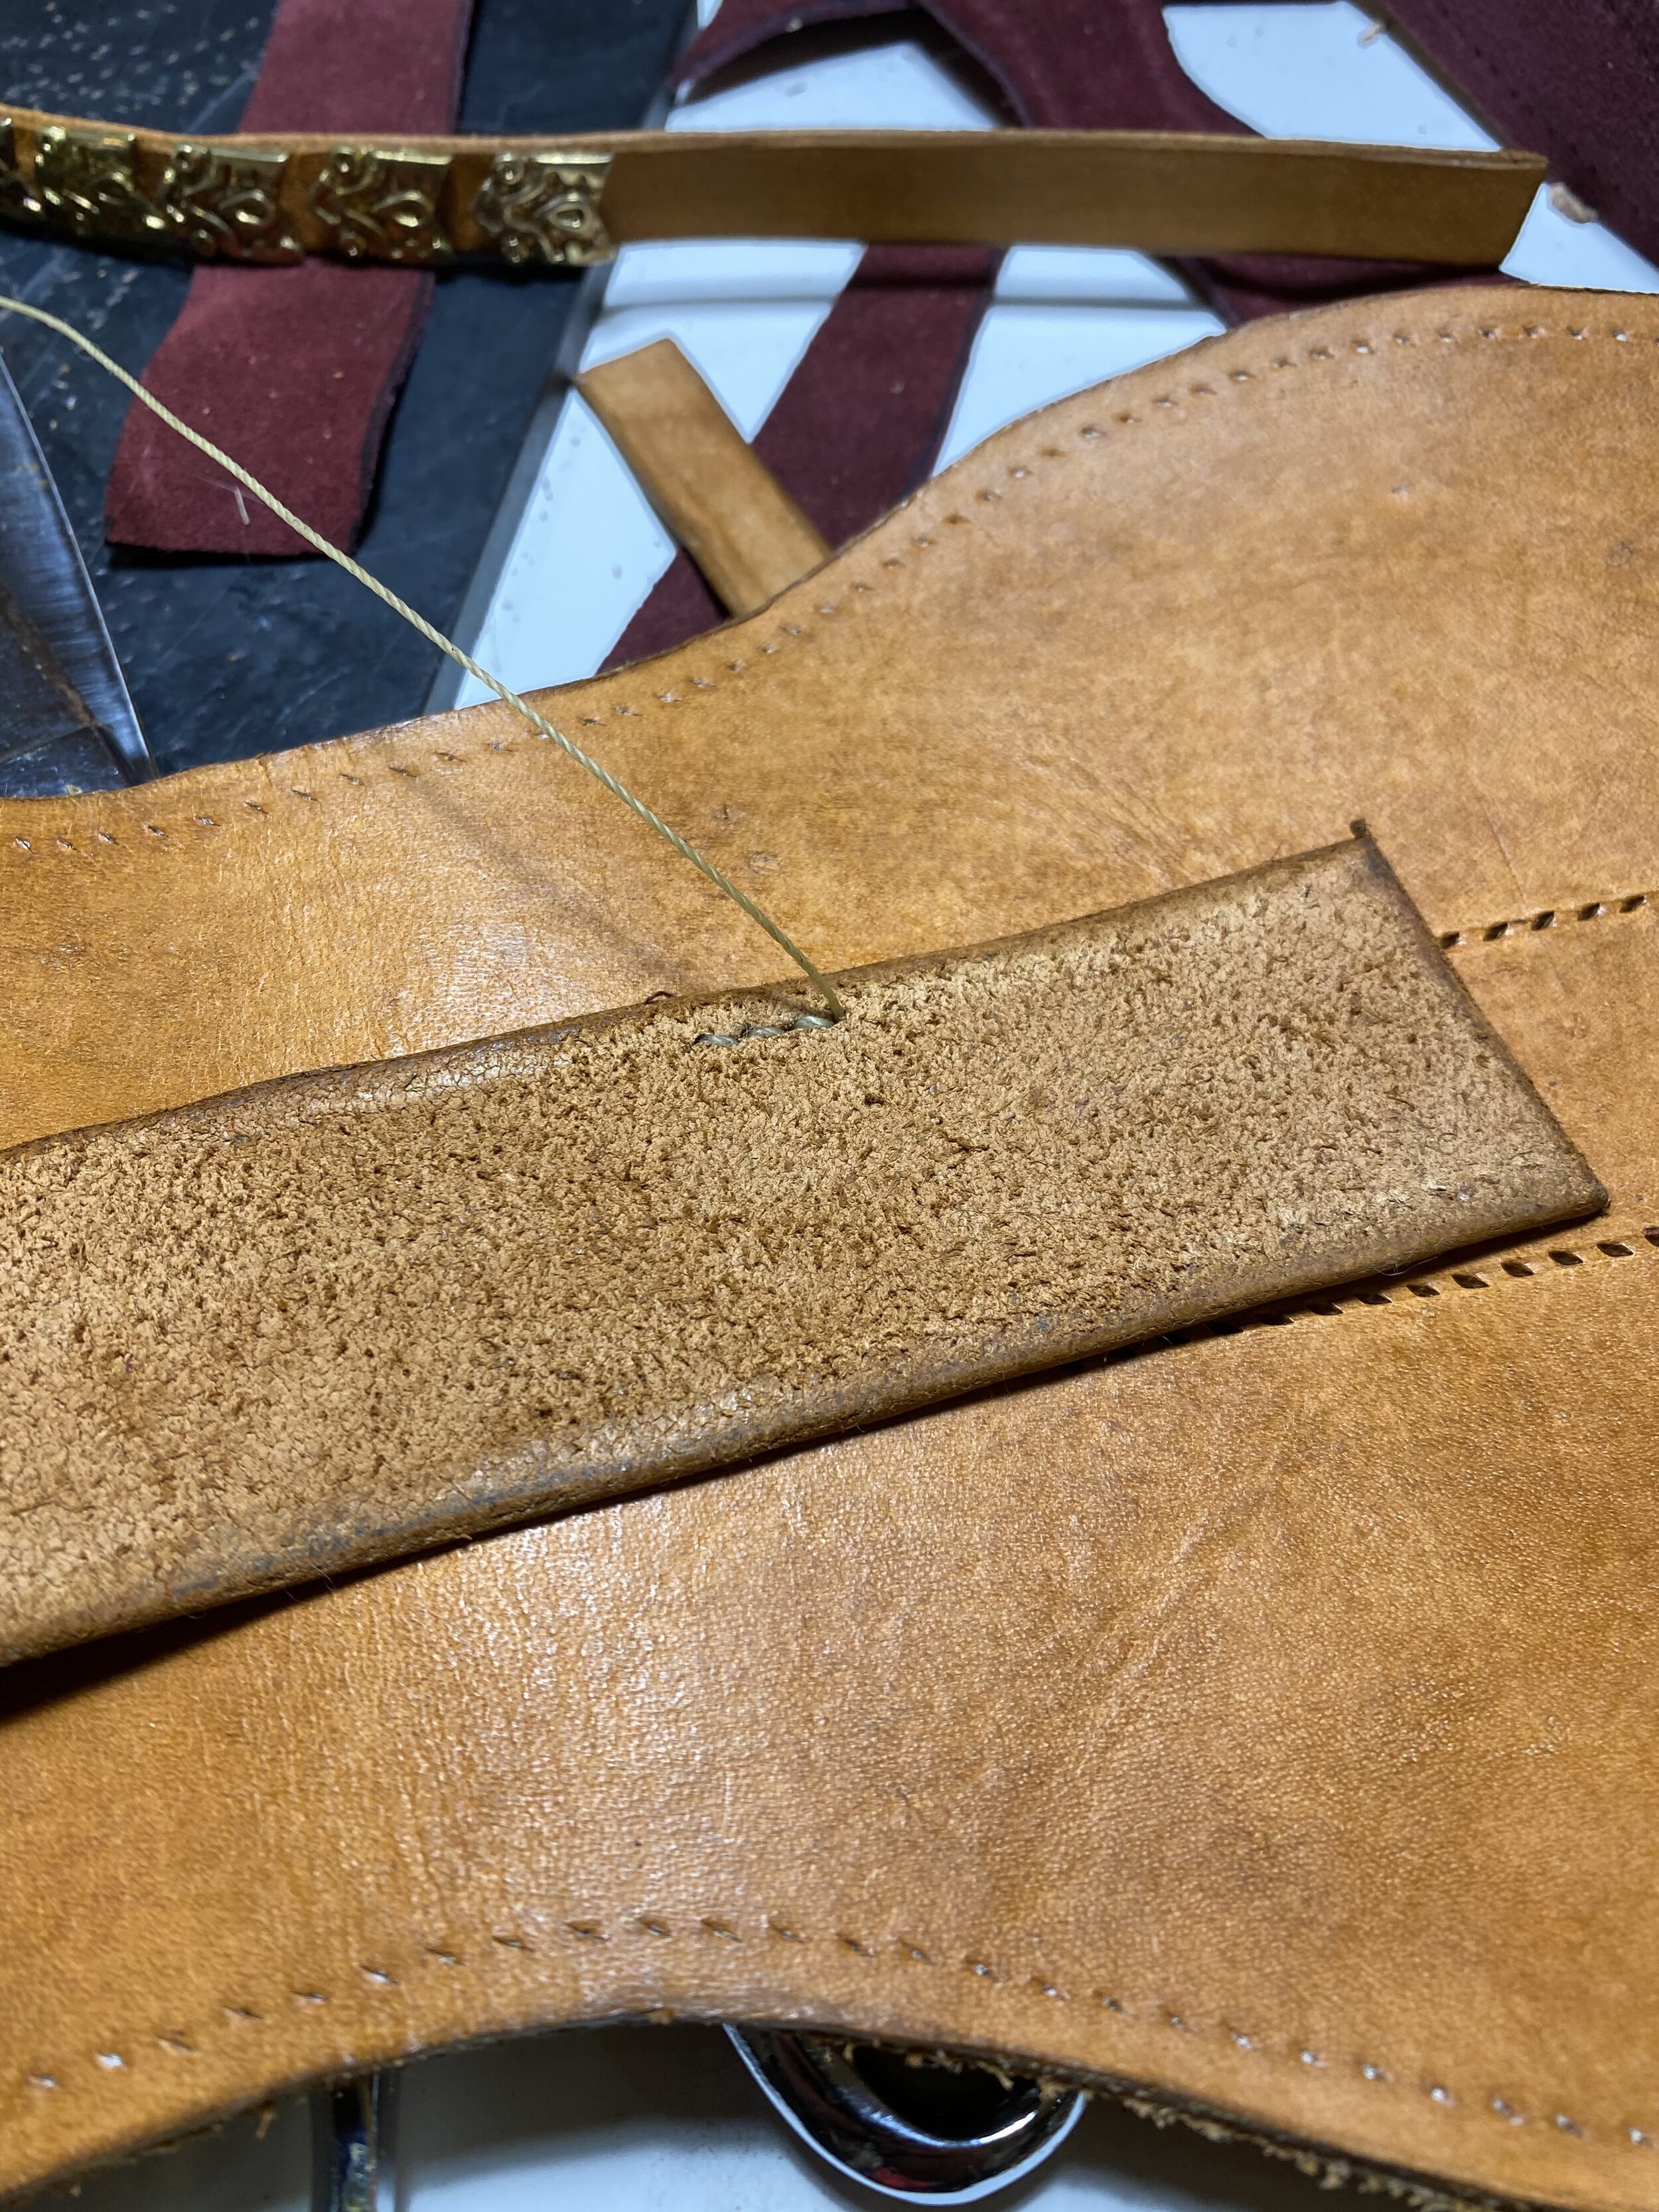
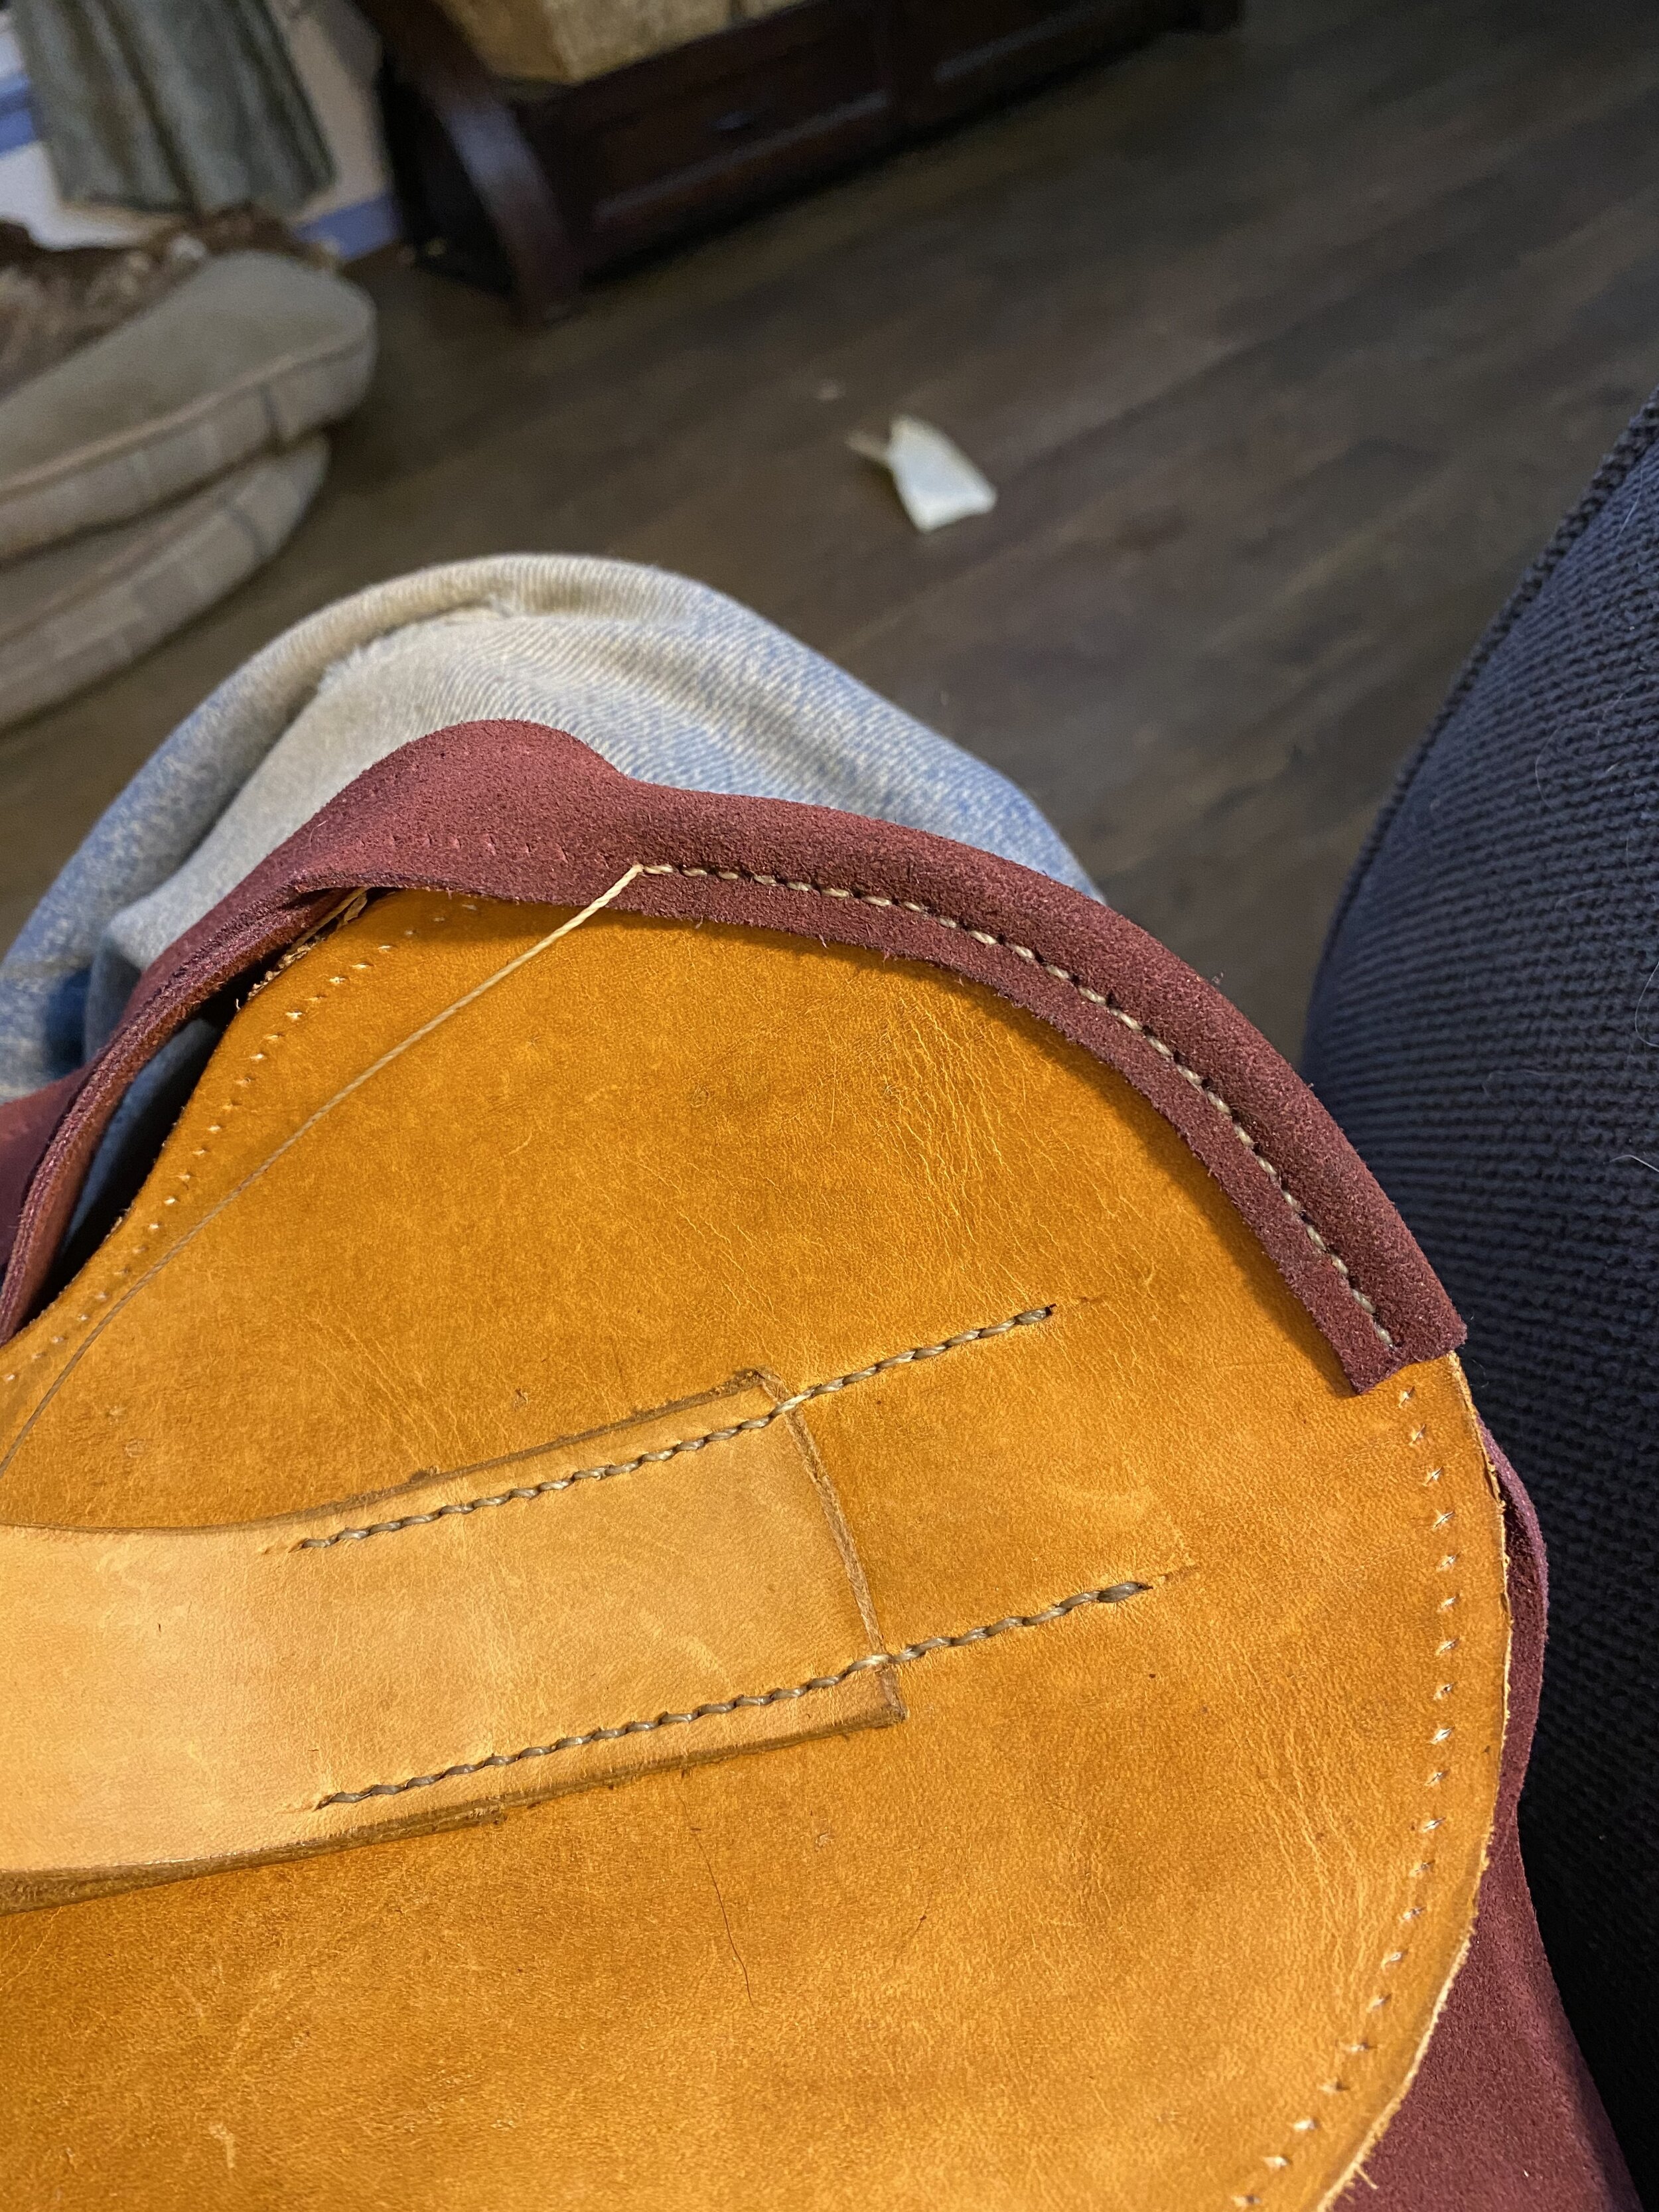
Almost at the end, Here are the photos from making the Birka Pouch:

Finally a brazier that I put together. This one ended up being more of a proof of concept then a finished piece that I would use. I am undecided on reworking this one or making a new one to correct the mistakes in this one.

I am sorry there is not much about these photos, but I wanted to get caught up on what I have been working on and concentrate on what I am working on next. The 4 projects for the contest are explained in the documentation that can be found at the top of this blog. If you have any other questions about anything in these pictures, please do nto hesitate to ask. Hoping to be more on top of things in the future, I remain

Your servant,

Grimm

Another blog that I waited to long to write.

Well, back to the once a month schedule, i was hoping to make it more often. Oh well. Let see what I have been up to this month. I have listed the total work done on each project, but most of it represents several different work periods. I was working several projects at once to keep from getting bogged down on any one.


  1. Mastermyr saw

  2. Mastermyr Adze

  3. More Work on the drawknife

  4. Some belt knives

  5. Handle production

  6. Mushrooms

  7. Bridle Hangers

  8. Finished Hammer #2

  9. Amie’s Tool

  10. Mastermyr Tongs

Mastermyr Saw

I was flipping through the book “The Mastermyr Find” by Greta Arwidsson and Gosta Berg when I came the description of the hand saw. On reading the description of the saw, i decided to make this the next object I was going to recreate. However, reading the text and then translating centimeters to inches, rather blew my mind as far as the size of this saw. i also failed to read the caption on the page it was illustrated on that the scale was 1:4 and not 1:2 as were the rest of the illustrations on that page. This thing is massive. More of a short sword with teeth than what we think of as a saw. On doing further research, it is not all that surprising., the metal that they had available was not able to handle the flexing that our modern saws are subjected to. This is why so many medieval saws were of the frame type. This however was a saw with a single handle and no support.

When I started making this saw, I wanted to make sure that the saw was all forged by me, so, even with starting with bar-stock, I made sure none of the starting dimensions were equal to the final ones. This forced me to manipulate all aspects of the saw. The point that was on the original stock was cut off to make it an even playing field.

After forging the rough shape and dimensions, it was time to figure out the teeth. The Bar in the 3rd picture represents several attempts to figure out how the teeth were cut. The texts say that they were cut 4 on a side, which i was not sure how to do with a saw this thick. My wife and I puzzled it out for quite a while till we came up with what I think is the proper configuration.

Once the teeth were all cut in, the saw performed surprisingly well. It cut a very wide cut, but it cut quite well. The next step was to add a handle. The handle that was discovered on the saw was damaged and had the tang protruding through the back and bent at a 90 degree angle. From the looks of the pictures and from what I have discovered of Viking style handles, I felt that the handle originally was much longer and the tang bent over to compensate for the missing handle wood. For this saw I took one of the handle rounds (see below) and made a long handle similar to those seen on other medieval one handed saws. In this case the handle was made of hickory, instead of ash because hickory was the toughest wood i had available.

Mastermyr Adze

Yet another piece from the Mastermyr find. This time a woodworking tool. I hope to use this on the creation of the actual Mastermyr chest. It is a scoop like tool used for hollowing out wood. This I was hoping would be a rather straight forward piece, but it has been taking a lot more out of me then I thought. I have put this piece to the fire on 2 seperate occasions and yet still I am not finished.

Once the eye was drifted, it was time to start working on the shape:

This is where I left off on this project. The amount of metal and configuration (rough shape) was all off for this project. There is much more metal here then was needed and I will end up working a bunch of it to be cut off, just to make a tool of similar size. More on this when I do more.

The Draw Knife

As happy as I was with the shape of the drawknife, i found a major drawback in the work I had done so far. With the arms bent into final shape, the tool would not fit into the quench tank. the one arm was heated up and unbent into a straight shape. The drawknife was then ground into rough shape. This was then heated to non=magnetic and quenched in vegetable oil. A file then skated across the blade indicating that it was as hard as I was going to be able to get it. This was then set aside till the belt knives were ready as well for tempering. The steps for tempering this blade can be found in that section.

Once the blade was hardened and tempered, the handles were then put in place. This was done with one of the pieces of handle rough described below, They were both turned from the same stick allowing me to adjust each one to get very similar handles. These then had pilot holes drilled and then the ends of the drawknife were heated and burnt through.

Now just waiting on a final sharpening and time to put it to use.

Assorted Belt Knives

Because I had the oil out to quench the drawknife and because the adze was driving me crazy, I decided to make some small belt knives. None of these were made following any specific extant blade, but just following a general Scandinavian utility knife pattern. For the steel for these blades, i elected to use spring steel harvested from both a snowplow spring and a garage door spring. I also made a more robust blade from a piece of a2 tool steel.

These were all:

  1. Hammered into rough shape and the tang defined.

  2. ground, filed and sanded into final shape

  3. Heated to non-magnetic and quenched in vegetable oil

  4. File checked

  5. Tempered at 475 degrees for 1 hour.

  6. Grinding an edge on the blade is the next step and will be going on opver the next few weeks

Handle Production

In stacking firewood from the house, i came across another fairly straight piece of hickory. These I save to make handles out of. Knowing that I had several handles coming up, i decided to go ahead and turn them down into rounds. This in only being written about because I took the photographs for future documentation that these pieces get used for.

Mushroom Mania

I am just to tired to write about all of this. If you have questions or would like this explained, please contact me.

Bridle Hangers

So for those of you who have been following along at home, this is the same bridle hook that I made for my wife once long ago and the same hook that I made in pink for one of the other girls at the stable where my wife rides. The only difference is that these were made on a massed produced schedule. Each step was done on all six then the next step started. I am afraid that I still cannot figure out how to think like a blacksmith as far as figuring out the order of operations. This pisses me off greatly, I find that the order that I decide to work on these types of things ends up with a step interfering with the next one.

Finishing Hammer #2

This was the hammer that I have been working on for the last month or so. All I did this time was take one of the handle stics and shape it into ta handle and attach it. The handle was driven on and then wedged to keep it secure. I will be trying it on one of my upcoming project to see how it does. The next step will be to make the sledge hammer which is at least twice the size of this one.

Tool for Mistress Amie Sparrow


Funny story time. A while ago (Before Christmas) I found an ad for button hole and jag cutters from the Tudor Tailor. These were basically iron chisels for cutting fabric for creating button holes or jags in fabric. These looked really cool and I wanted an excuse to try my hand at making them. (because I hate making things just for the sake of making them). So i decided to contact the one person who I knew might value them. This was Mistress Amie Sparrow. If any one would both treasure and use them, it would be her. So in my youthful exuberance, I contacted her to see if she would be my muse on attempting to make these. Alas, she had also seen the same ad and convinced her husband to procure her a set. And him being the gentleman that he is, instantly set about obtaining a set for her. Knowing that she liked the tools, but had obtained her own set was like a dash of cold water to the face of my excitement. Screw these Gosh Darn things. Mistress Amie, not knowing the depths of despair her new toys threw me into, asked me if I had ever given any though to the velvet embossers that The Tudor Tailor also produced. These were something that I had never seen and were made of techniques and materials that I had neither worked with nor had any desire to work with. To her suggestion that perhaps I could put the energy into these instead of the tool that I wanted to make was quickly shut down. I was not going to pick up another hobby involving new tools and techniques. Forget it! Not going to happen!

…..

….

I actually made it 3 days before I was studying them to figure out how they were made. It looks like they were either cast or milled brass and neither of these was I capable of. I thought of making them of cast pewter, but the heat needed to use these tool would eliminate that. Case closed, not going to happen.

So on further inspection, it looked like the head was cut to form the pattern and that was not so different from the engraving that I had done for several jewelry pieces that i had made But the scale of the cutting was so much more massive then anything I had worked on before, plus there is no way I could figure out how to attach the brass to the wooden handle.

..

..

So the brass was ordered last week and showed up just before my day off. The pattern was then drawn on the face and all of my jewelry tools were brought to bear on the problem of how to remove all the brass that was needed to produce the stamp. After a few false start, I finally found the right combination of cutters and flex shaft tools to produce a passible copy of the design. Once the design was finished, the bar was cut off about an inch from the top (picture #1). This was then drilled and tapped(first time I had ever tapped anything for a screw). For the handle, I pulled out all the stops and decided to go with a piece of marblewwod that I had purchased several years ago and was saving it for something special. I could not think of anything more special then making a tool for a good friend and so it was decided. The collar on the wood was made of copper because I did not have any other material on hand to make such a thing. I could have made a collar of steel from a thin sheet hammered and bent to shape, or do the same thing to a flat sheet of brass, but I didn’t want to waste a bunch of time on something so silly. Once the wood was turned to the proper shape(a little long, but I could not bring myself to cut the marblewood short. it was drilled and tapped to except the same screw size as the brass. A steel bolt was then beheaded to produce a piece of all-thread to screw into each end. This did not produce a seamless transition between the brass and copper collar, but I do not think that it will matter to much for the usefulness of the tool. The handle was then given a polish and the tool was ready for shipping. I cannot wait to see if it works and what wonderful creations Mistress Amie will make from it.

Mastermyr Tongs

So, time for my next tool from the Mastermyr find. The Tongs.

Random Pictures from the Forge


Well, this has been a ton of shite. I started writing this on Monday, and plan on publishing it on Tuesday. I am not sure how much of all that I have to say on all of this I am going to get to. This part is being written at 1:00 am Monday night and I am just about done. It is driving me nuts all of the things that I need to say about each project that I will not get a chance to cover. Only a small portion of what I wanted to write about has been written and I don’t know how much fill in I will be able to get done tomorrow. If each project has sparkling detail and volumes of information, you know that I was worrying needlessly. Eithe rway, if anyone had made it this far, thanks for sticking it out.

Your servant,

Grimm

The items I have made from the Mastermyr find:

  1. The chest lock and key

  2. the tongs

  3. the hand saw

  4. The Auger

  5. Trivet #1

  6. Trivet #2

  7. Hammer #1

  8. Dog’s head Hammer

  9. Hammer #2

  10. Nail Header

  11. Hack saw (not pictured)

Long time no write. Sorry


Its been about a month and a half sense the last time I wrote one of these things. I have been questioning if they are even worth it. I came to the conclusion that they have value as a diary of sorts if nothing else. So here is what I have been up to sense Halloween.Not sure how detailed the info will be for all of these, but I can at least post the pictures so I can find them again.

What I have been working on (the list):

  1. Draw Knife

  2. Froe

  3. Hammer

  4. Hinges

  5. Nail Header

  6. Spade

  7. Coronets

  8. Bells

  9. Bird Feeder

  10. Bill Hook

  11. Bottle Stand

The draw knife

Ended up doing a bit more shaping on the draw knife. Still not finished yet, so more on it later.


Froe

With the work I have been doing on handles for the tools I am making, I decided I needed a froe to make working down the wood easier. That way I would not need to turn an entire fire log. This is being done with a large and heavy piece of steel and is more then I can finish in a single sitting. It also involves a forge weld which took up a ton of time and I am still not sure if it took. This is something I will get back to soon.

Hammer

Finished up the hammer from my last entry and now just need to add the handle.

Hinges

A long time ago, I decided to help my friend Lord Christof create a viking chest by forging him a set of hinges and a clasp for a generic viking chest. These I finally got around to doing, now I just need to send them to him.

Nail Header

Once again it was time to work on another object from the Mastermyr chest. This is another item that I need to write documentation for, so I will not be writing a lot here.

Spade

One day while cleaning up my work area, i came across the spade blade I made for Lorelei that I thought I had sent to her for her to put on her spade that she had been working on. I decided to try and make my own spade, so I did. A spade is not so much for moving earth as it is for cutting earth. so here is my attempt:

Coronets

I had to take a break from my blacksmithing because Baron Cormacc ua Rígáin contacted me to make coronets for him and his Baroness for their transition from Landed baronage to court baronage. This I was glad to do, but the court was only 3 weeks away from the request date. This caused me to pause all the current work that I had been working on to concentrate on making these. These were given out at court last weekend. They followed the pattern of Baroness Amilia, Baron Christof and Baroness Adina in that they are a hybrid between a leather and a metal coronet. This seems to quickly becoming my “style” of coronets.

Bells

Not related to the SCA, I became involved in a Christmas ornament exchange. For this I decided to make sleigh bells. These were done from blanks and I did not document much of what I did in pictures, but here is what I have, I have made 8 of them so far. For this I als ended up needing to make tools to make them so I was stuck welding ball bearings to steel rode to help form the insides. I am not a great welder, but they did not break when I used them

Bird Feeder

The last time I went to refill the bird feeders, i found the flat feeder missing its bottom. This was either through age or an attack by a raccoon. Because I could not find the missing pieces, I am leaning toward blaming the raccoons. But rather than working on other projects, I decided to work on a new feeder for my wife. Being an idiot, I went ahead and hung it up and gave it to her as soon as I was finished instead of waiting 2 weeks and giving it to her for Christmas. Such a fool.

Bill Hook

This was fun! My friend Mistress Lorelei Greenleafe messaged me just before I went off to work in my forge and asked me if

Bottle Stand

The final thing that I worked on was a bottle stand. This was created for my wife and I to allow us to drain and dry our wine carafe. Right now it is but ugly but it works. I am using this one as a model for a decent one that I hope to make soon.

Well, this is what I have been working on for the last month and a half or so. I am sorry there is not much detail about any one thing. That is a disadvantage of waiting so long before writing one of these. It has taken me most of a day to organize and write just this little bit. Hopefully I will be able to bring myself to write the documentation to a few of the pieces i have listed in this and past blogs. I am hoping to have a documentation collection for the Mastermyr chest as well as a documentation collection for both my agricultural tools and my kitchen tools.