Life Update.


Well, once again I don’t seem to be keeping up on all of this the way I wanted. Back to working more and playing less, so not as much to write about. Reaching back to my last post and seeing what has happened since then. Not sure how much I feel like writing right now, but here are a few quick notes of the highlights:

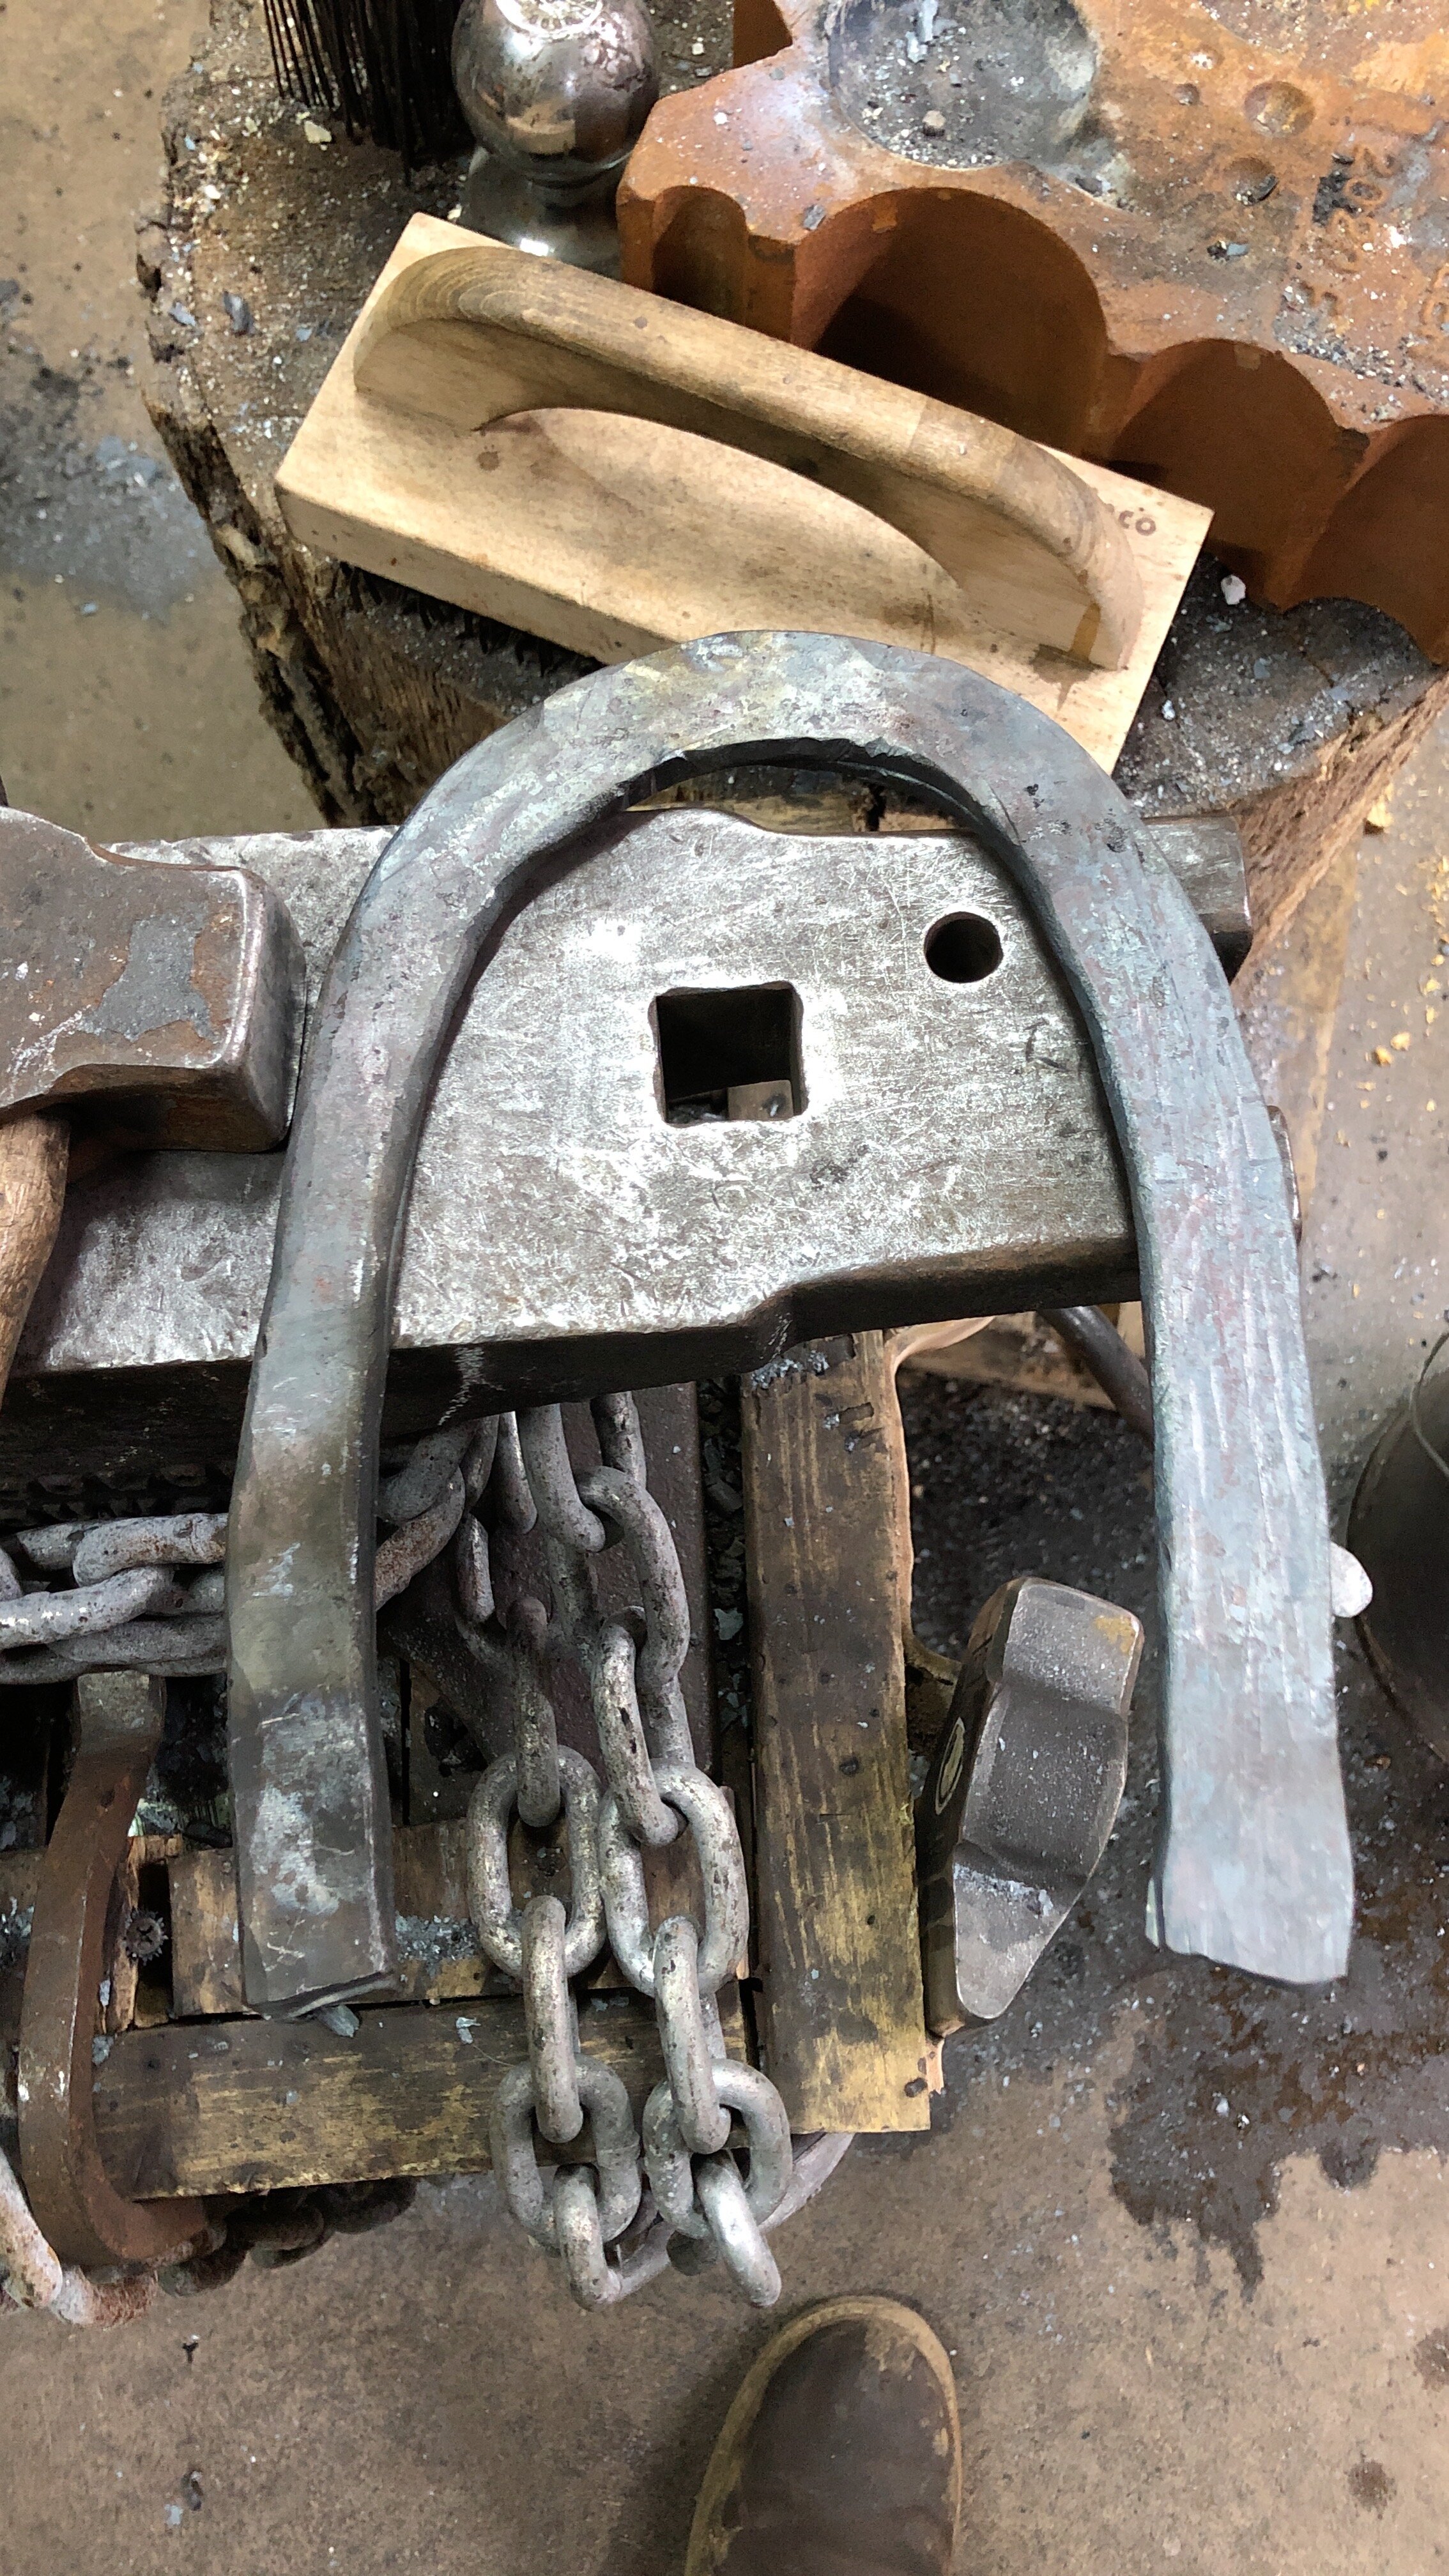
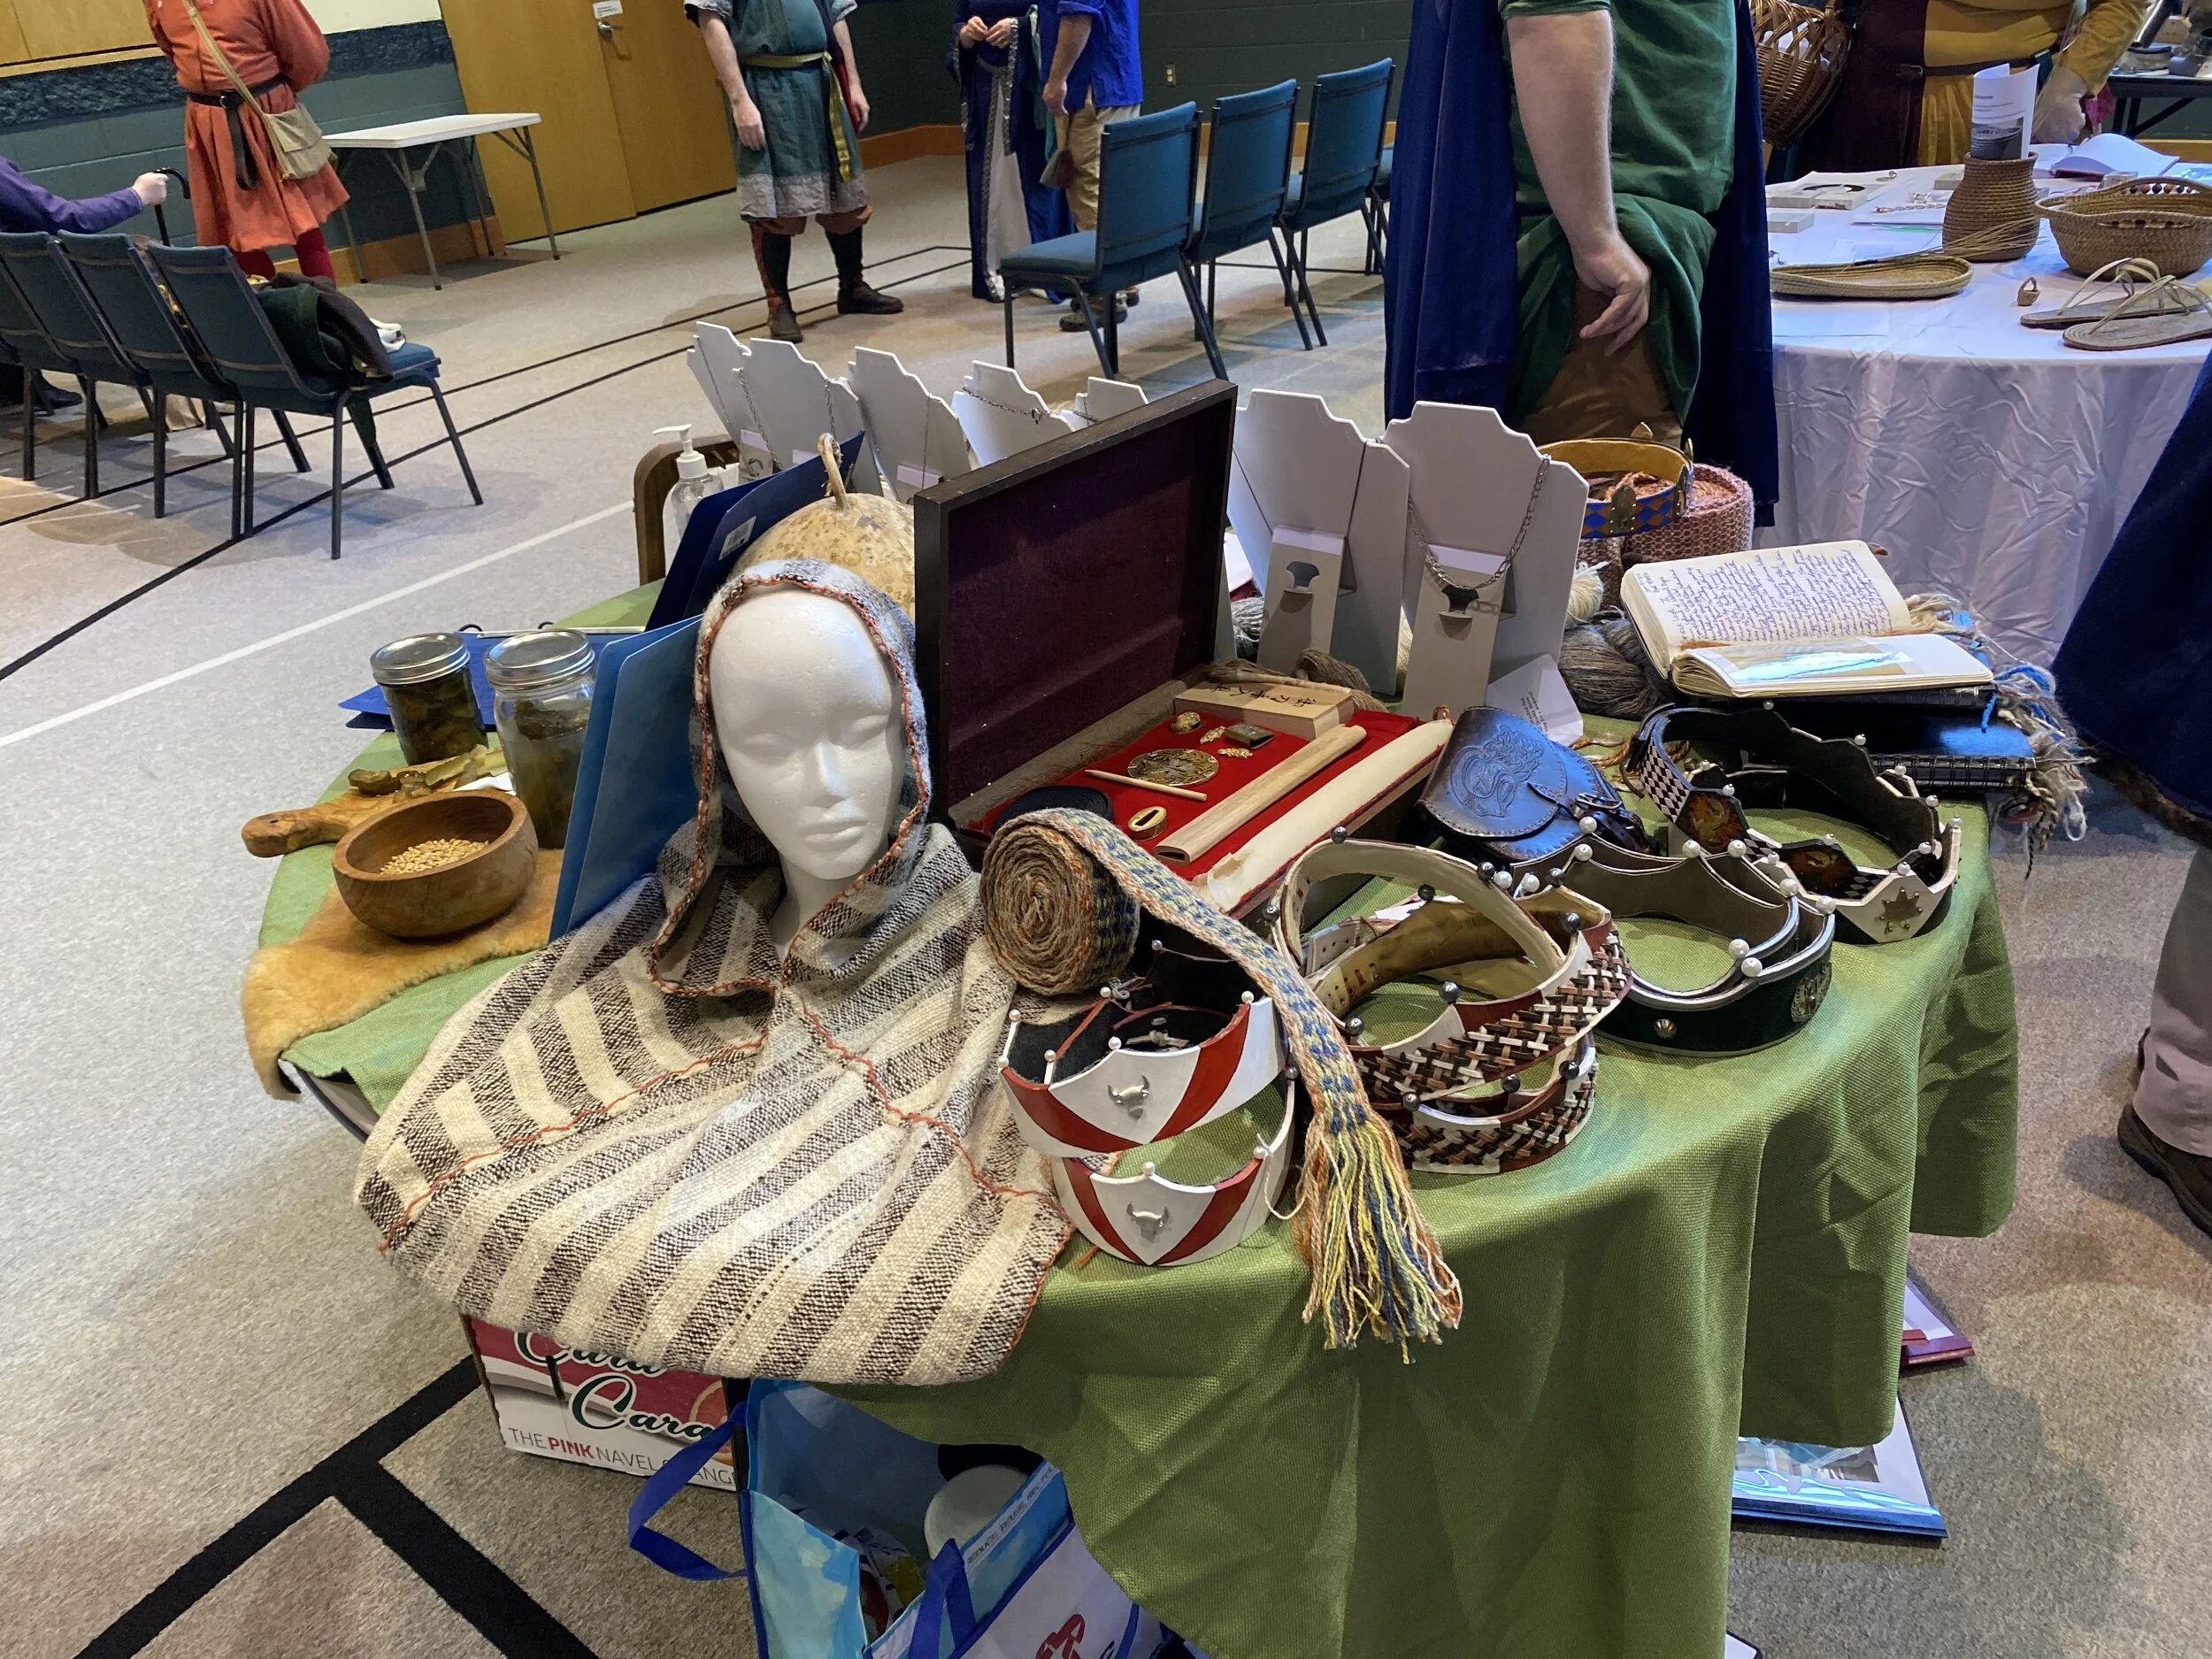
  1. I was persuaded to display at KASF.

    Here is a gallery of my display:
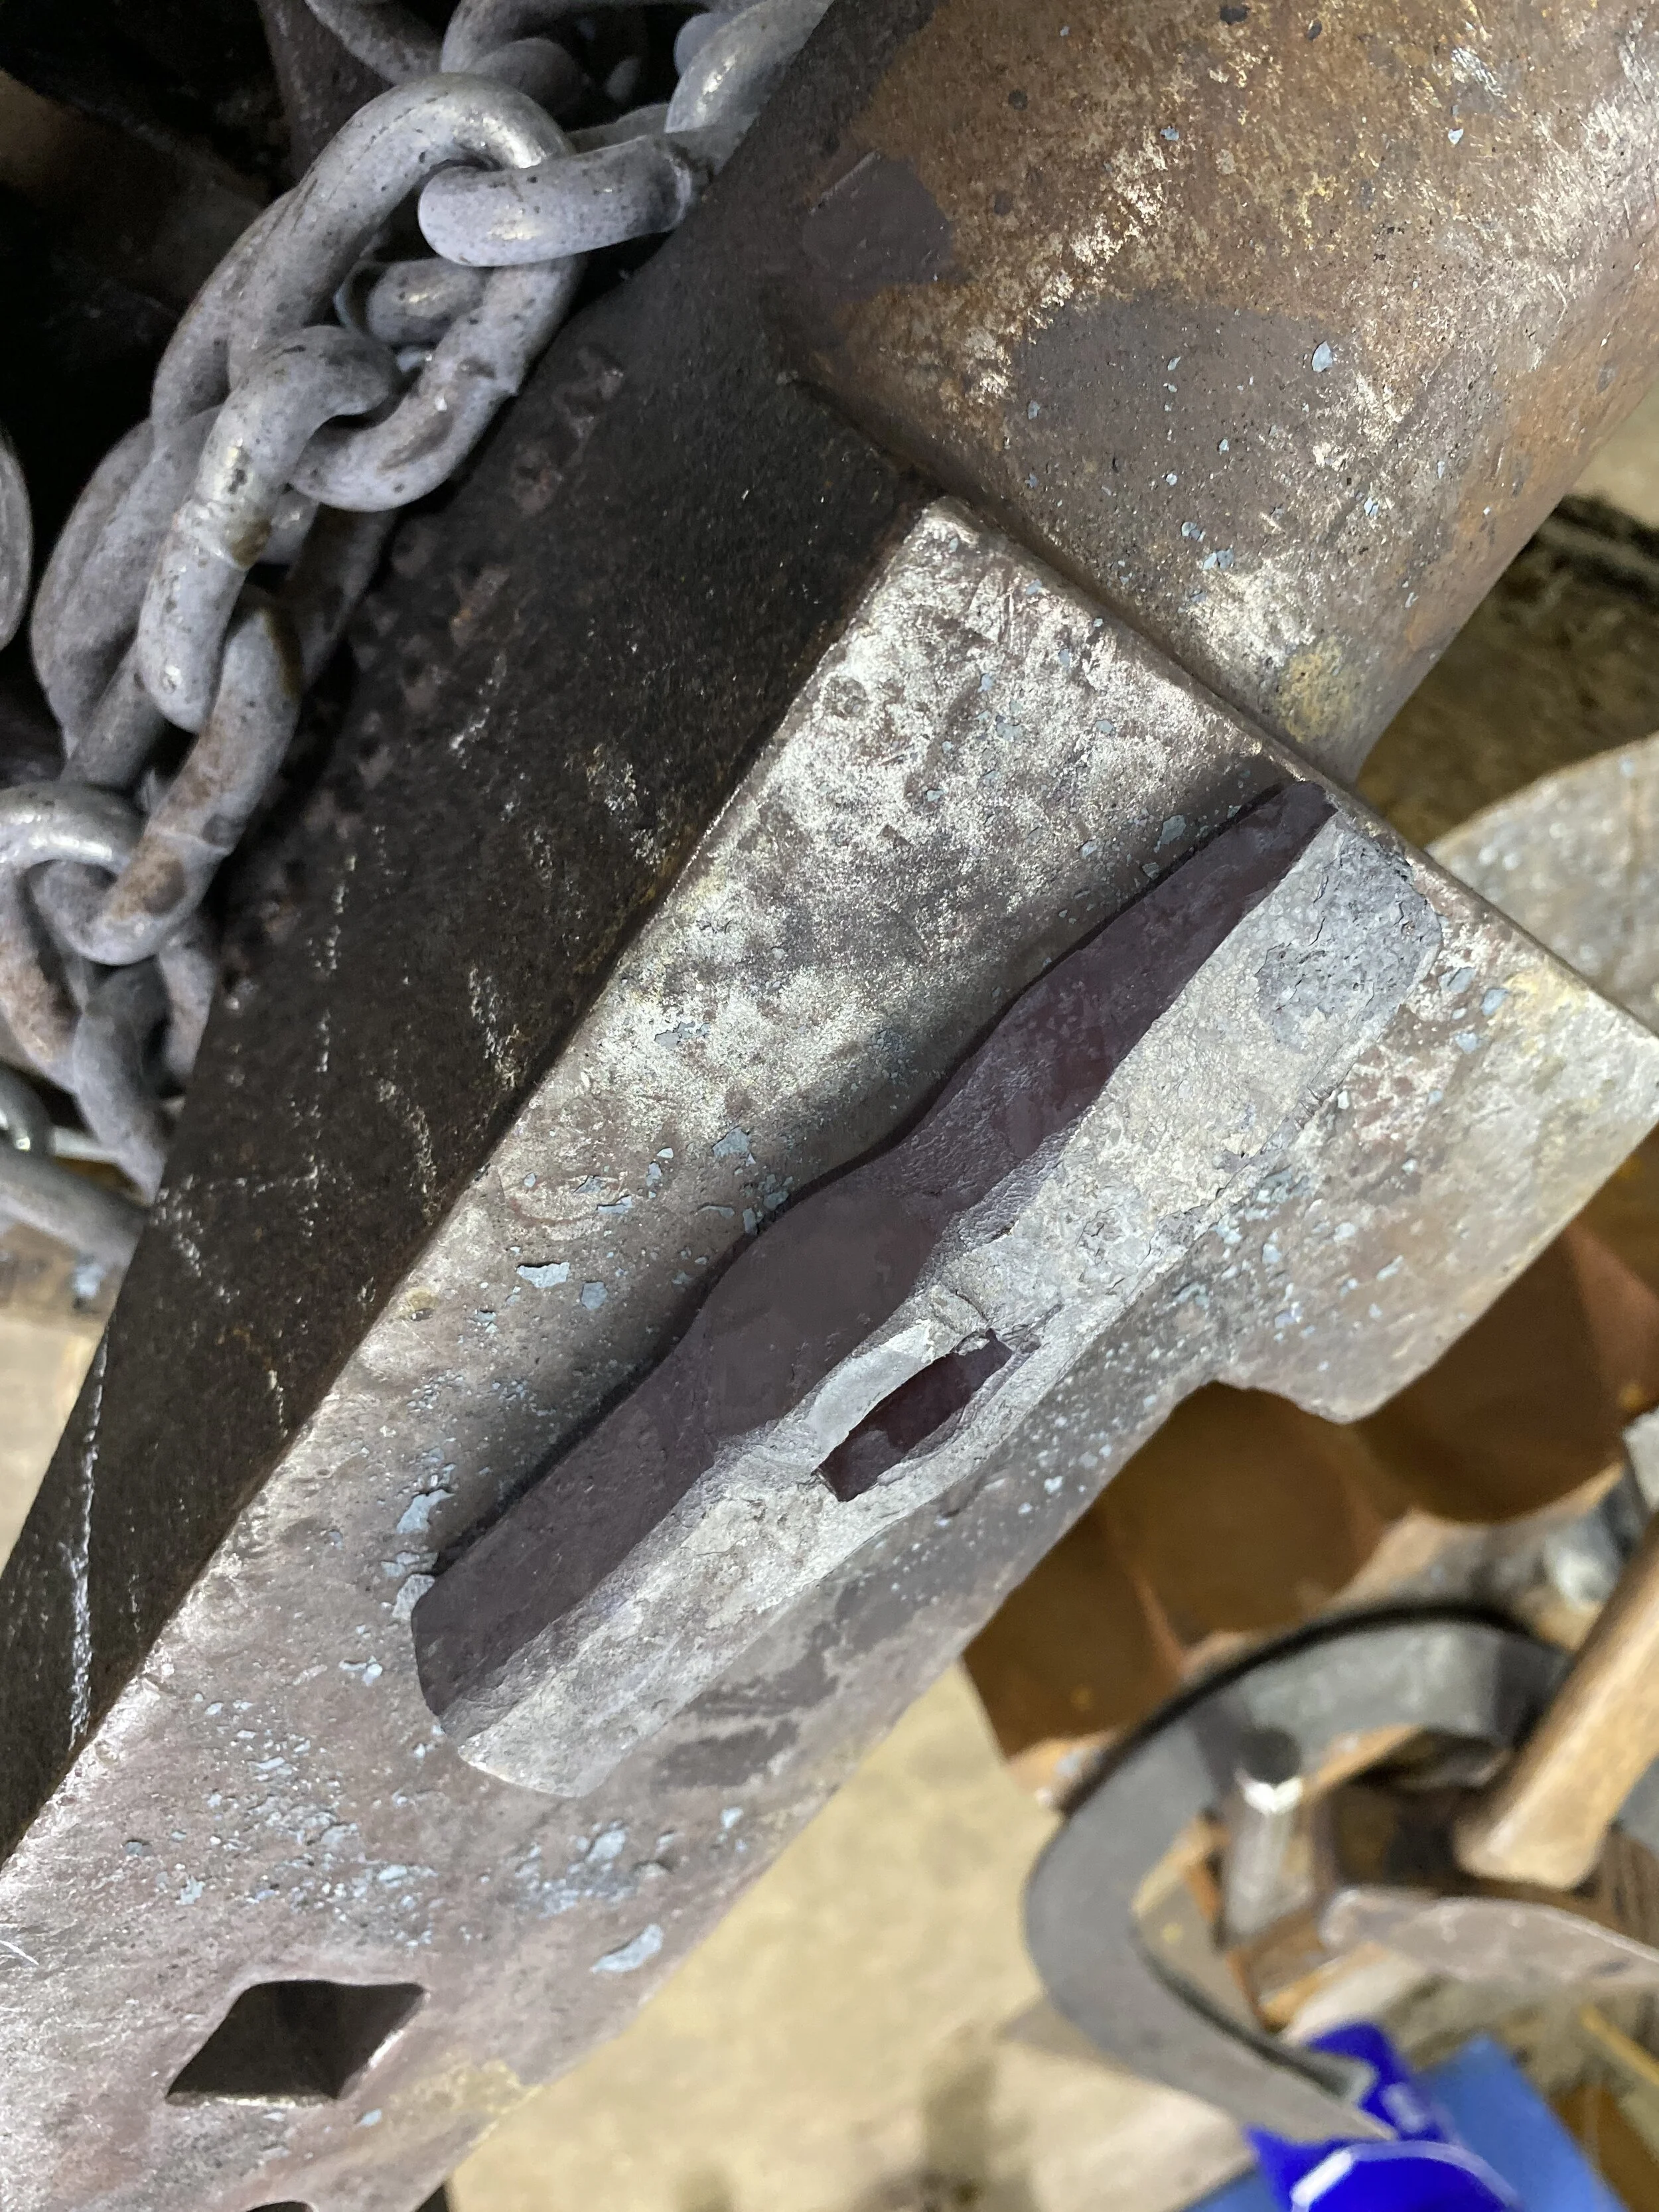
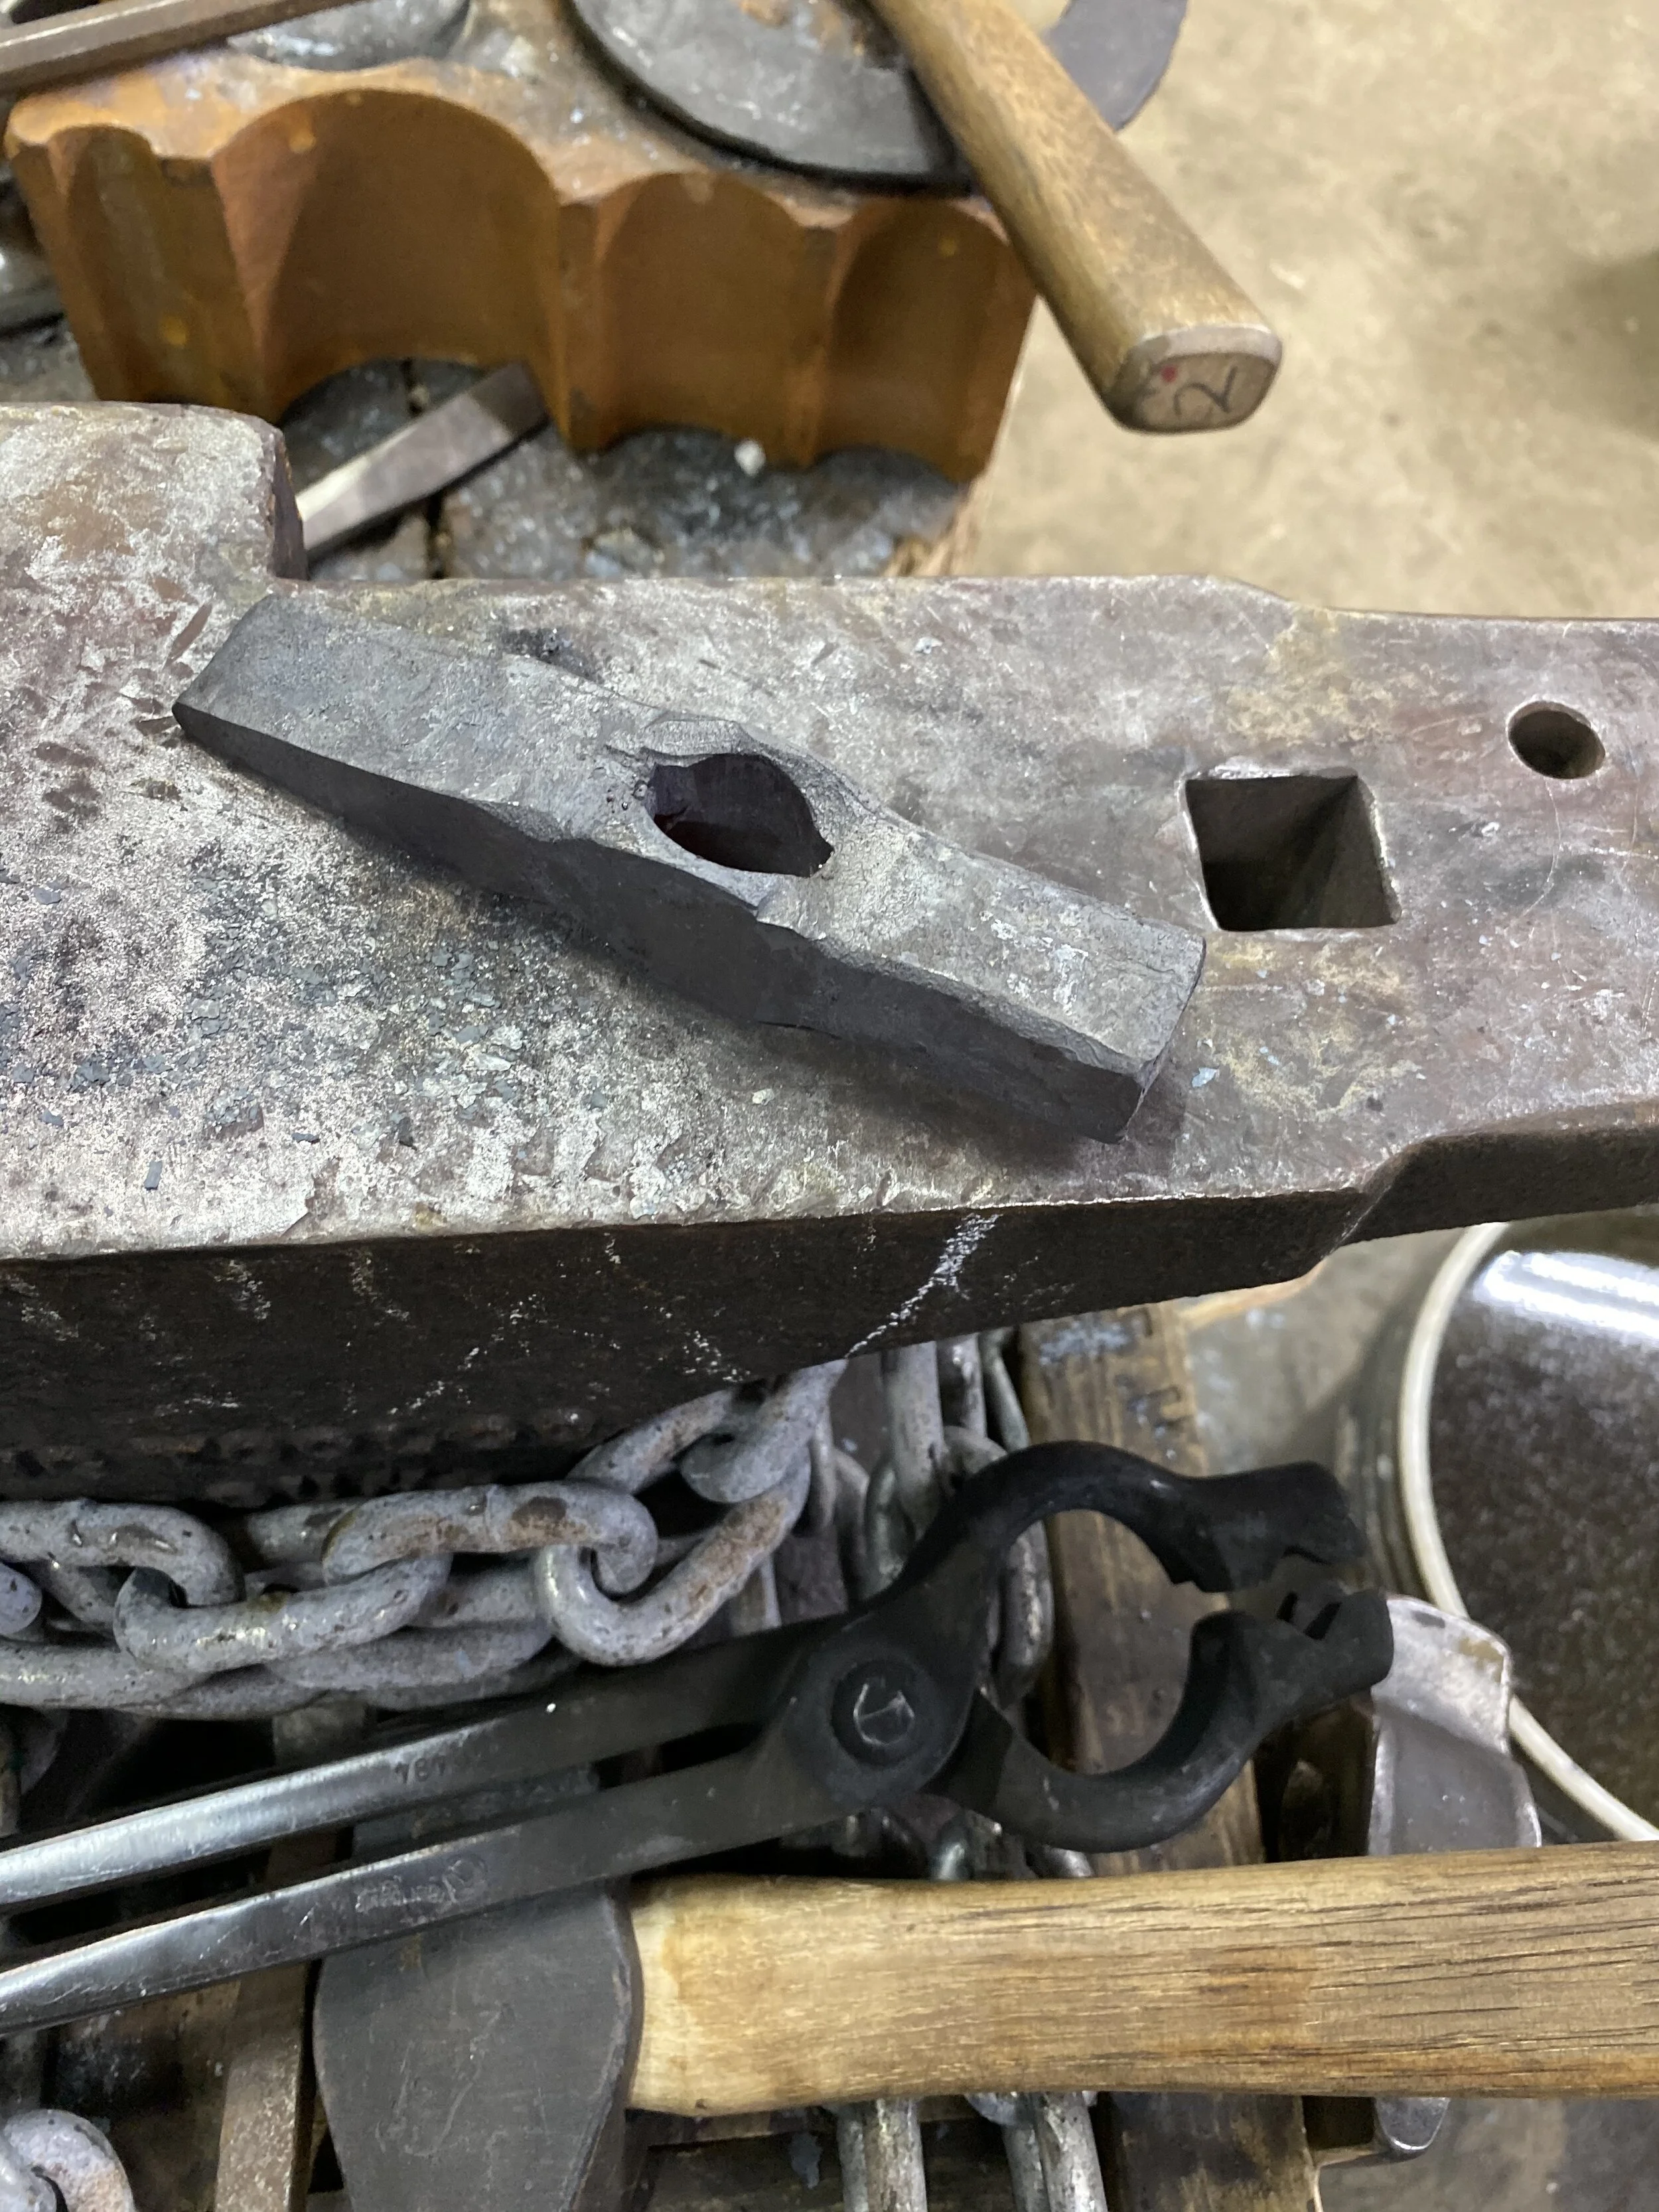
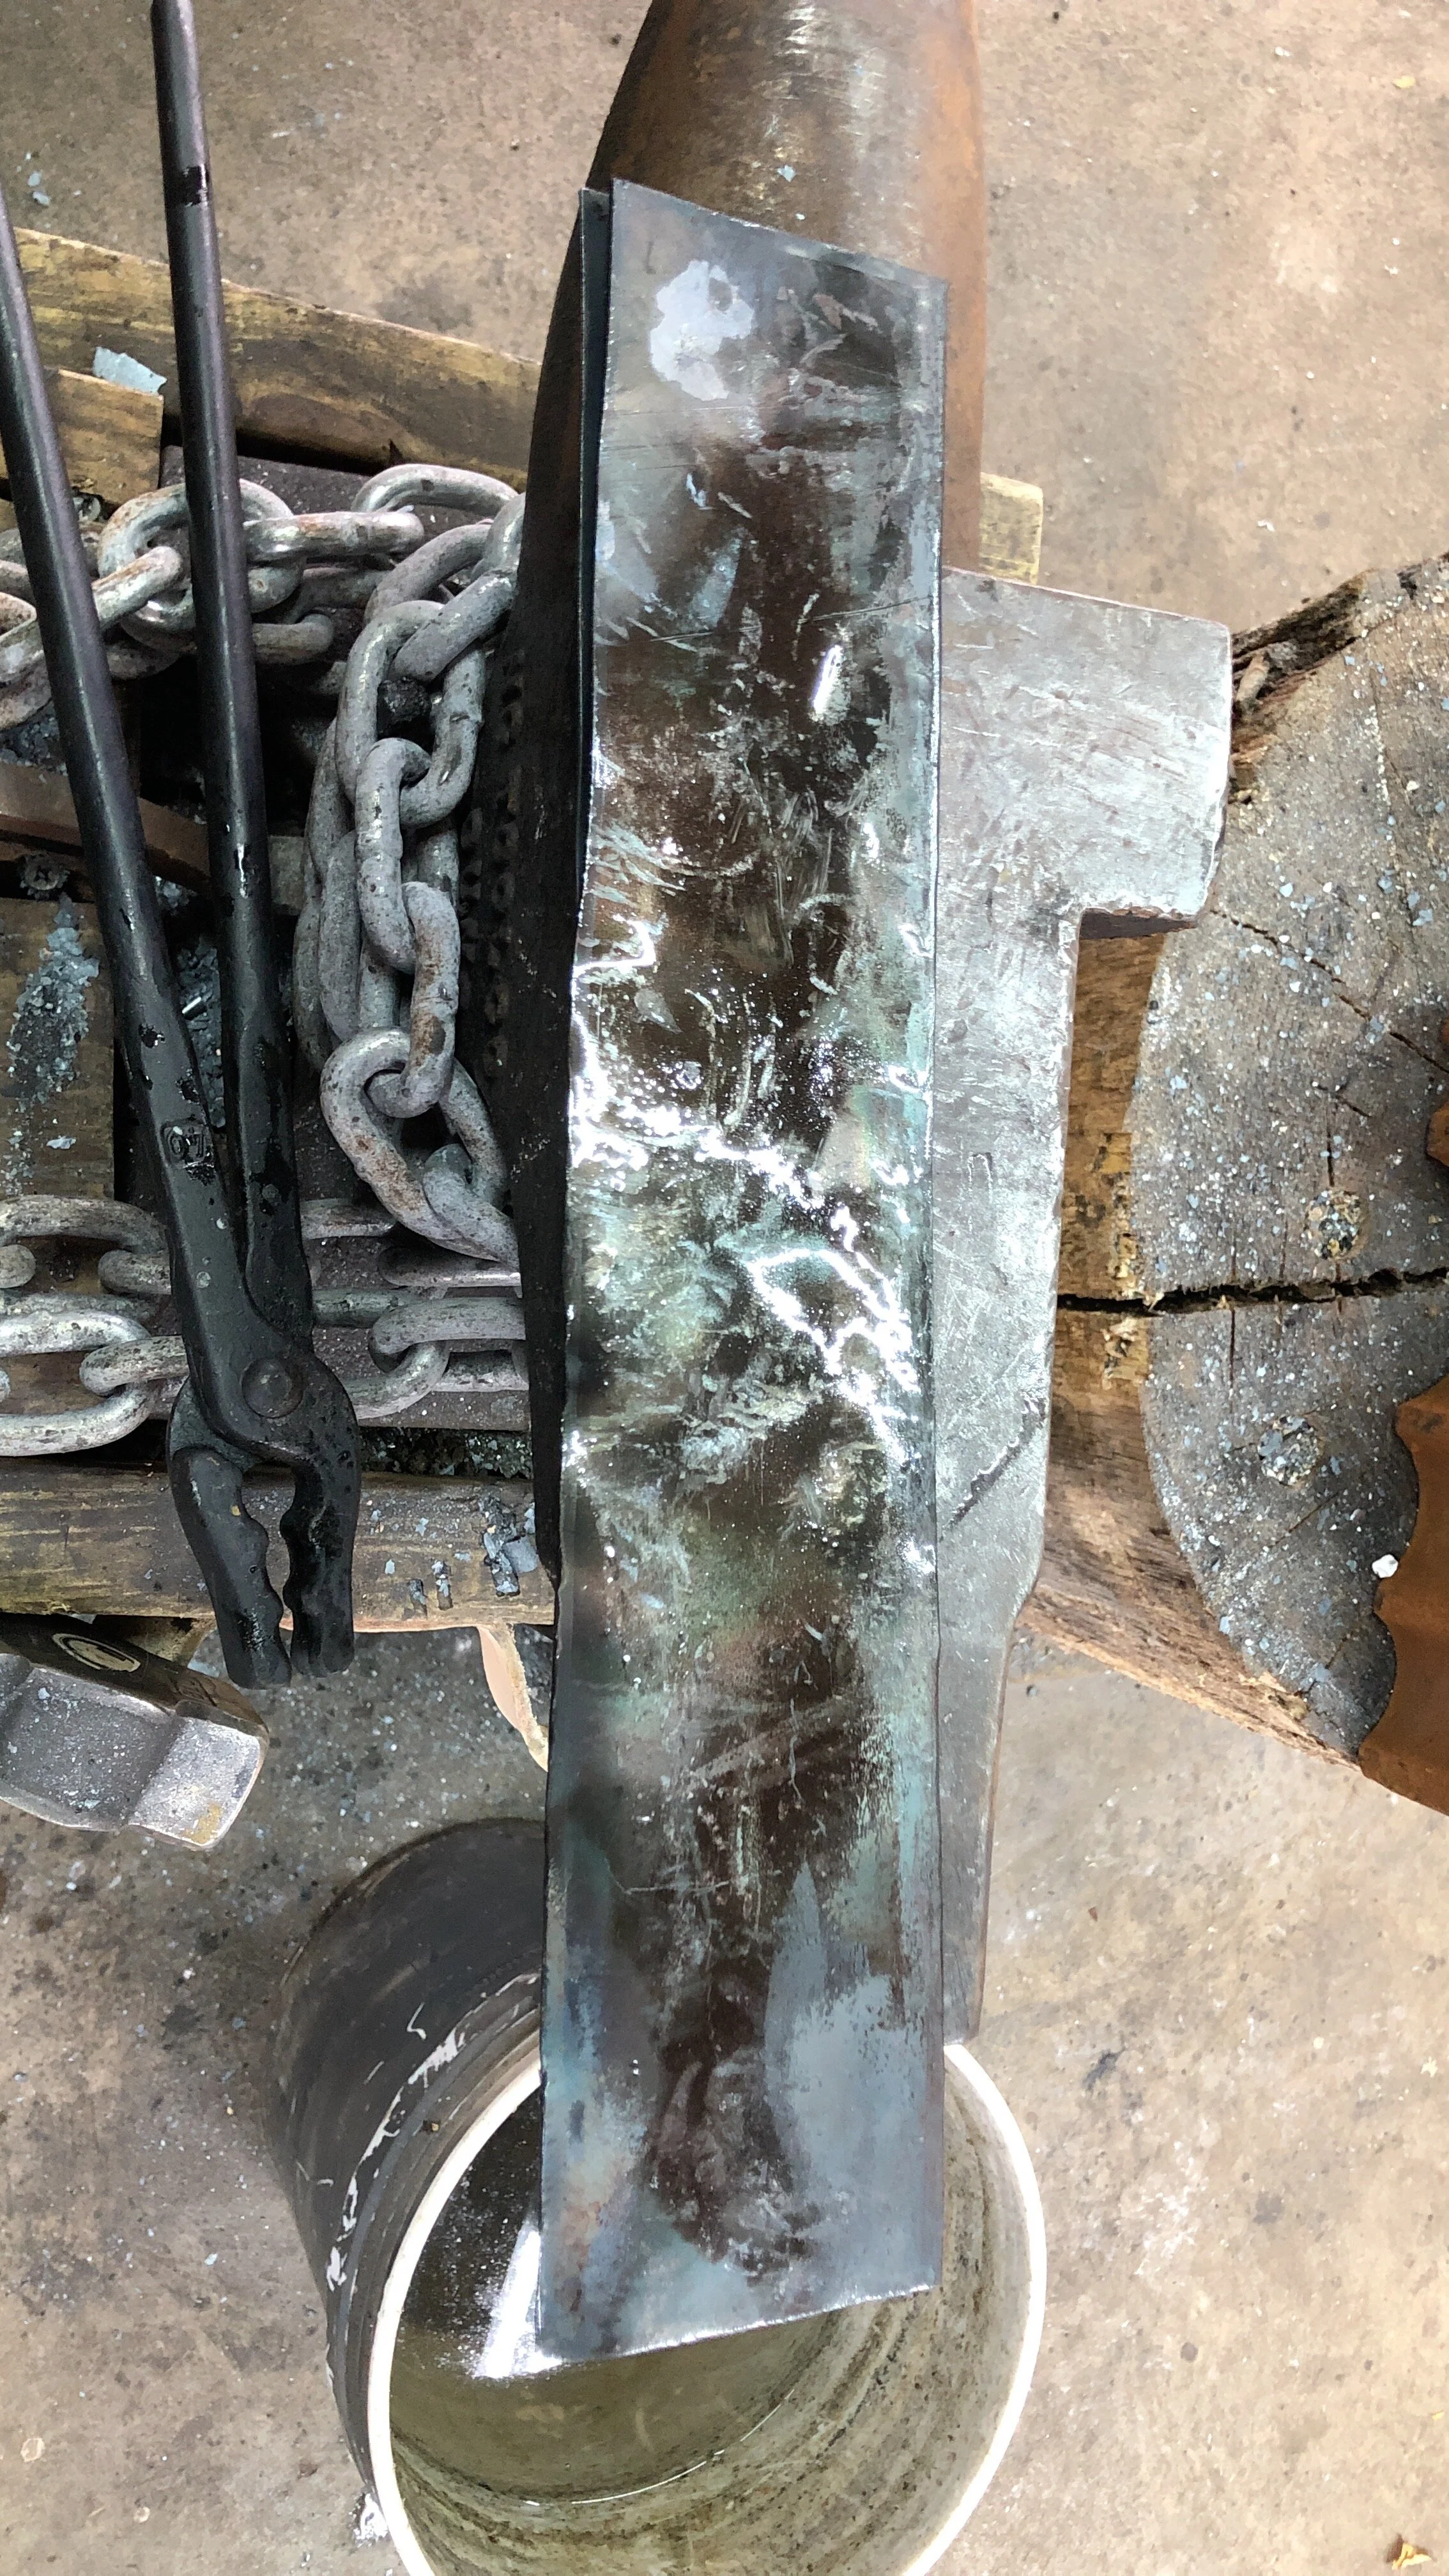
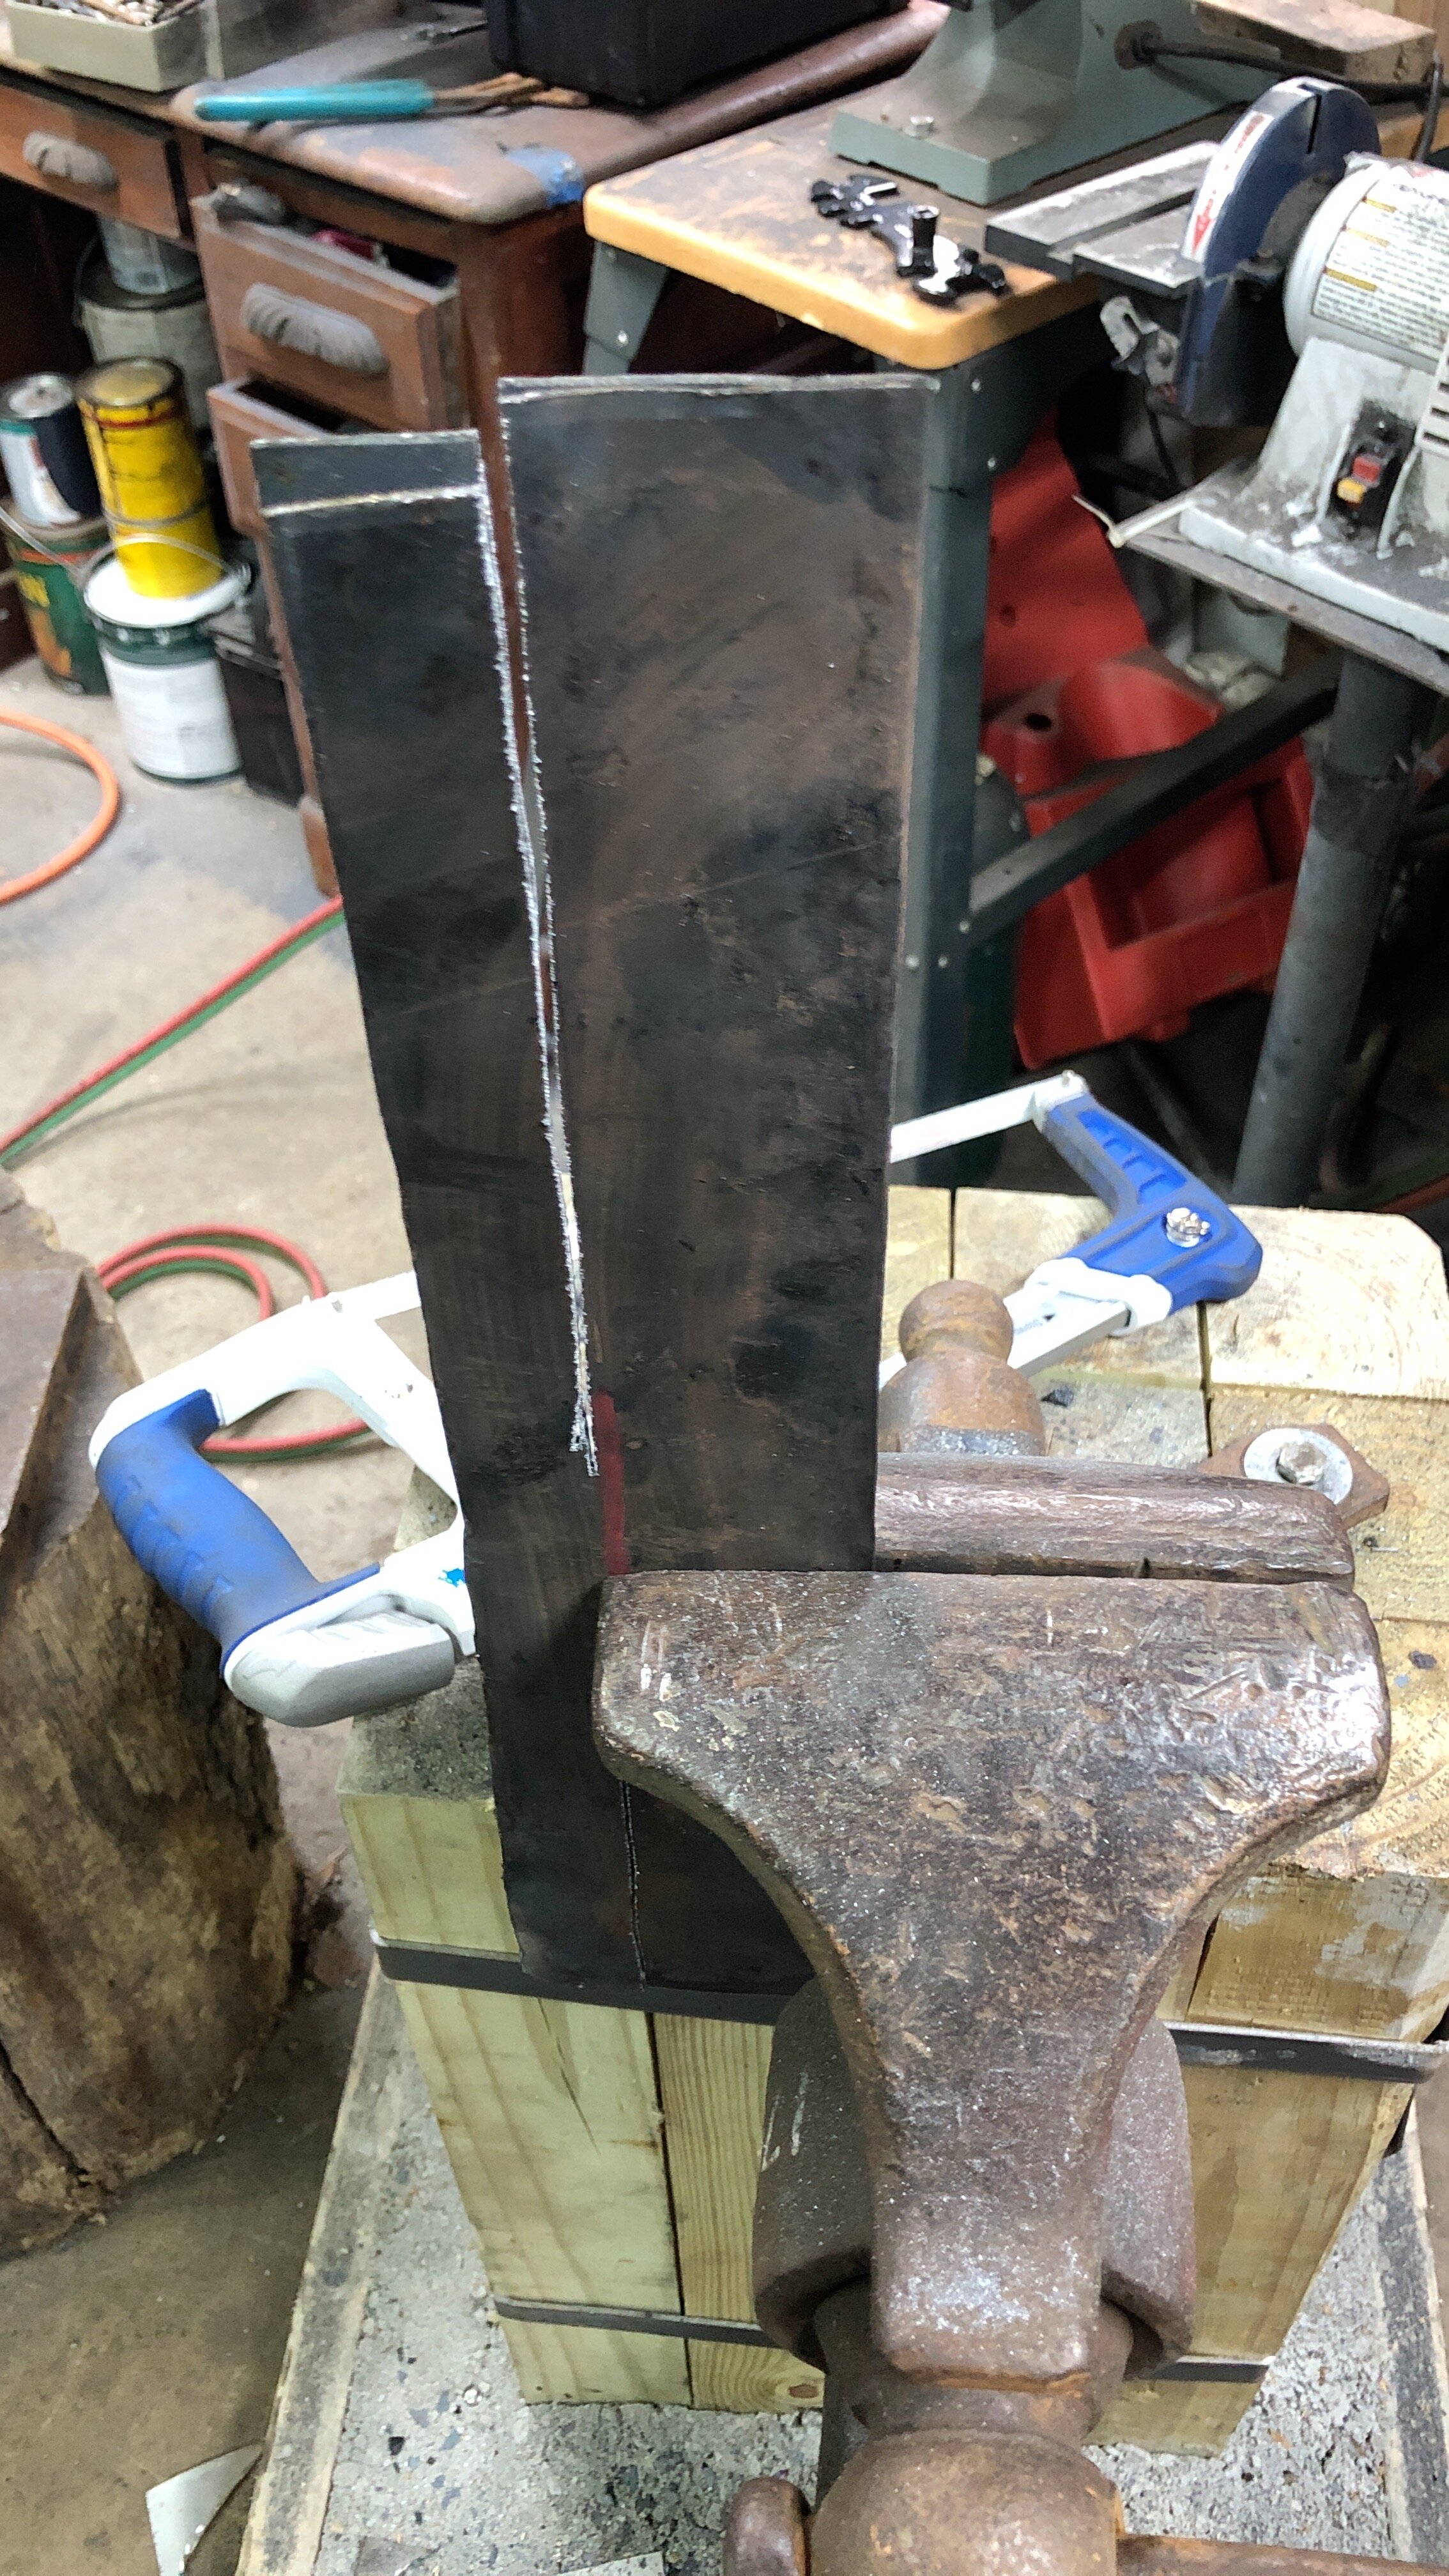
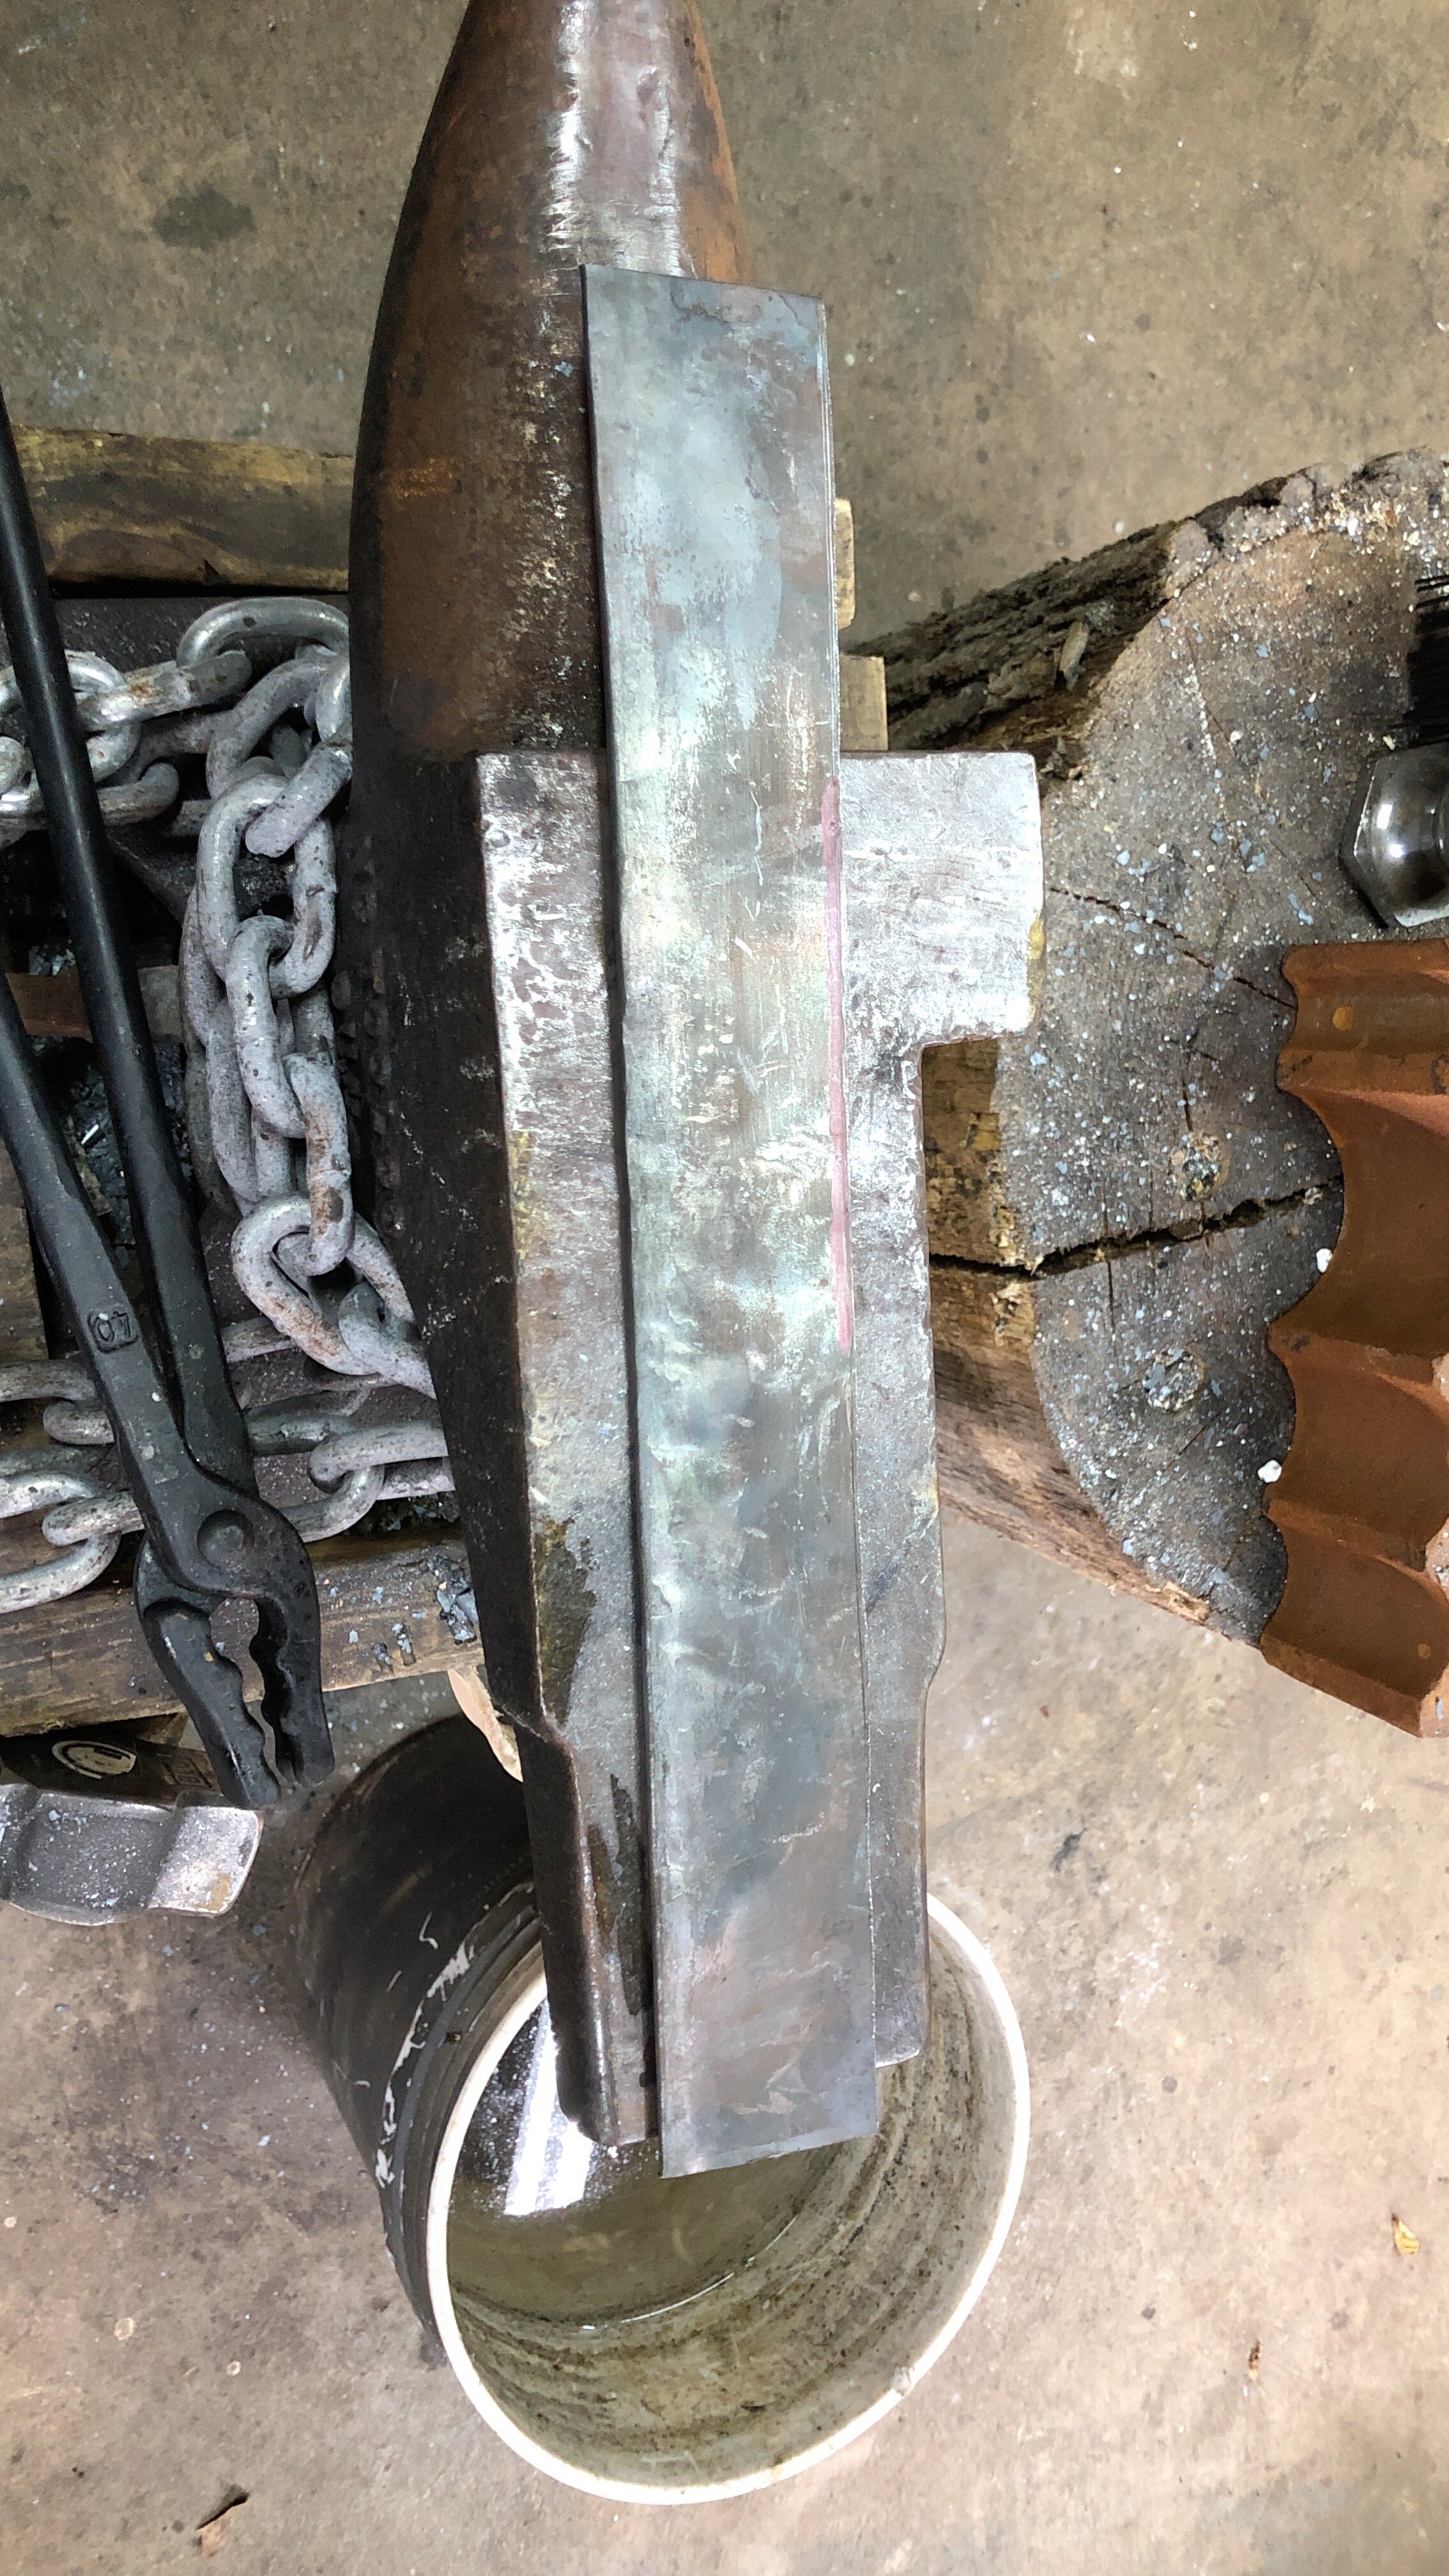
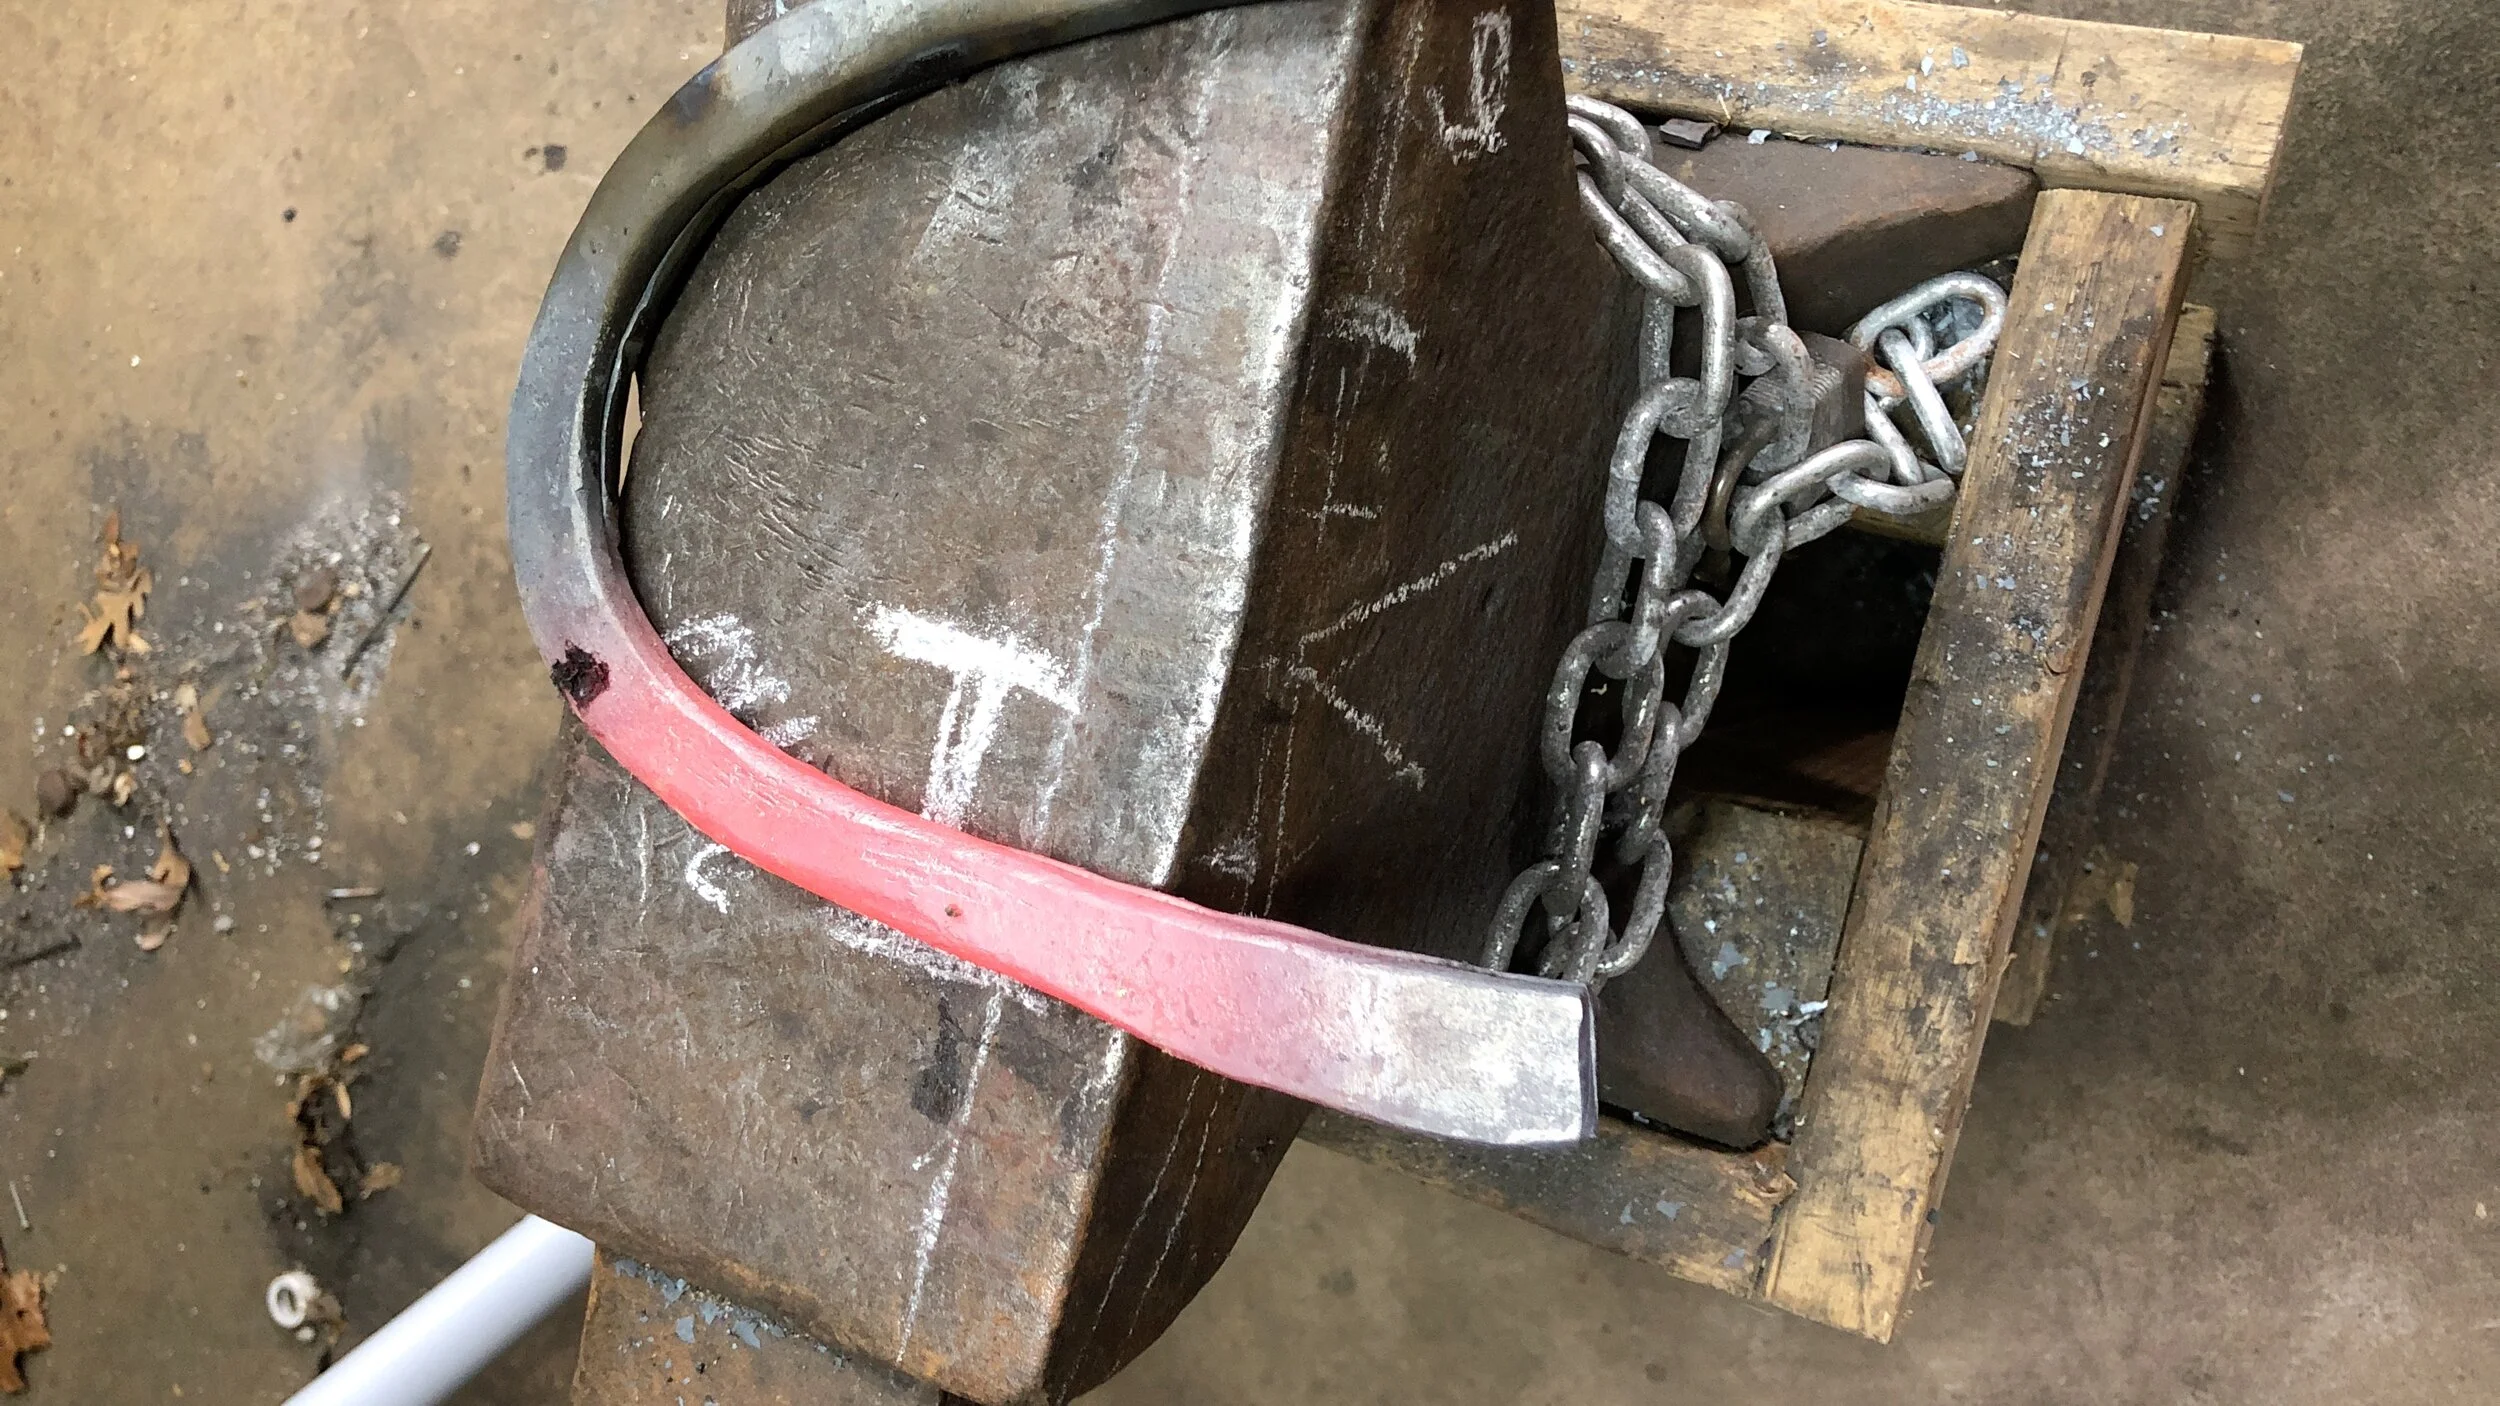
2. Coal tongs:

Took some reference pictures for a pair of coal tongs for the fire table at Pennsic, posting here to remind me to get to work on them:
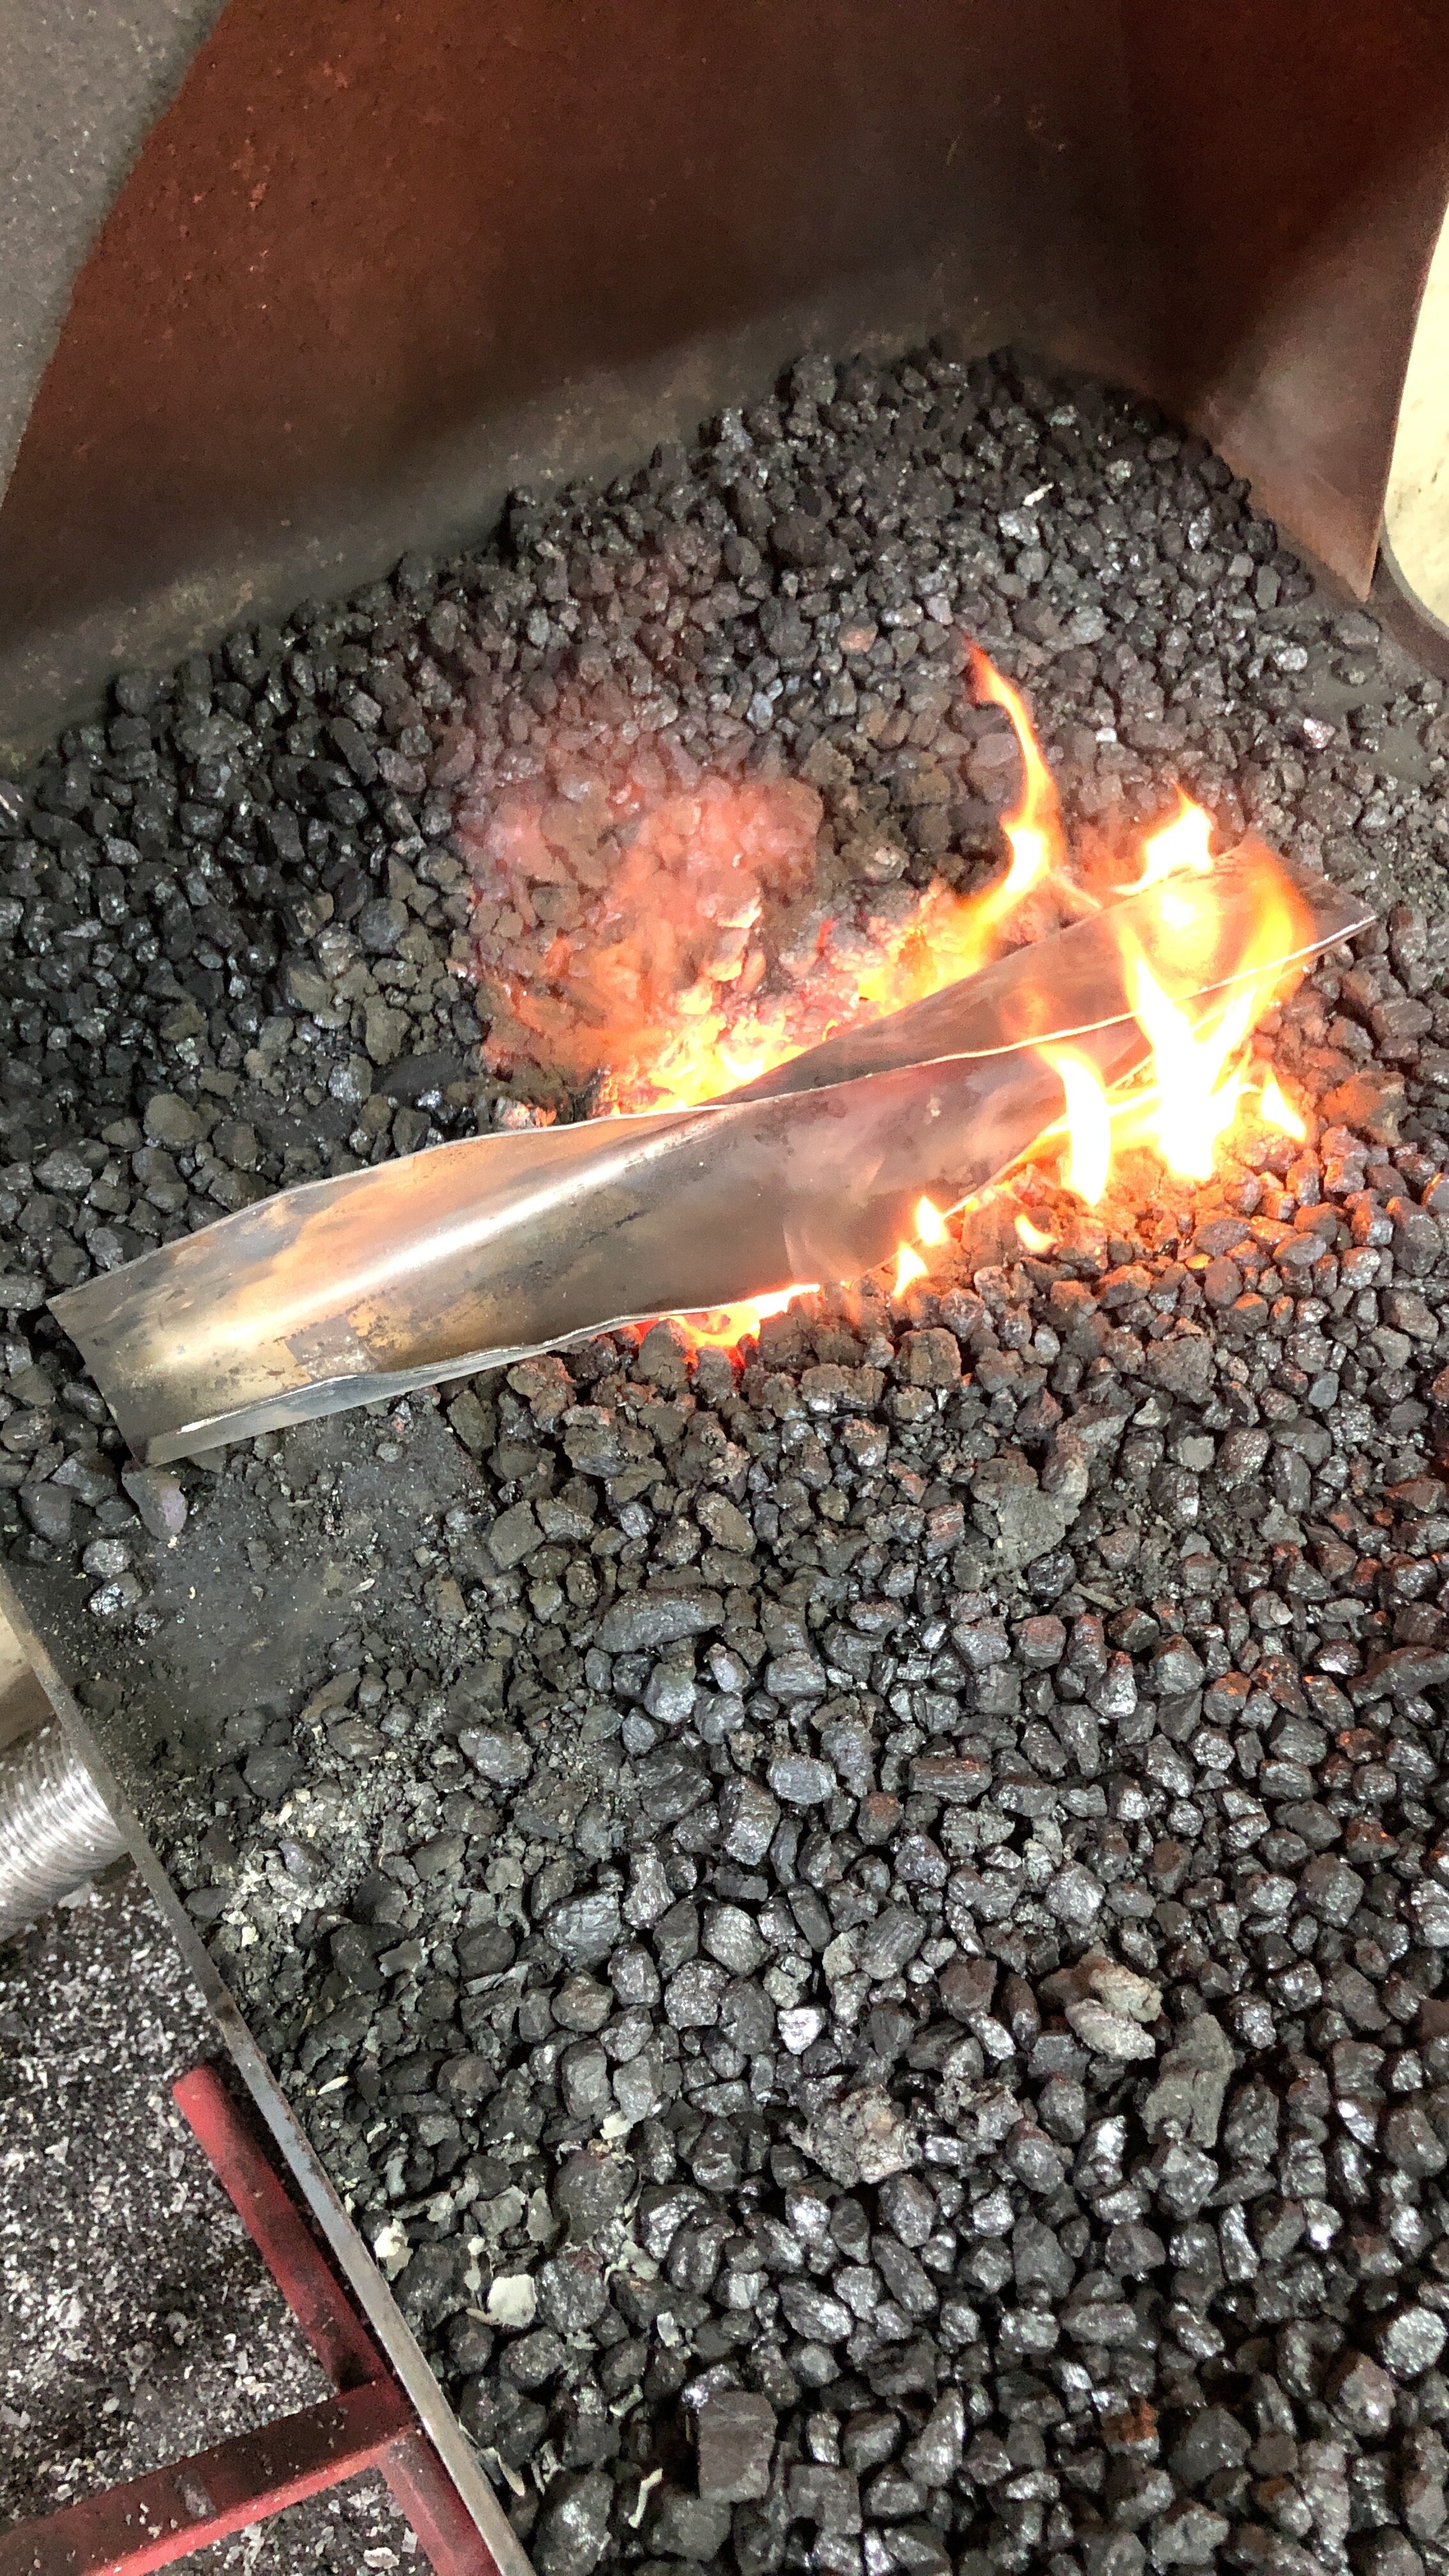
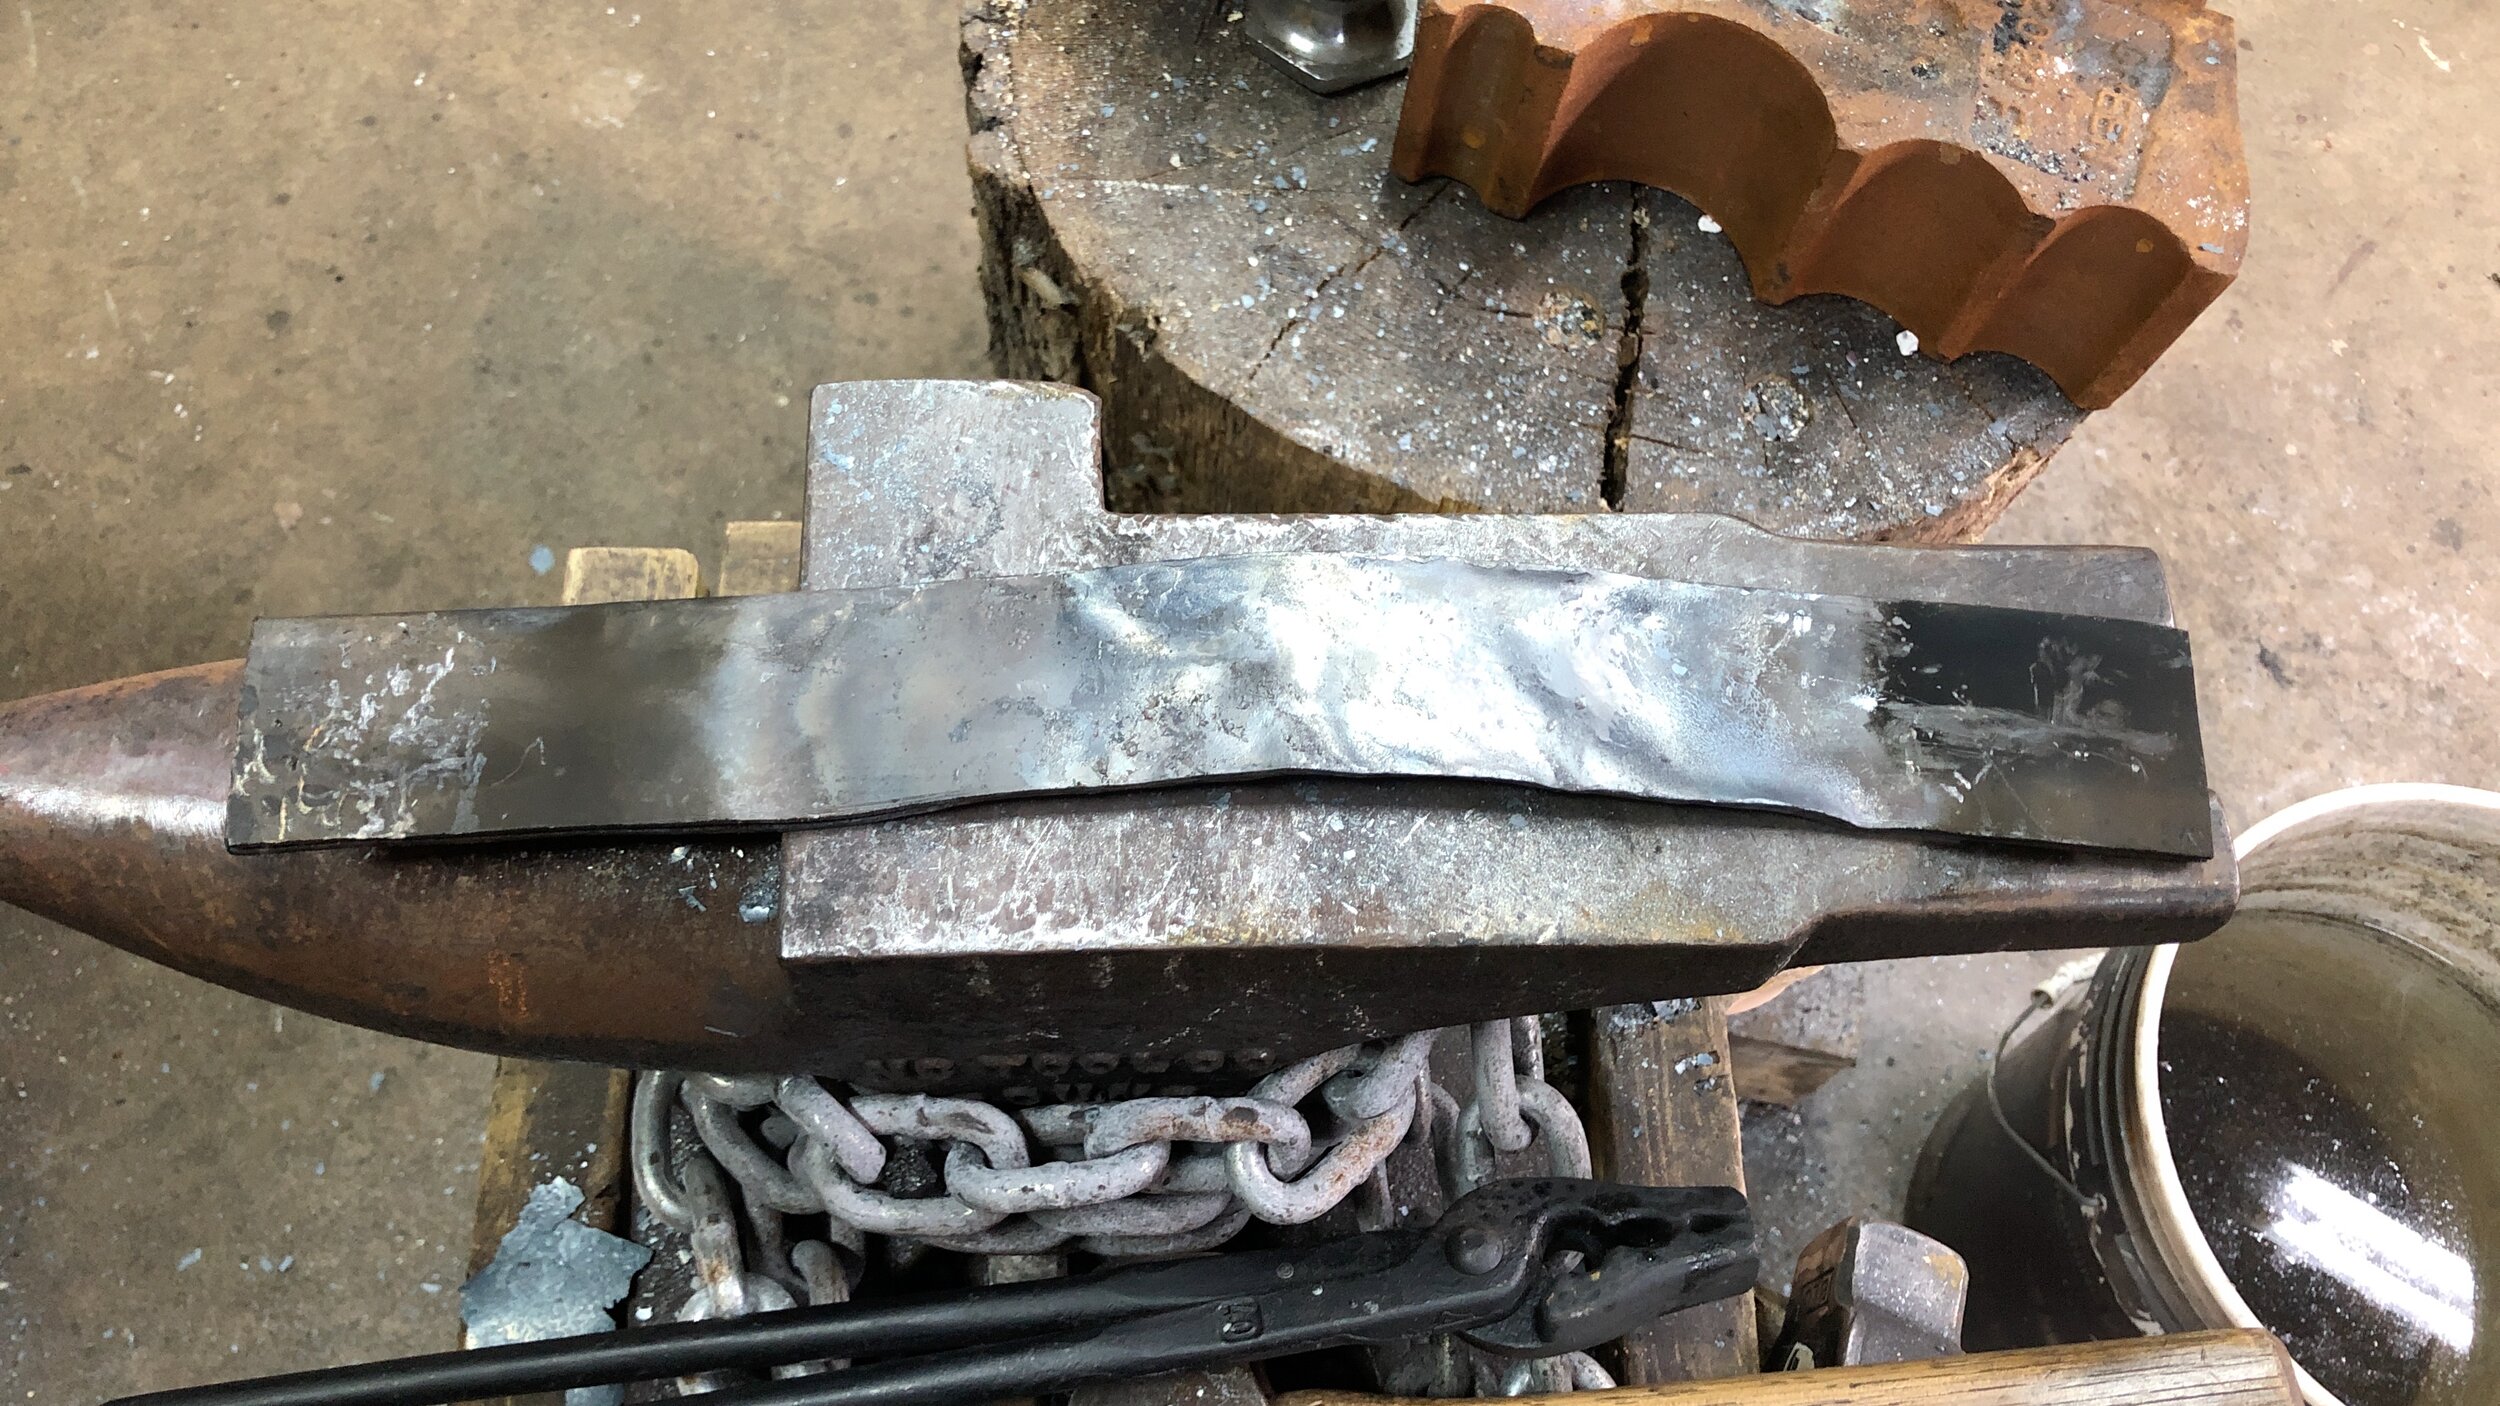
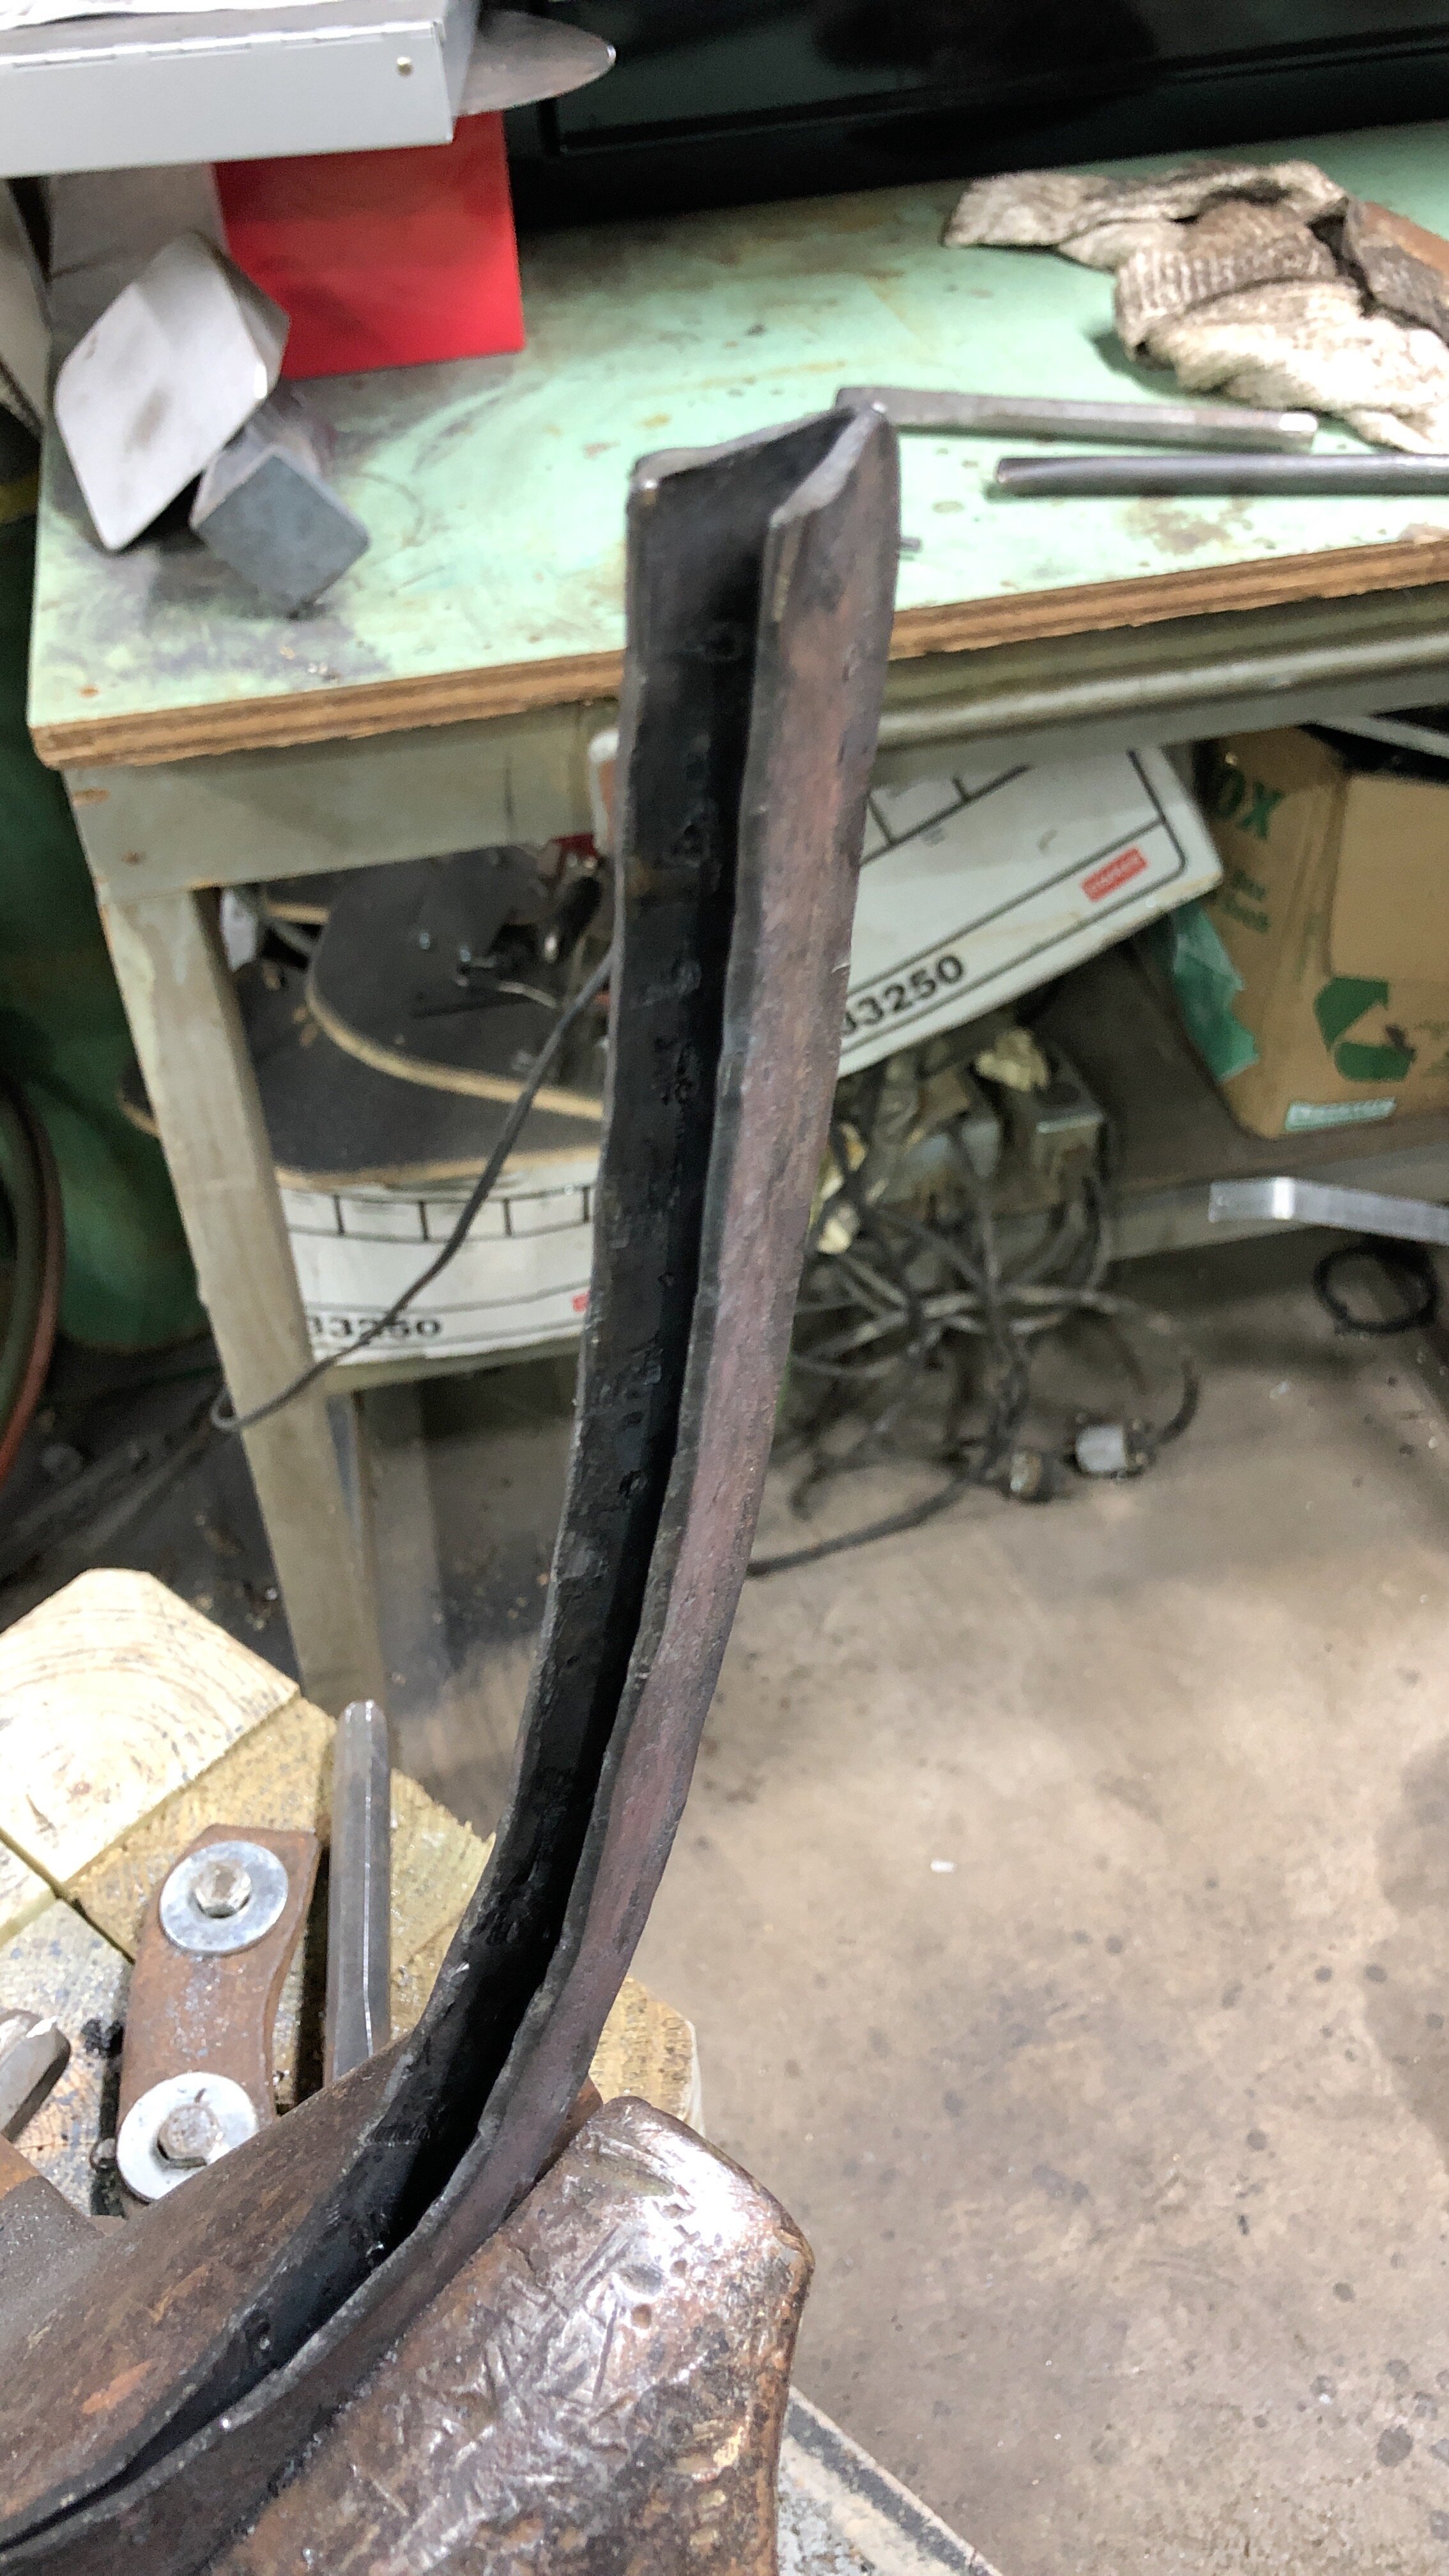
3. New Hammer:

Started work on a new viking hammer. This one is going to be much bigger. Worked on it for a while, then got concerned with how much coal of my dwindling supply it was taking. The place where I normally get coal from has been shuddered for the foreseeable future, so I began to worry about running out. Here is the progress so far:
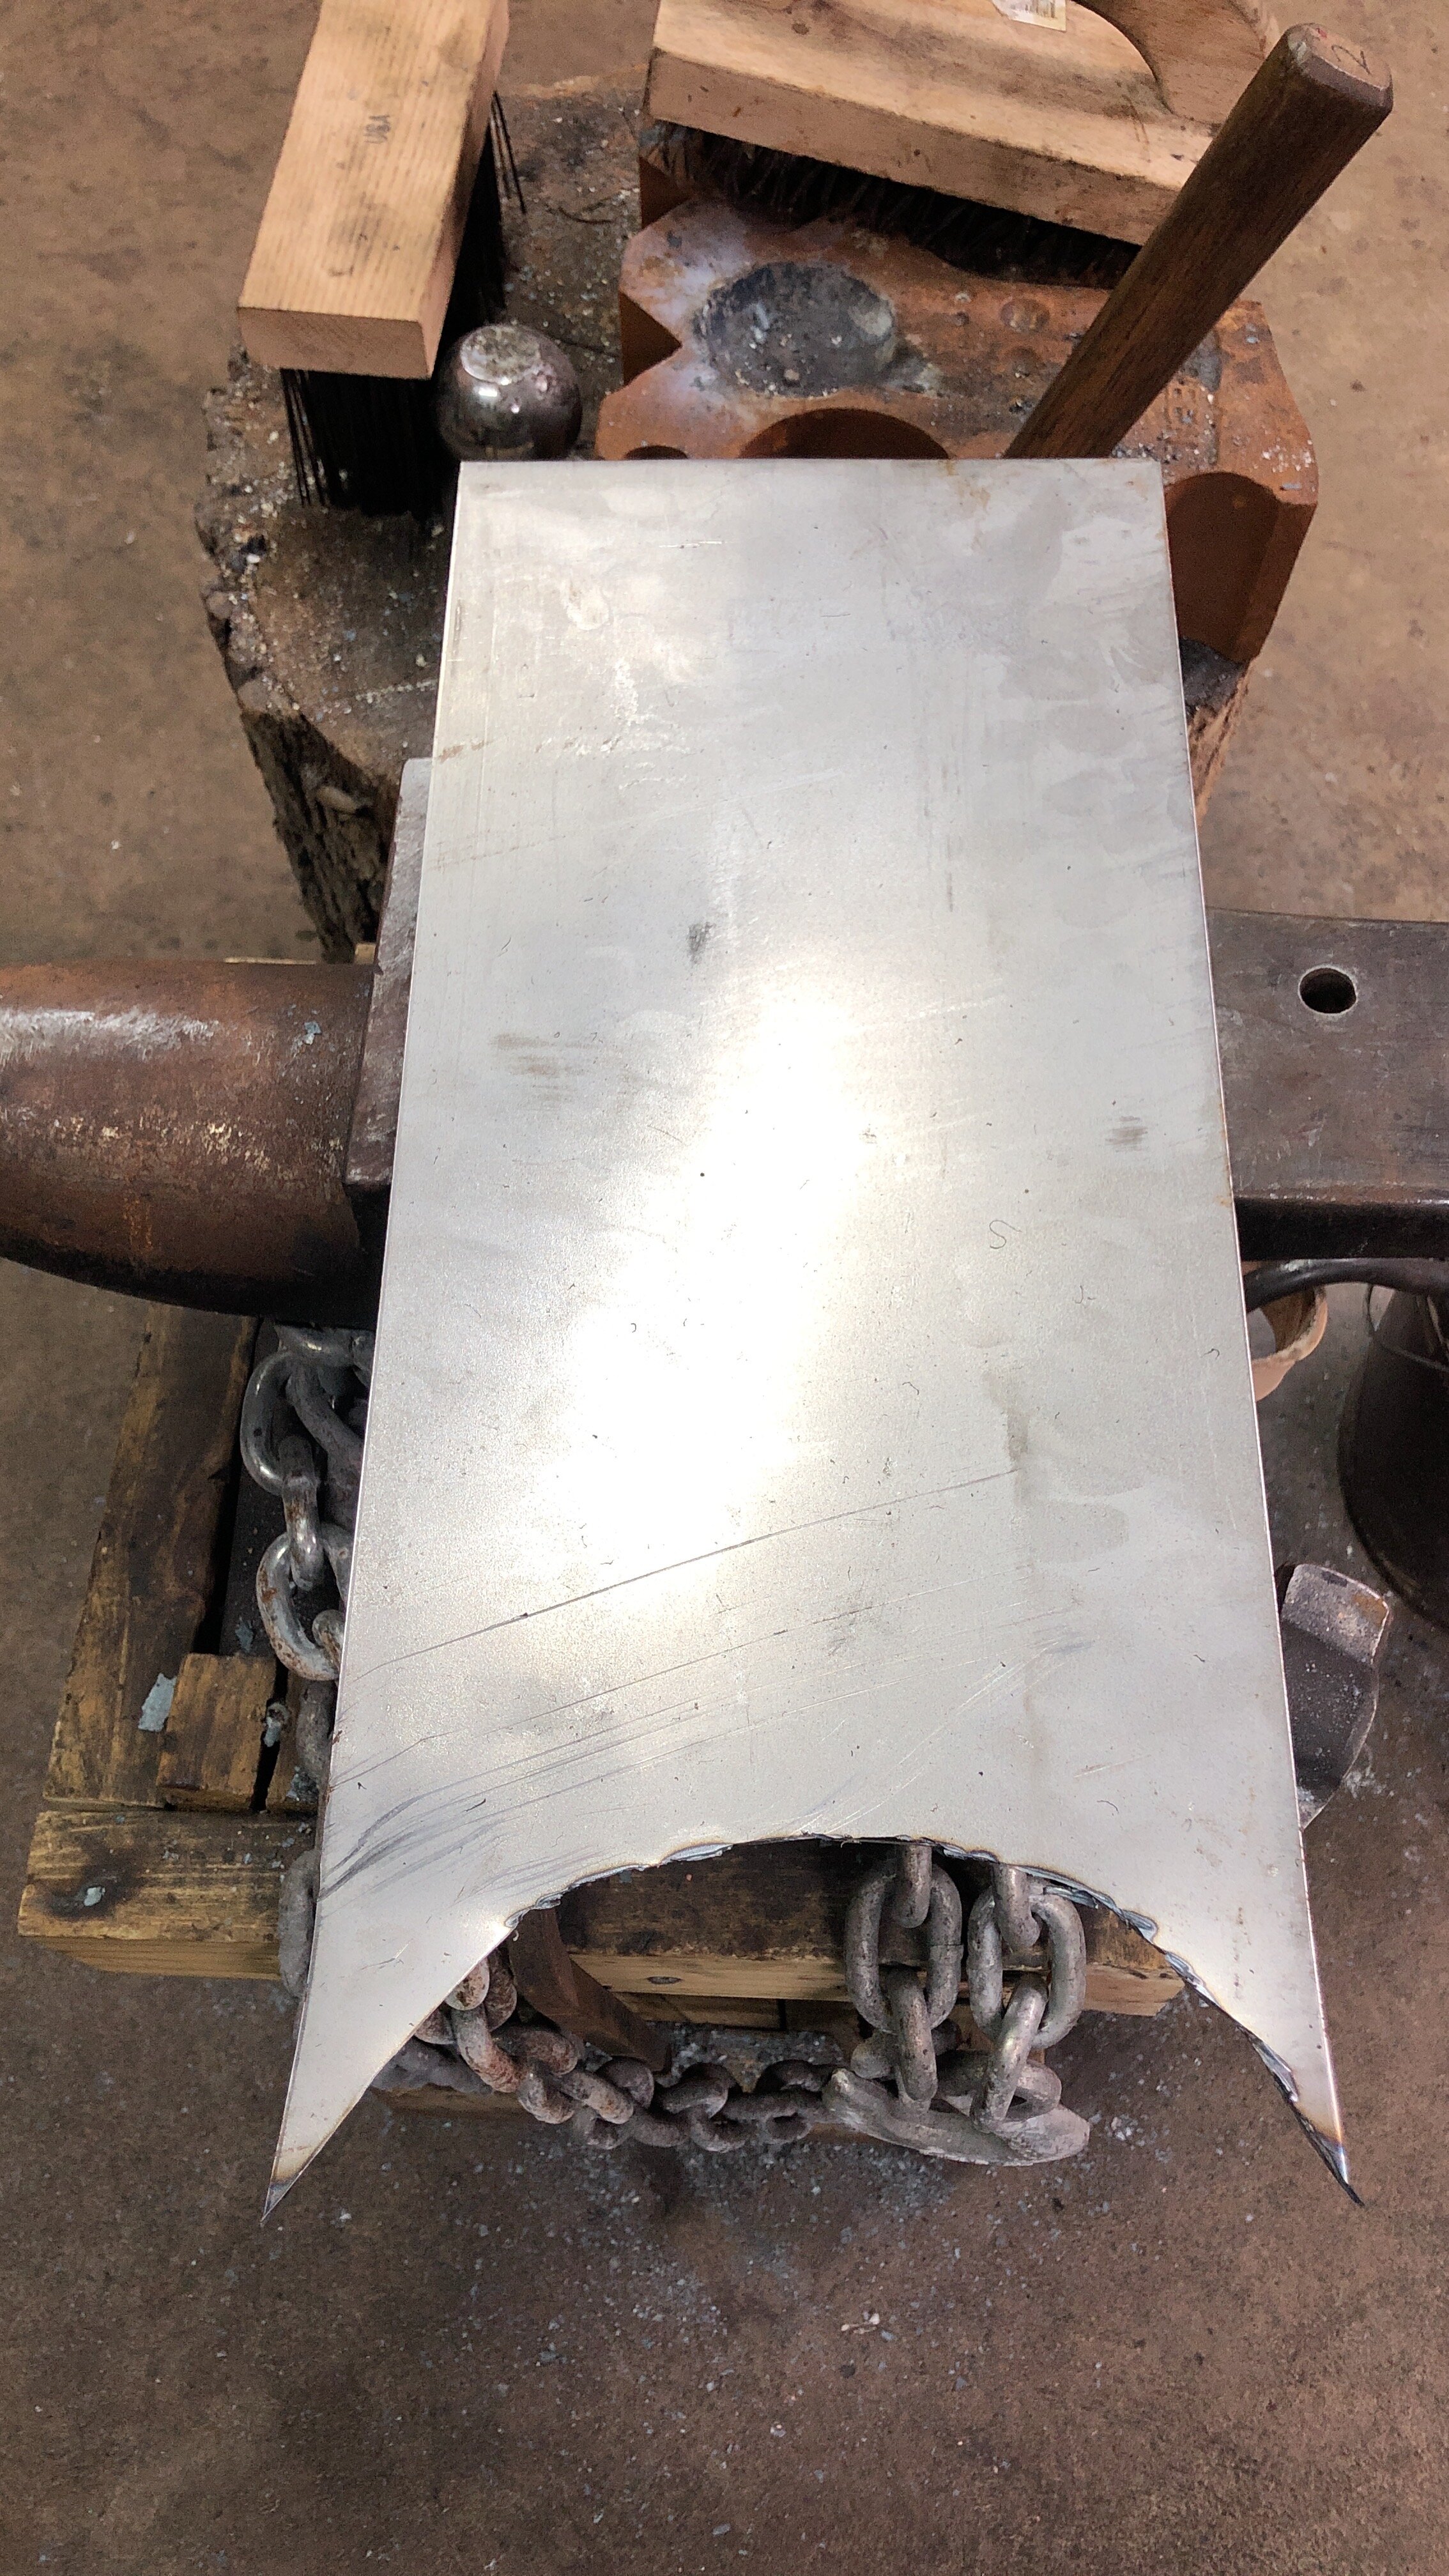
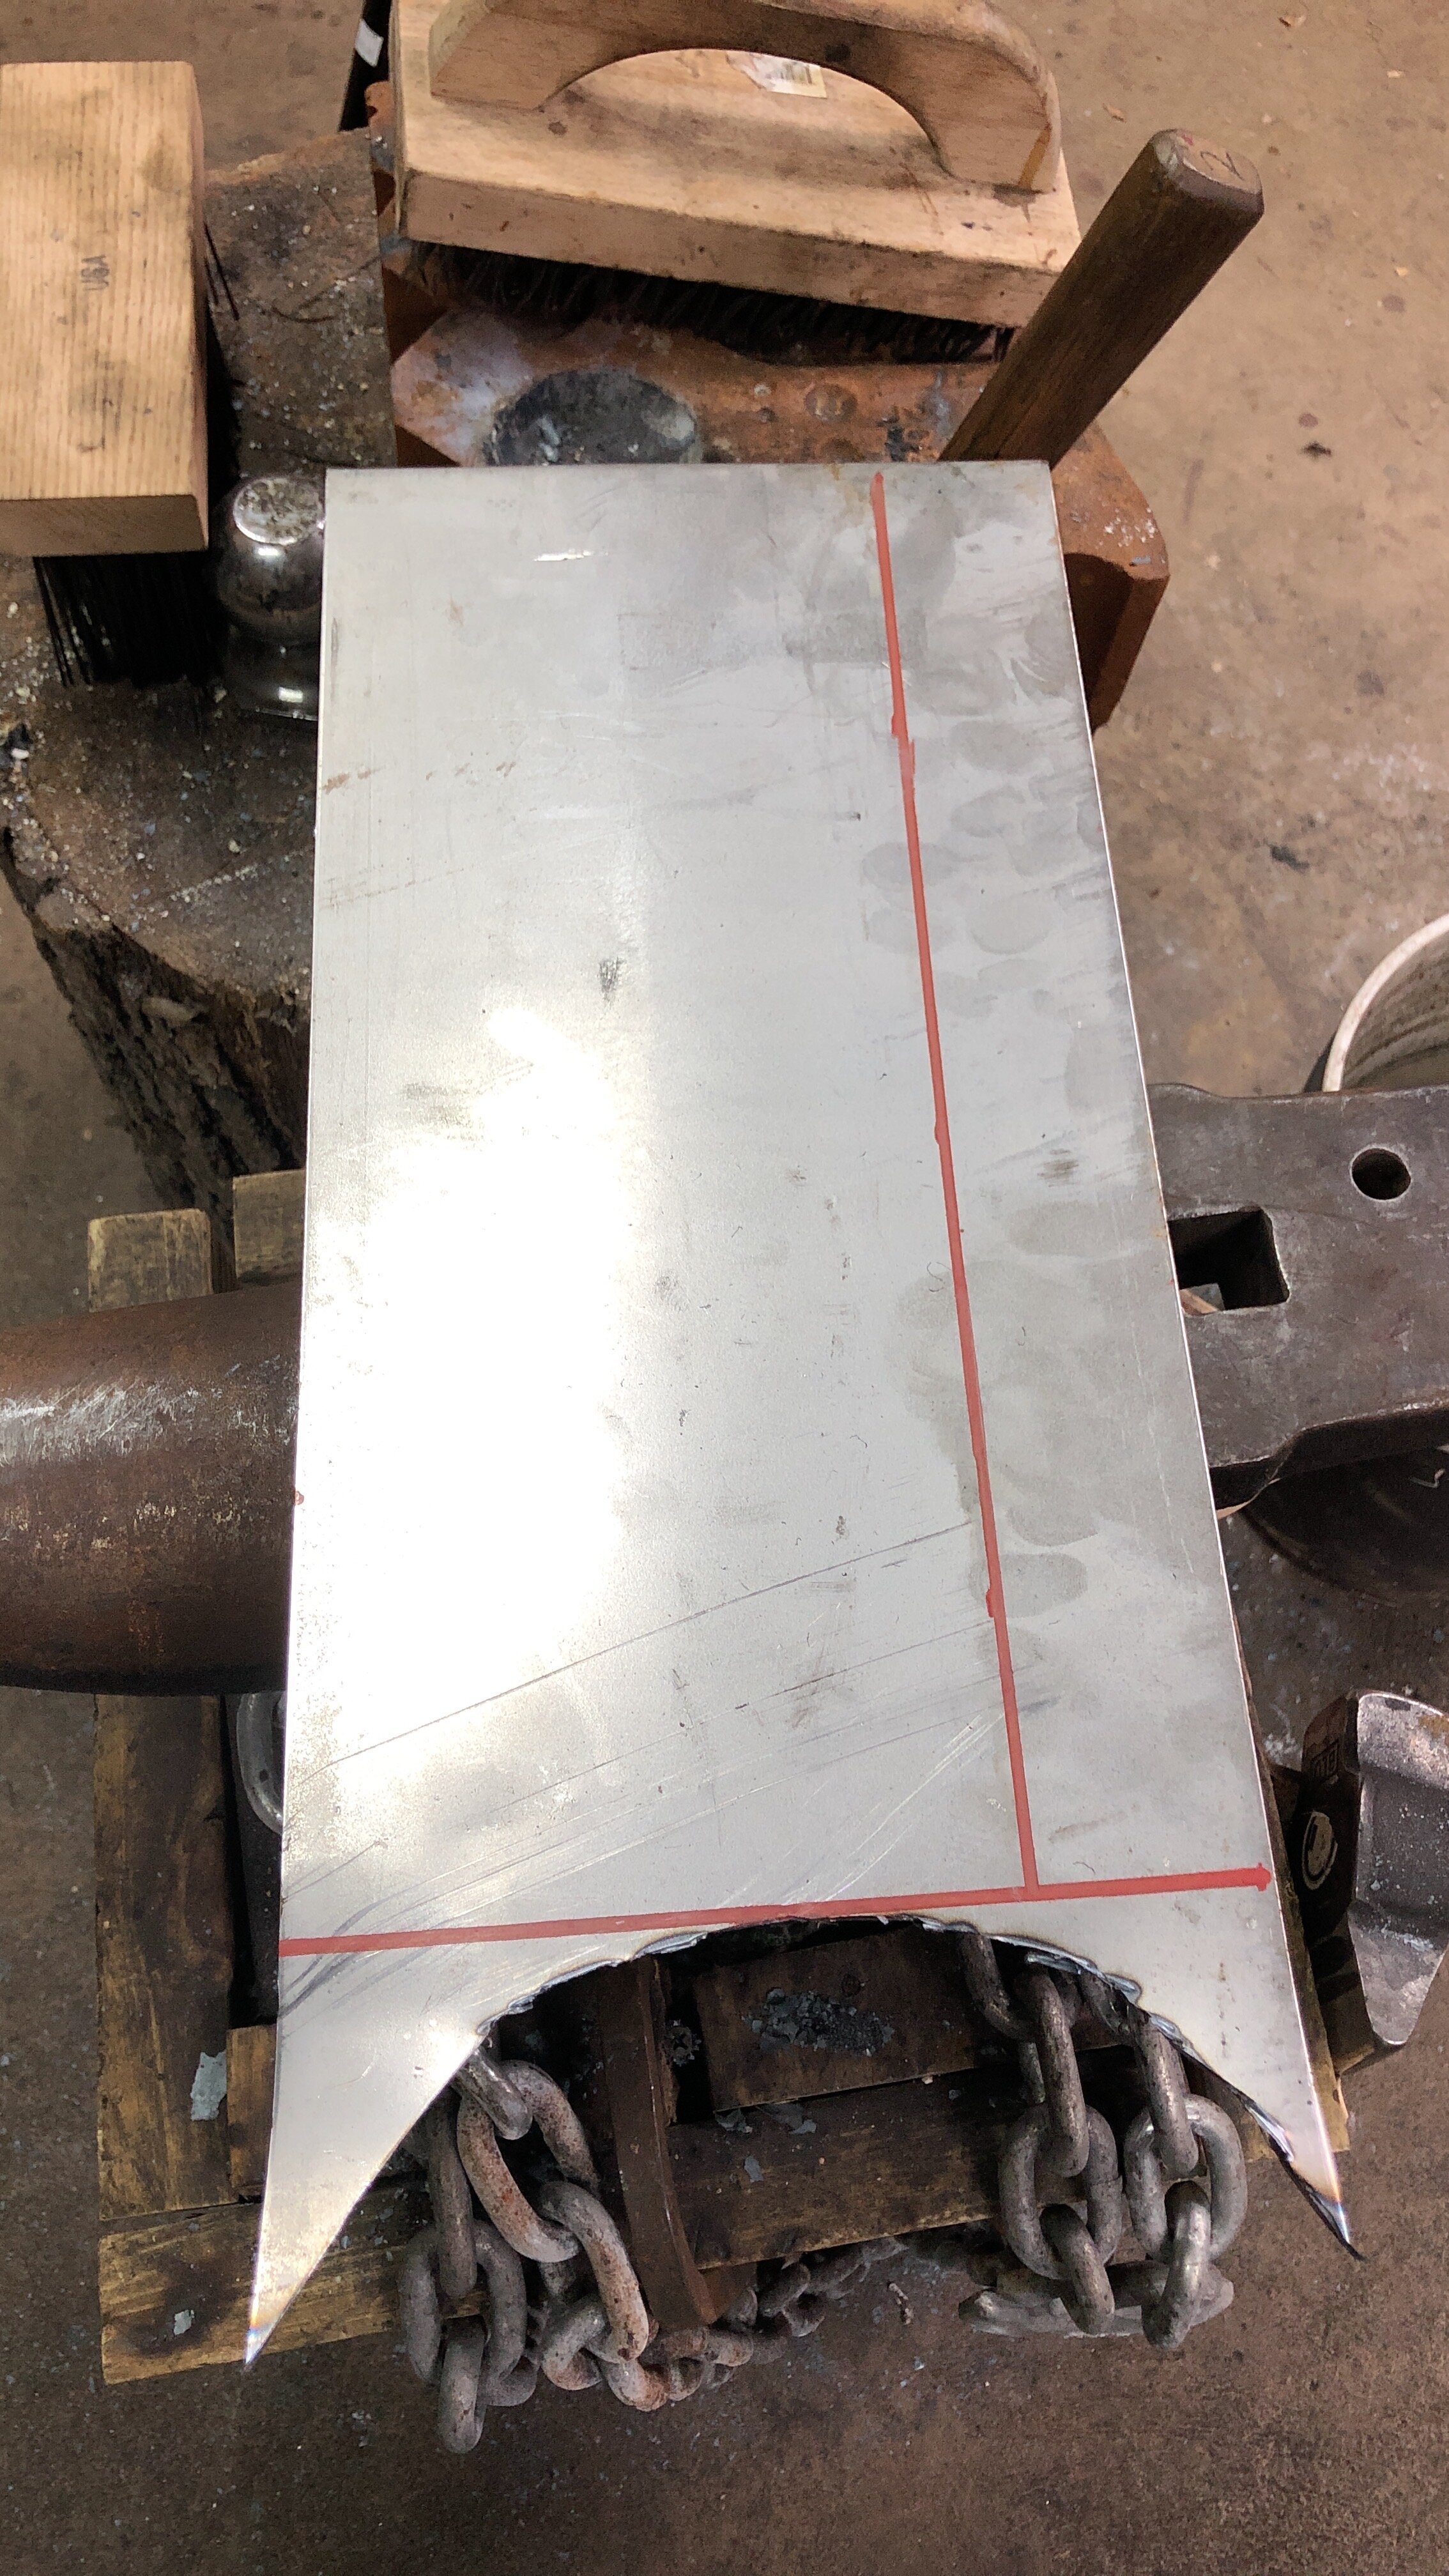
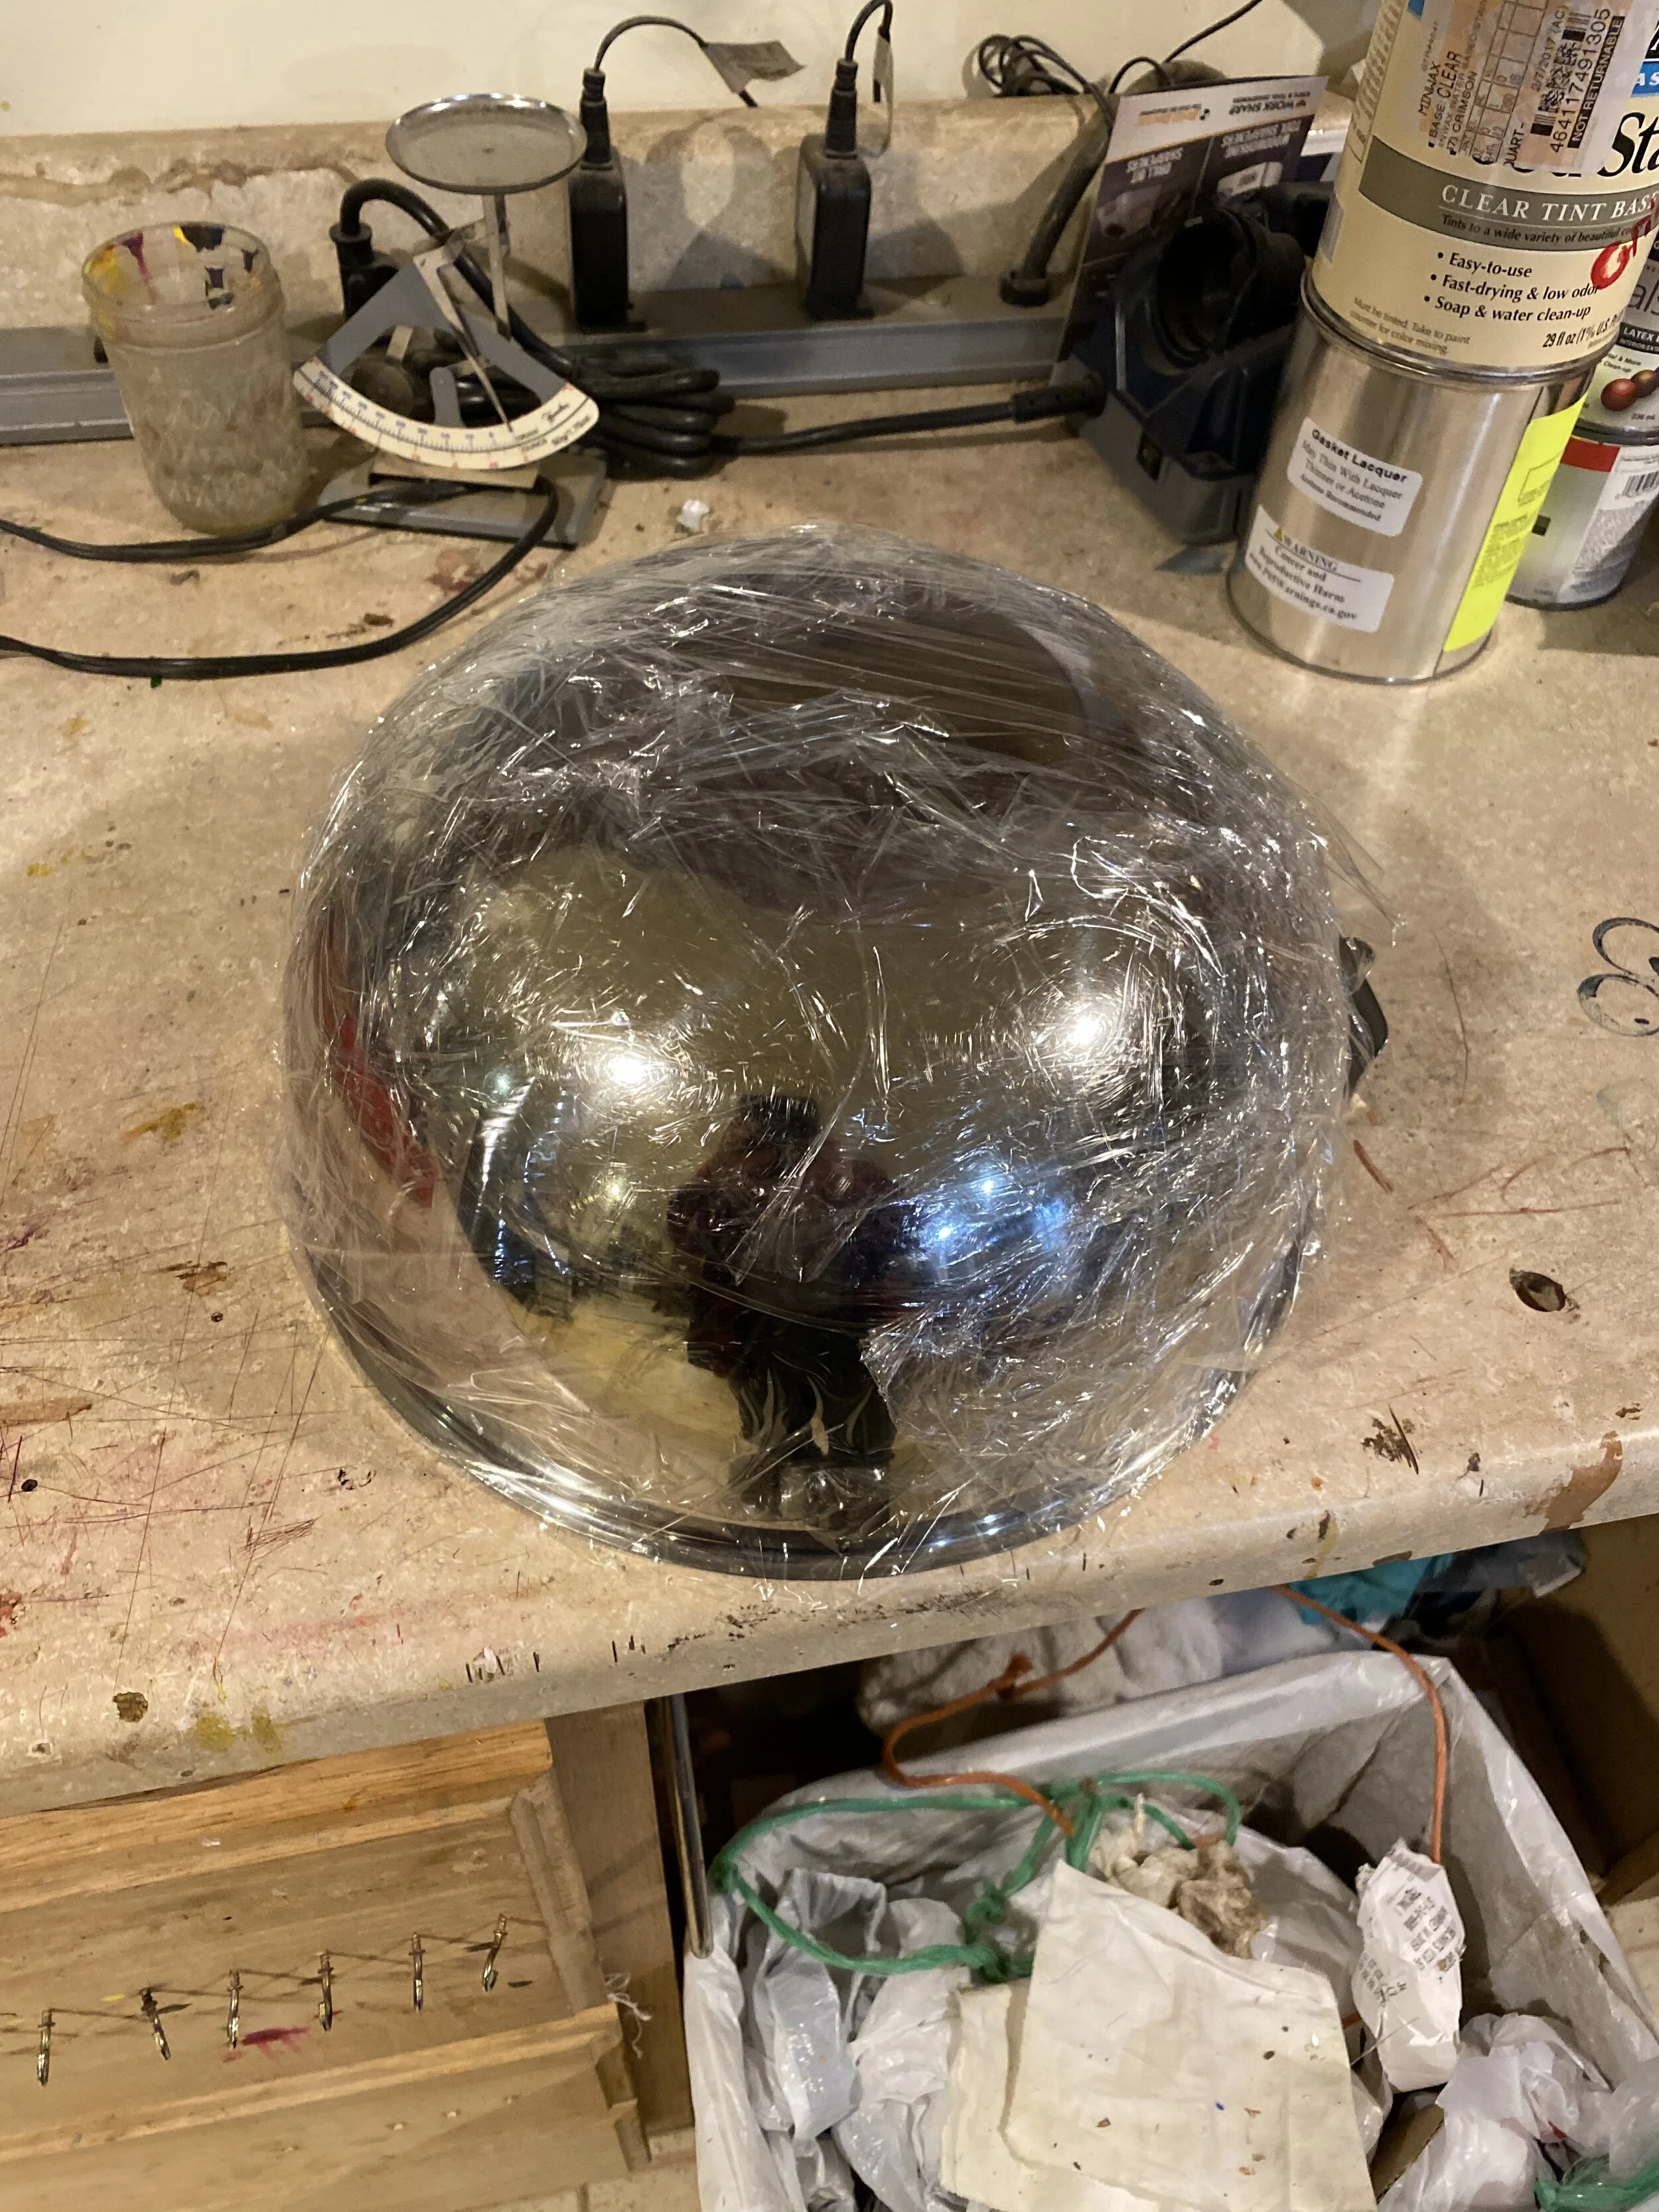
4. Oseburg cauldron

I have decided to try and make a forged and riveted cauldron similar to the one found in the Oseburg ship burial:

The first step is to make a cutting pattern. My 5th grade paper mache skill were brought to the forefront. Molded a cauldron to cut up in paper mace to work from. More on this project as I get back to it.
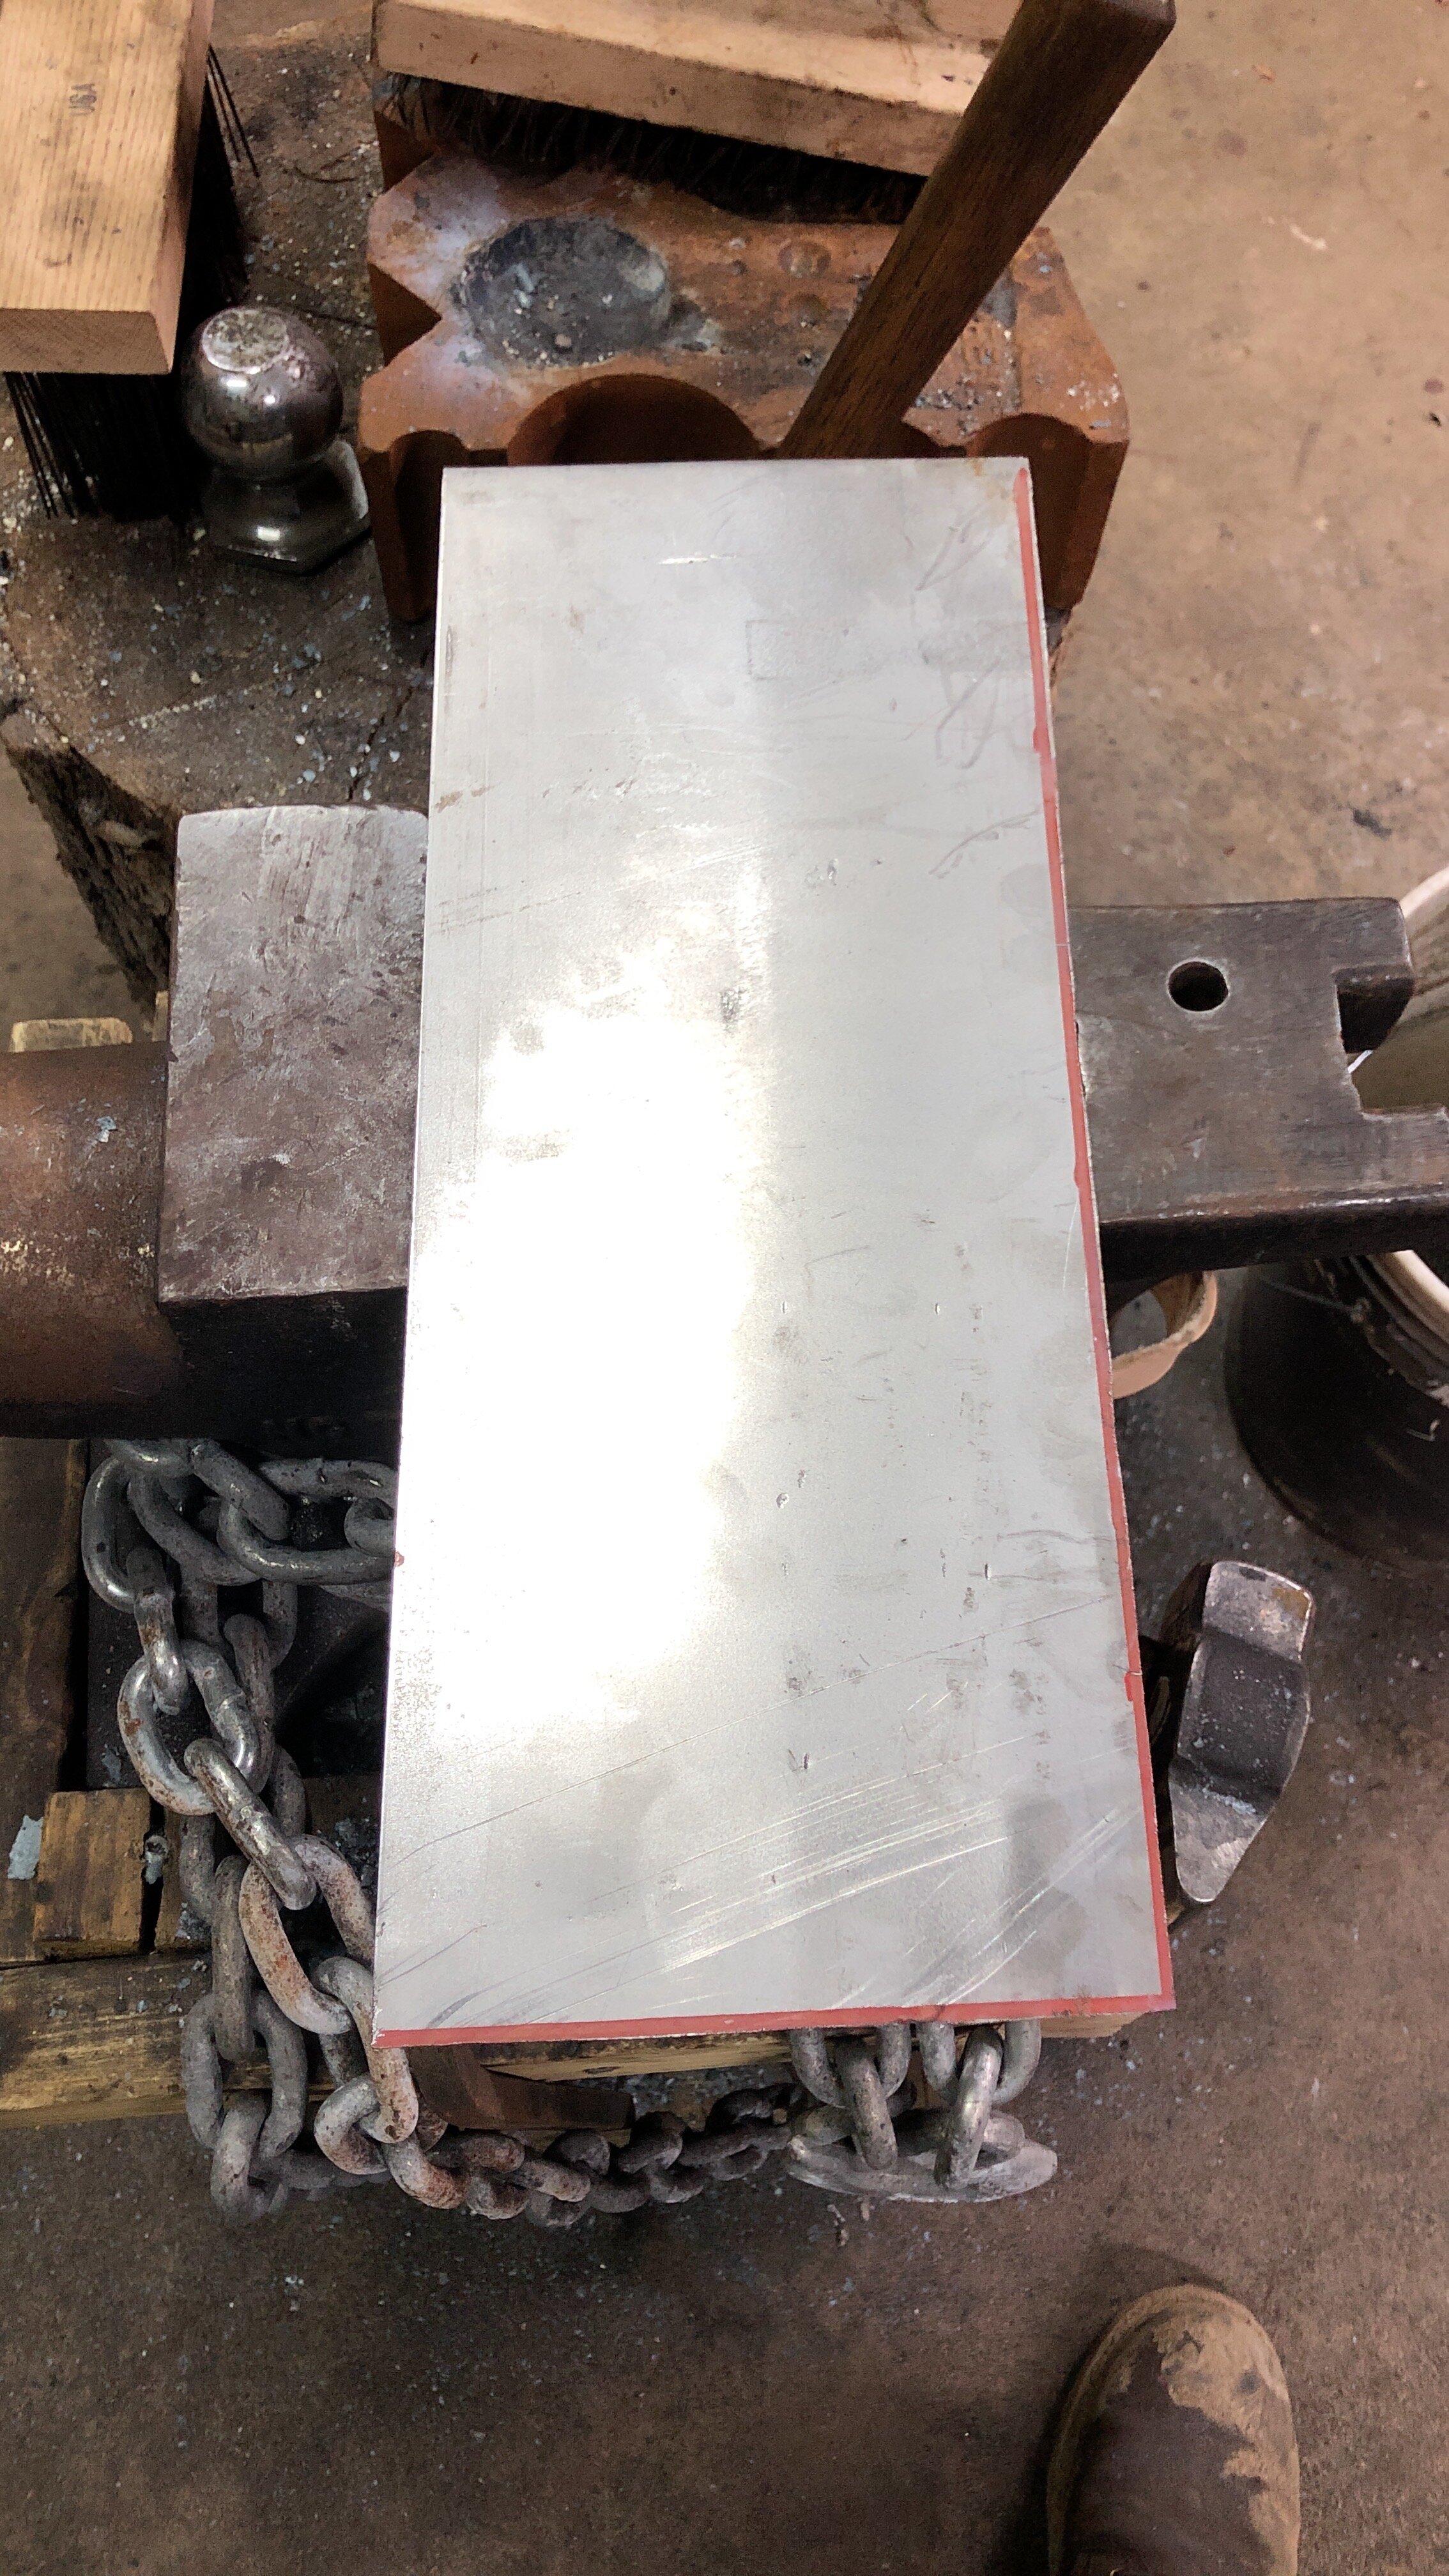


5. Jewelry Prep.

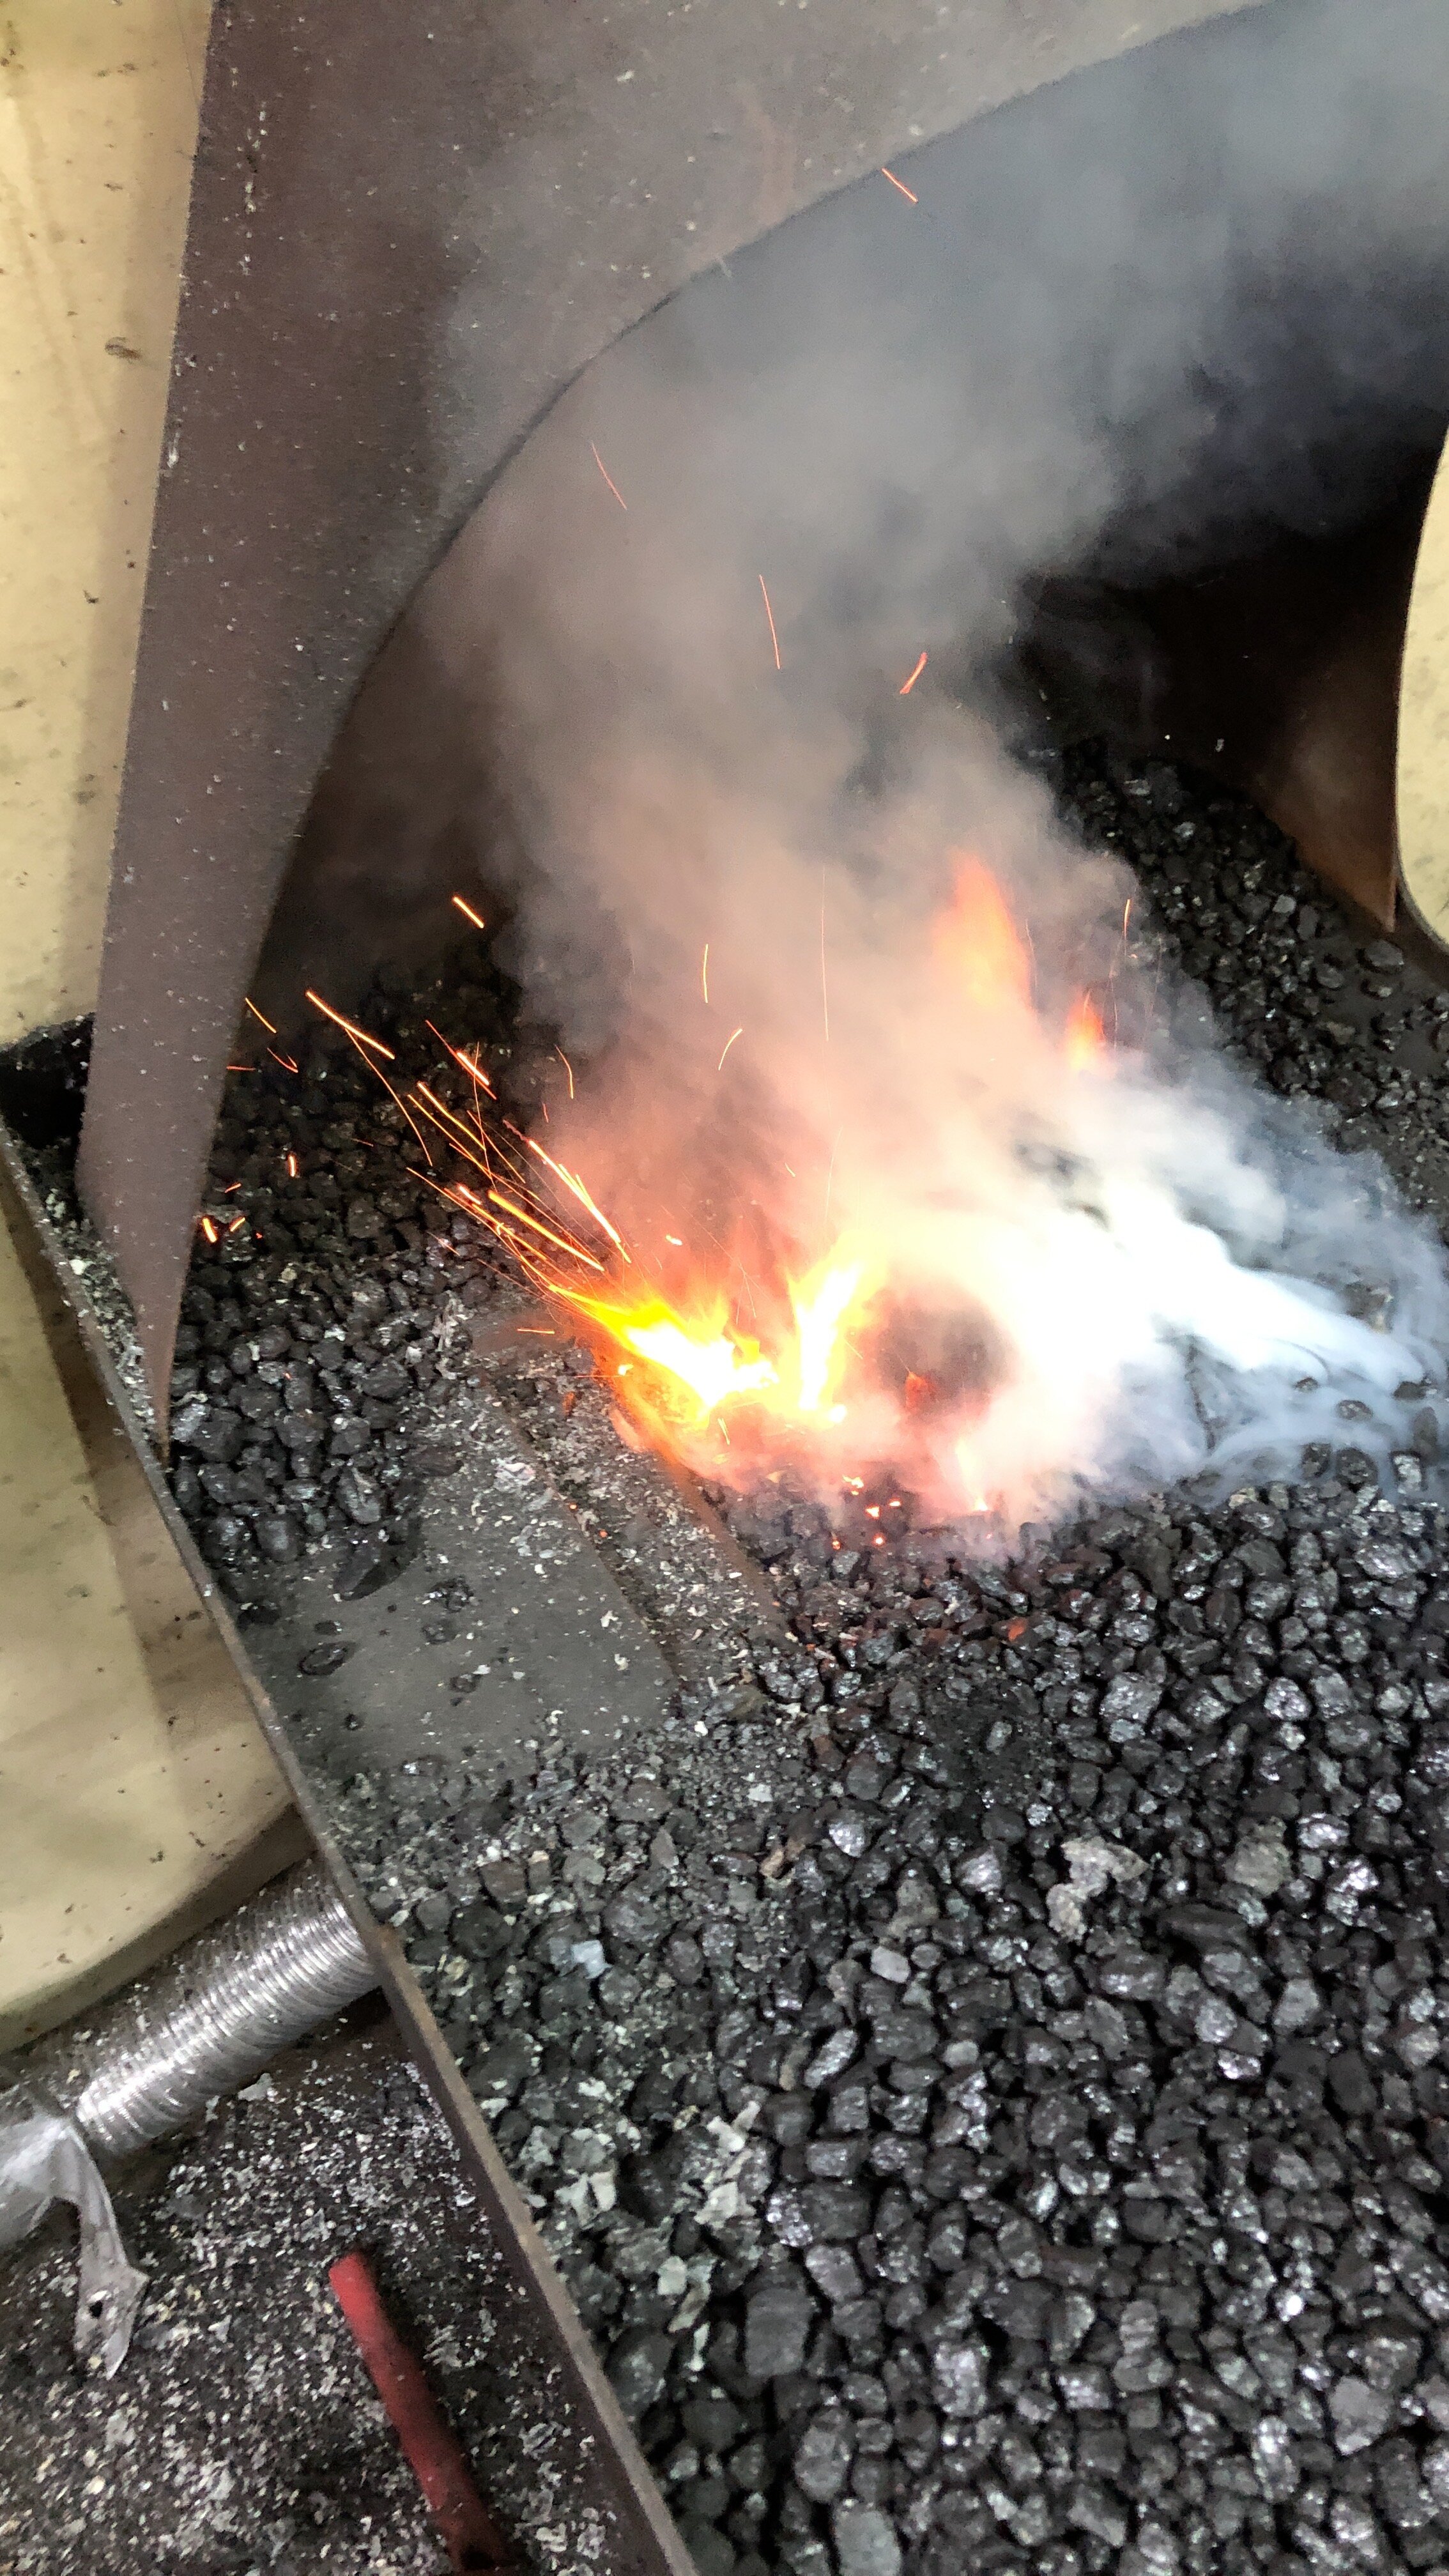
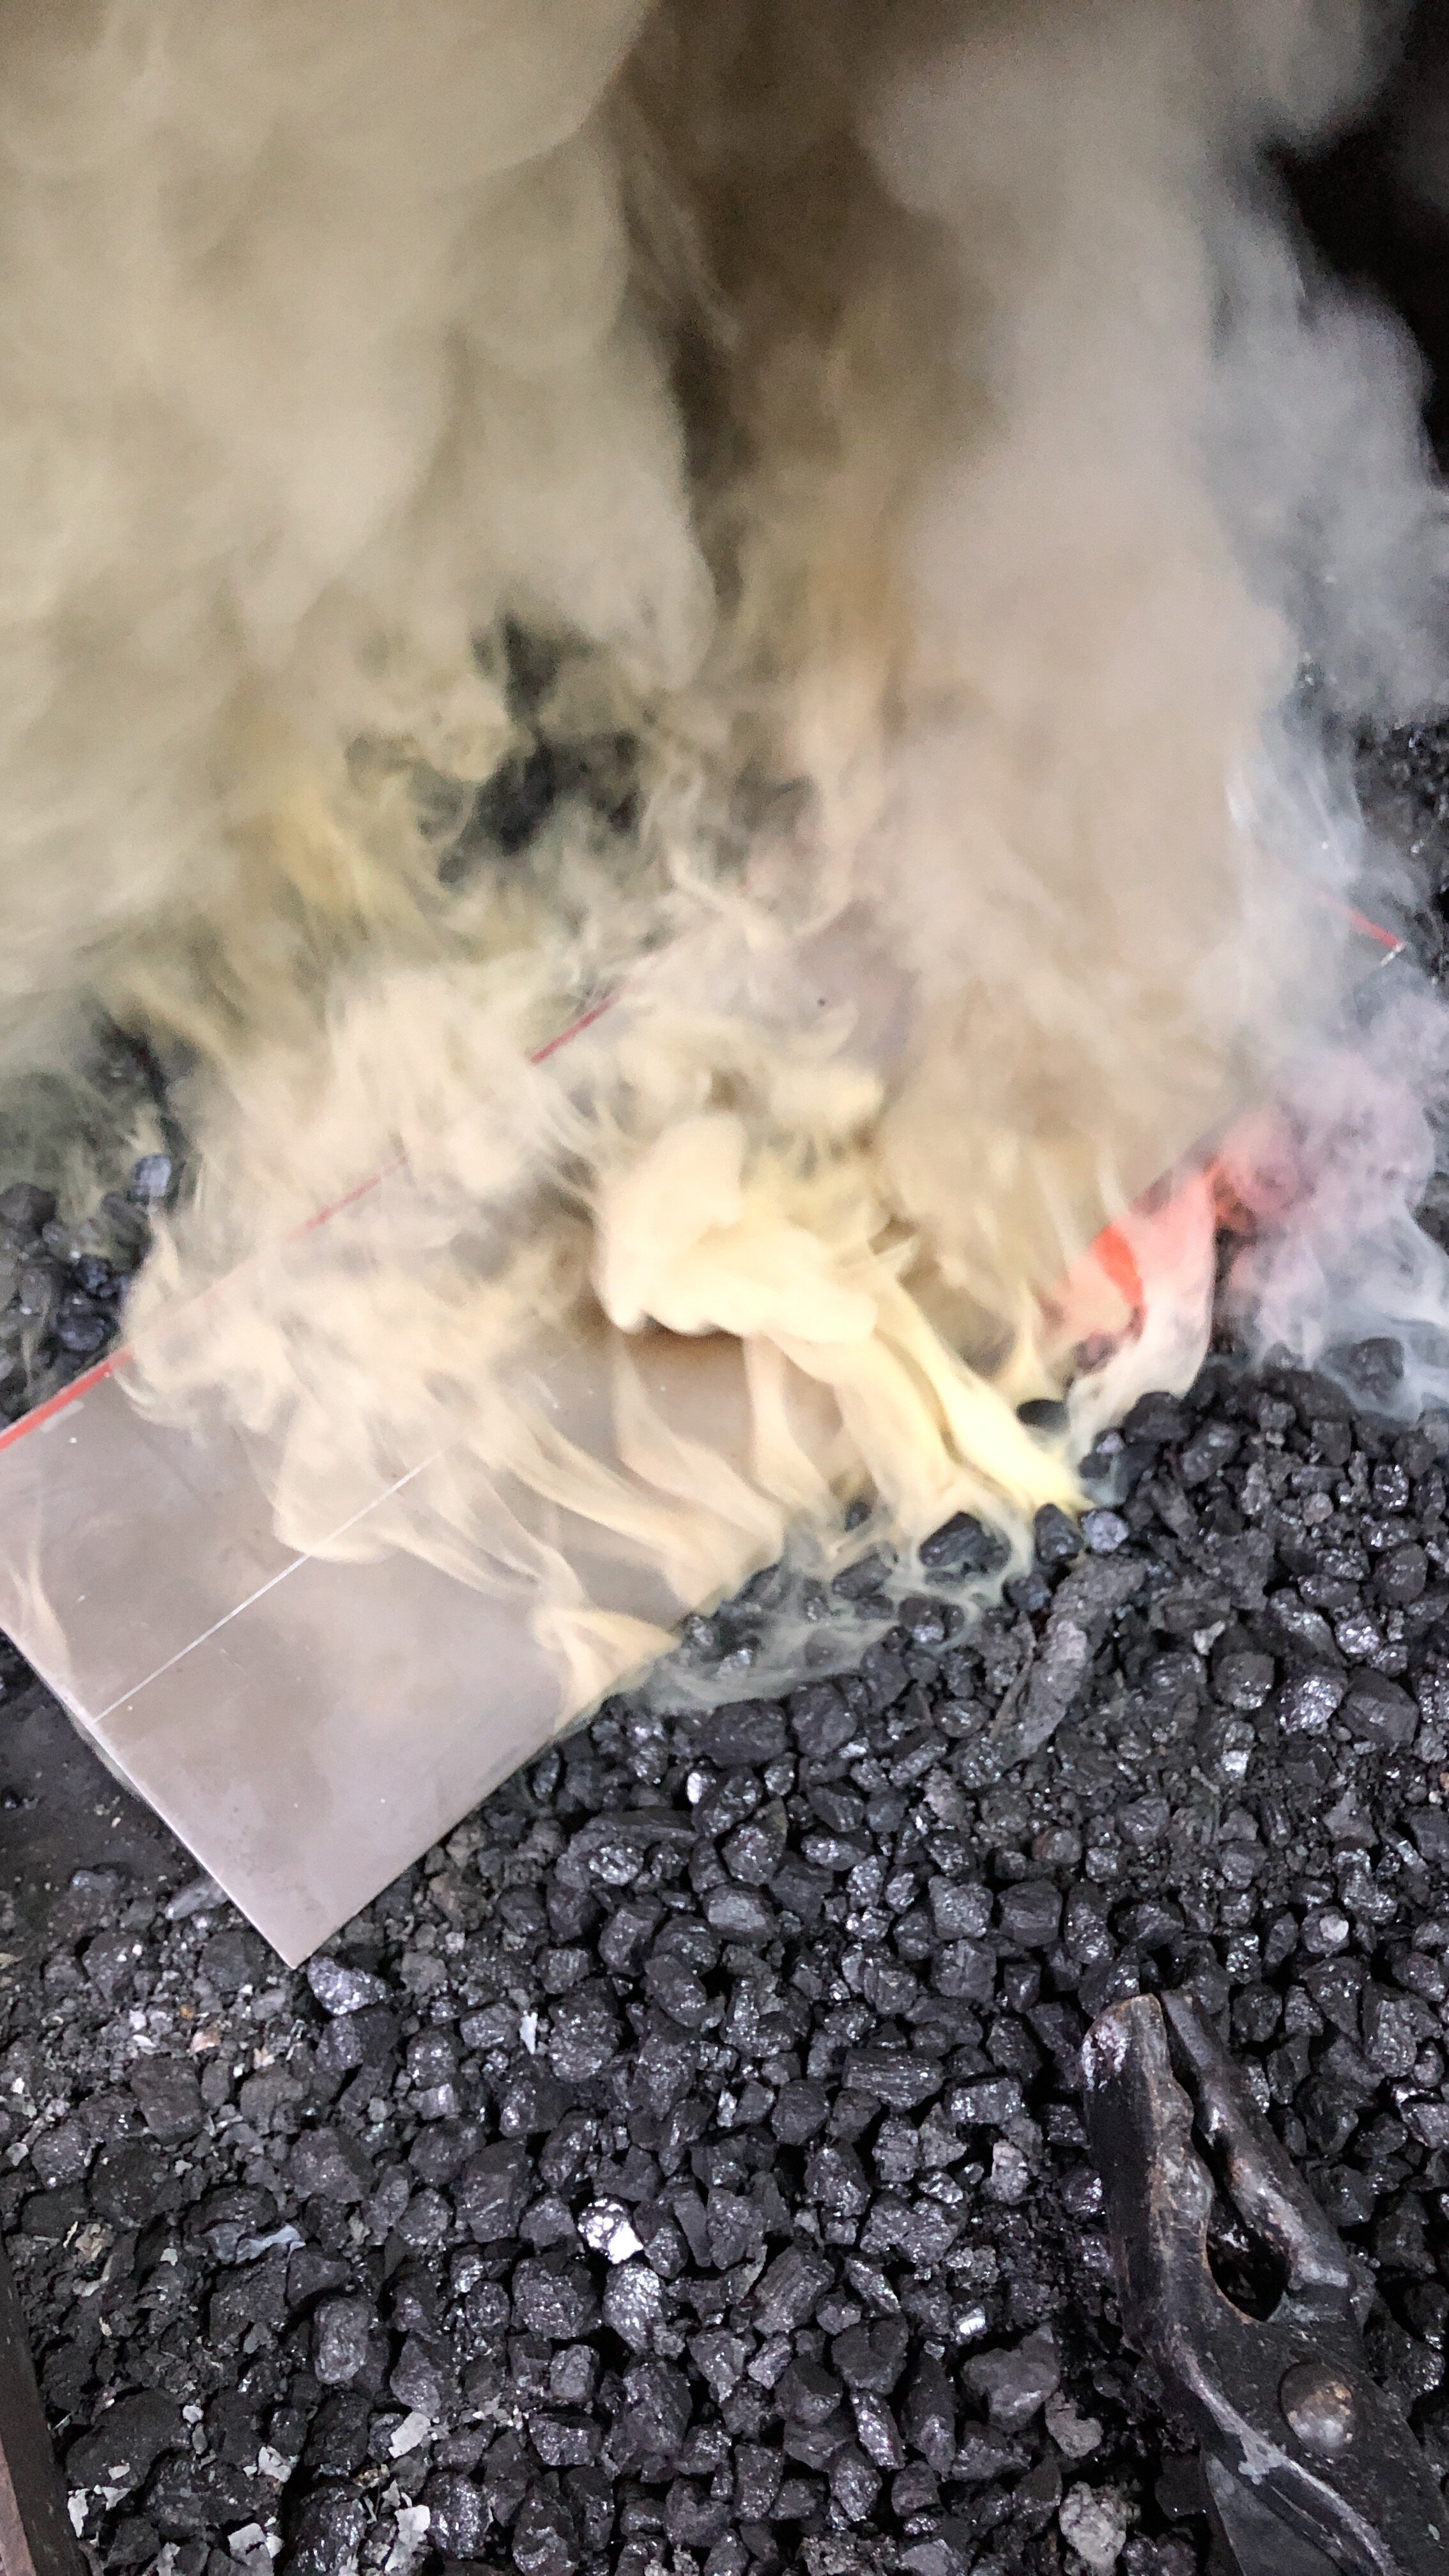
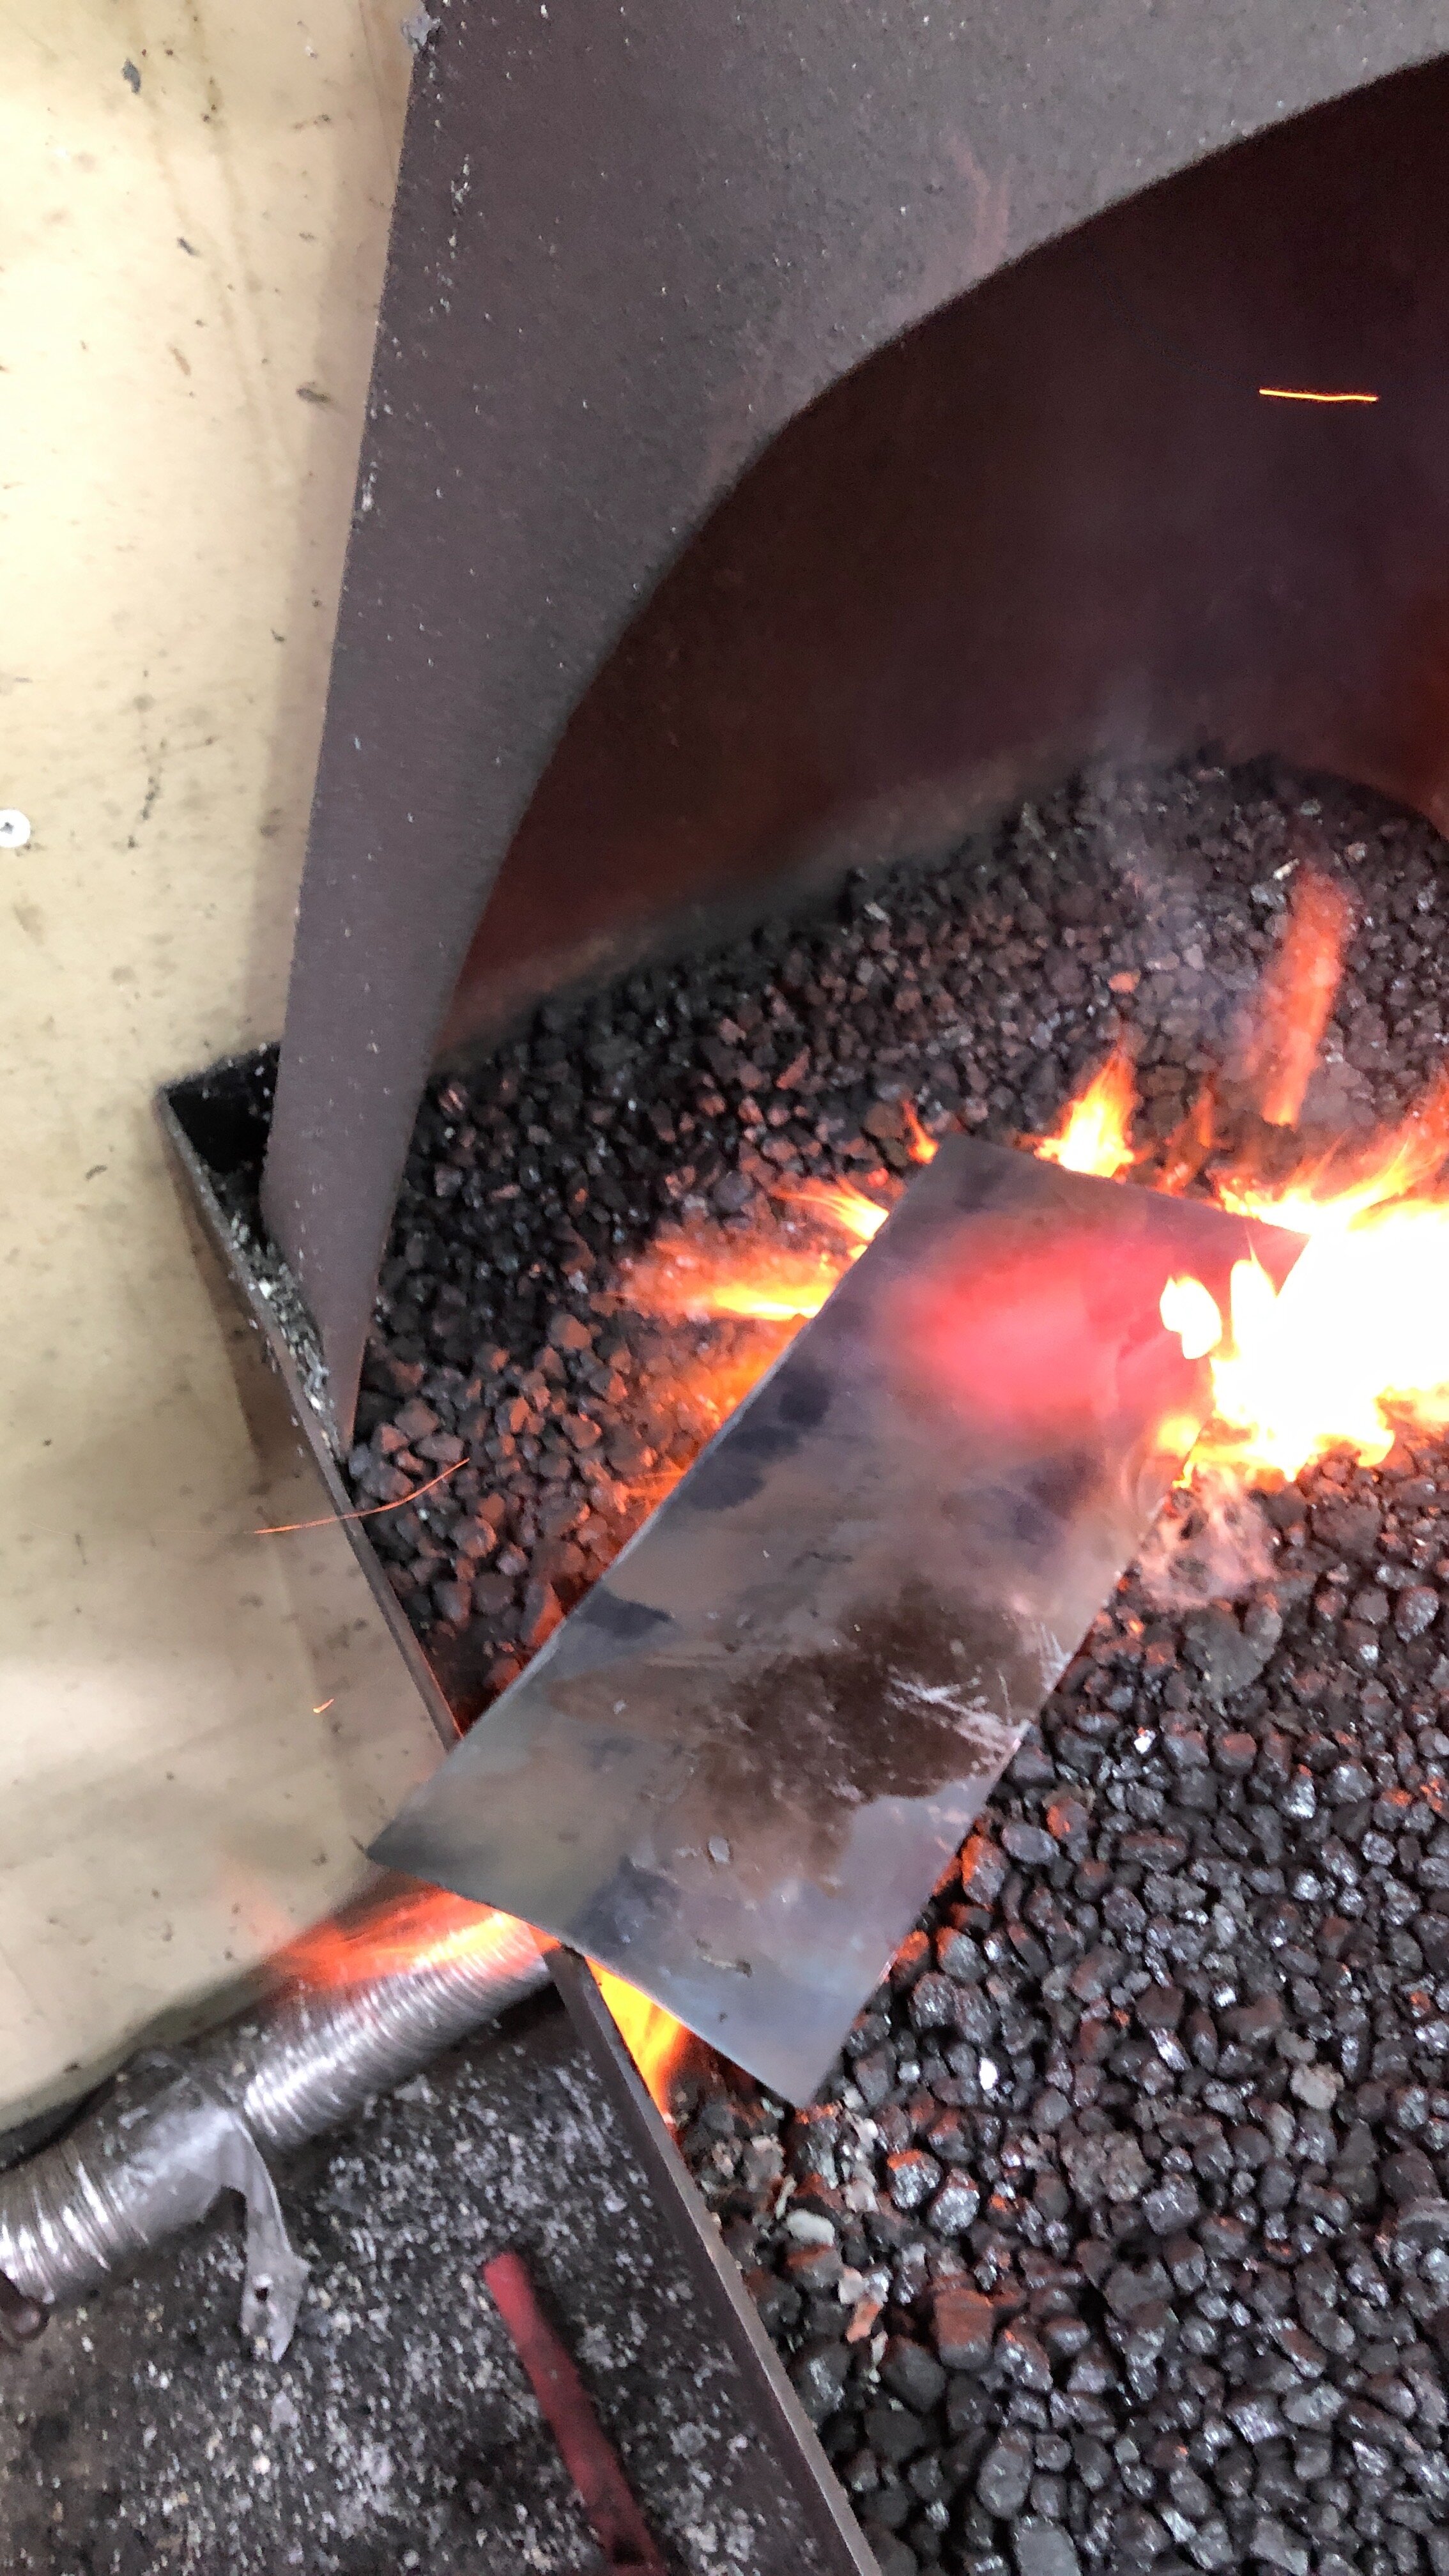
The other thing I have been working on is prepping silver for more projects in the future. Nothing in the works. Just replenishing silver sheet and wire stocks. Wire from a silver spoon and the sheet froma bunch of scraps from the bench:
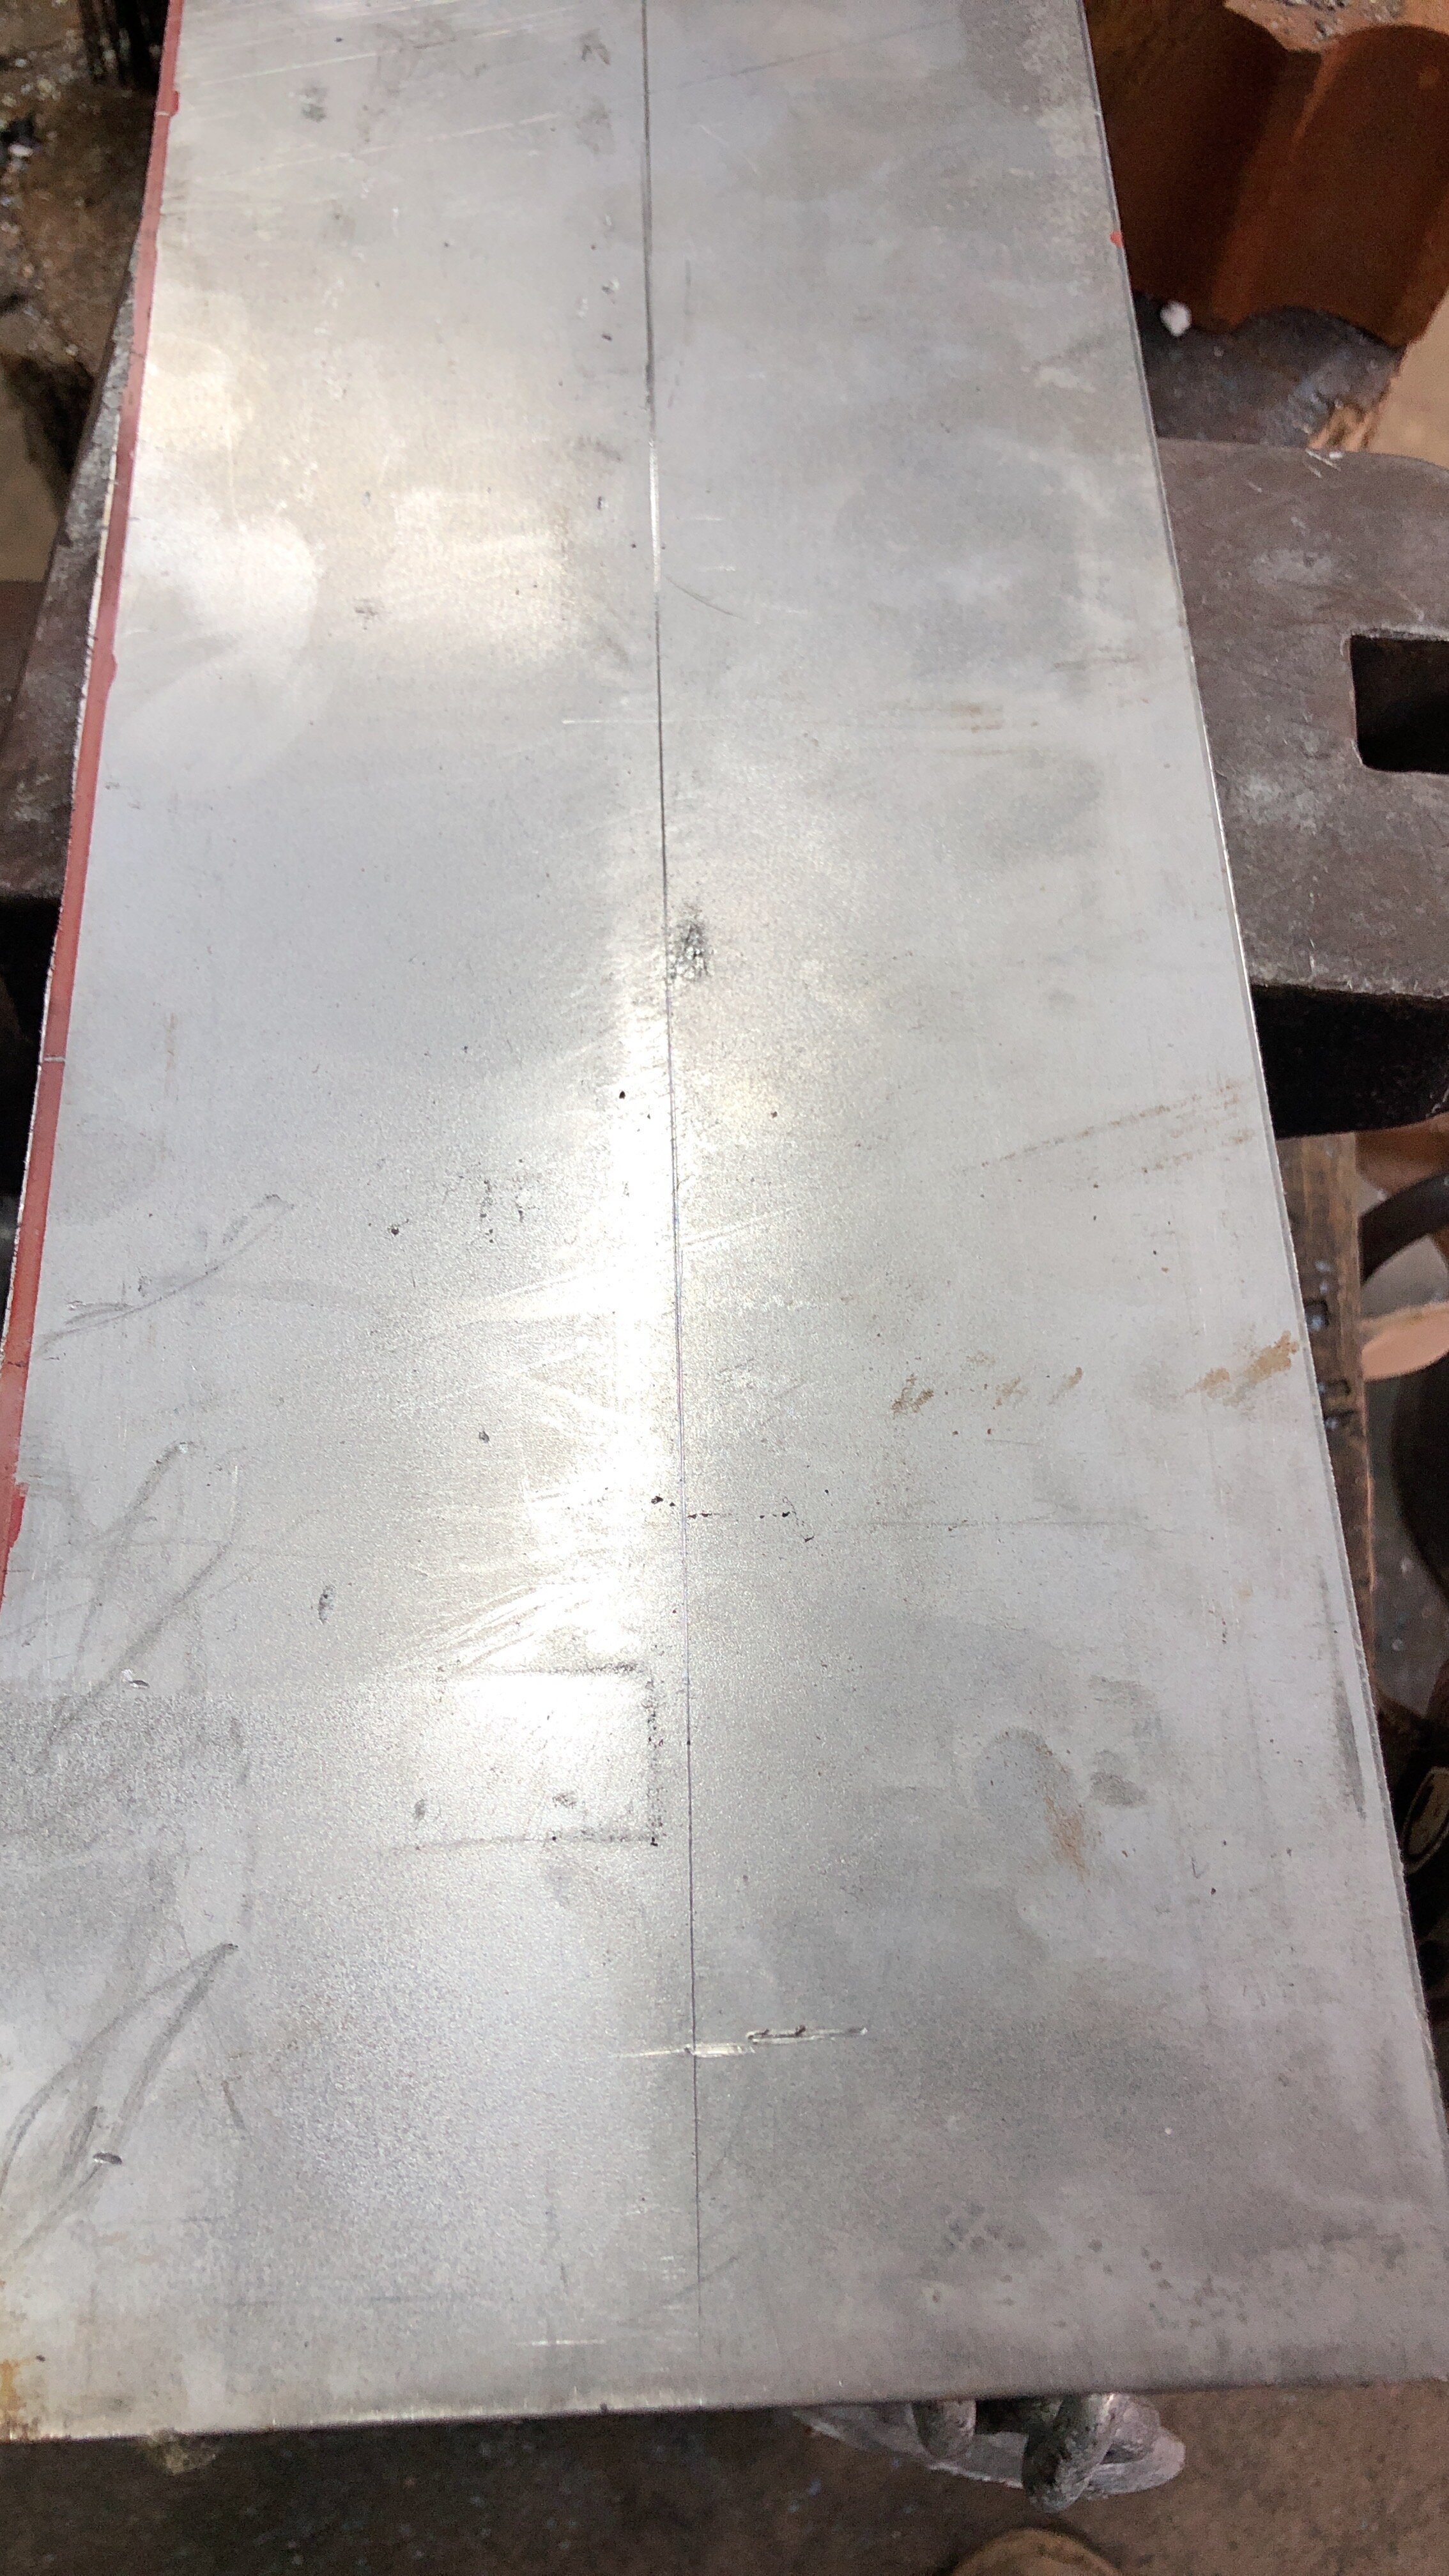
Silver wire:

The wire has been rolled and will be run through a draw-plate when I next work on it.

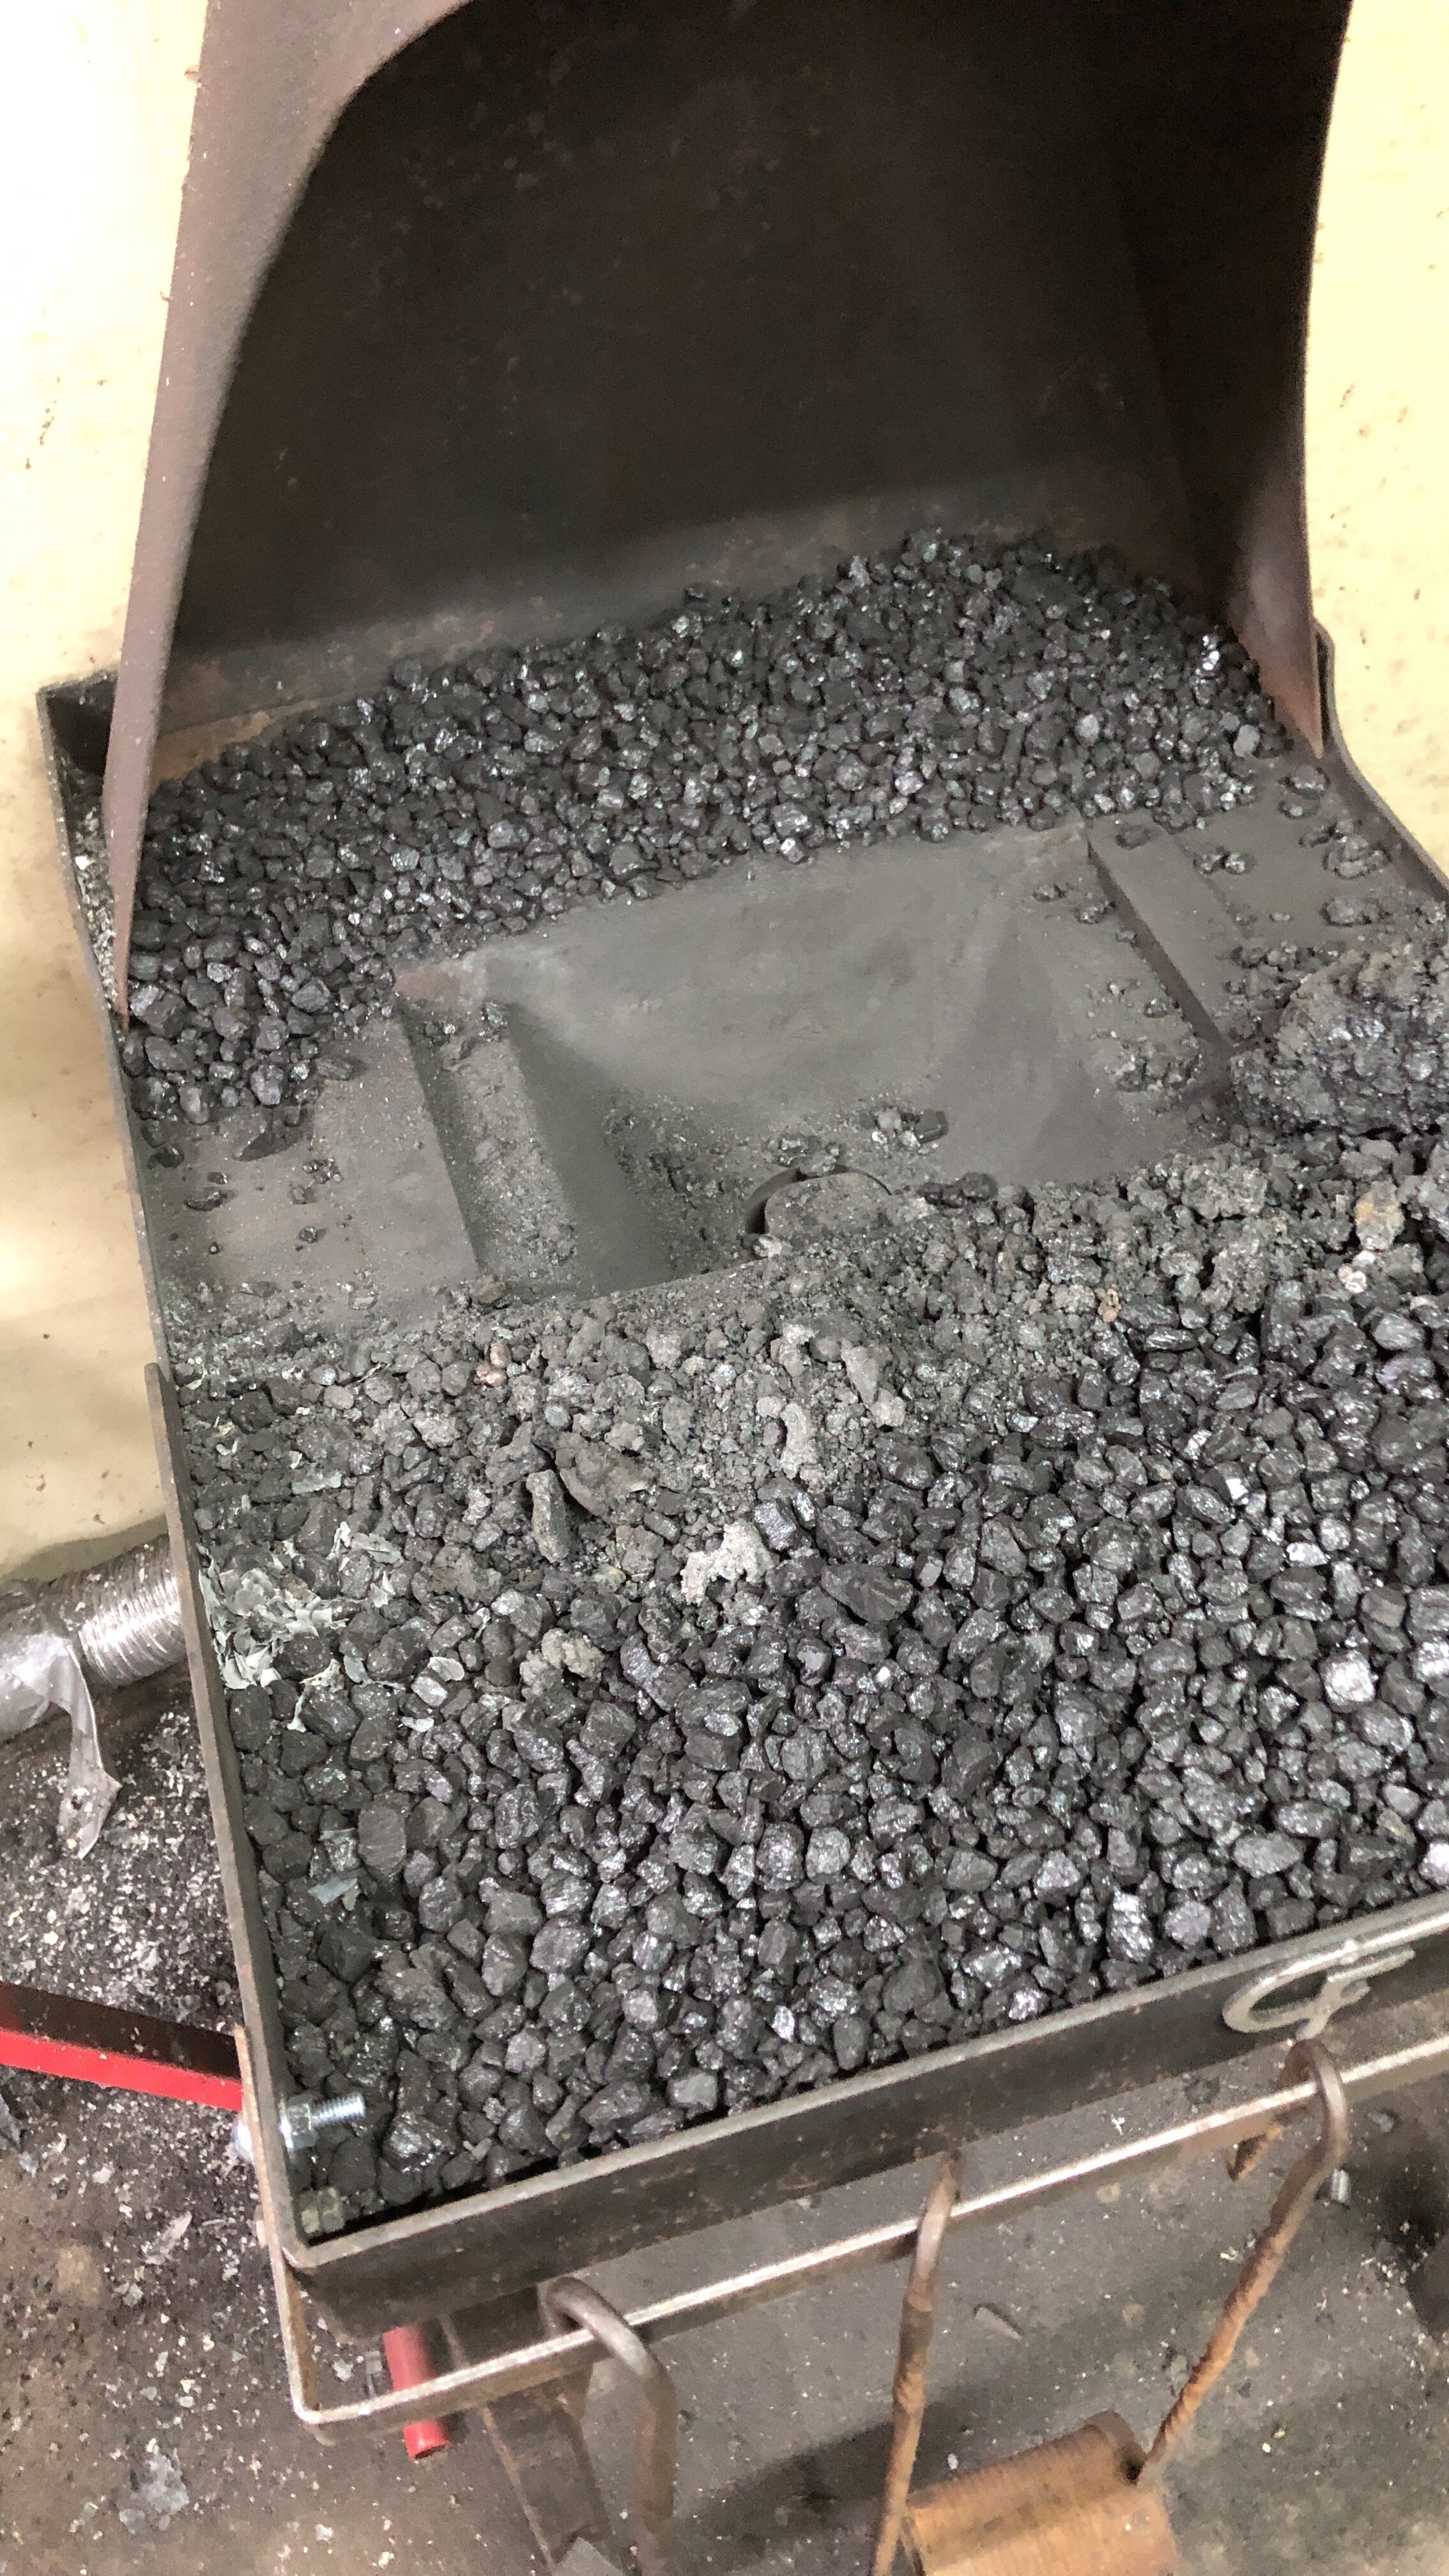
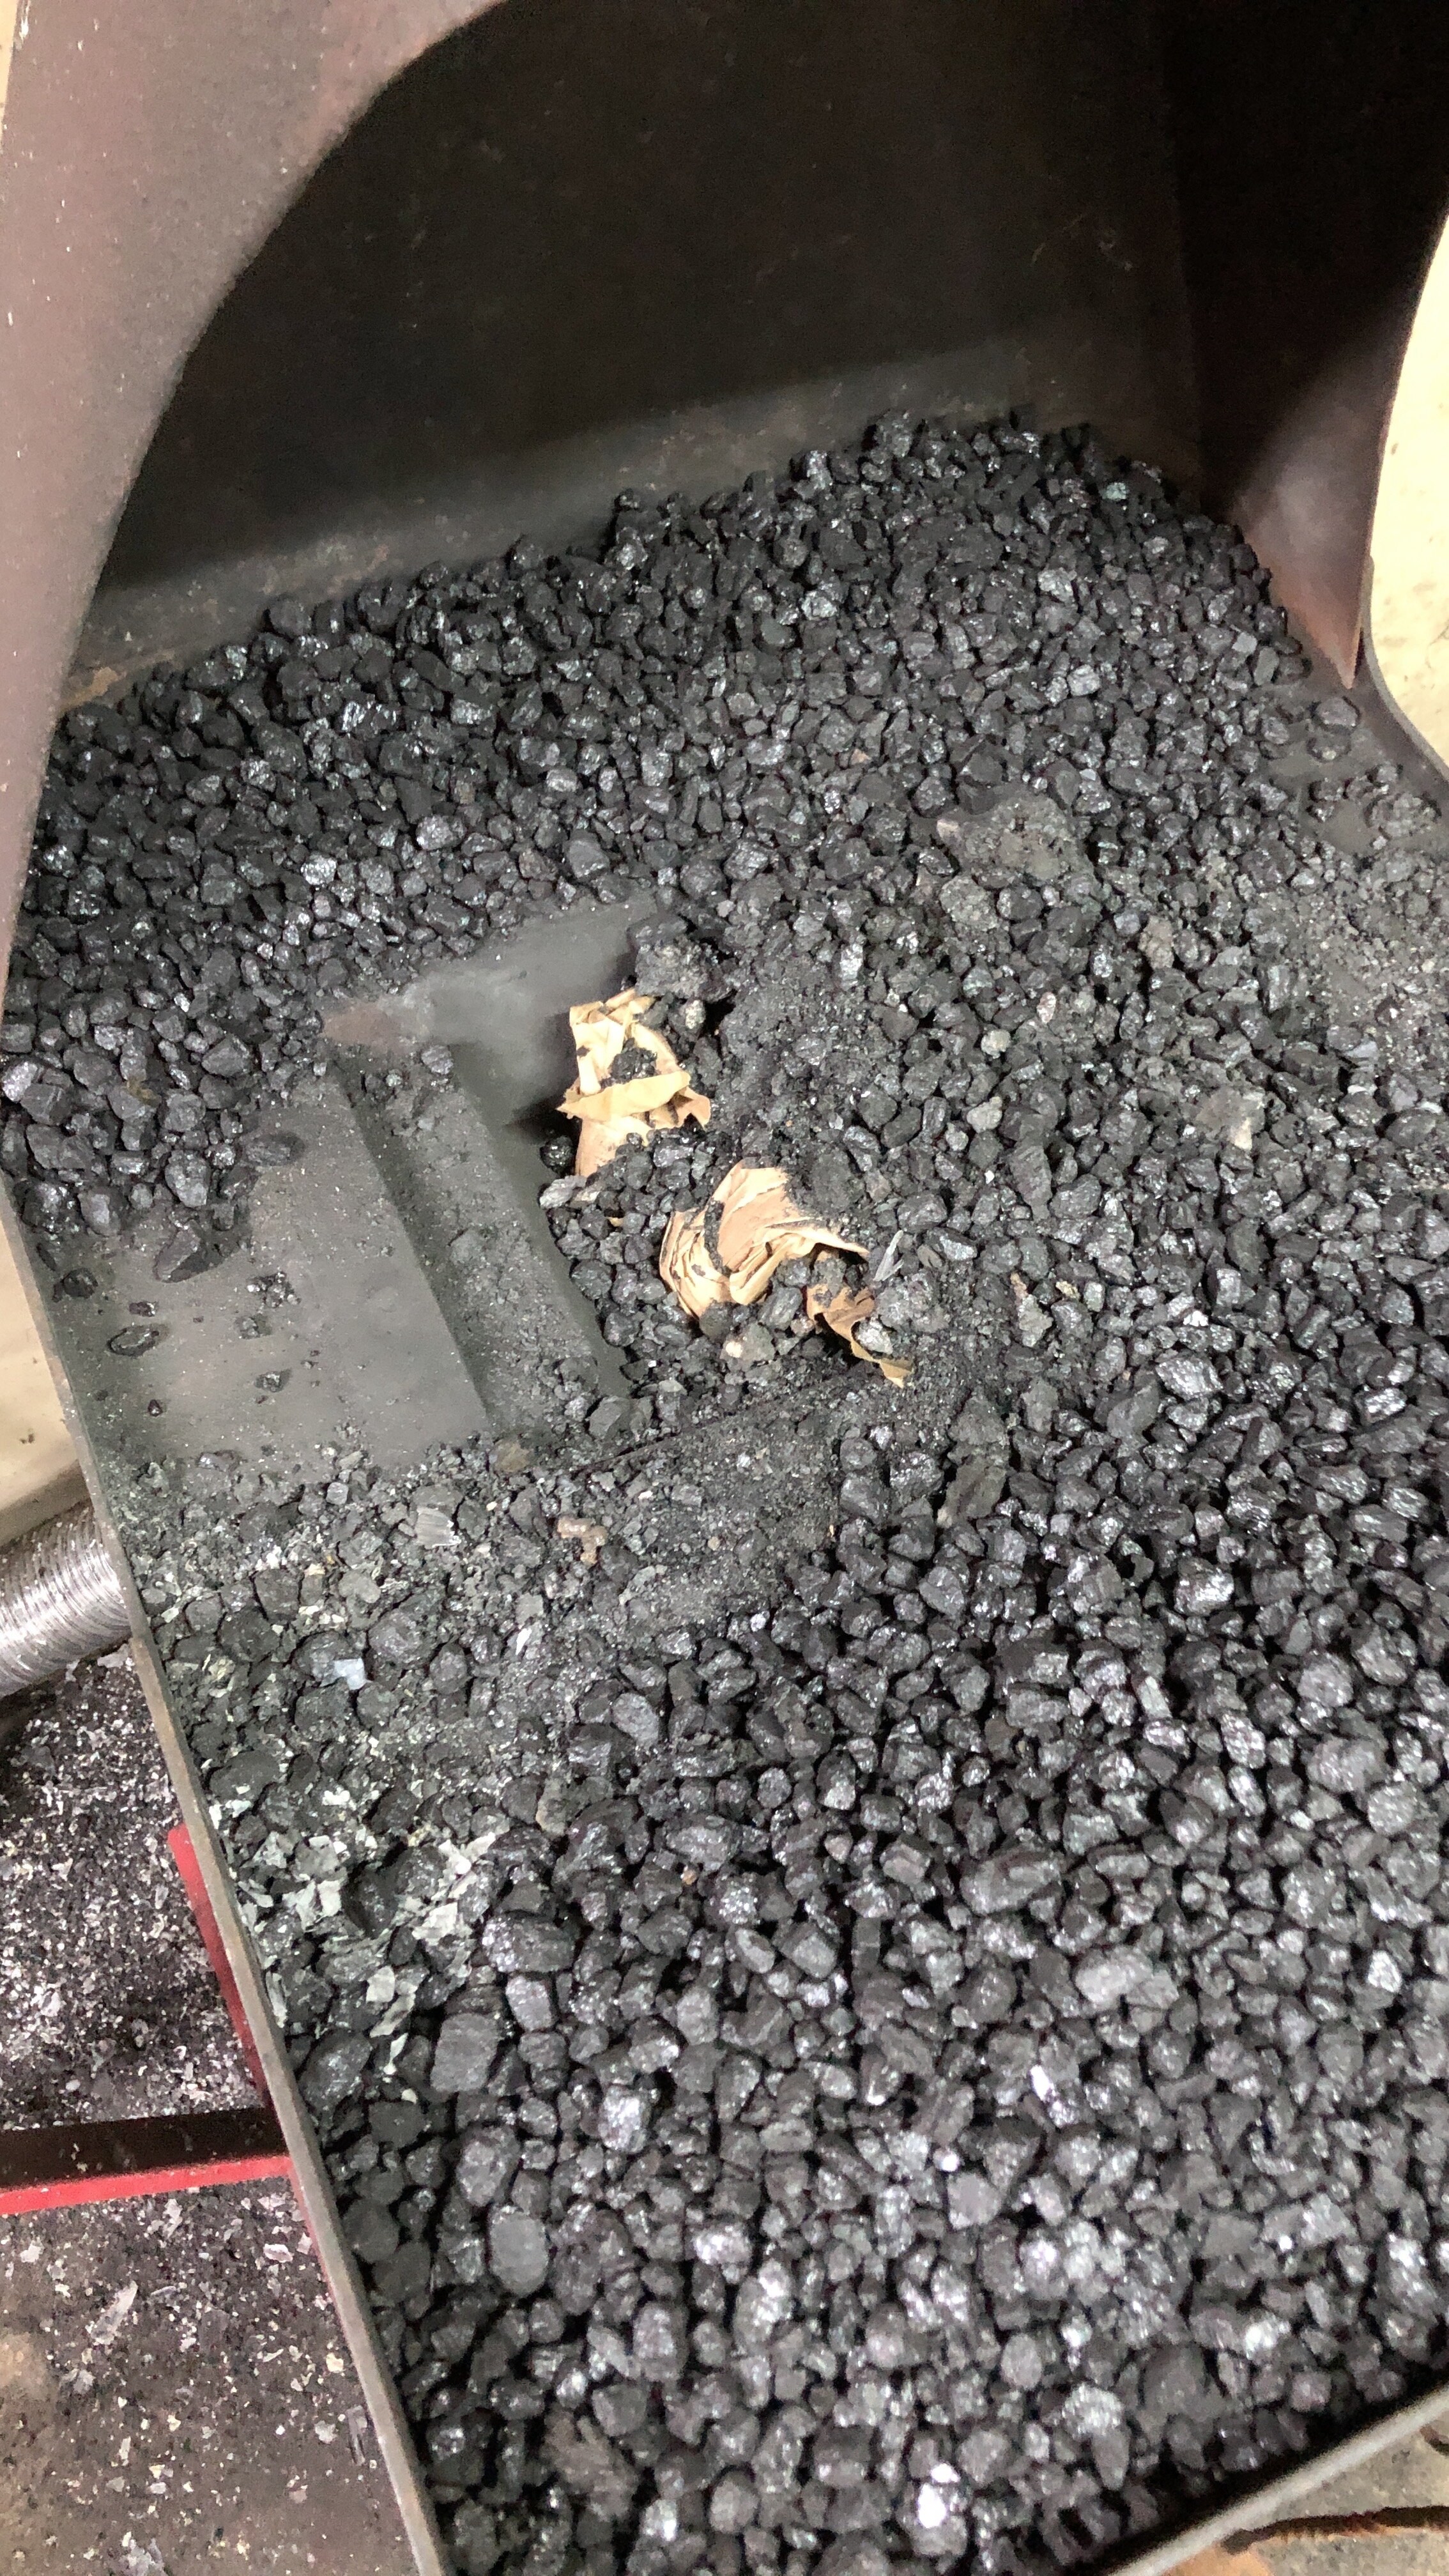
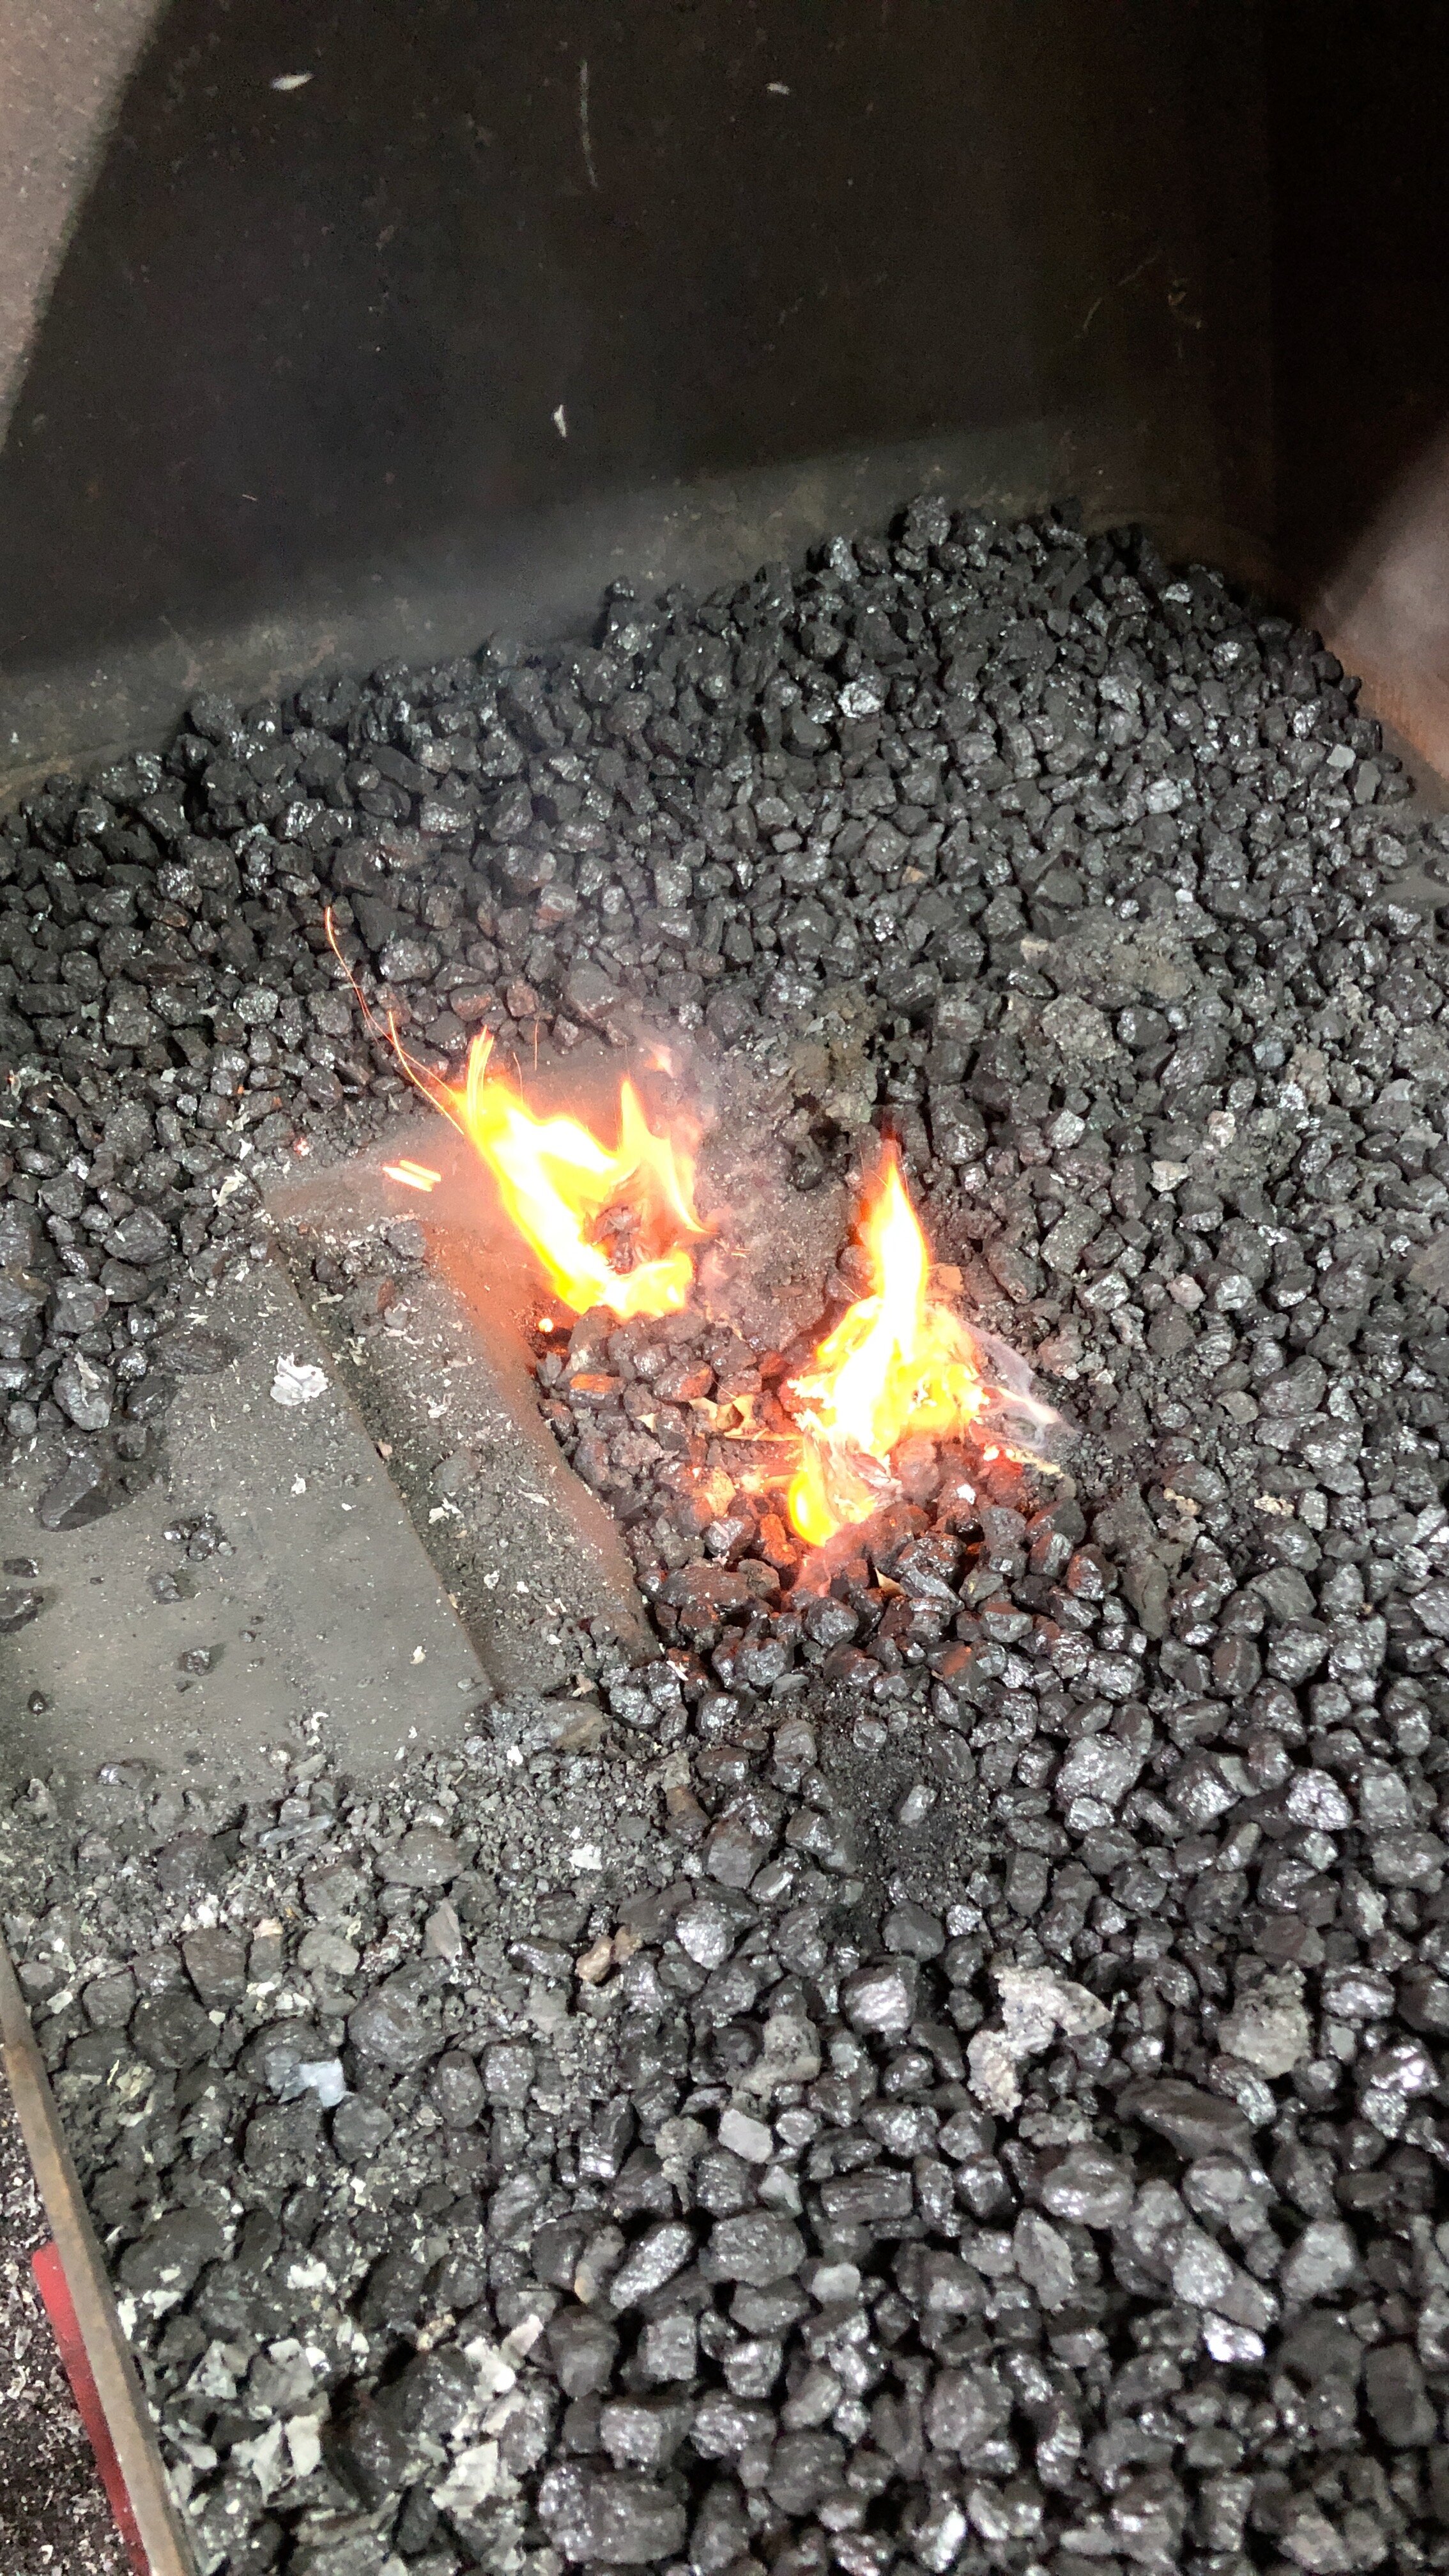
6. For my final note: Coal had been obtained!!!!


Over 1/2 a ton of soft coal to feed the Grimmsfield forges. Found a great store in Maryland that sells coal and decided to stock up.

Well, that is what has been going on. Hopefully things will settle down soon and I can get back to regular A&S times.

Everyone please stay safe.

Work and not work.

Teaching, not forging:

*** Please note that clicking on any image will give you an expanded view. *****

Well, it’s been about 2 weeks between blogs and I am wondering if that is about the rate I should be shooting for. The trouble with that is, I seem to forget what I did 2 weeks ago. Fortunately, I try and take pictures to remind myself. Last weekend saw very little actual production from Grimm. Instead, I opened my forge to others. I taught 2 young gentles the arts of the blacksmith and one old fart the same. Aria and Kaleb of Stierback came over for more lessons in blacksmithing, each creating a wall hook to learn the basics. This was their 2nd lesson and they seem to be getting a hang of it. I did not get pictures of there final product, but the were both happy with the work and I was happy with their progress.

Lord Ronan also joined us for the day. He was here to work on the handle of a knife he purchased for the SCA. We are changing it from a railroad spike knife to a more medieval look. The plan is to draw out the tang to make a hidden tang knife. He worked on turning the wood for the handle and forging the tang down to the right size for the handle. This is him working on the Lathe:


I piddled around the shop not doing much. 2 people in the forge at a time is the max it can handle. Aria and Kaleb were working there first, then ronan and I stepped up. He in drawing the tang and I worked some more on the hinges for Lord Christof’s chest.

Finally, some good forge time:

Saturday (2/29/20) found Grimm with some free time to get into the forge. It also found him with nothing pressing to make. (yes there are a dozen projects that I should be making, but I am not ready to start them) Soooo…..Its hammer time (in more ways then 1). An attempt to recreate a hammer head from the Mastermyr tool chest.

Making a Blacksmith’s Hammer from the Mastermyr Find

The chest is similar in design to the one I made for our pennsic camp. I have always been fascinated by the objects inside as well. This is my first attempt to recreate some of the tools. (please note, this is not the documentation on the hammer just what i was doing and thinking. The documentation will be written later). to start, here is a photo dump from my research:

And here is a photo dump of the work in progress:

Back to work, not much to show though.

This week we had archery at Grimmsfield on Sunday. Spring cleaning and a practice. Atlantia is now in 1st in the open bow division of the SCA wide IKAC. Monday was given to mundane life. Tuesday, however, i made it back to the forge. I was planning on finishing Lord Chris’s hinges and clasp and finishing Mistress Lorelei’s shovel blade, but Lady Gunnora was planning on getting her equestrian gear ready for the season. I did get a chance to re-work the shovel blade, but not to work on the hinges. I did however, manage to get the spear point i forged for her shafted and then created a weight for the back of the spear as a counterbalance. This involved forging more of the 1 in round bar and was not exactly something to show off. It did however work! Lady Gunnora now has a ring lance with a Grimmsfield forged point and counterbalance. This makes me happy. Now to make one that I can be proud of. Sorry, no pictures. It was just working. Hopefully, i can grab some pics of the lane soon.

Back to the forge

*** Please note that clicking on any image will give you an expanded view. *****

Another weekend has come and gone and I was able to get out to my forge 2 times this week. The first day (Sunday) i set out with 3 goals:

  1. Work on the new anirons for the upstairs fireplace.

  2. Begin the work on a medieval shovel blade for Mistress Lorelei

  3. Forge weld a piece of round stock back on itself

Started on #2 first. My first thought was to take a piece of thin stock, fold it in half and then bend it to shape. This would make the fold the edge and create the space for the wood to be inserted.

The problem with this plan was the lack of movement allowed in this thin of metal. There was just no room for the expansion and contraction needed for the proper shape.

The next plan of attack was to use steel with enough thickness to make the bend and then draw it out to the proper thickness. For this, i started with 18 inches of 1 1/2 by 1/4 inch bar stock. This was then folded over on itself to create a 3/4 by 1/2 piece of stock with a cut down the center.

Once the “taco” was created, the bend was then forged into the bar in the shape of a spade head. This was then hammered flat and spread to create 2 thin sheets joined by the fold. As long as I did not heat the metal to forge welding temps, the 2 sheets would remain separate. .

Because of the shear mass of metal that needed to be moved, i was working with my 3 lb hammer instead of my normal 2. The peen end on this moved metal quite well and I was able to make some good progress on it. The trouble is, I am not in shape to swing a 3 pounder for very long, As my hammering time became less and less, i decided to stop on this for the day and switch to my other projects.

With fatigue knocking at the door, I set myself the task of creating 1 pinon for the fireplace anirons:

Working on this also included making a monkey tool holder to allow me to drive the metal into the monkey tool instead of hammering the monkey tool onto the rods.

Mow, with my few remaining hammer blows, it was time to work on making a closed loop on the end of a 1/4 in rod. The books and videos claim this is easy as pie, but i must question the accuracy of this statement. It might have just been my weakened state, or possibly the dirty-ness of a fire that had been going for hours, but this was a dismal failure. By the 3rd try, i was able to get some of the metal welded, but not enough to call it a success.

With this, I was DONE! There will be other days to forge…..

In fact, today (Tuesday) was one of those days. I was able to slip out of work a few hours early, and the wife was off riding. So, Hammer Time! Today was just working on the spade for Lorelei. I was not able to meet my 2 inch draw out goal, but came close to 1 1/2.

The final step for today was opening up the 2 edges of the shovel. This was done cold with chisels. I hope there is enough material for a shovel to be firmly attached. We will just have to wait and see. if you would like to subscribe to this, please click on the link at the bottom of this page.