
What Happened today:
Hardy tool rack
Blacksmithing odds & ends
Beginning the tool box build
Bonus sketchbook dump
Hardy Tool Rack
So, Today (actually, yesterday now) I was able to spend a few hours in the shop. I was hoping to make great stride in the work on the cooking table (2,.0). But I realized that there was a problem with my shop. In order to work on some of the projects I had been working on recently. I had acquired several more hardy tools. A hardy tool, for those not familiar with the term, is a tool that fits in the hardy hole of the anvil.
Anvil with Hardy hole and pritchpl hole.
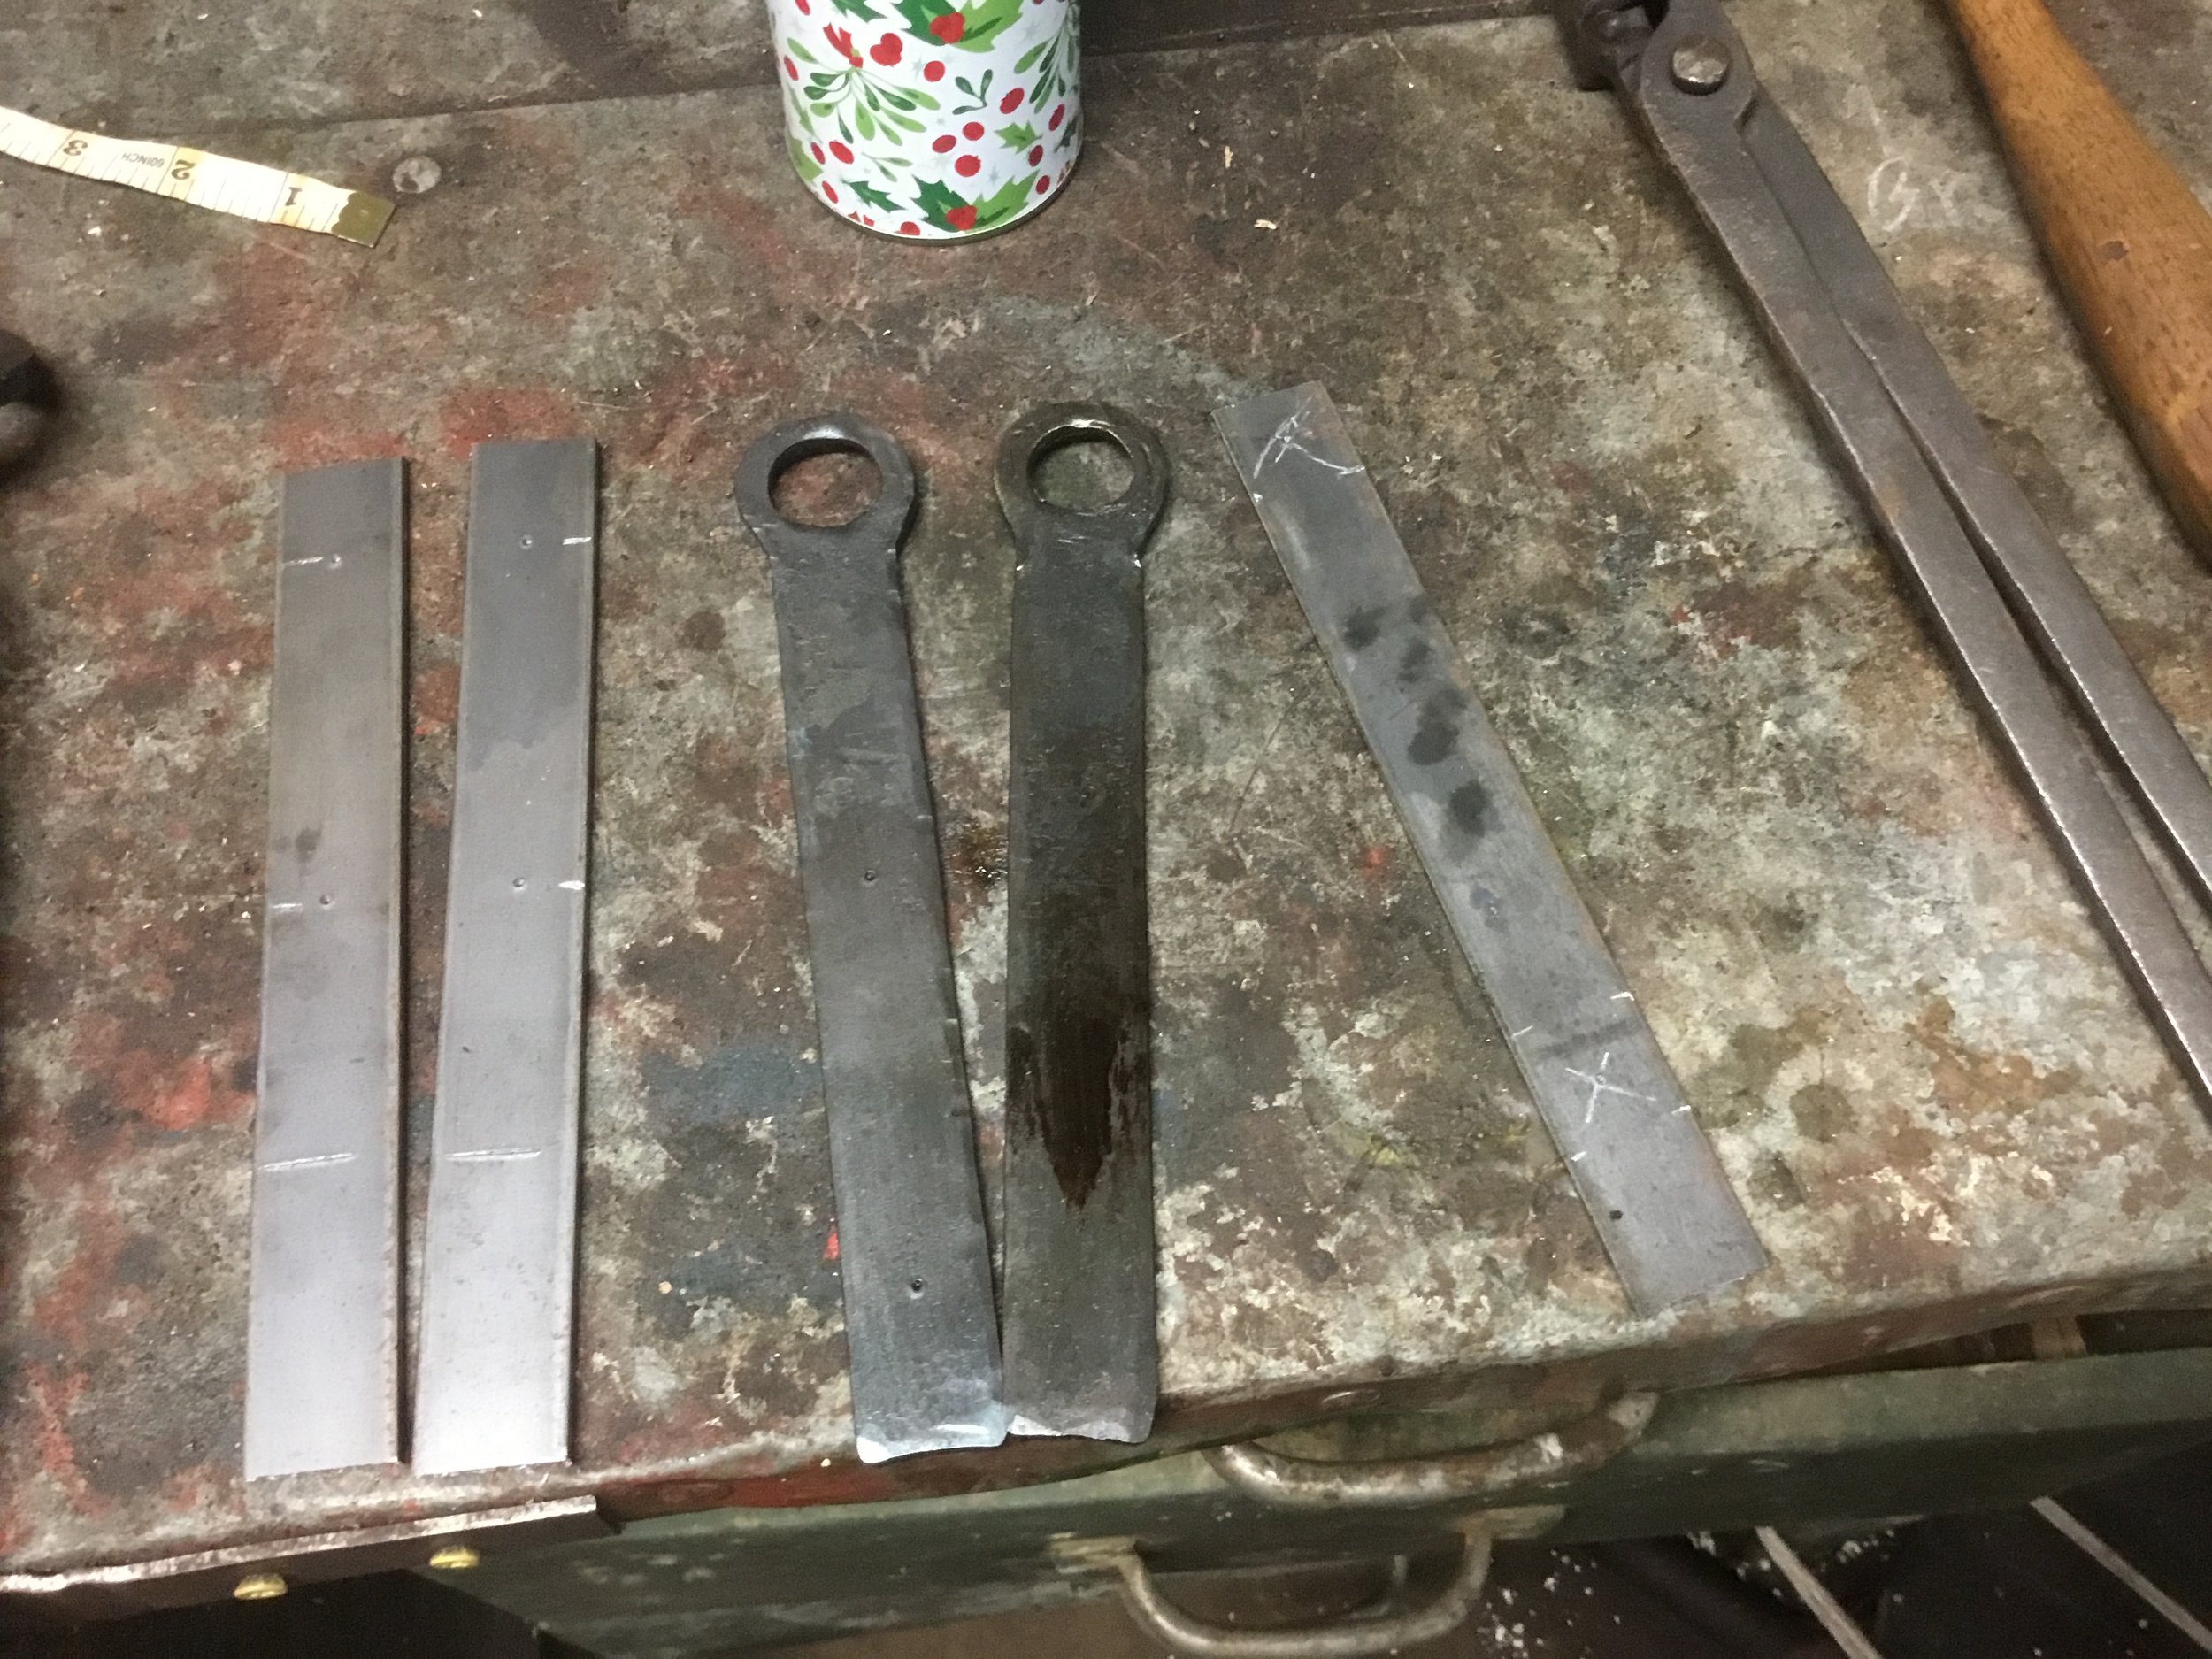
Cut off Hardy
Bending Fork
Scrolling Jig
Guillotine Tool
There are quite a few tools that are designed to work with a hardy hole. Pictured above are just a few. The trouble with hardy tools is that they have a square bar 3 to 4 inches long protruding out the bottom. This make them hard to store. They had been being kept on a shelf with holes drilled in it for the hardy shaft to fit in. Alas, this quickly became full and the rest were just left to clutter up my workspace. Something had to be done! So, instead of working on the table I decided to make a rack for these tools. First came the design:
This would consist of 2 angled brackets mounted on the shop wall and 3 slats of oak between them. This would create 2 grooves to drop the hardy shanks in. Because simple is not quite in my vocabulary, I decided to forge a hook on the ends of the brackets.
Finished Hardy Rack
The brackets
The tools are (Somewhat) organized!
The shop.
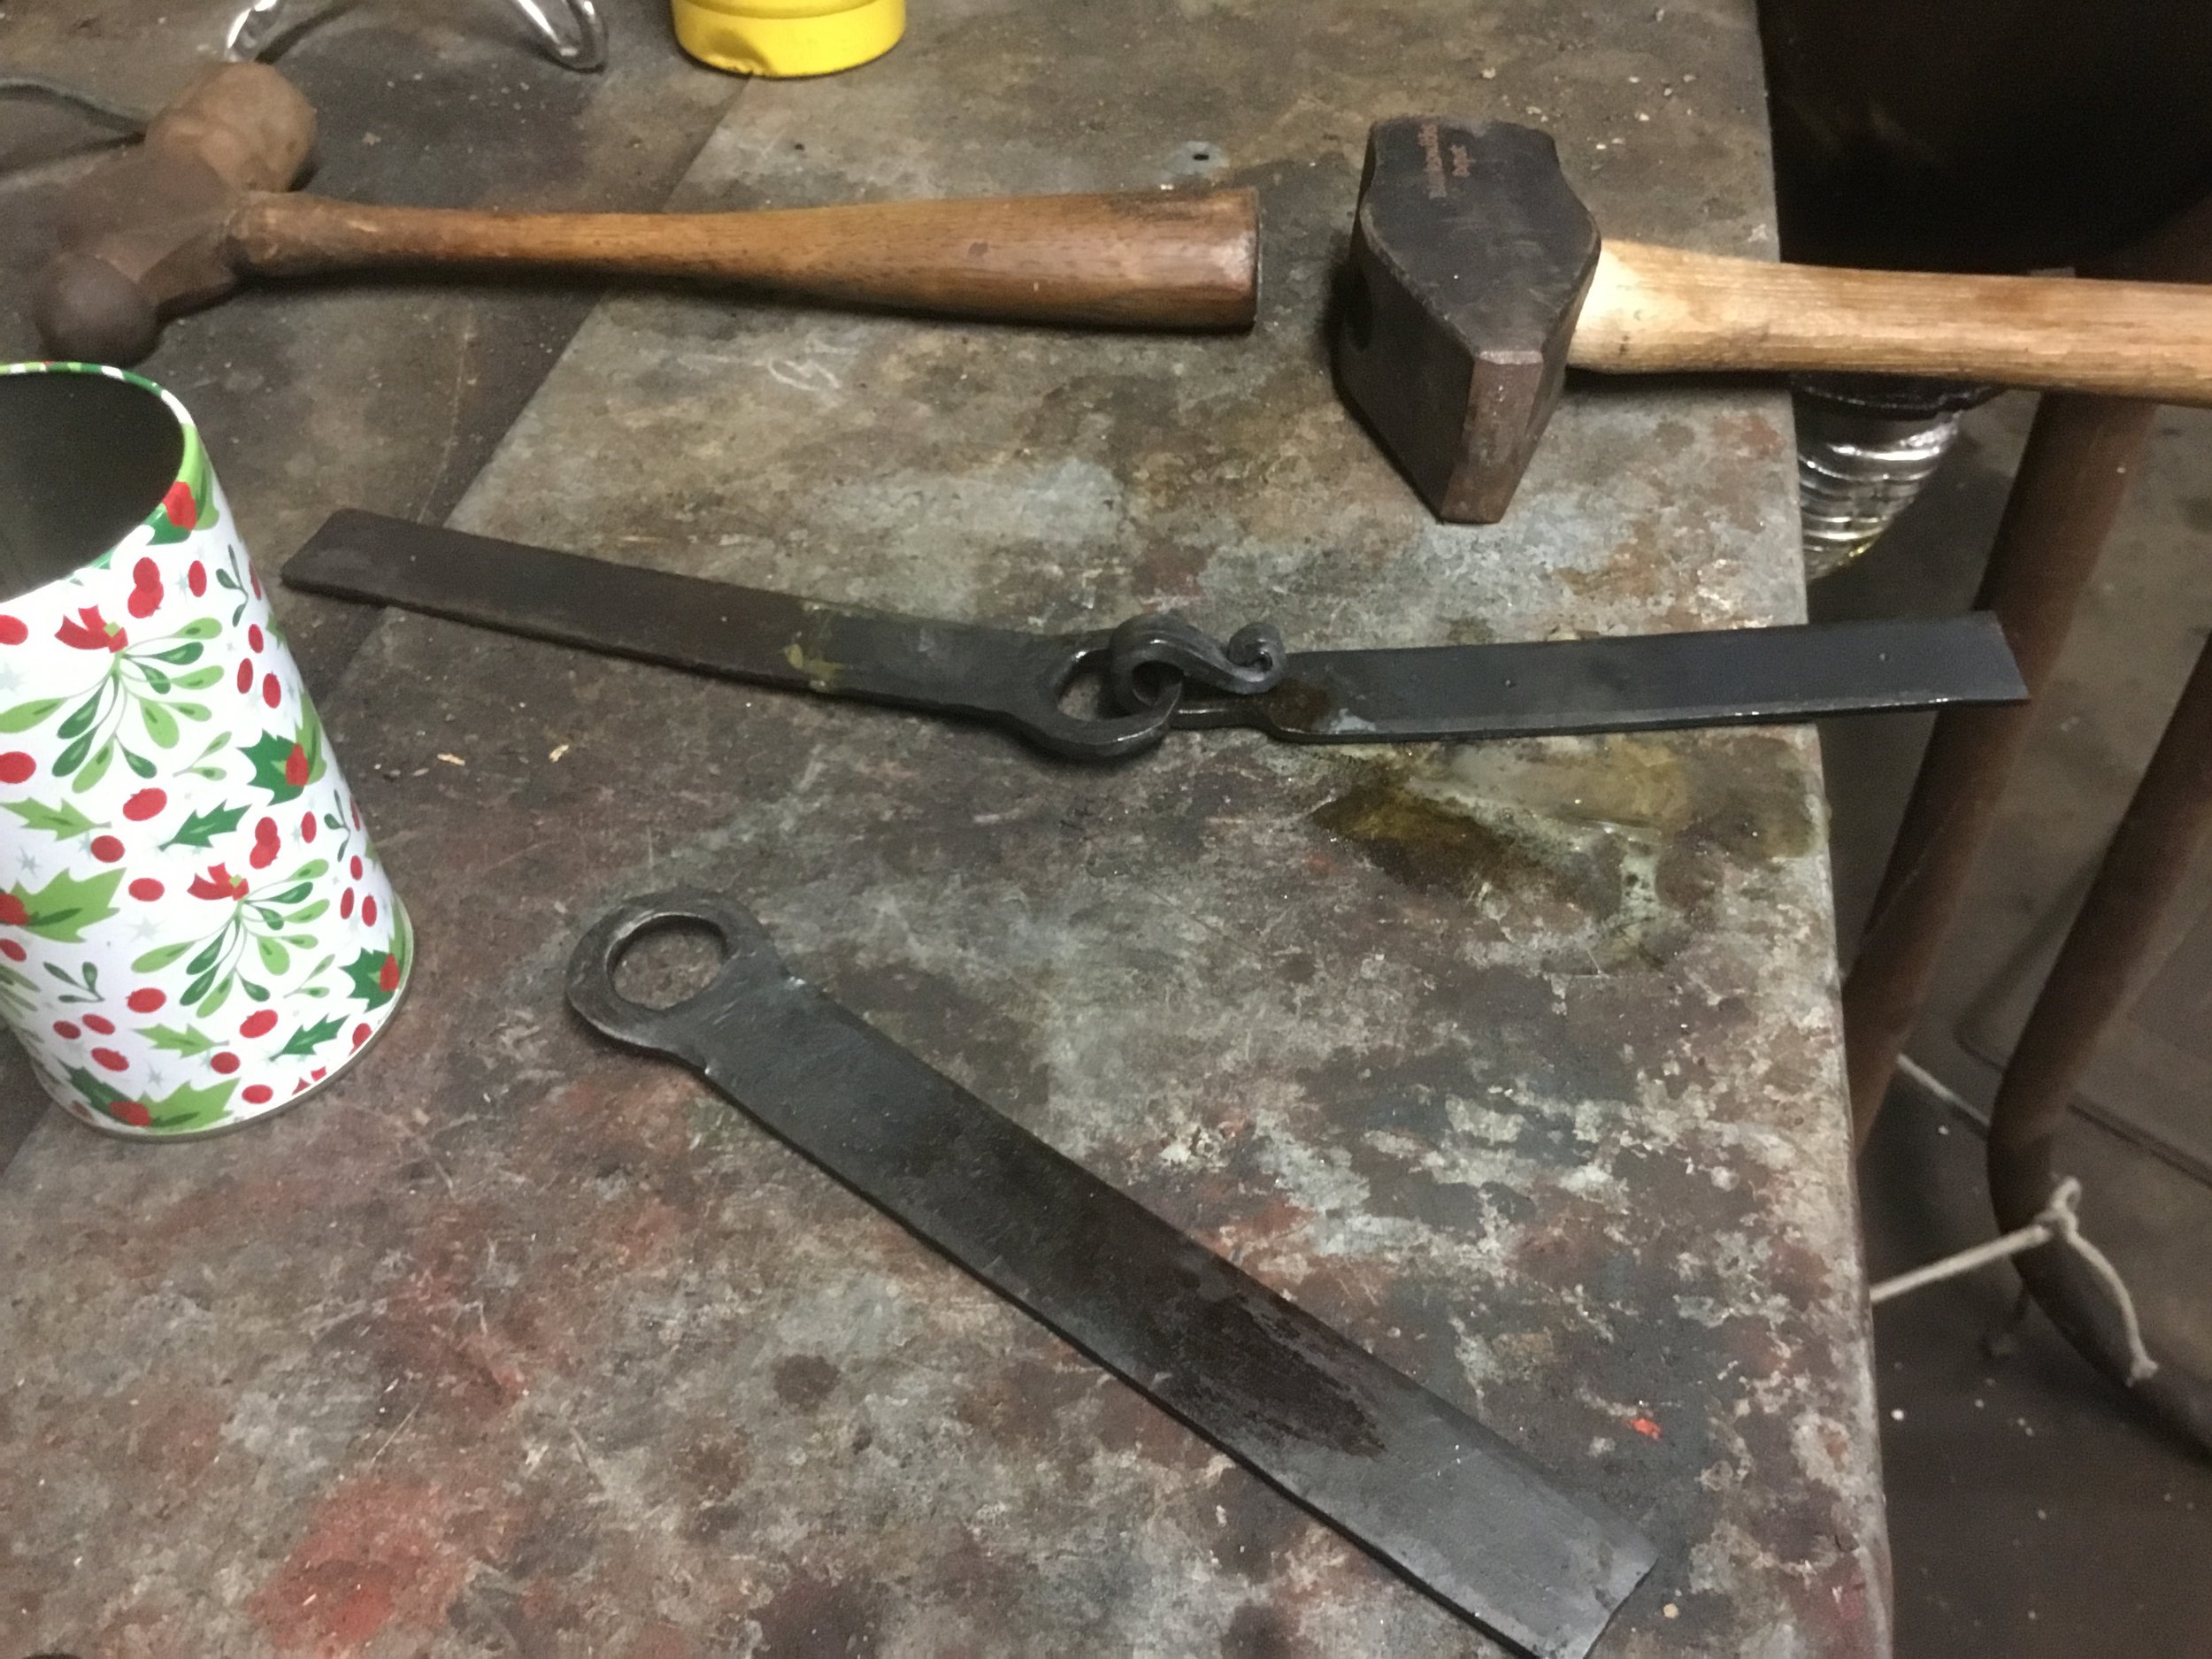
Small Forgings.
In order to have accomplished something at the forge today ( the rack doesn’t count, it was purely for function) I went ahead and used the final heat from the forge to create the final piece of the toolbox hardware and try and forge a few nails that will hold the box together:
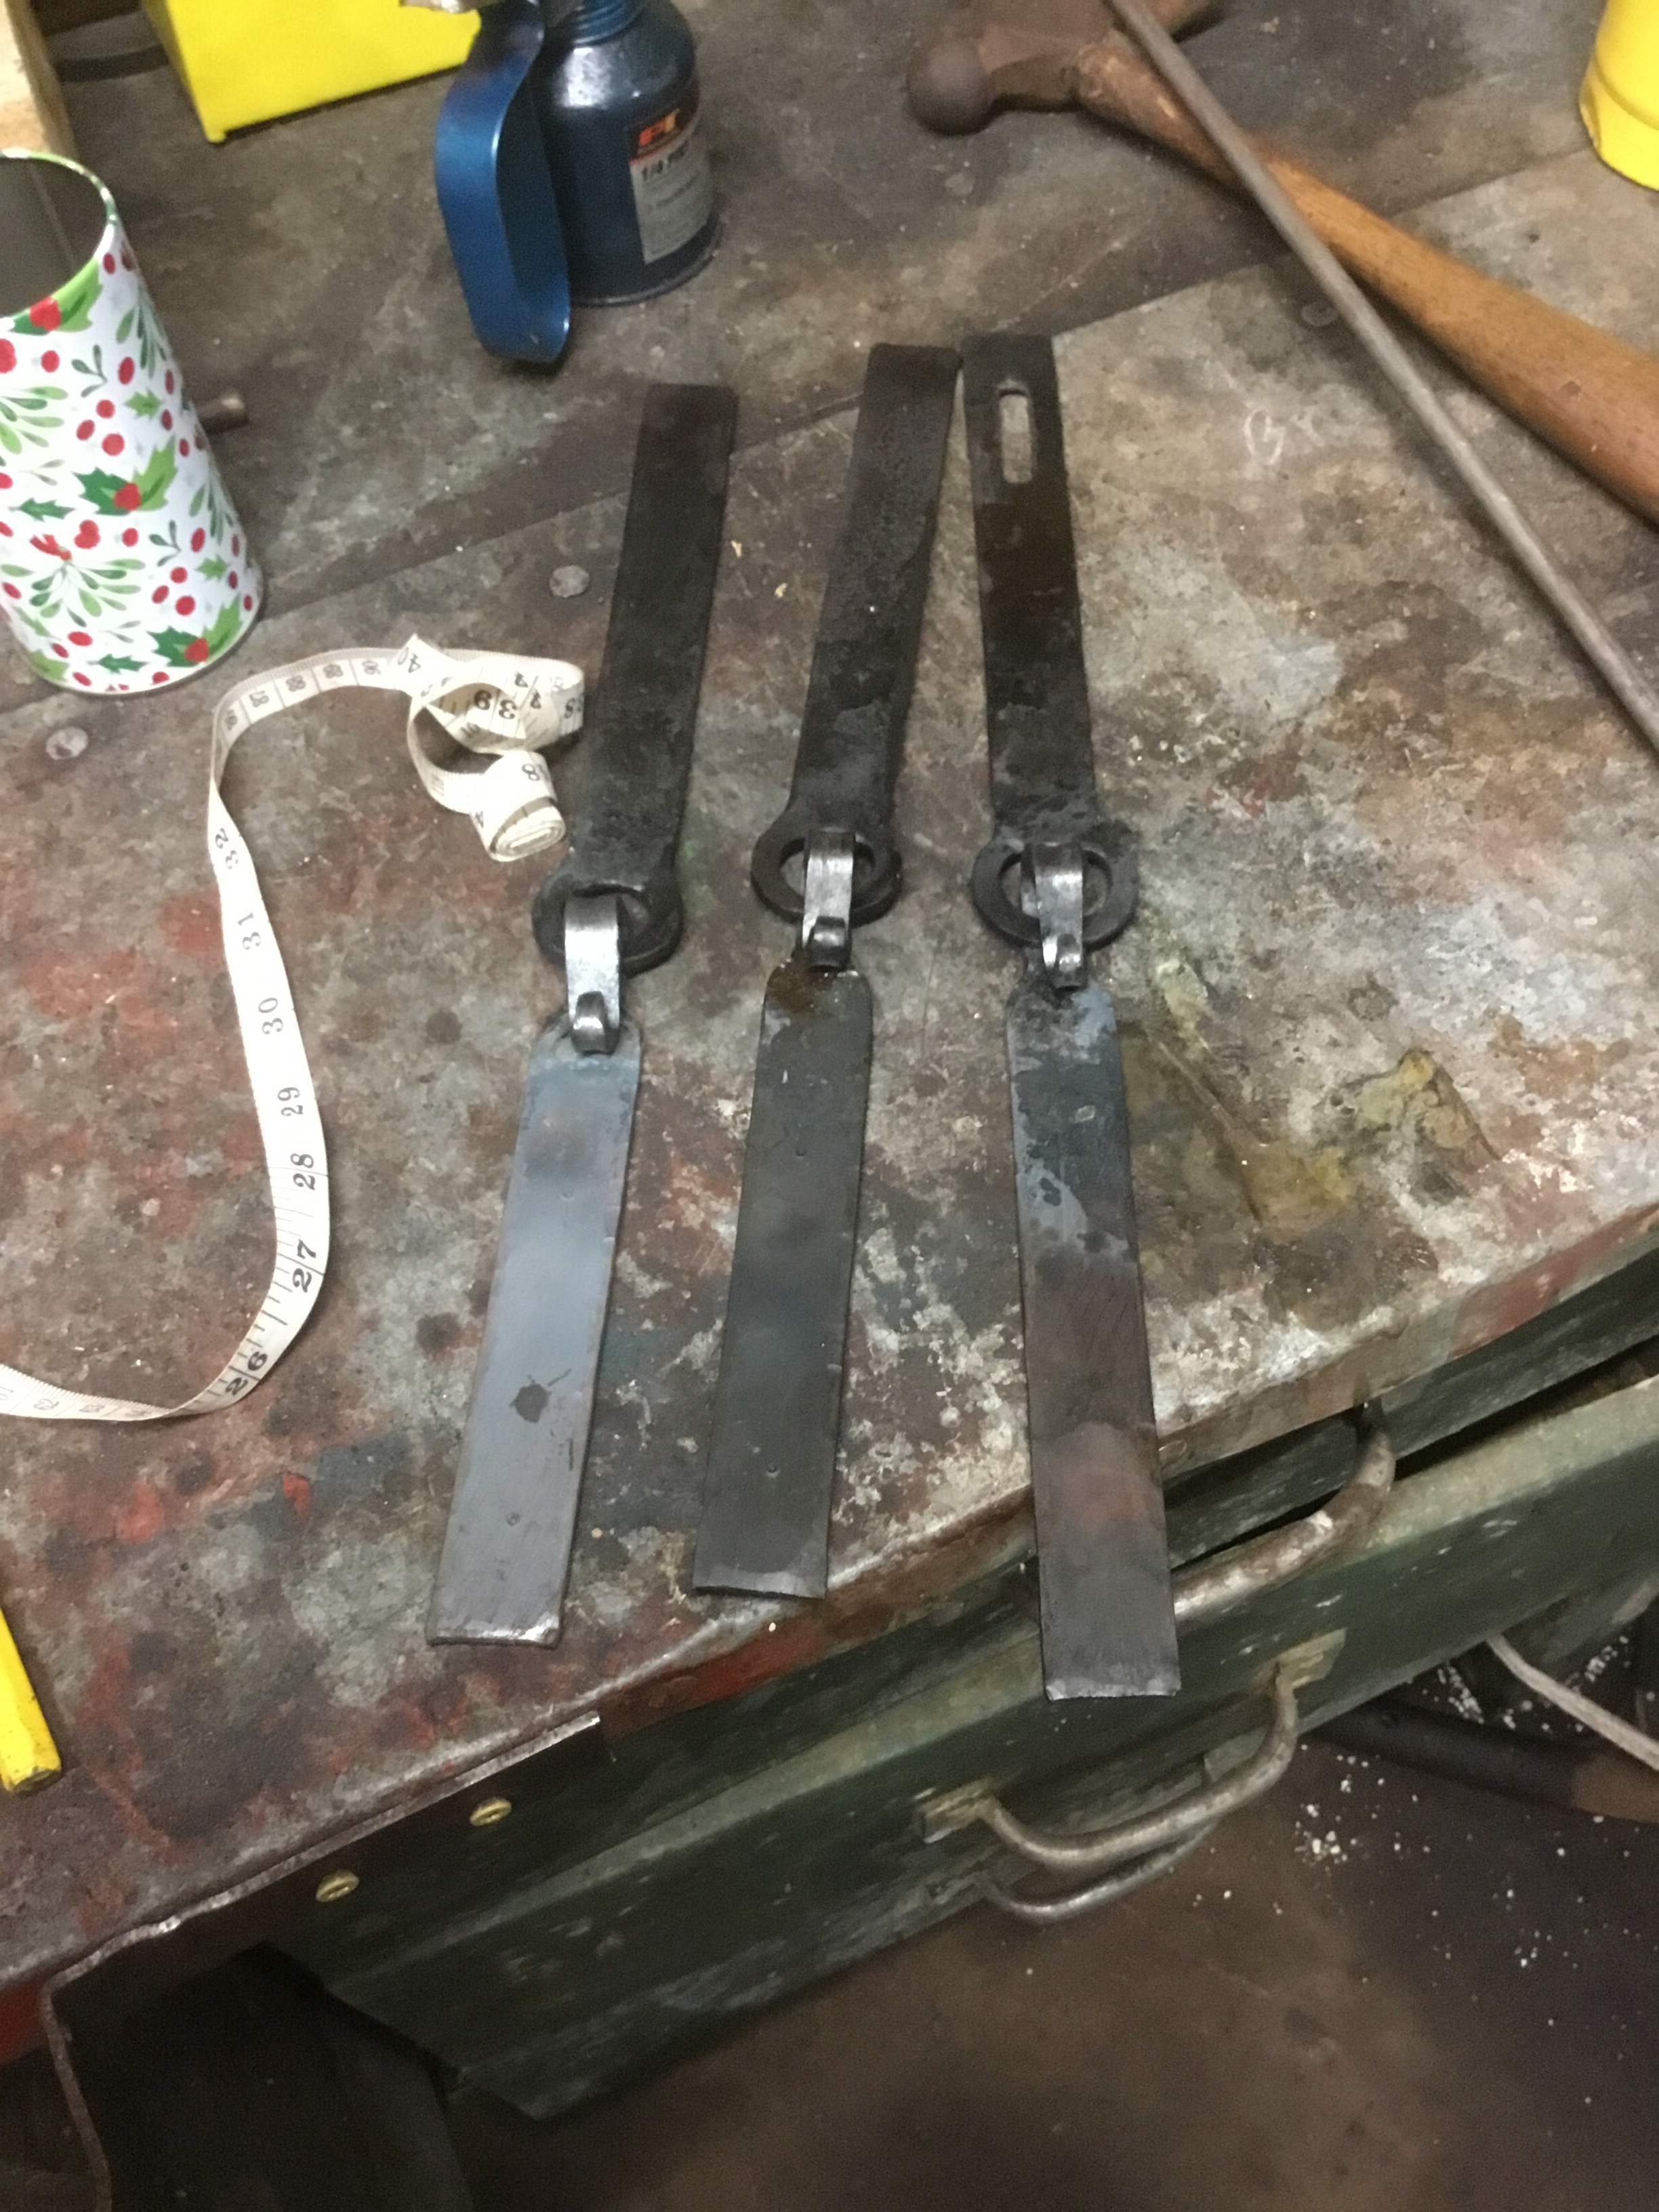
Start of the tool box
Started finalizing the final size of the toolbox.
After all of this, time to cut some wood:
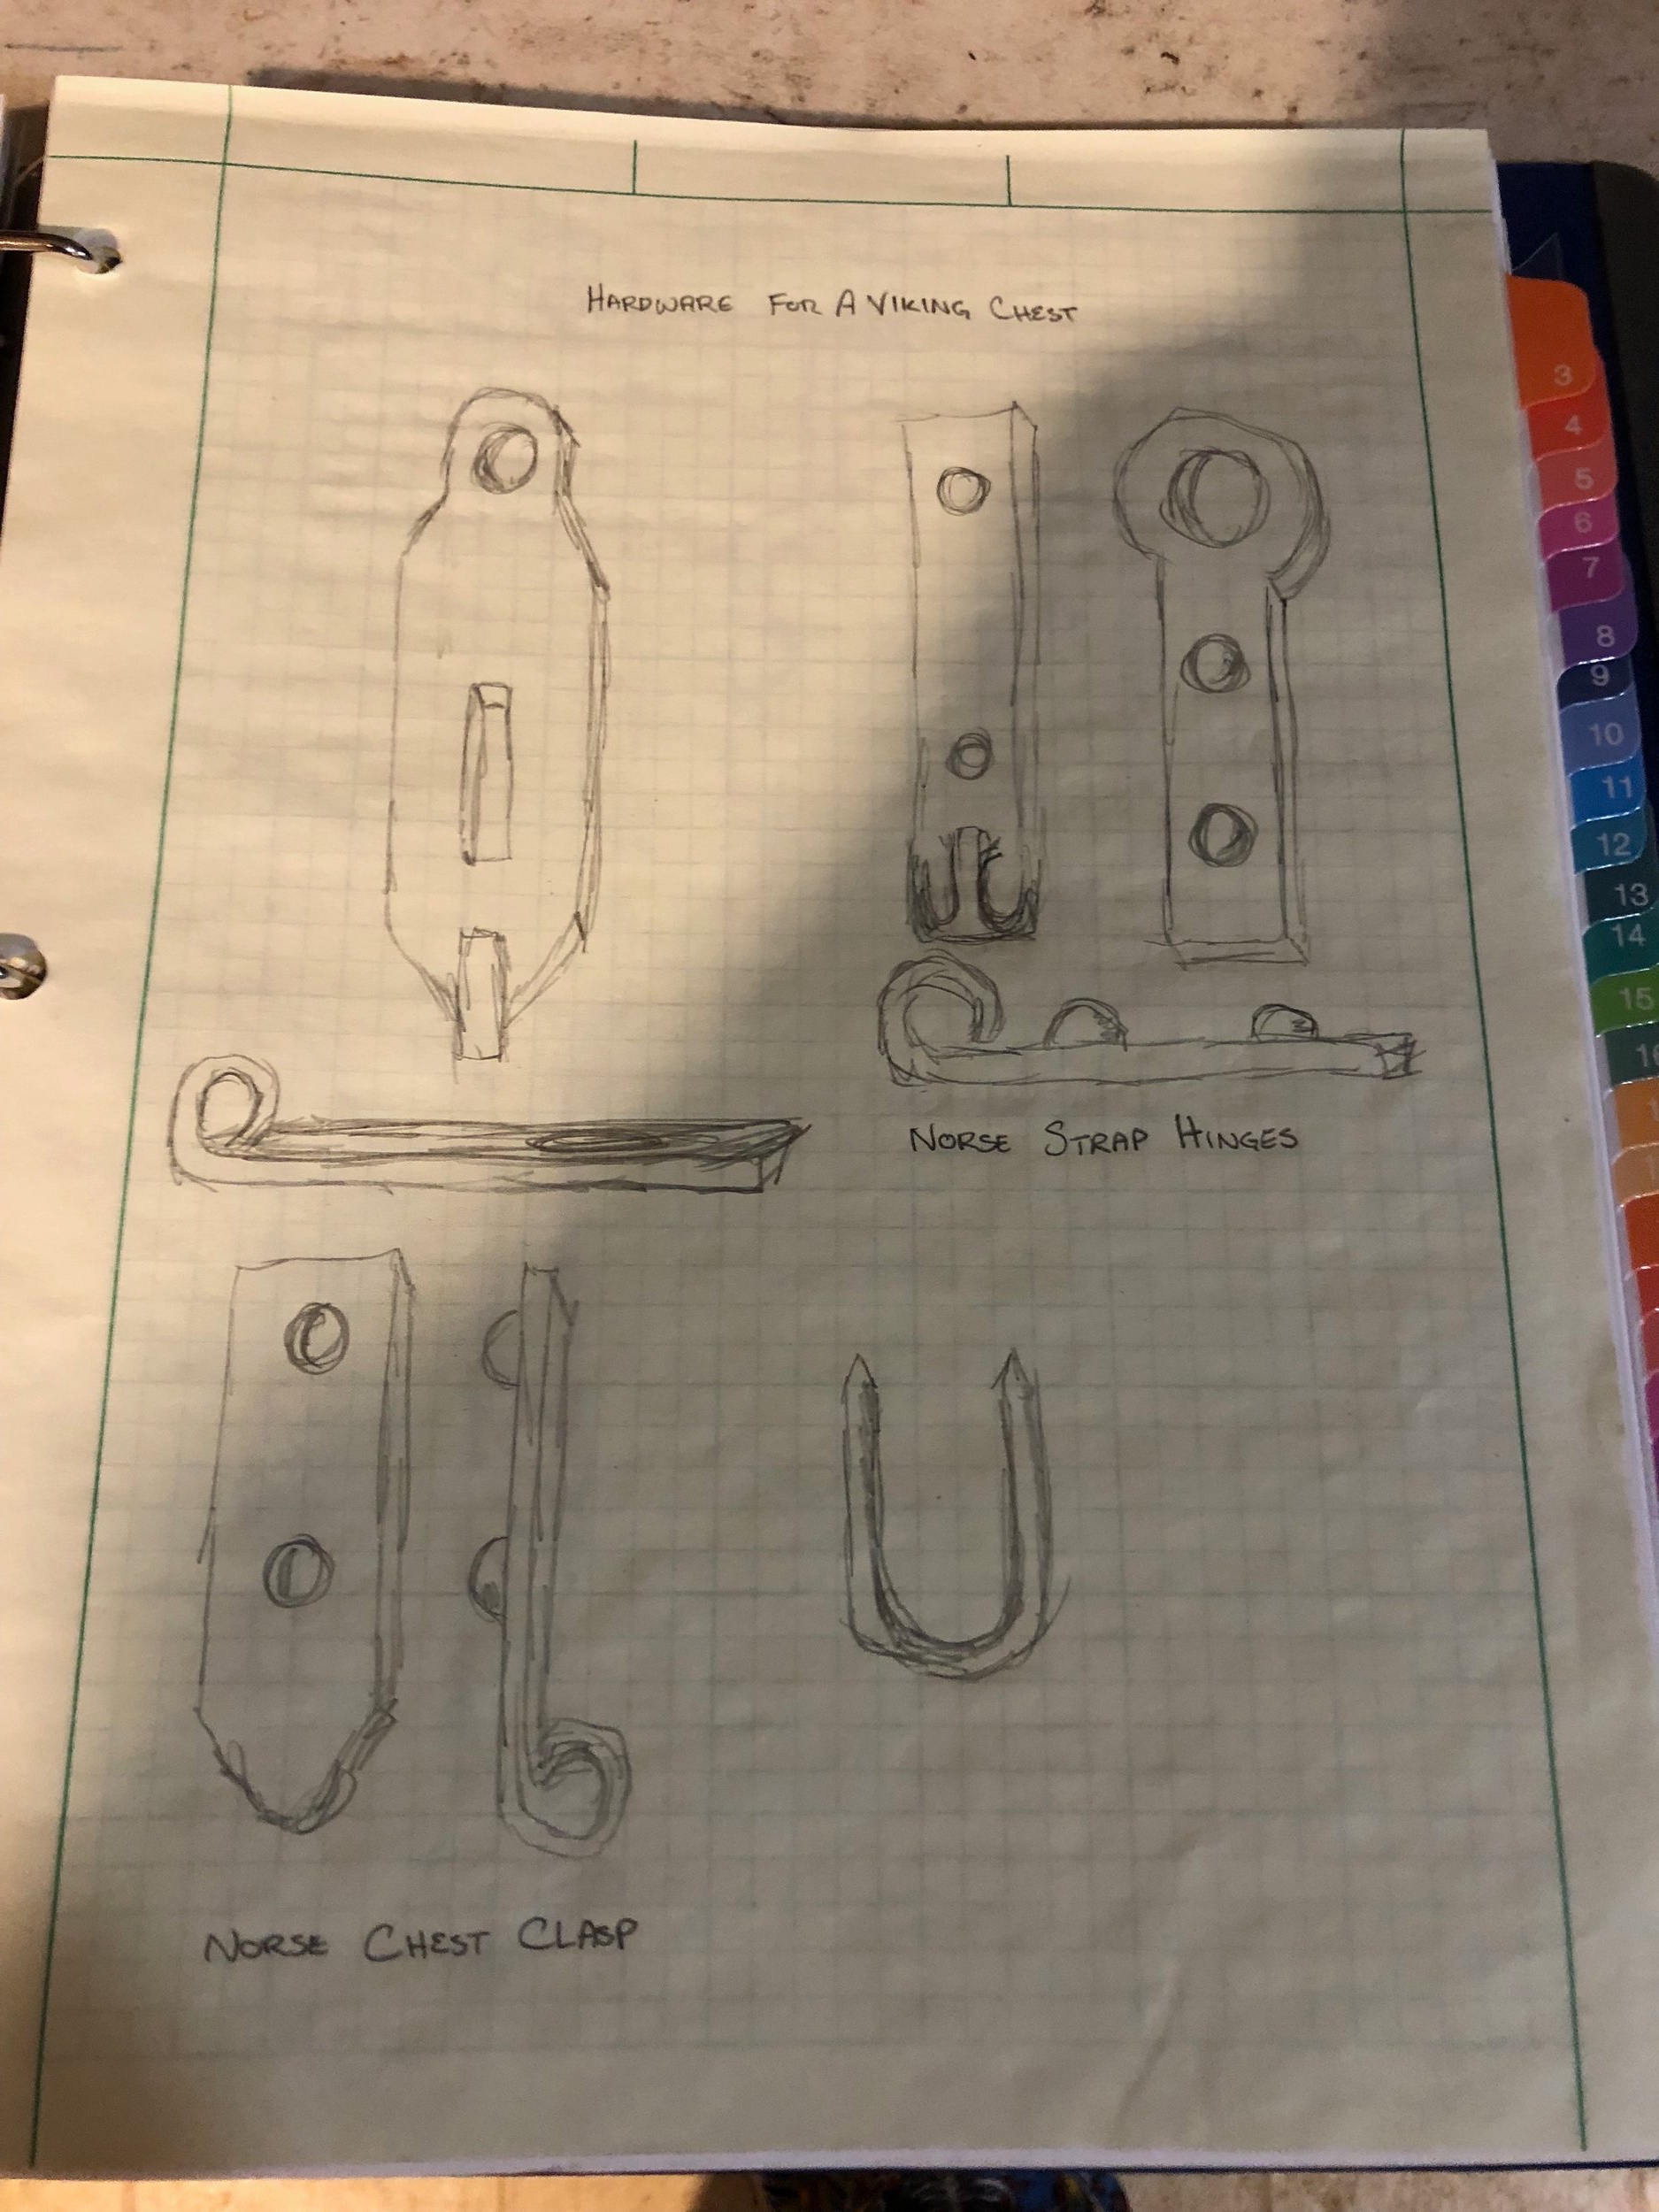
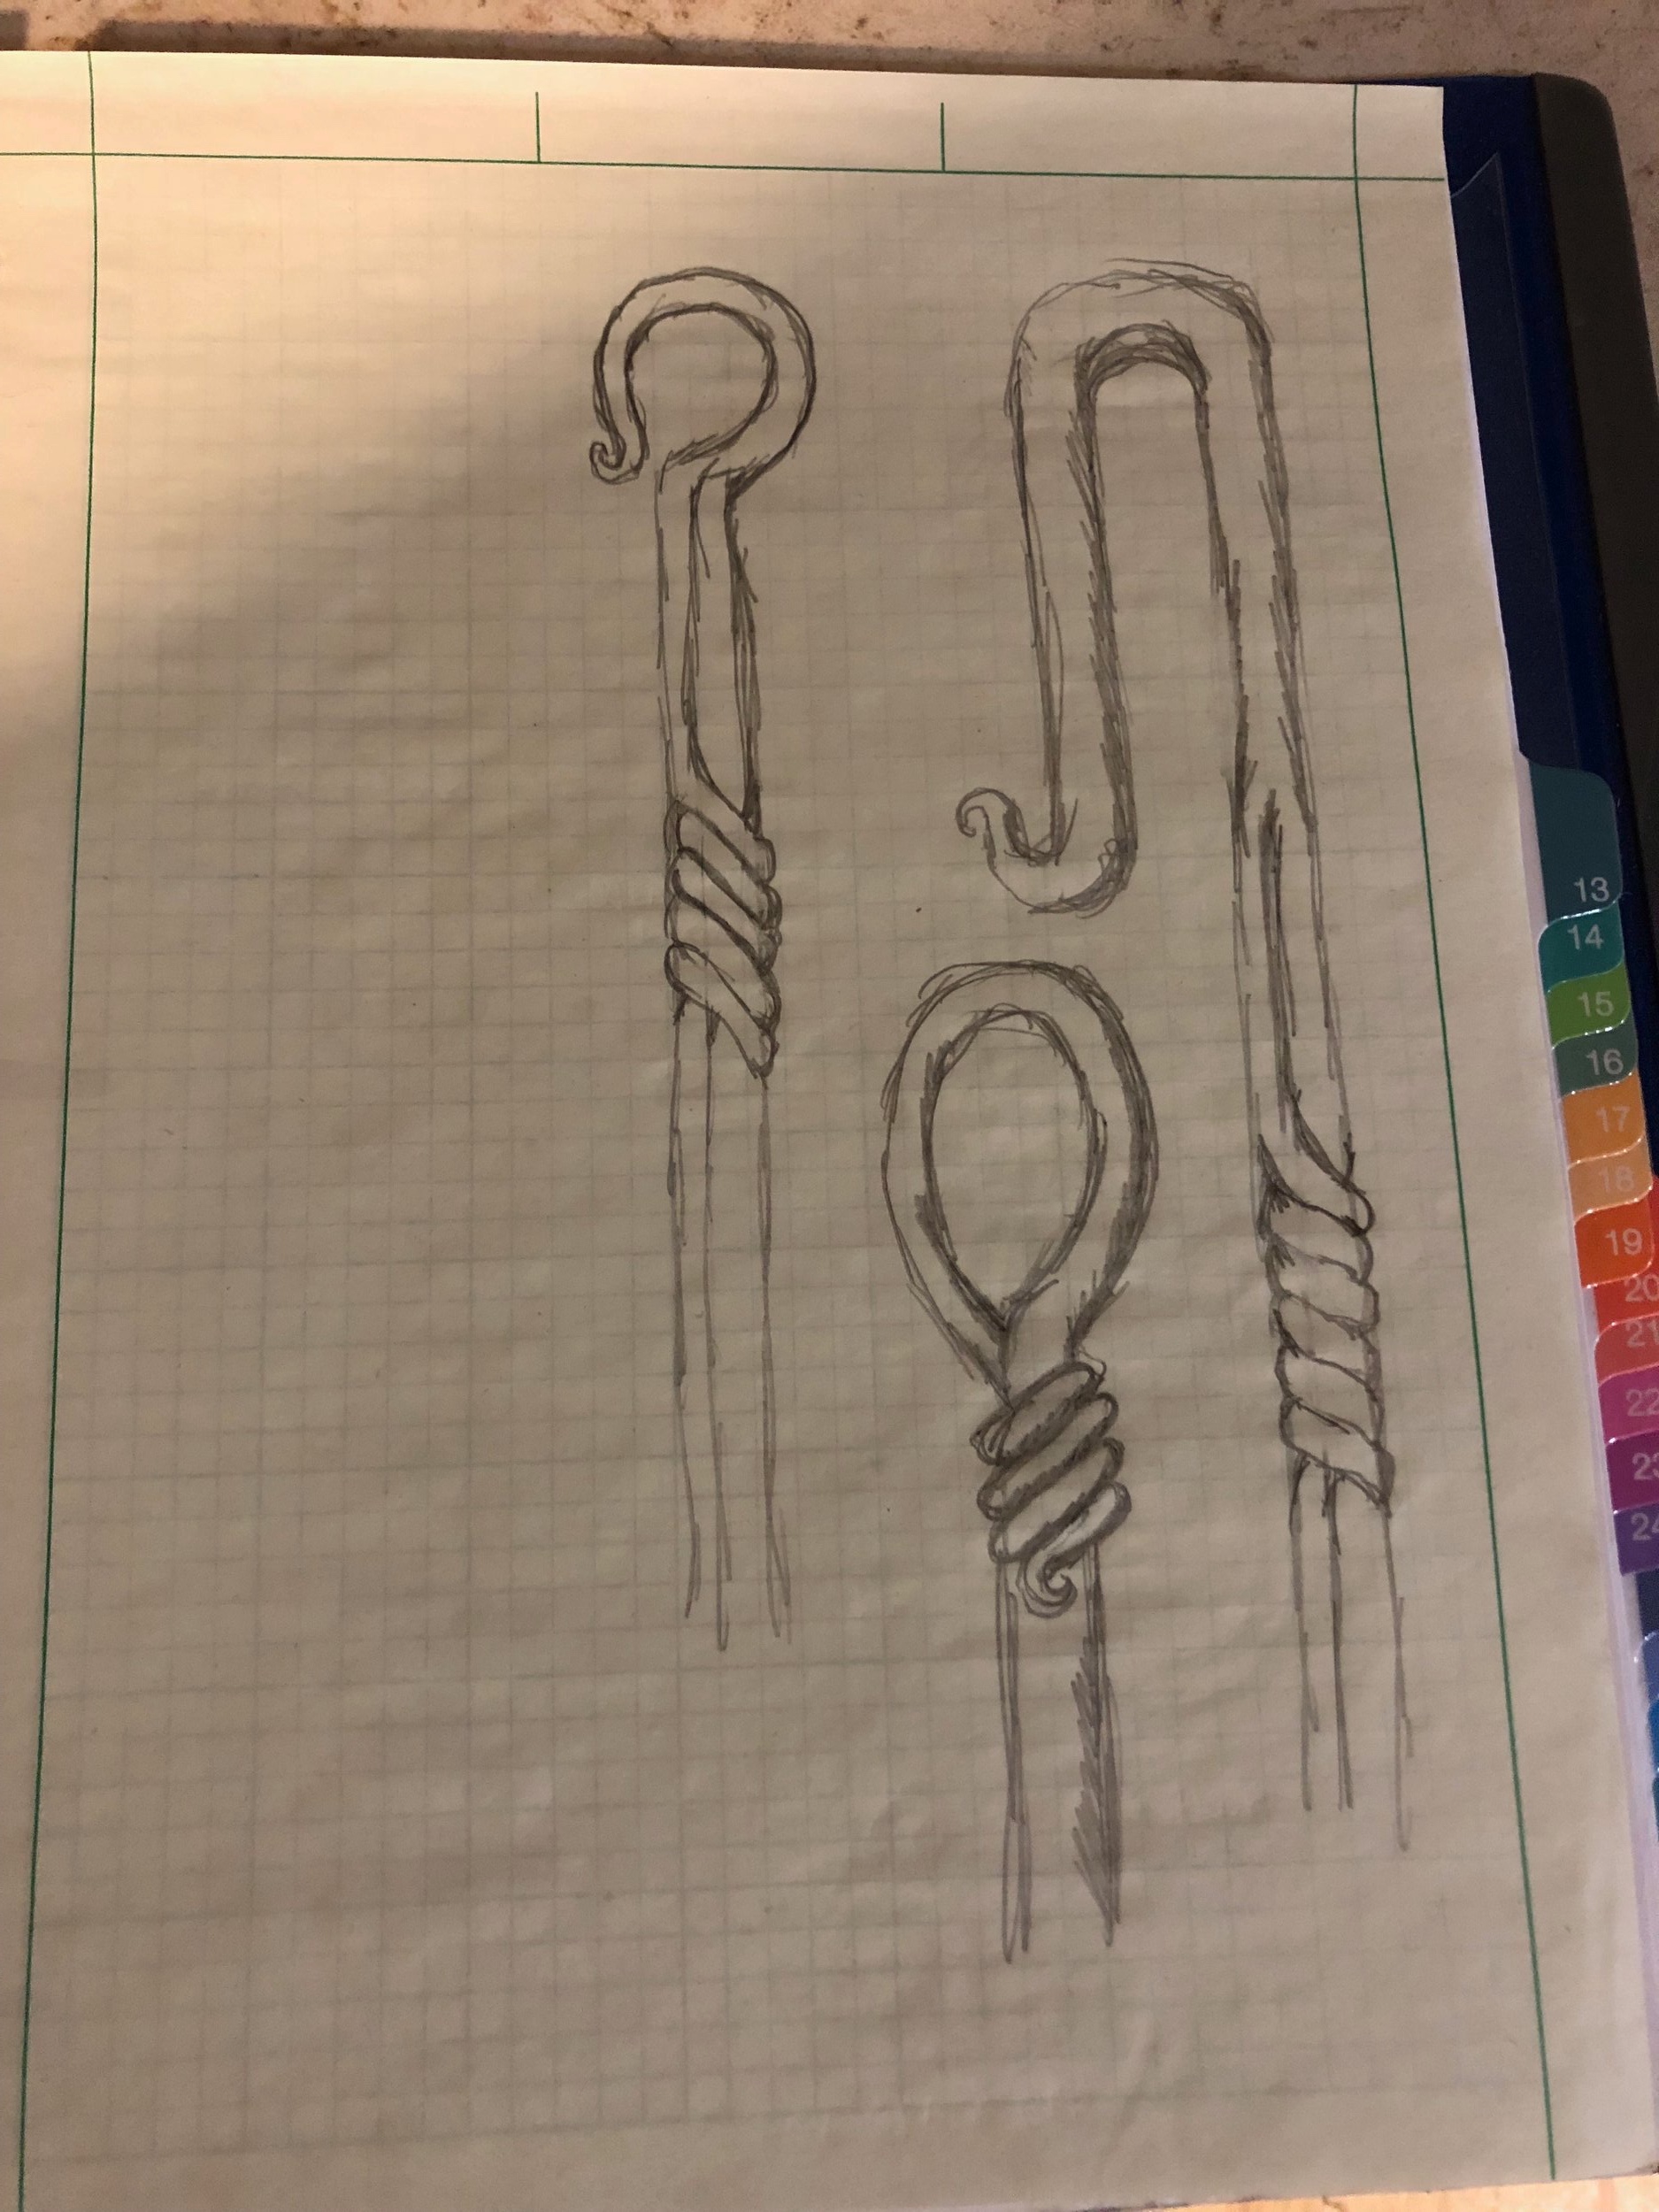
Sketchbook Dump
I have decided to try and rebuild my sketching skills, so here are some of my noteds and sketches for the shop: